A Quick Guide For Mixing MilkPaint™
We know that you’re busy. You’ve got a lot going on, and the less you need to remember, the better! That’s why we’ve whipped up this quick guide for mixing our MilkPaint™.
When you’re in a pinch, pull up this helpful blog post and you’ll be painting in no time!
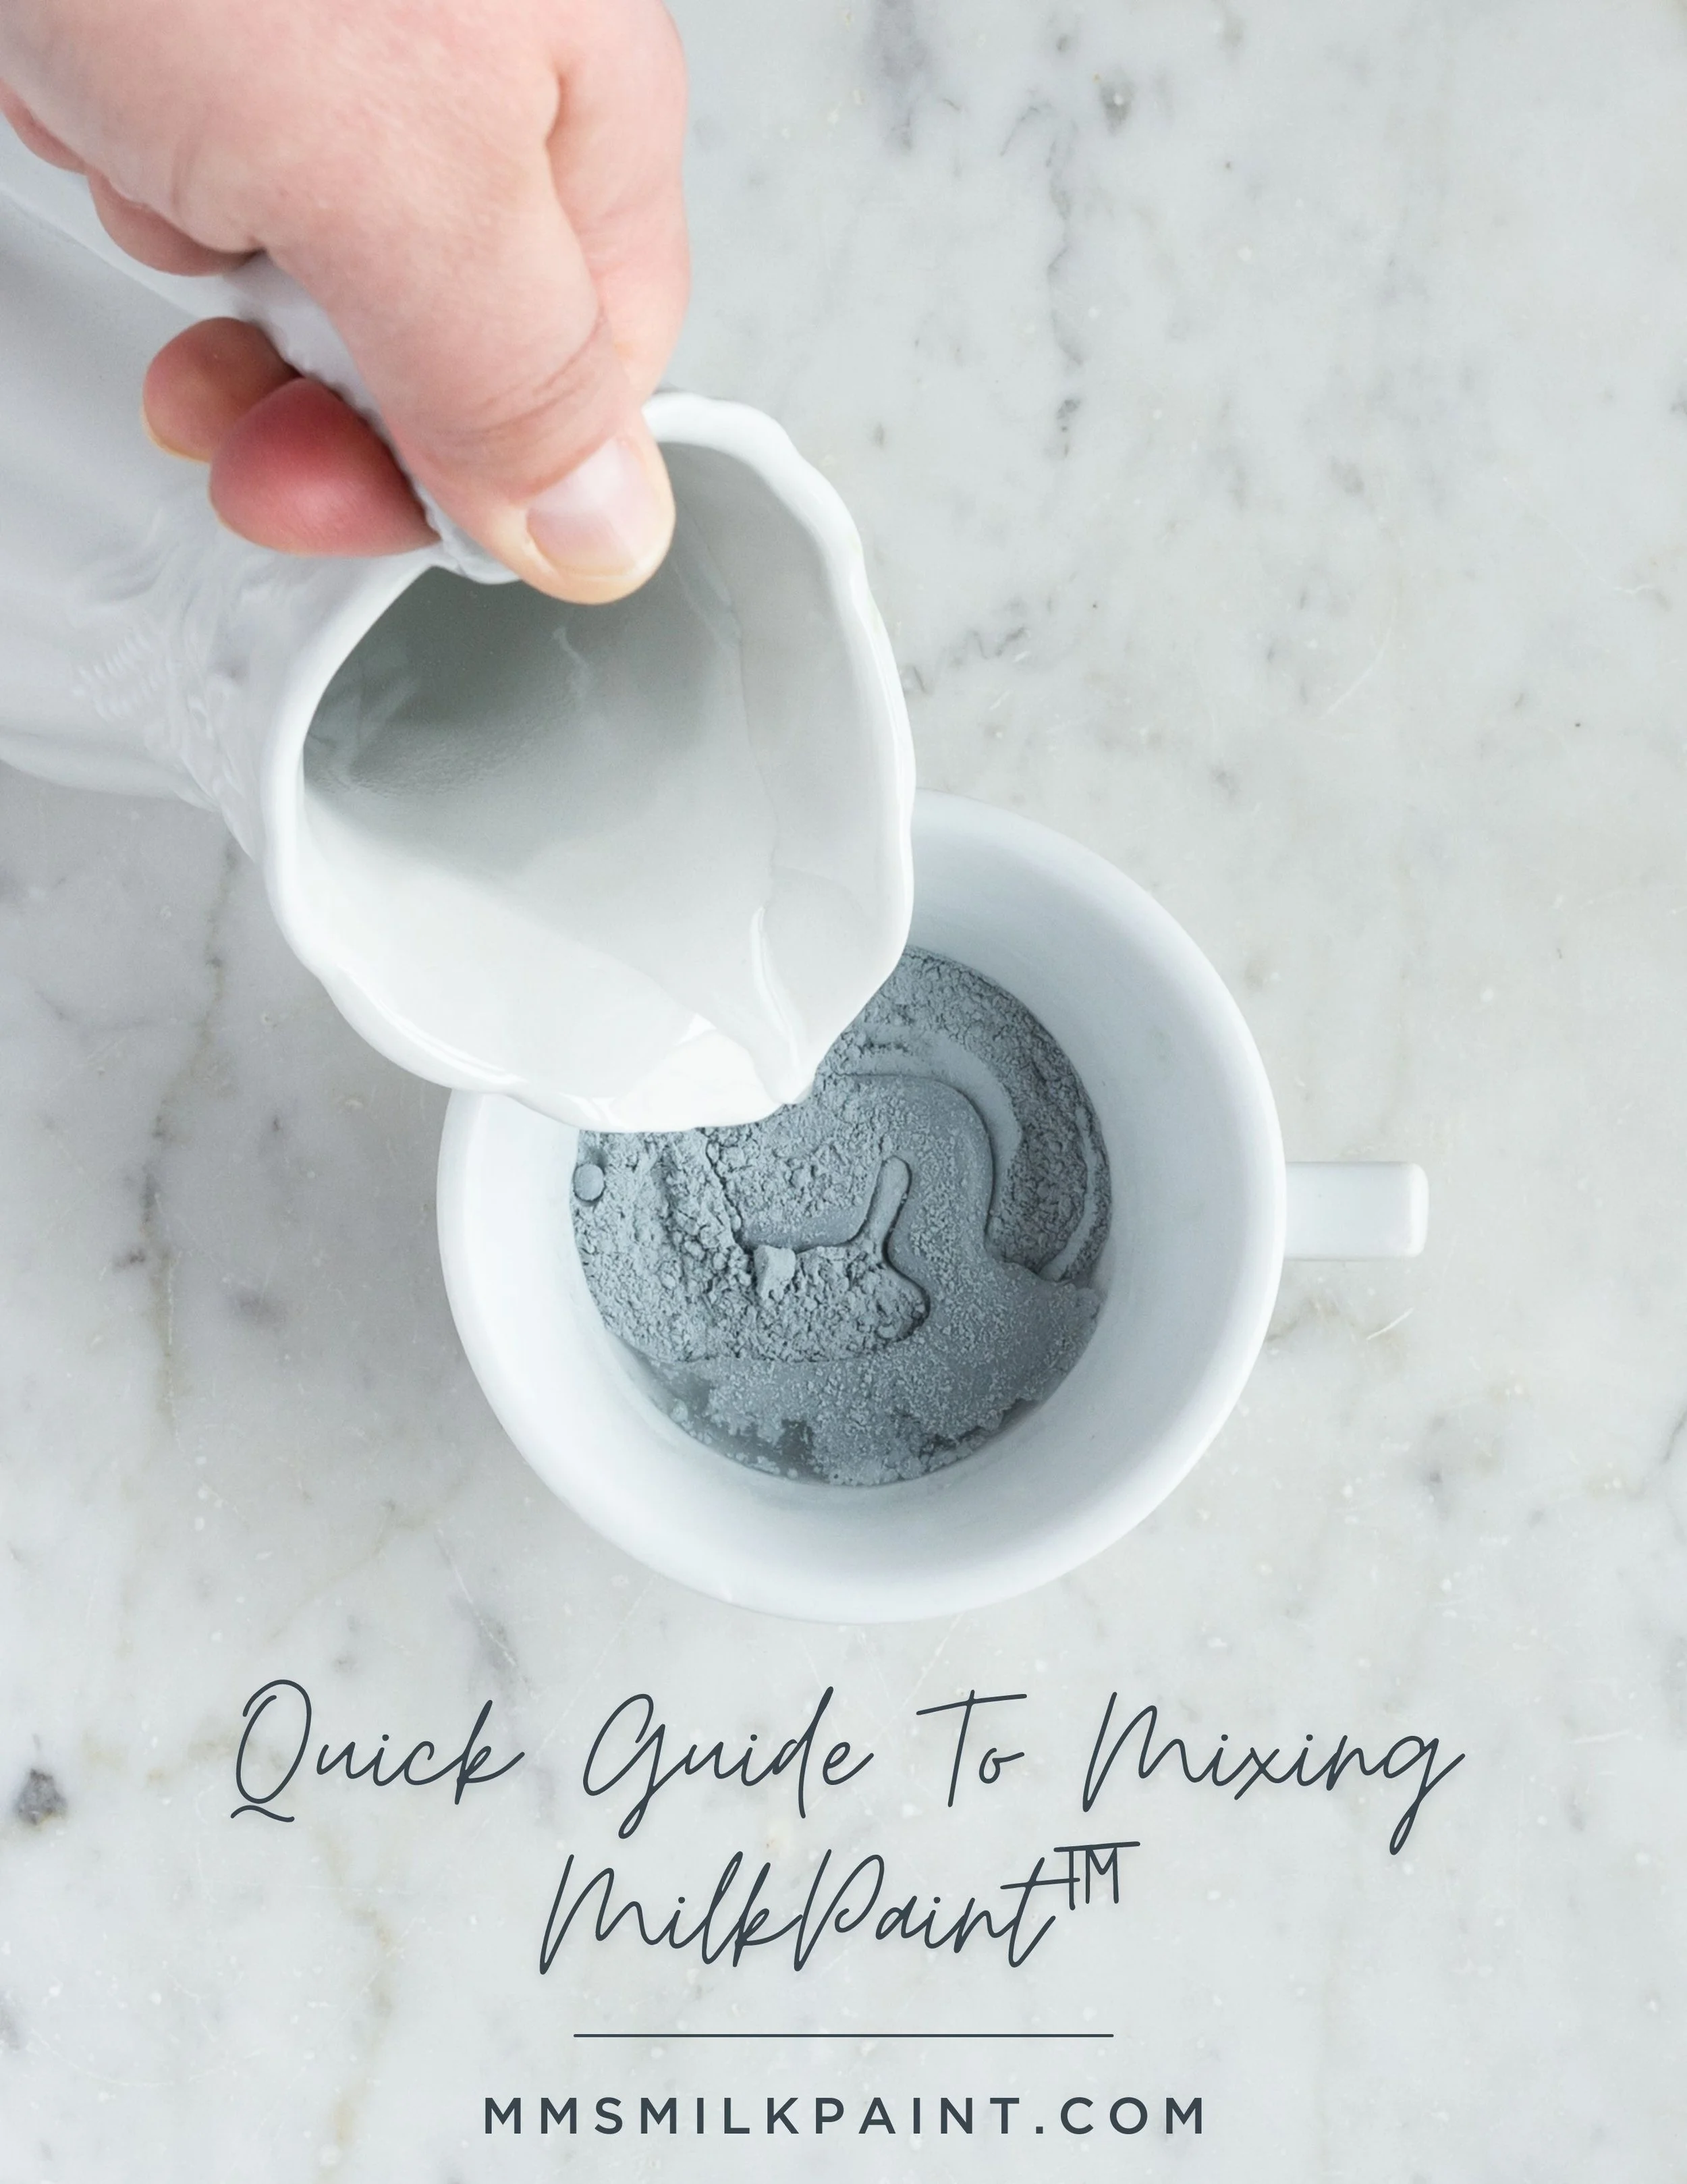
Step 1 - Add Powder
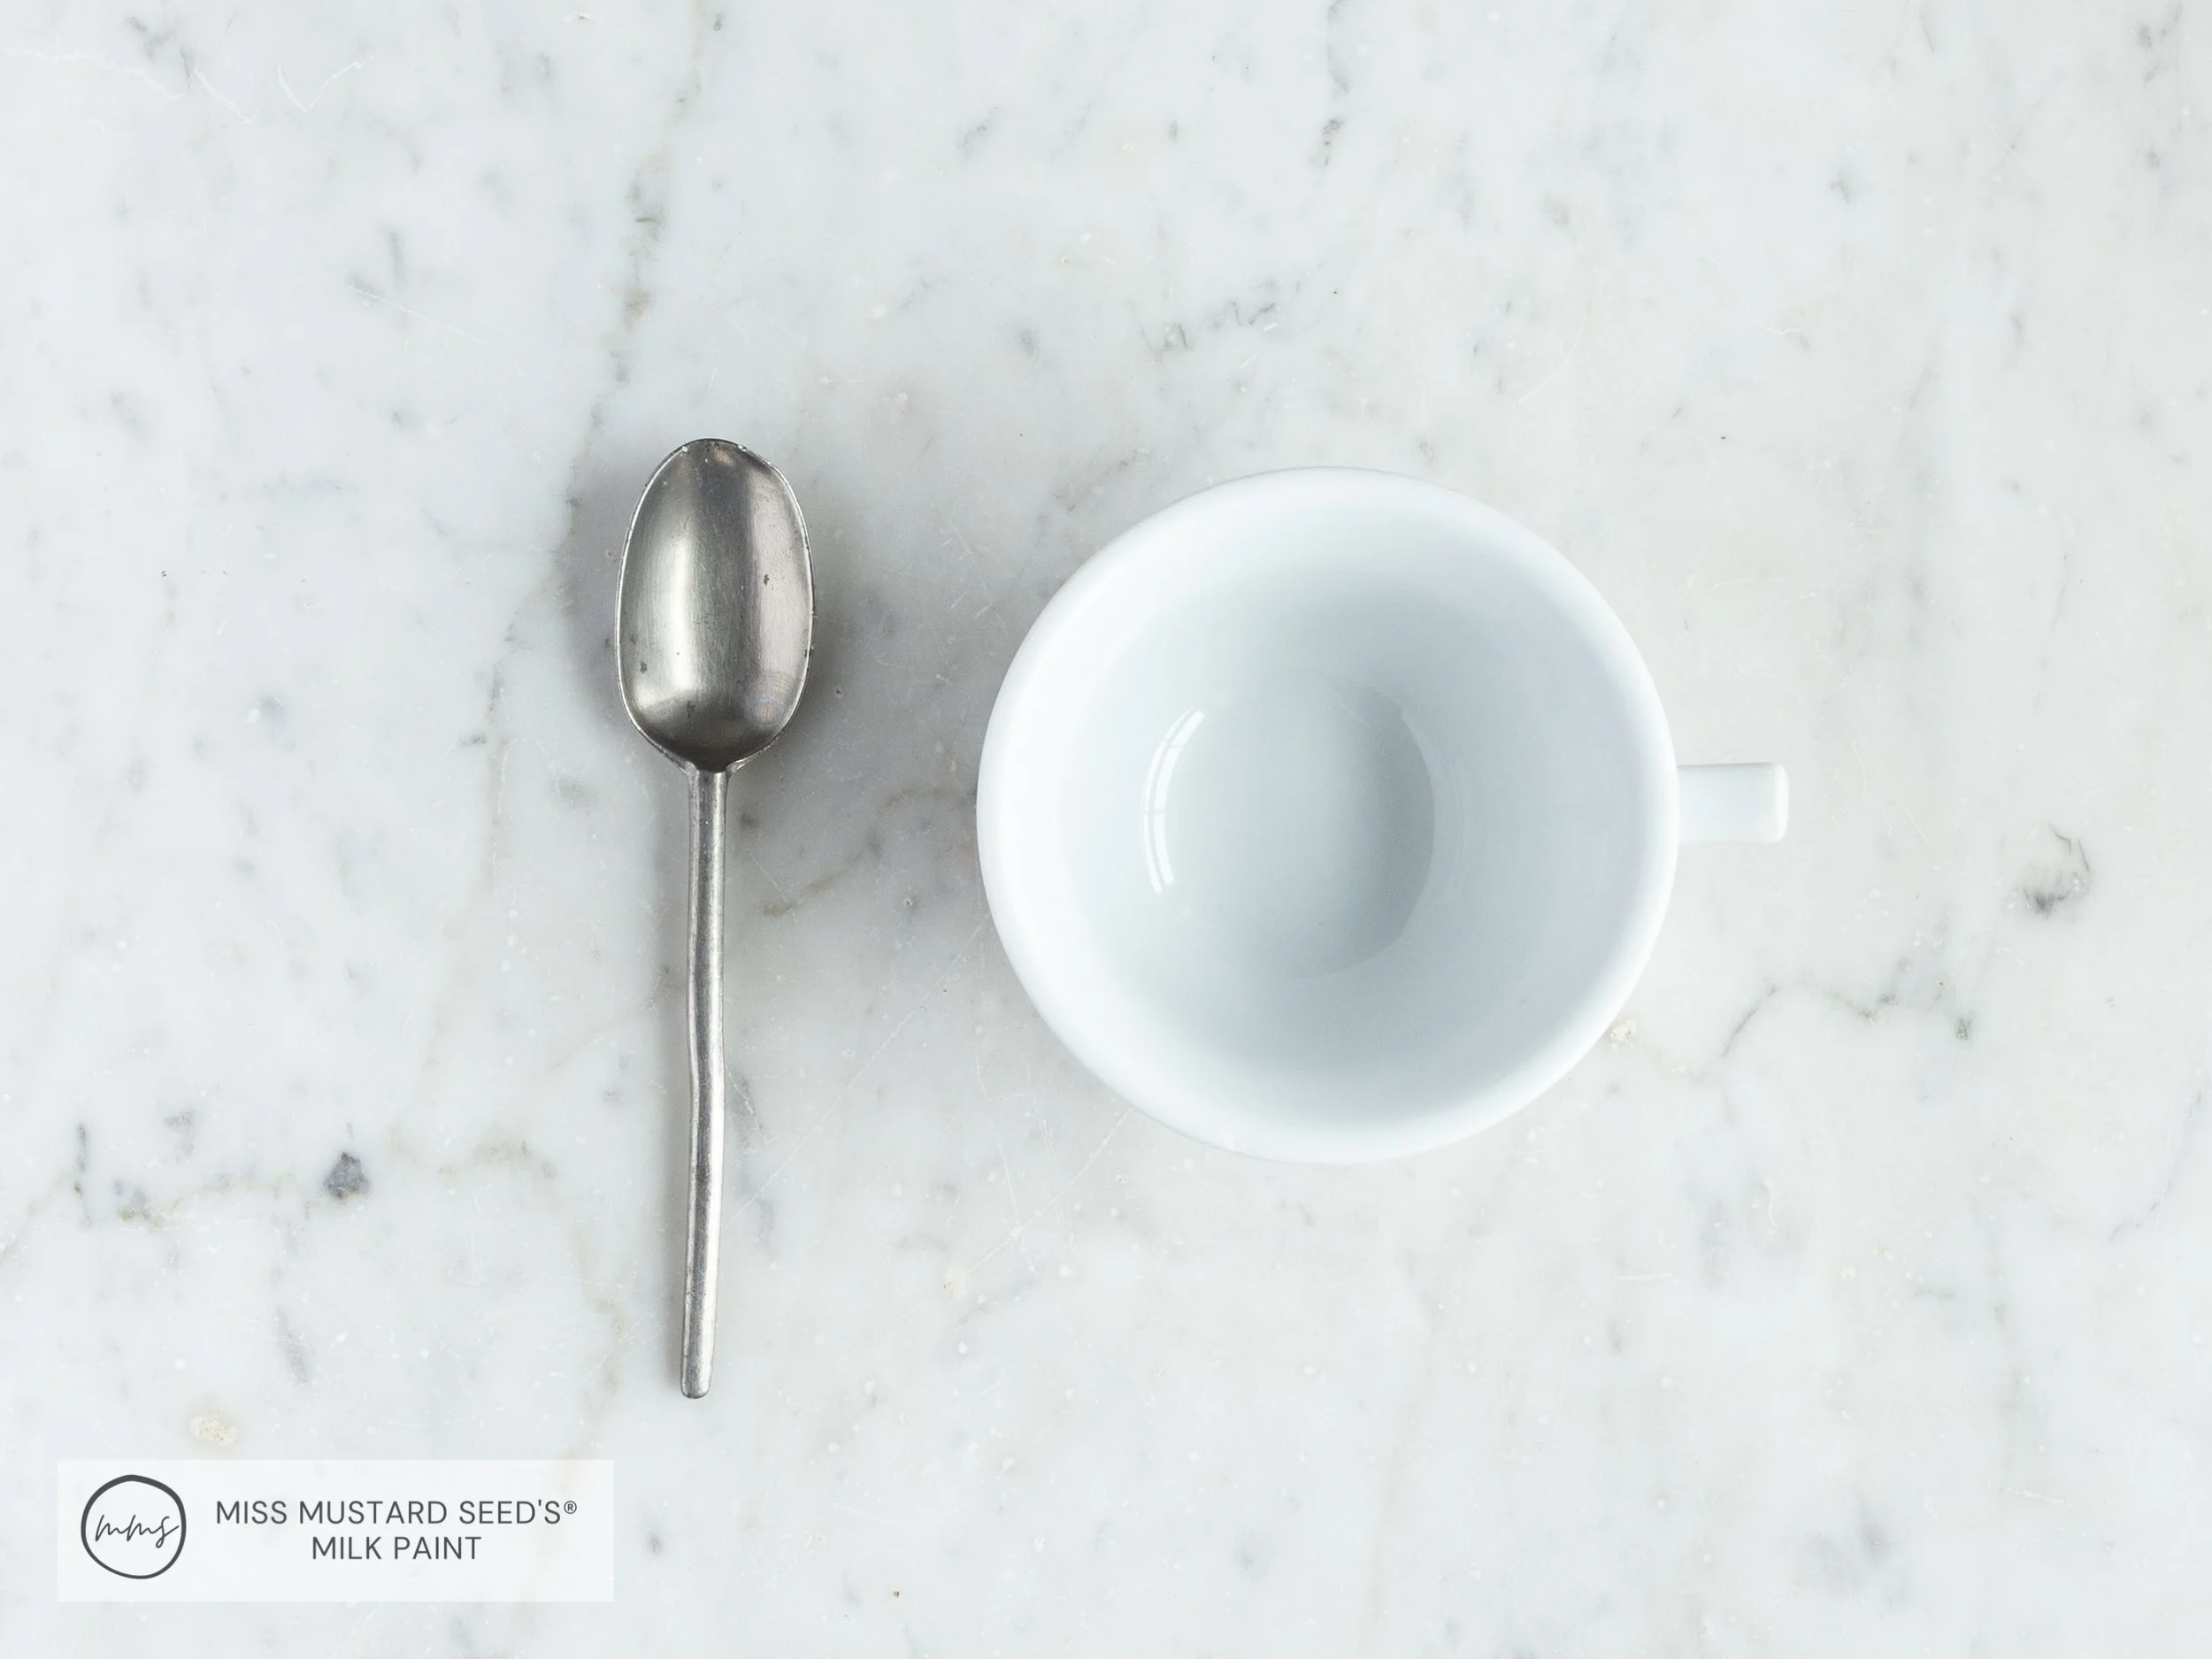
Grab any mixing bowl you have on hand - Dixie cup, teacup, bowl, jelly jar, etc. and something to stir with. You can use a popsicle stick, spoon, battery operated mixer, mini whisk, etc.
Next, add as many scoops of MilkPaint™ powder you’ll need for your project. Today, we’re using Bergere. (This smokey blue gray will be available at your local retailer next week!)

Here’s a quick guide to how much powder you may need:
2 tablespoons - Frames, mirrors, spoons, bowls
1/4 cup - Small side table or plant stand
1/2 cup - Night stand or end table. Small chest of drawers
1 cup - Medium-Large chest of drawers
2 cups - Large dresser, buffet, corner cabinet
Step 2 - Add The Same Amount Of Water
Add the same amount of water to your bowl as you did powder. We’ve got 3 tablespoons of powder in our cup, so we added 3 tablespoons of water.
Tip: Using lukewarm water helps the powder dissolve a bit faster.
If you have extra hard water, or a lot of minerals, consider using bottled water for this step.

Step 3 - Mix The MilkPaint™
Use a popsicle stick, mini whisk, battery operated mixer or whatever you have on hand and begin to stir your MilkPaint™ and water together.

Note: Because our new formula has a much finer grind, there will be more surface tension between the powder and water. It will take a few more stirs to get everything to combine compared with our old formula. If you’d like to speed up the process and reduce foam, you may add a drop or two of our MilkMix-EZ™ drops.

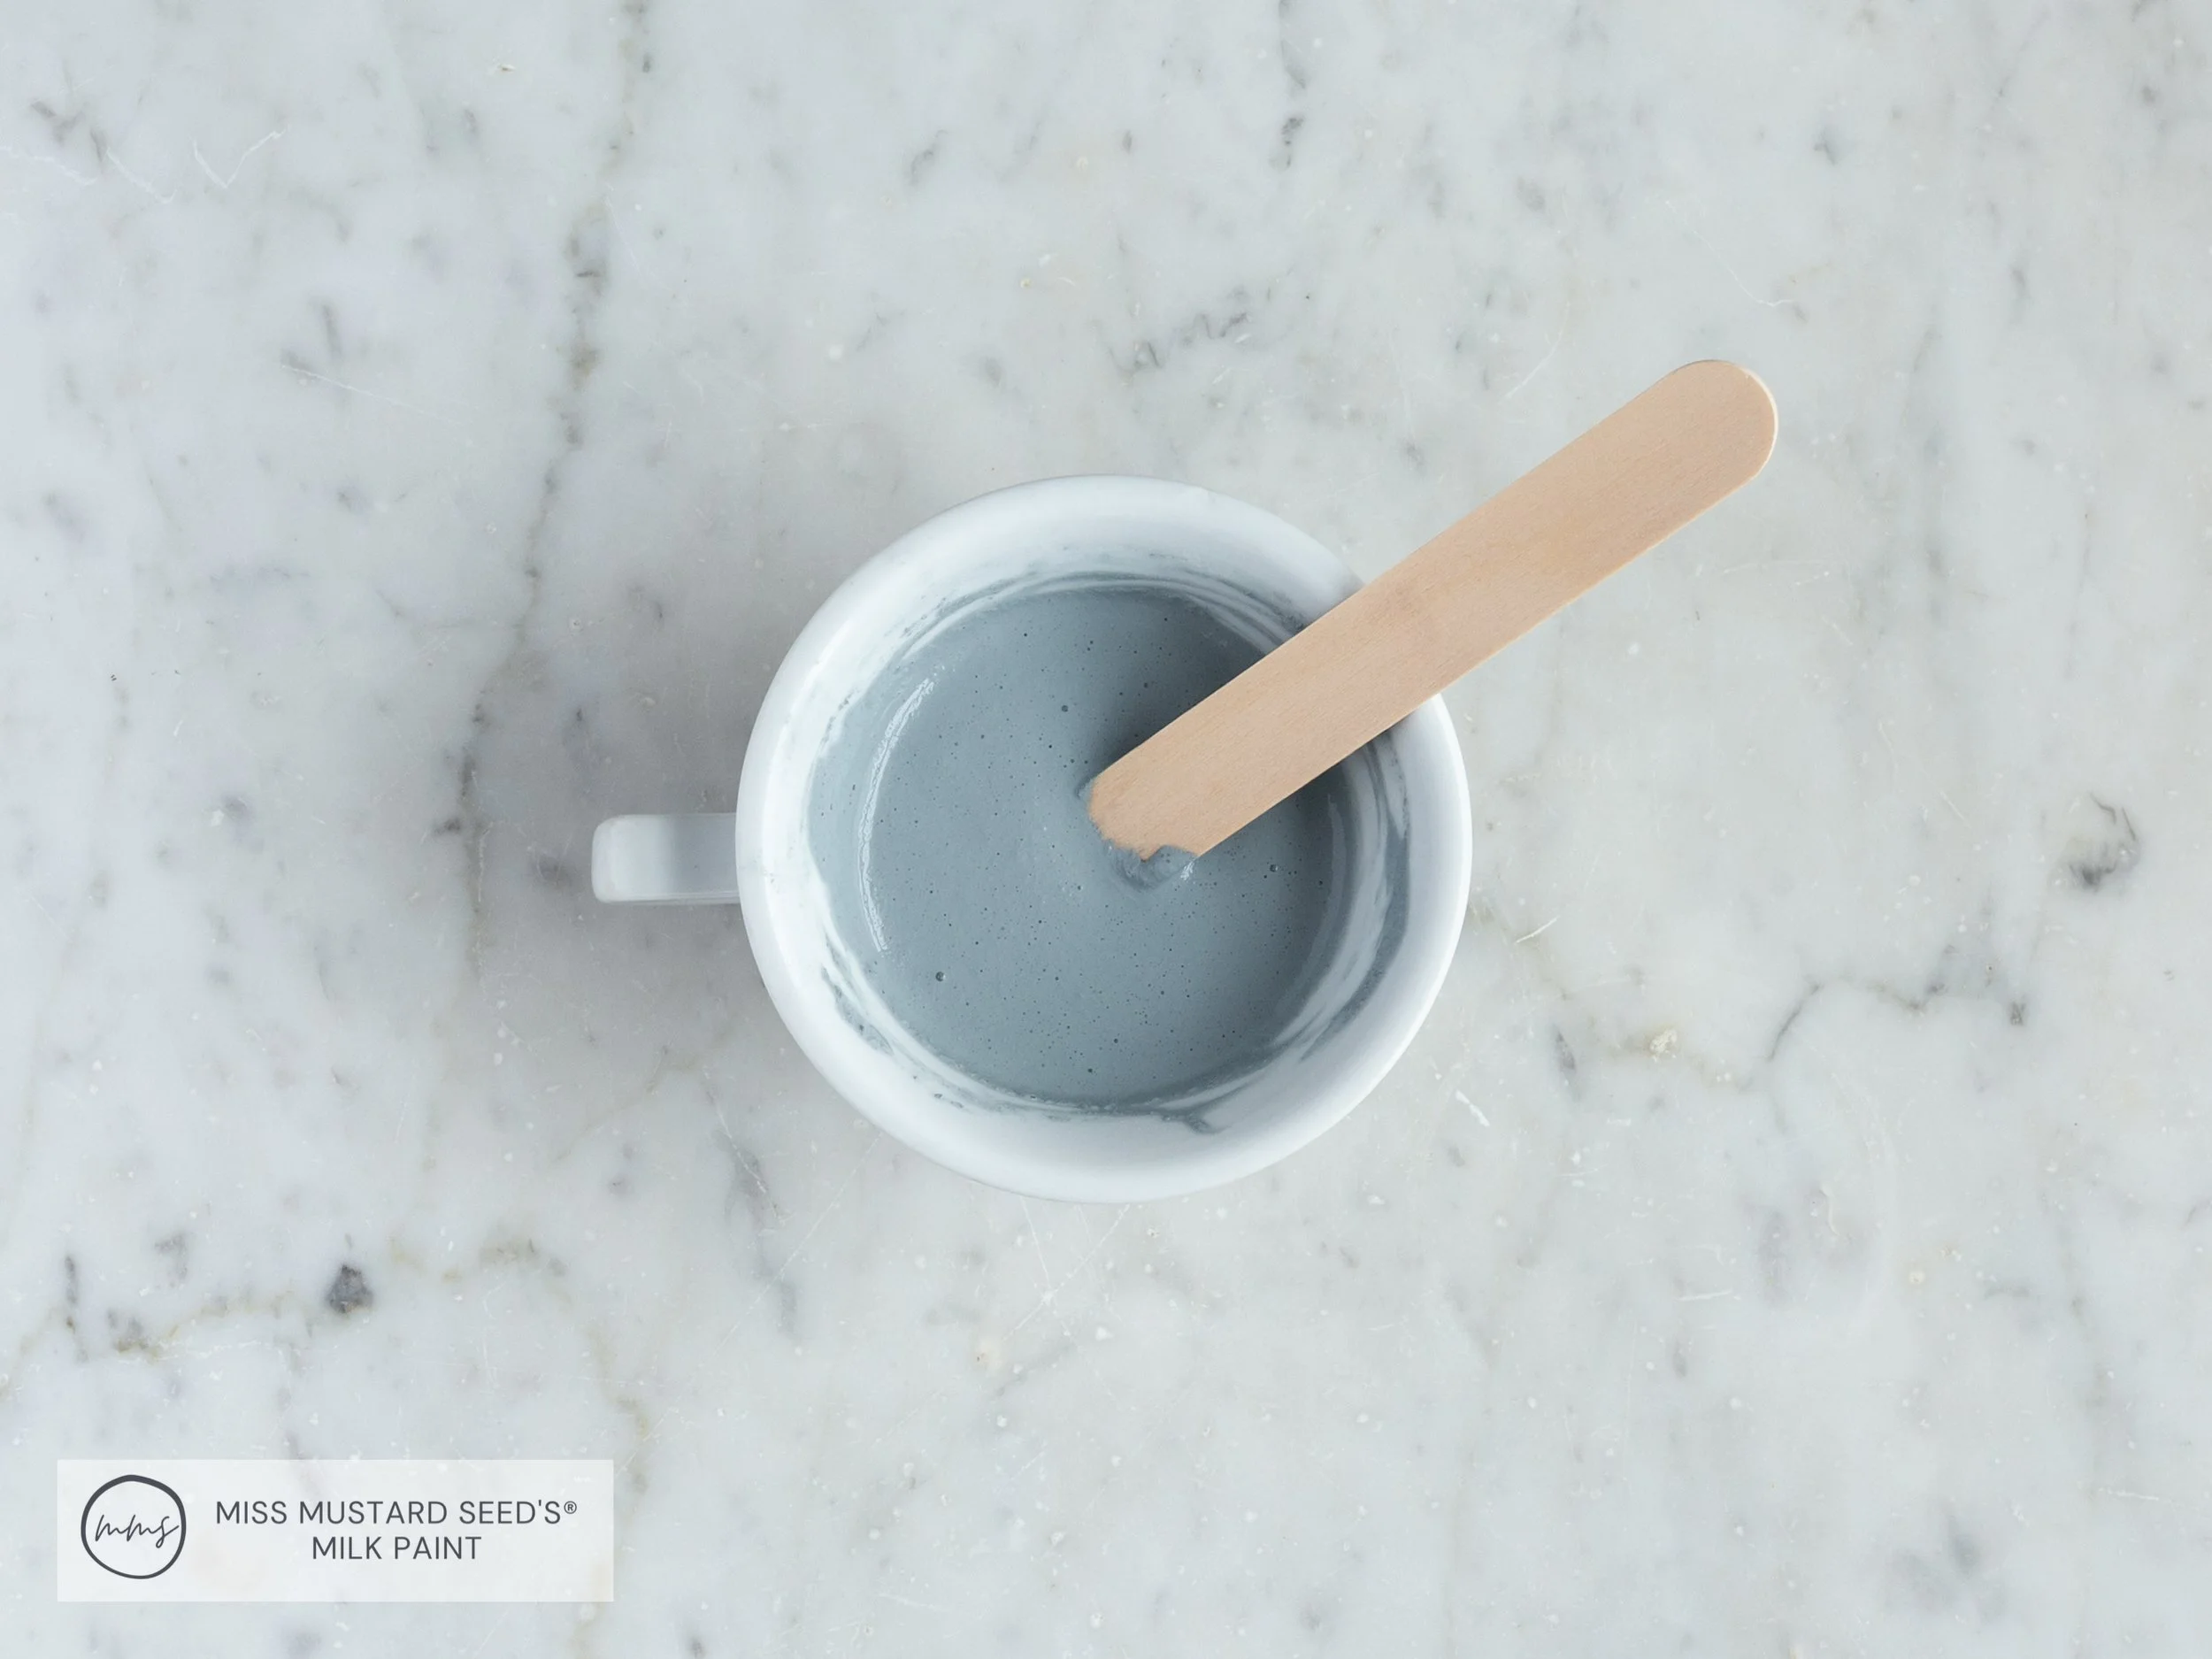
Stir until everything is combined
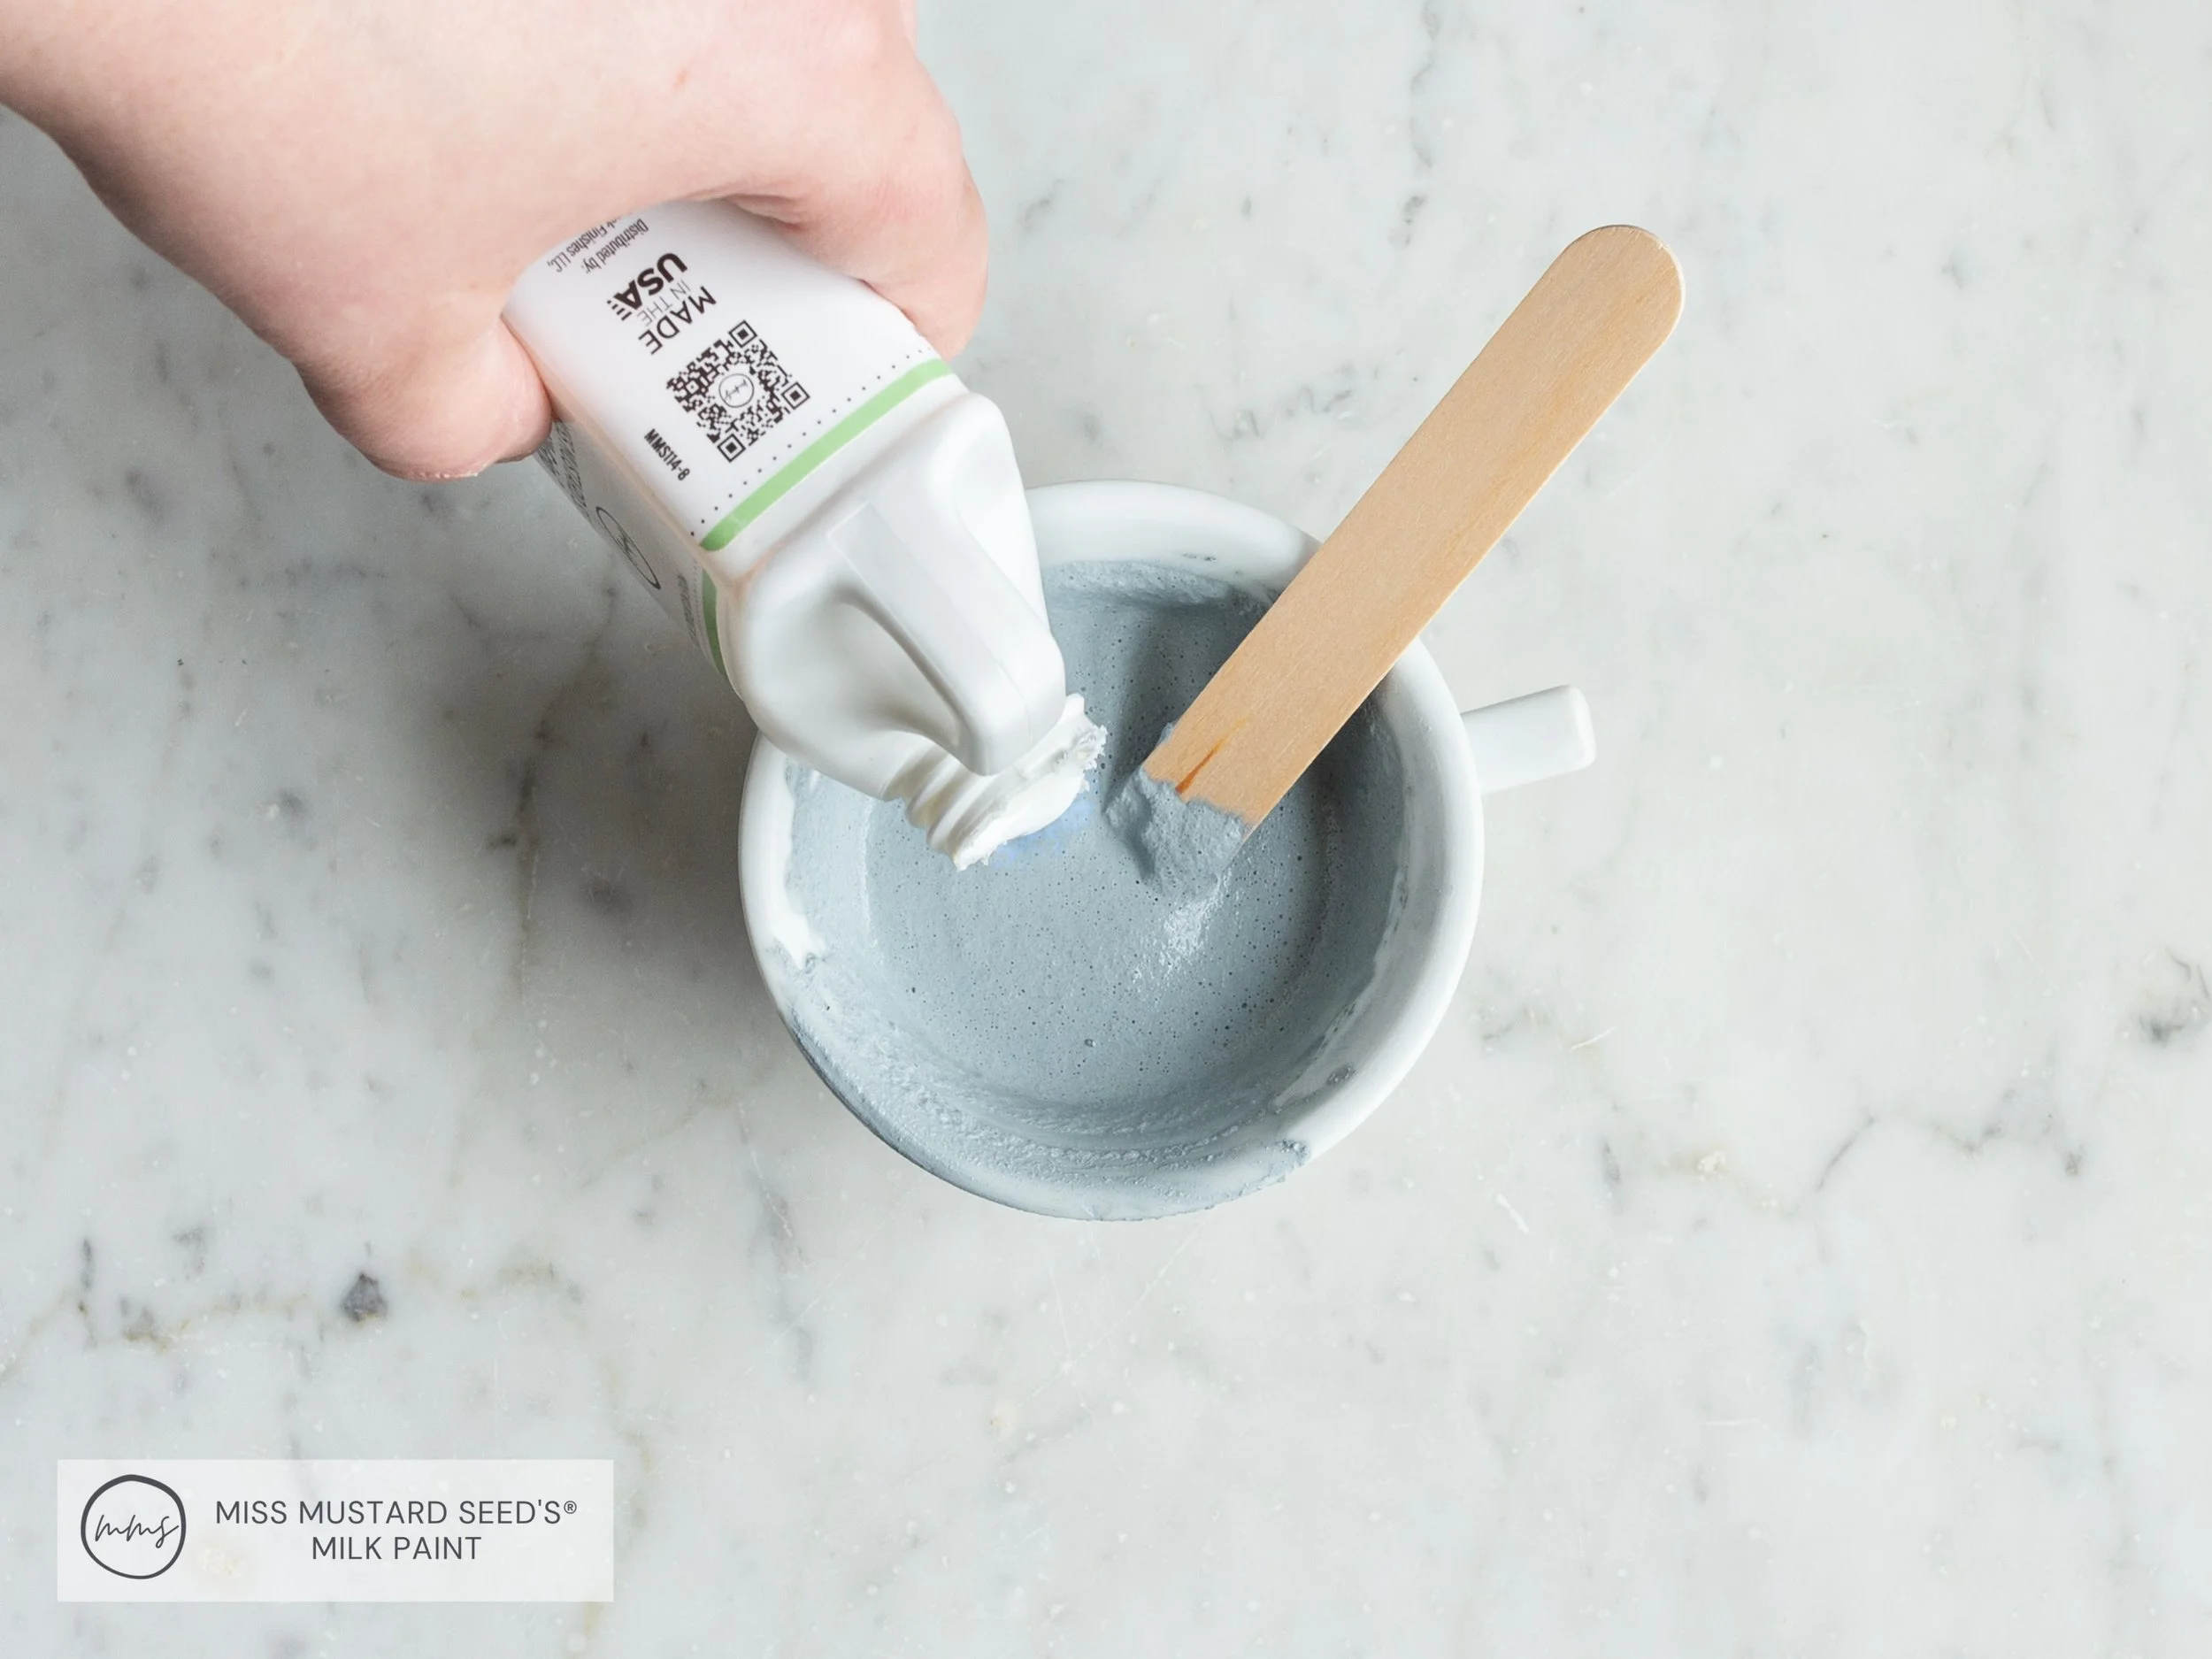
Optional: Add MilkGrip™
If you’re going to be painting a surface that will need extra help with adhesion (like metal, glass or a factory-finished piece of furniture), now is the time to add in our MilkGrip™.
Add in 1 part MilkGrip™ to 4 parts MilkPaint™, then stir to combine. (If you’re worried about adhesion, or you need extra insurance, use equal parts.)

Let your MilkPaint™ rest for 5-10 minutes. This will give it a chance to thicken up.
Stir your paint again to check its consistency. If your paint is thick like pancake batter, add more water. If it’s thin and drippy like skim milk, add more powder. (This is to get a normal mix. Your consistency will be different if you’re doing a specialty mix, like a stain.)
The ideal consistency should be like melted ice cream.
Step 4 - Brush Out Your MilkPaint™
Make sure you have prepped your piece before you begin painting. You can read more about that process here.
Once you’re ready to start painting, brush your MilkPaint™ out using any brush you wish. The beauty of our paint is that it will not show brush strokes!
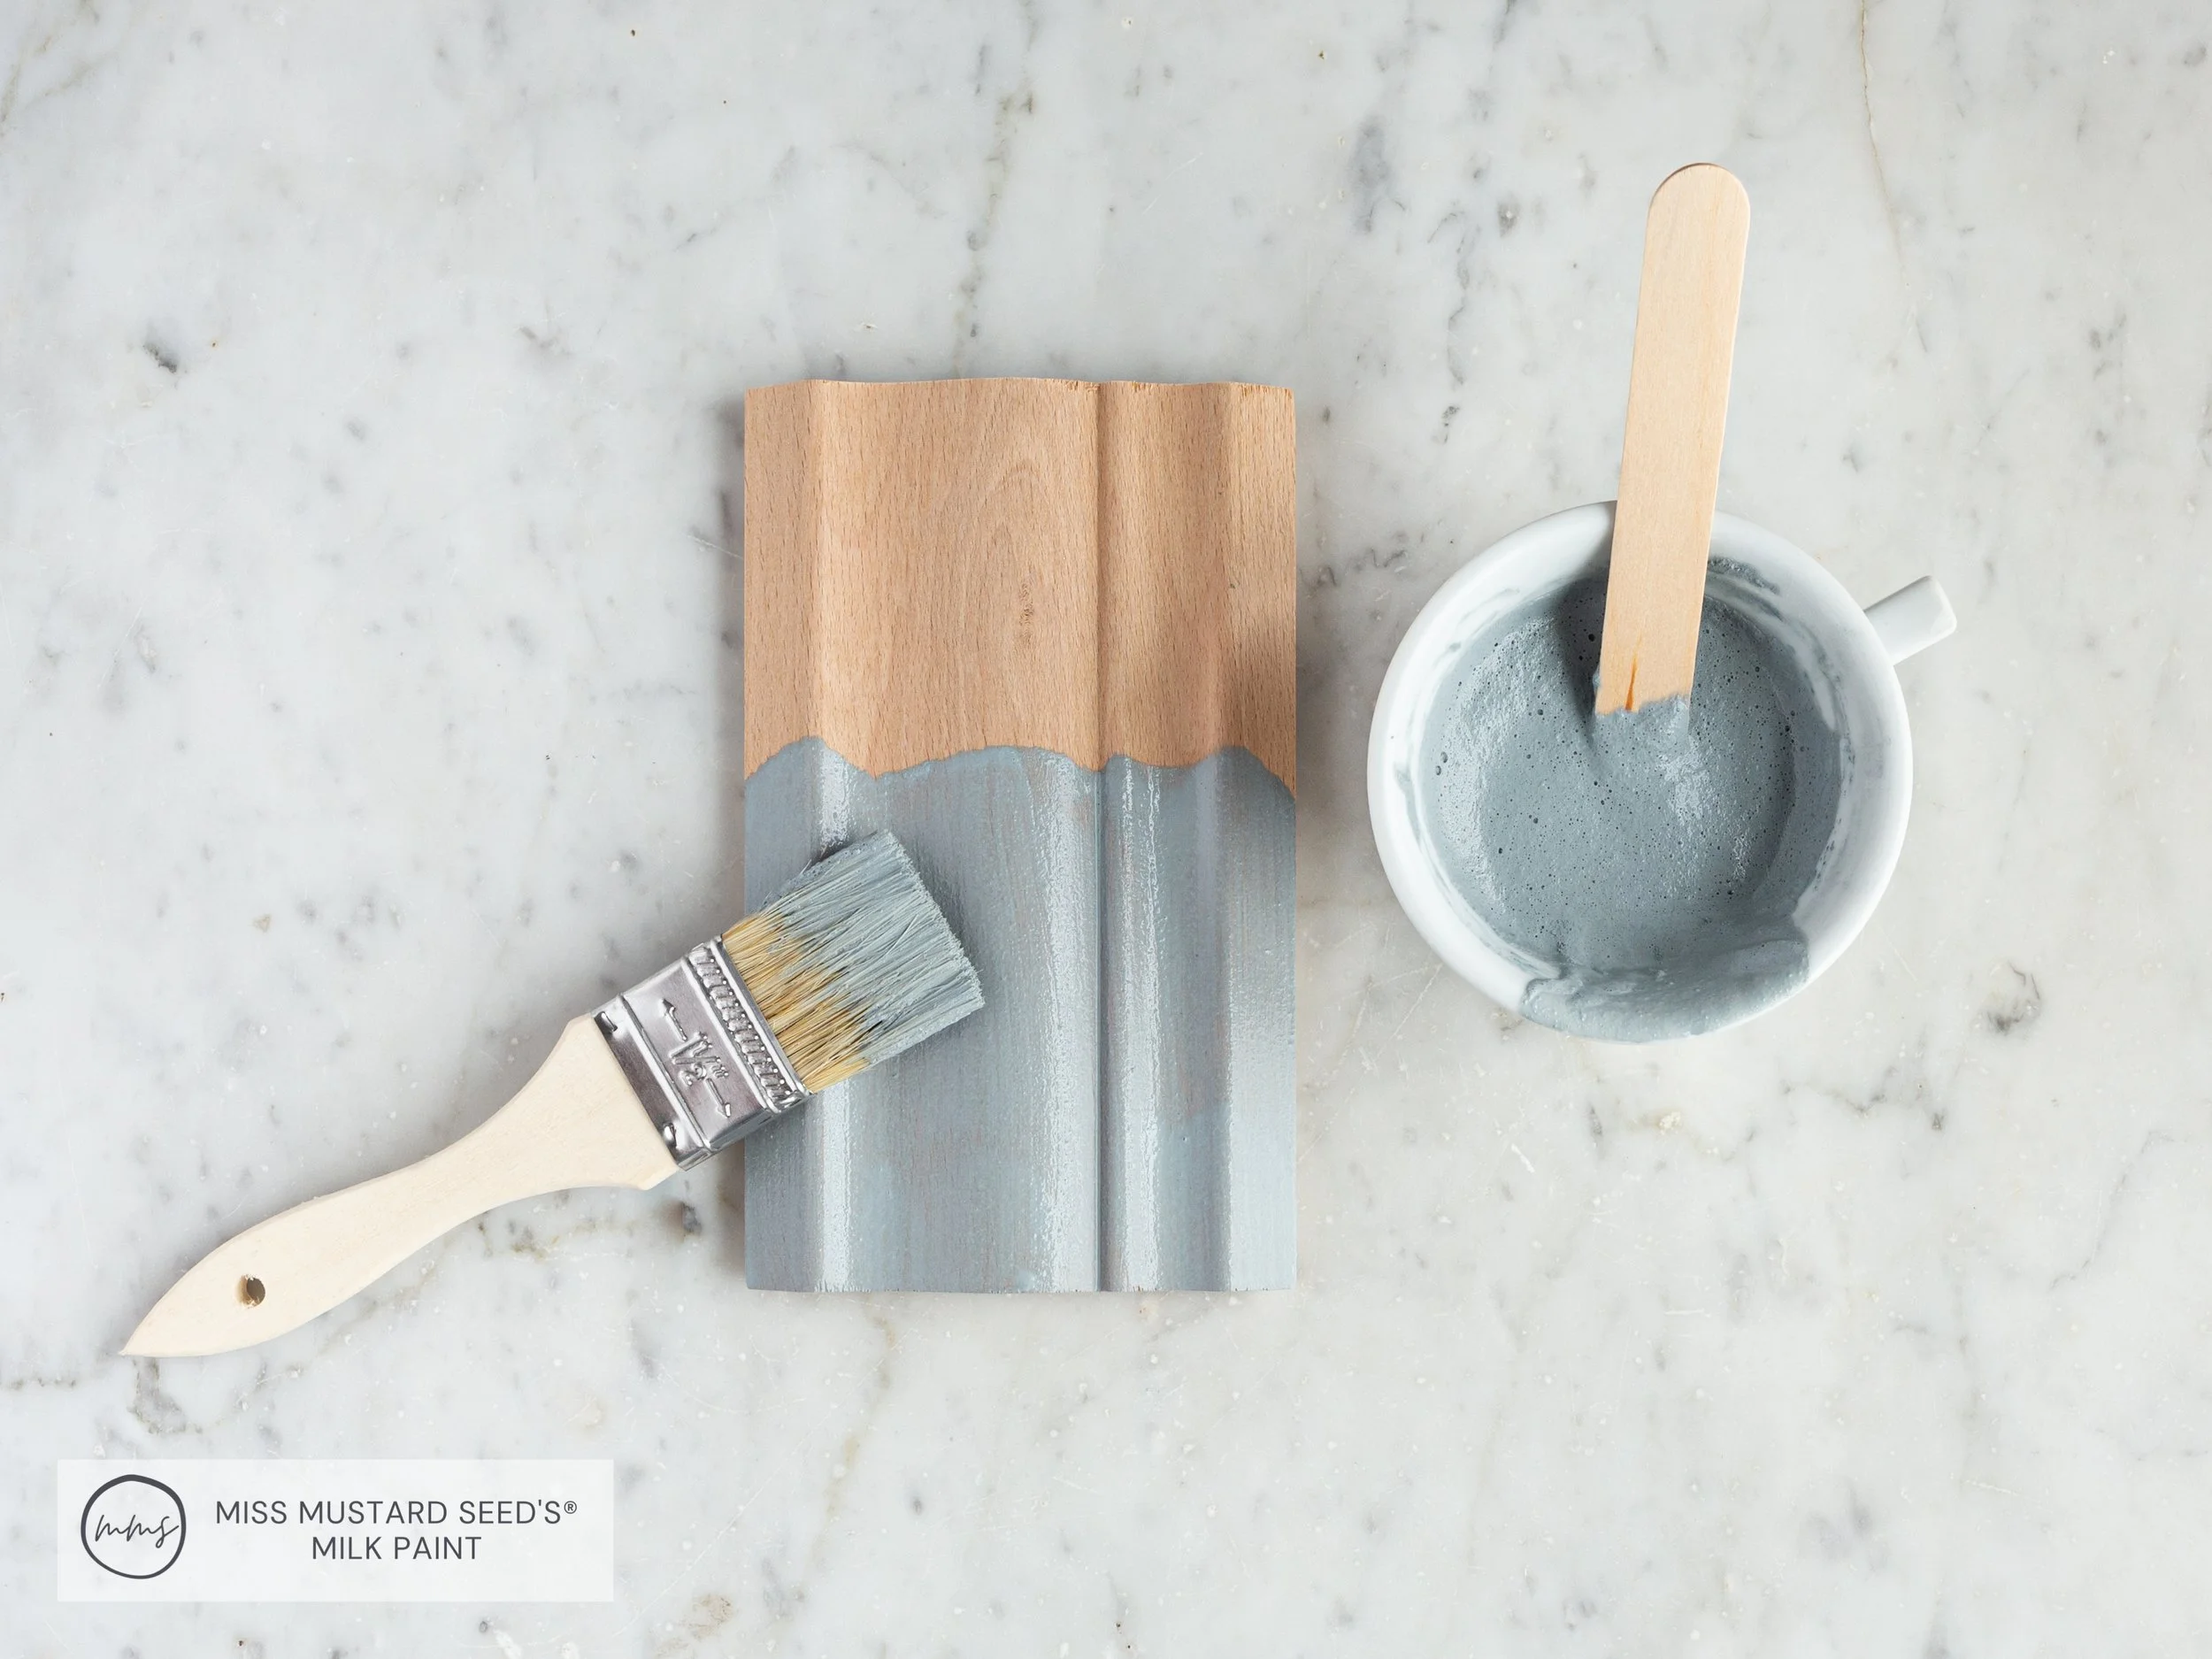
The first coat will look streaky, uneven and translucent. It’s purpose is to create a base for subsequent coats. Allow your first coat to fully dry before applying a second. This can take anywhere from 30 minutes to 2 hours, depending on the temperature and humidity.
You can see how much the coverage improves with a second coat:
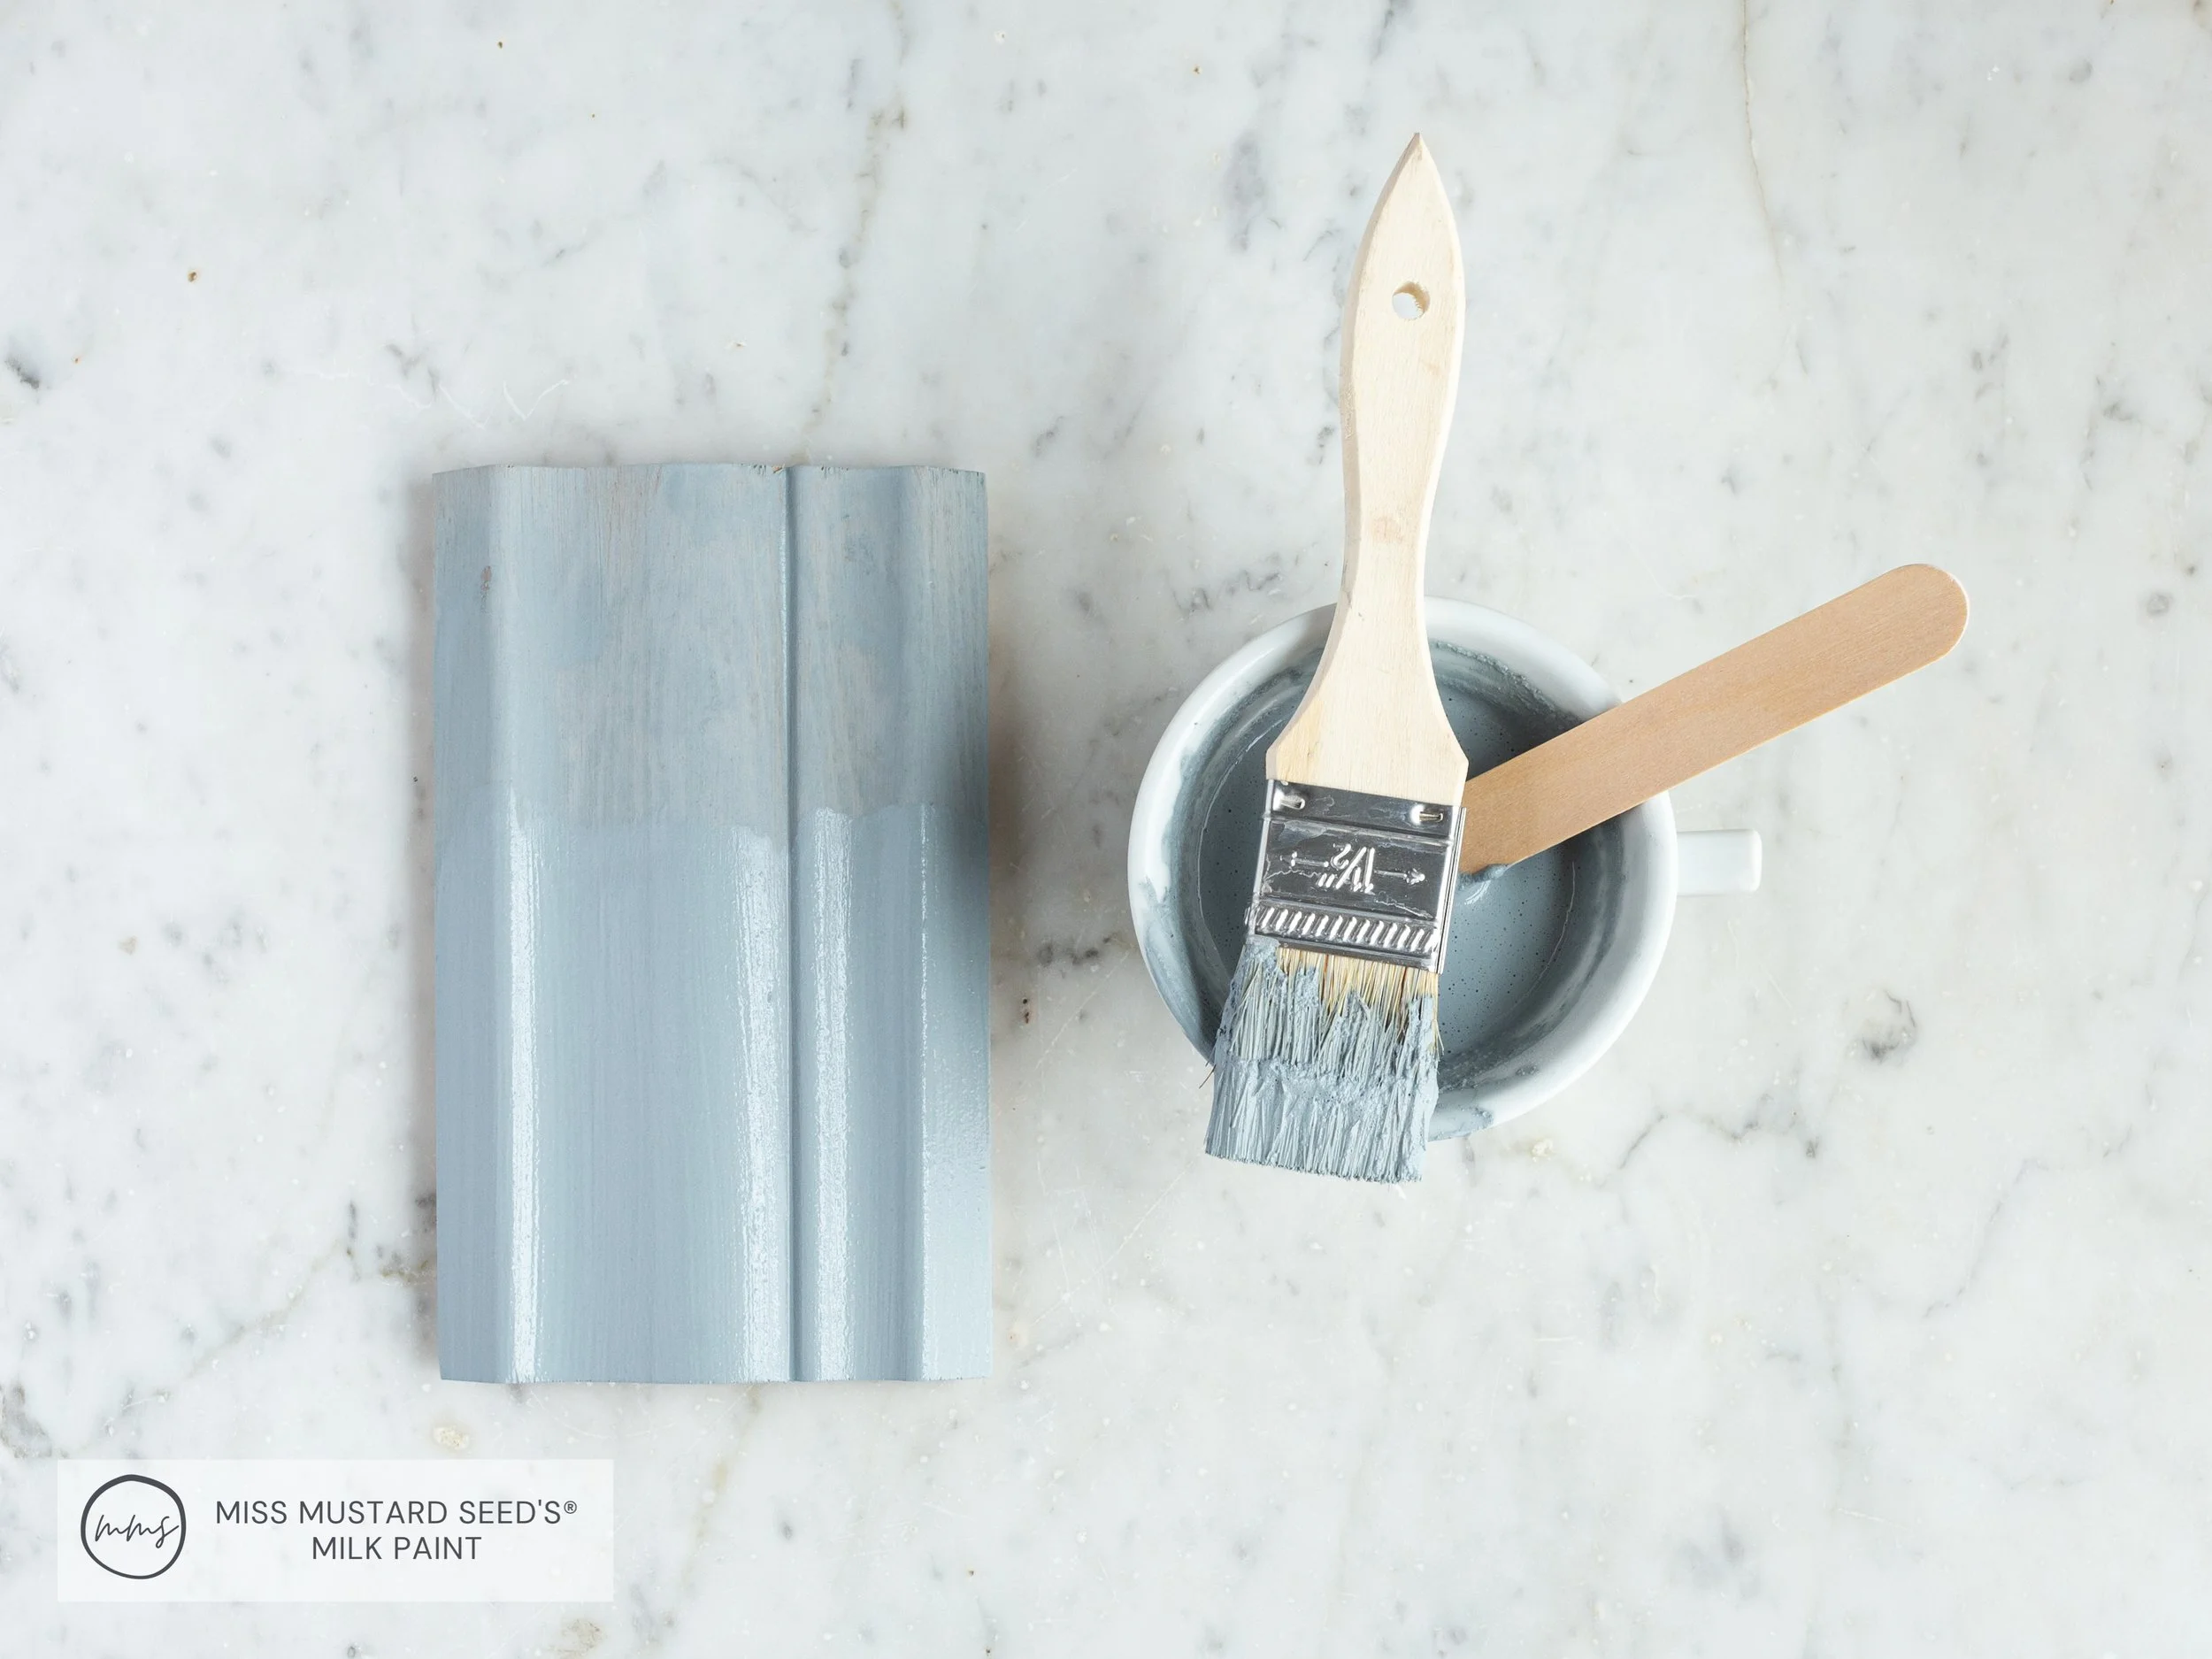
You may or may not need a third coat. It depends on what you’re painting and which color you’re using. Lighter colors over dark surfaces will need more coats than a dark color over a dark surface.
Make sense?
Step 5 - Sand If You Wish
Our MilkPaint™ dries so soft and smooth that finish sanding is not necessary. You can certainly use a soft grit to make it buttery smooth if you wish. (Remember how we said there aren’t any brushstrokes? You can see that below!)
This is also the step where you can use a more aggressive grit to distress and reveal any chipping.

Step 6 - Add A Topcoat
The final step is to choose a topcoat to seal your project. We will be writing more in-depth blog posts that teach you how to use each of our beautiful finishes, so look for those in the next few weeks!
For now, visit our finishes product page to see all of your available options.
Step 7 - Allow Your Project Time To Dry And Cure
Be gentle with your project when it’s finished. Most of our products are fully and completely dry within 24-28 hours.
Once your project is dry to the touch, it is ready for gentle daily use. Always use coasters and trivets to protect against heat and liquids. Do not place anything scratchy on the surface and use felt pads to protect your surface.
All MilkPaint™ products take 20-30 days to completely cure. This is when they are at their most durable state and can handle regular daily use.
How To Mix Tutorial Video
For you visual learners, here’s a great video showing how to mix using different types of tools.