
DIY Terra Cotta Pot Jack O’Lantern
DIY Terra Cotta Pot Jack O’Lantern with Miss Mustard Seed’s MilkPaint™

Halloween décor, but make it cute! That is what I am hoping to accomplish today with this charming DIY Jack O’Lantern using a terra cotta pot and Miss Mustard Seed’s MilkPaint™.
The beauty of today’s DIY is that you can transform a pot that you already own, and you can fill it with wonderful treats and gift it to someone special this Halloween.
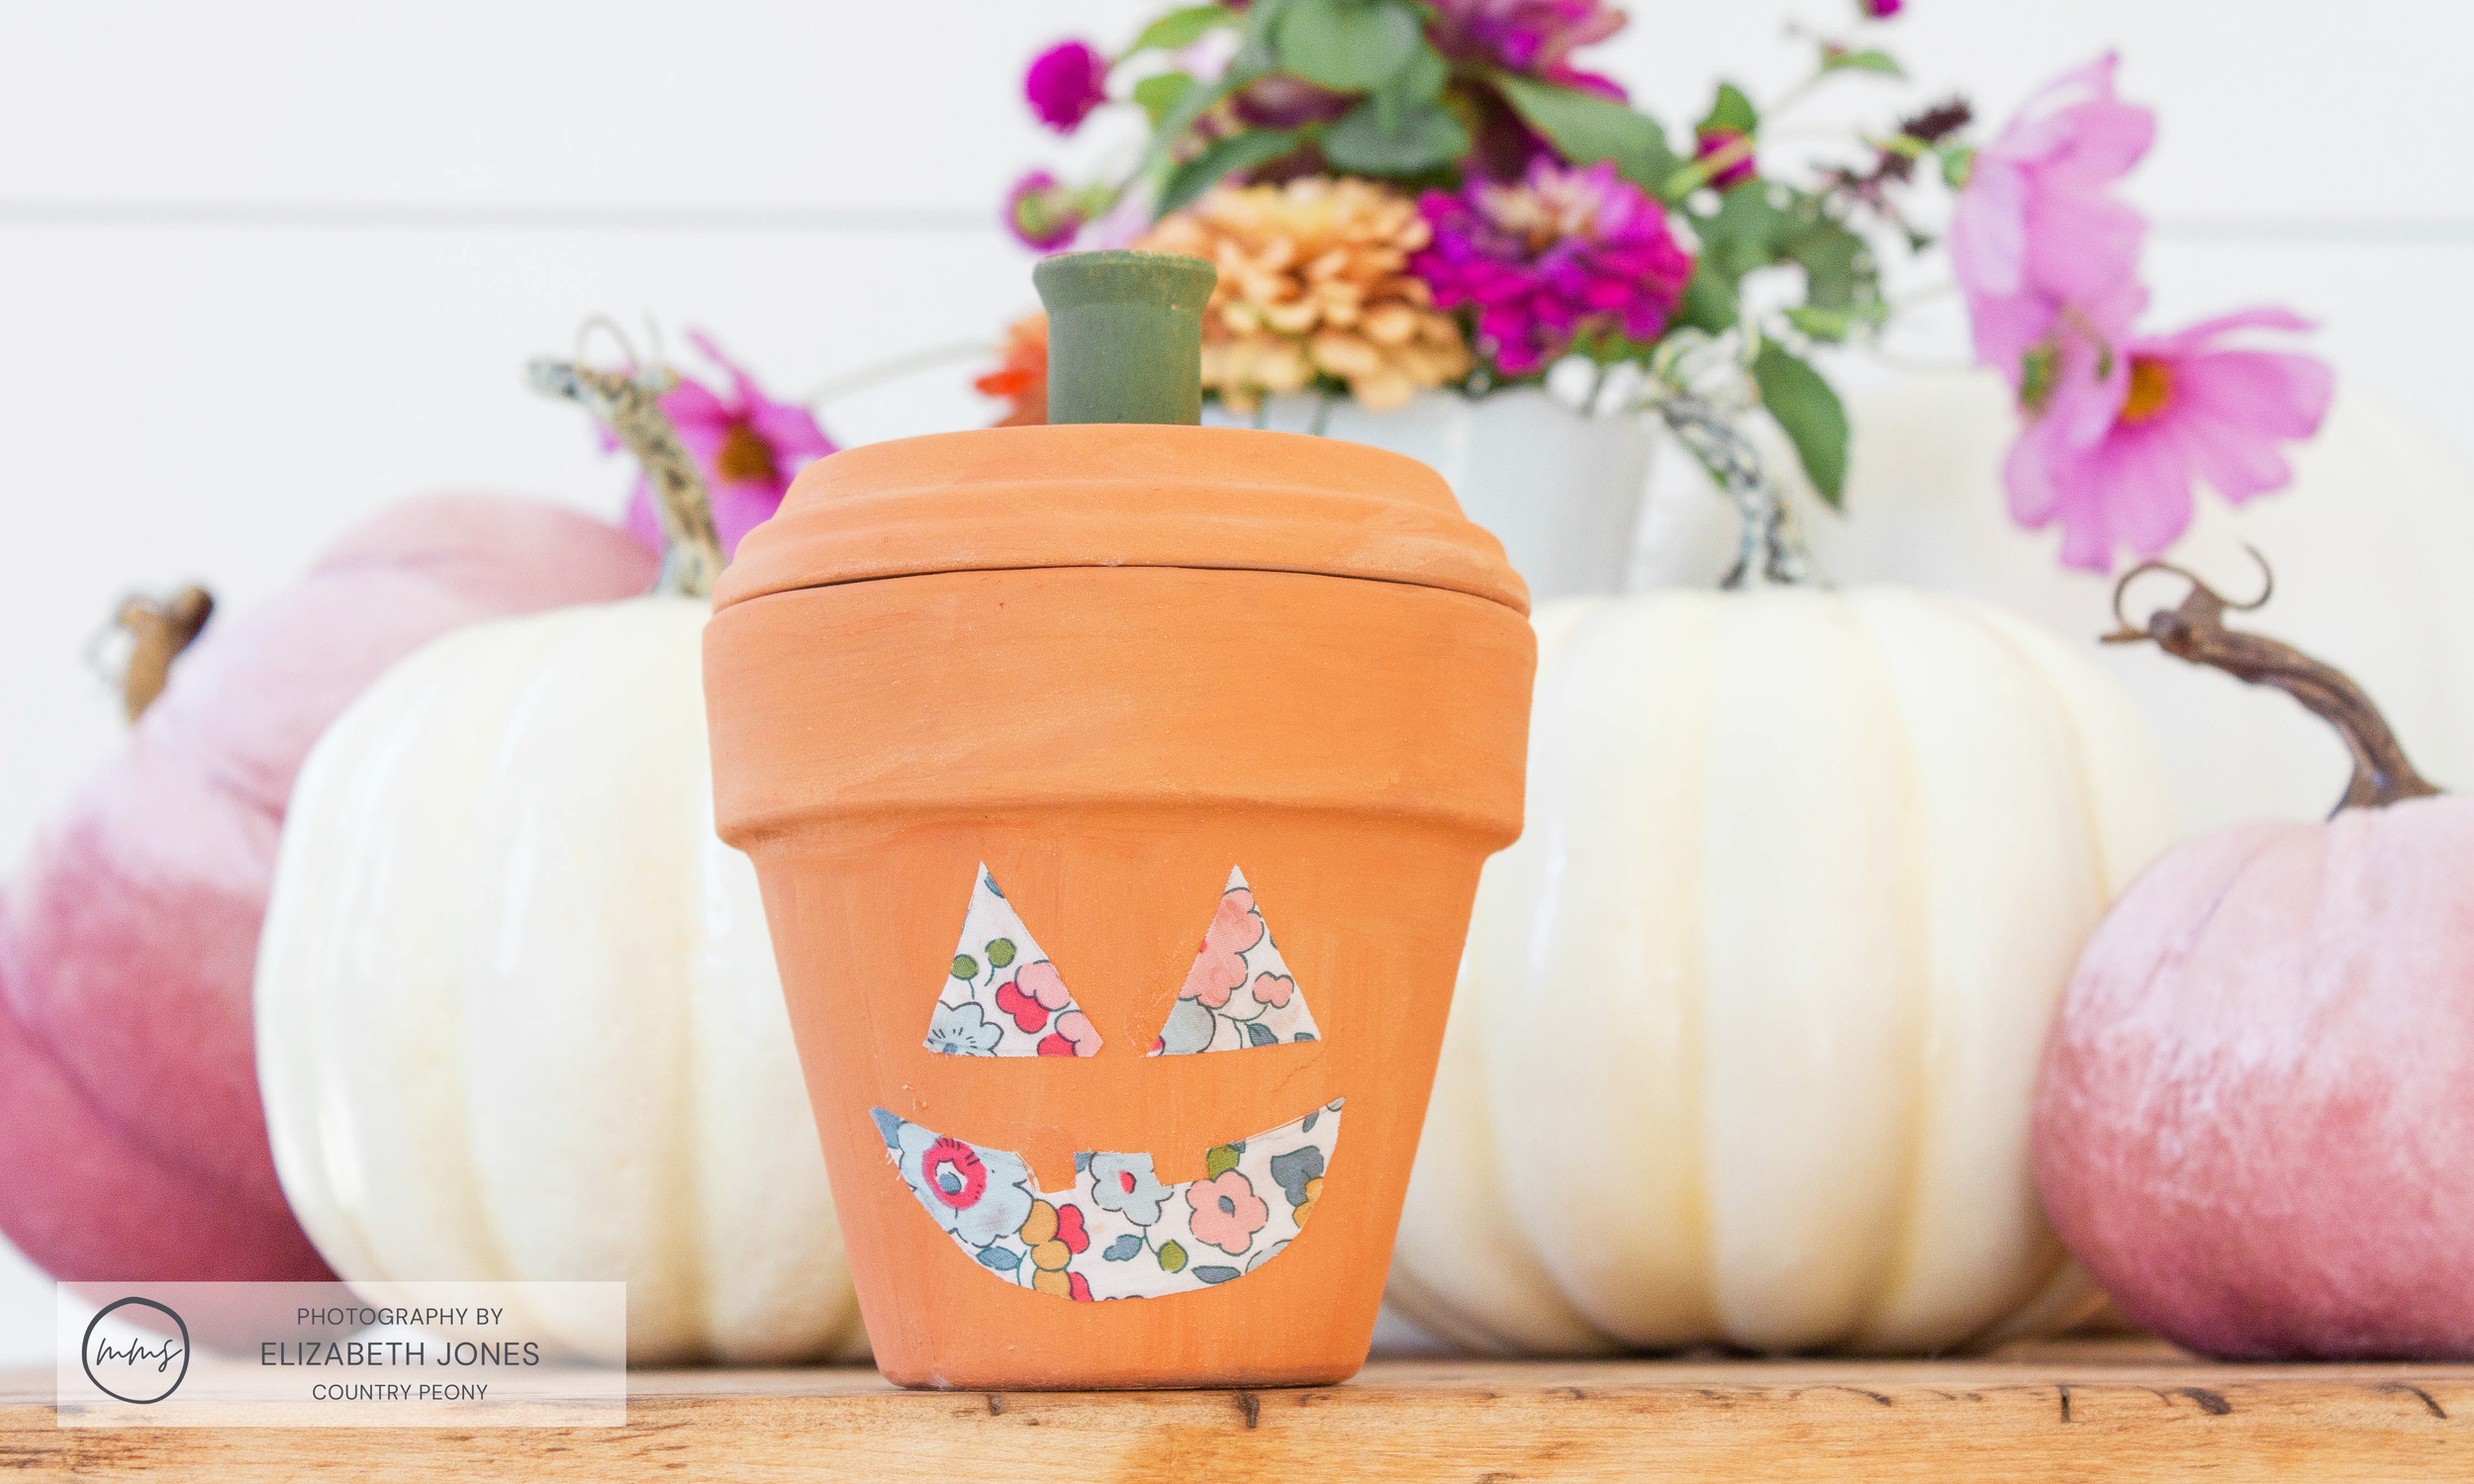
I think this Jack O’Lantern is very charming with the addition of the fabric scraps and the vintage spool. I also love this DIY because I am not great at pumpkin carving, and this is the perfect substitution to create a Jack O’Lantern. I hope you enjoy making this terra cotta pot Jack O’Lantern just as much as I did.
Since this project only requires a little bit of Miss Mustard Seed’s MilkPaint™, you can use paint leftover from another larger project. And, since Miss Mustard Seed’s MilkPaint™ is non-toxic, your children can help paint the terra cotta pots and the stem!

For your convenience, I created a step-by-step video tutorial for you. You can watch it below. Then follow along for the step-by-step picture tutorial.
Now, let’s get painting!
To create your own DIY Halloween Bats with MilkPaint™, you will need:
Miss Mustard Seed’s® MilkPaint™. You can use whatever color you have on hand, but I chose Tangerine to achieve the orange color and Boxwood for the spool-turned stem for this project. *Use code “10OFFCP” for 10% off your purchase at Miss Mustard Seed’s® MilkPaint™.
Craft Paintbrush
Terra Cotta Pot with Base
Old Spool, or Short Stick
Pencil
Scissors
Fabric
Permanent Craft Glue
Step 1: Mix the MilkPaint™

Mix 1 part MilkPaint™ with 1 part water. A “part” can be any unit of measurement you wish. I used a tablespoon.
For this project, I used 1 tablespoon of Miss Mustard Seed’s MilkPaint™ in Tangerine to 1 tablespoon of water.

I also mixed up a batch of 1 tablespoon of Miss Mustard Seed’s® MilkPaint™ in Boxwood with 1 tablespoon of water for the stem.

Step 2: Paint One Coat of MilkPaint™ onto the Terra Cotta Pot and the Spool

Apply 1 coat of MilkPaint™ in Tangerine to the outside of the terra cotta pot and to the top part of the inside.
Also, apply the MilkPaint™ to the terra cotta pot base to act as the top of the pumpkin.
You can choose to apply more than 1 coat, but I stopped at 1 coat since I had enough coverage.

Paint the vintage spools (or a short stick) with MilkPaint™ in Boxwood to act as the stem.
Set the stem and the pot aside to dry.
Step 3: Attach the Stem to the Terra Cotta Pot Pumpkin

Once the stem and pot are dry, use permanent craft glue to attach the spool or stick it to the top of the pumpkin.

Set it aside to dry.
Step 4: Create the Jack O’Lantern Face with Fabric

Draw a simple template of a Jack O’Lantern face onto some fabric scraps. *I chose fabric scraps with a lot of color and pattern to add some charming interest to the Jack O’Lantern, but you can choose whatever fabric you have on hand.
Then carefully cut out the Jack O’Lantern face.

I chose a very simple design for my Jack O’Lantern, but just like when you carve a pumpkin; you can choose to do whatever face for your Jack O’Lantern. Just have fun with it!

Once the terra cotta pot is dry, attach the Jack O’Lantern face to the terra cotta pot with permanent craft glue.


Set the charming Jack O’Lantern aside to dry.
Step 4: Put your Charming Jack O’Lantern on Display this Halloween

Gather some pumpkins and florals, and create a sweet vignette for your Jack O’Lantern in a Halloween display.

I love that this Jack O’Lantern can last for many Halloweens to come. I also love that you can change the face and add treats to the inside of the terra cotta pot and gift it to loved ones this Halloween.
This DIY was so simple and fun, and it proves the charm that Miss Mustard Seed’s MilkPaint™ can bring to any project, big or small.

Thank you so much to Miss Mustard Seed’s® MilkPaint™ for having me, and thank you so much for following along today. I hope you enjoy experimenting with Miss Mustard Seed’s® MilkPaint™ as much as I do!
