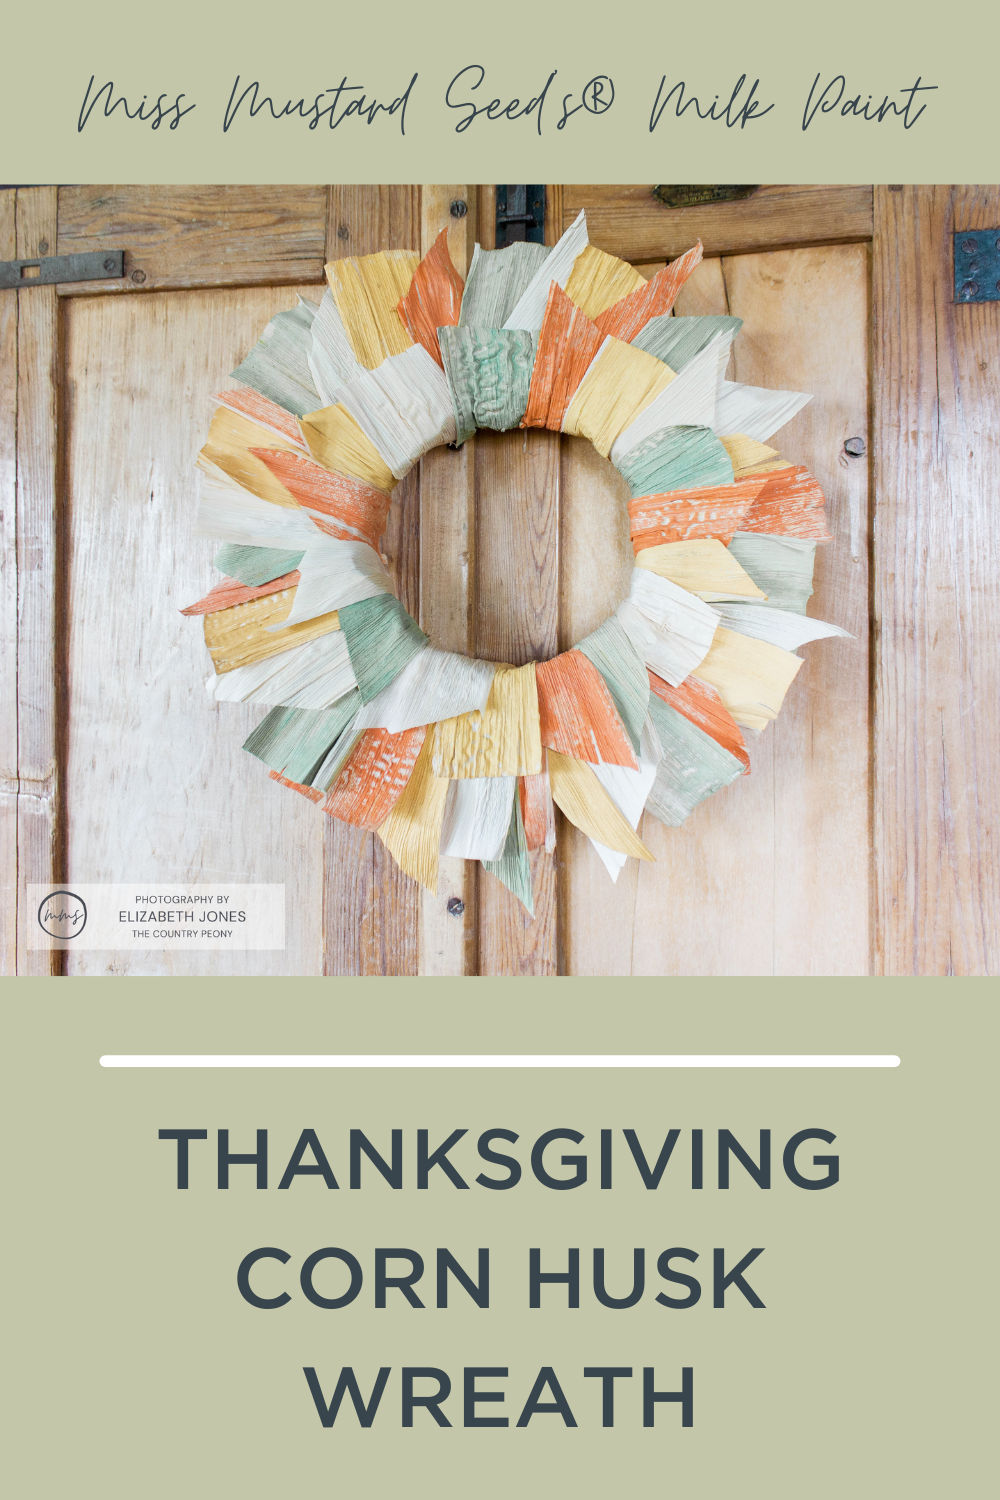
DIY Thanksgiving Corn Husk Wreath
Meet Elizabeth of Country Peony!
In case you missed it last week, we have guest bloggers that have joined us here at mmsmilkpaint.com! We have invited the most clever crafters, masters of interior design, star bloggers and style experts to the pages of our blog.
This week, we want you to say, “hello” to Elizabeth Jones of Country Peony!

Take it away, Elizabeth!
Hello everyone! At Country Peony, I focus on simple step-by-step craft tutorials to inspire you to create in your own home. I love going LIVE on Miss Mustard Seed’s® Milk Paint’s Facebook page, and I am so excited to showcase how to use MilkPaint™ in your crafting projects.

So let’s get started!
Milk Painting A Corn Husk Wreath For Thanksgiving
With Thanksgiving right around the corner, I thought it would be fun to create a corn husk wreath using MilkPaint™.
Wreaths are one of my favorite things to DIY because store bought wreaths can be very expensive, and there is so much beauty in creating a wreath to fit your own color palette and design aesthetic.
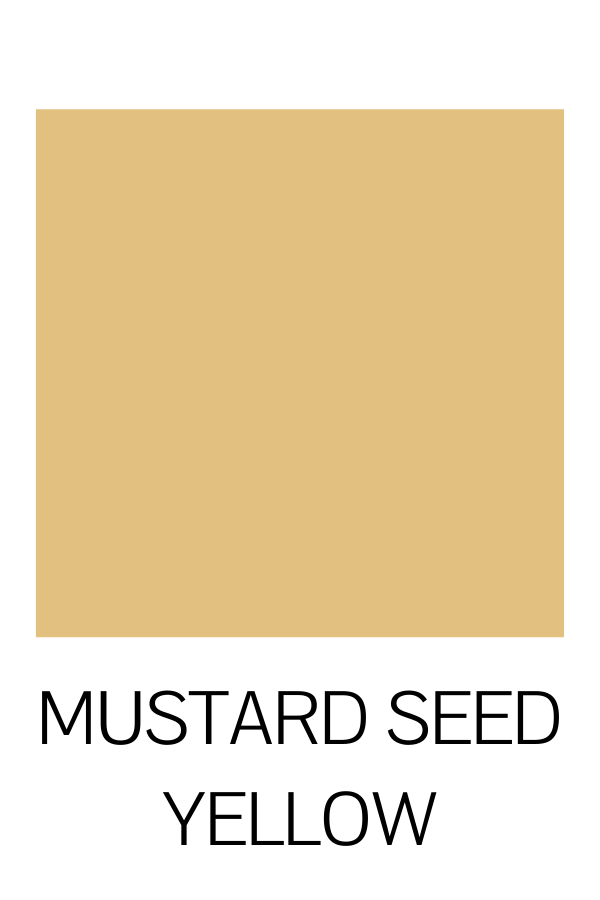
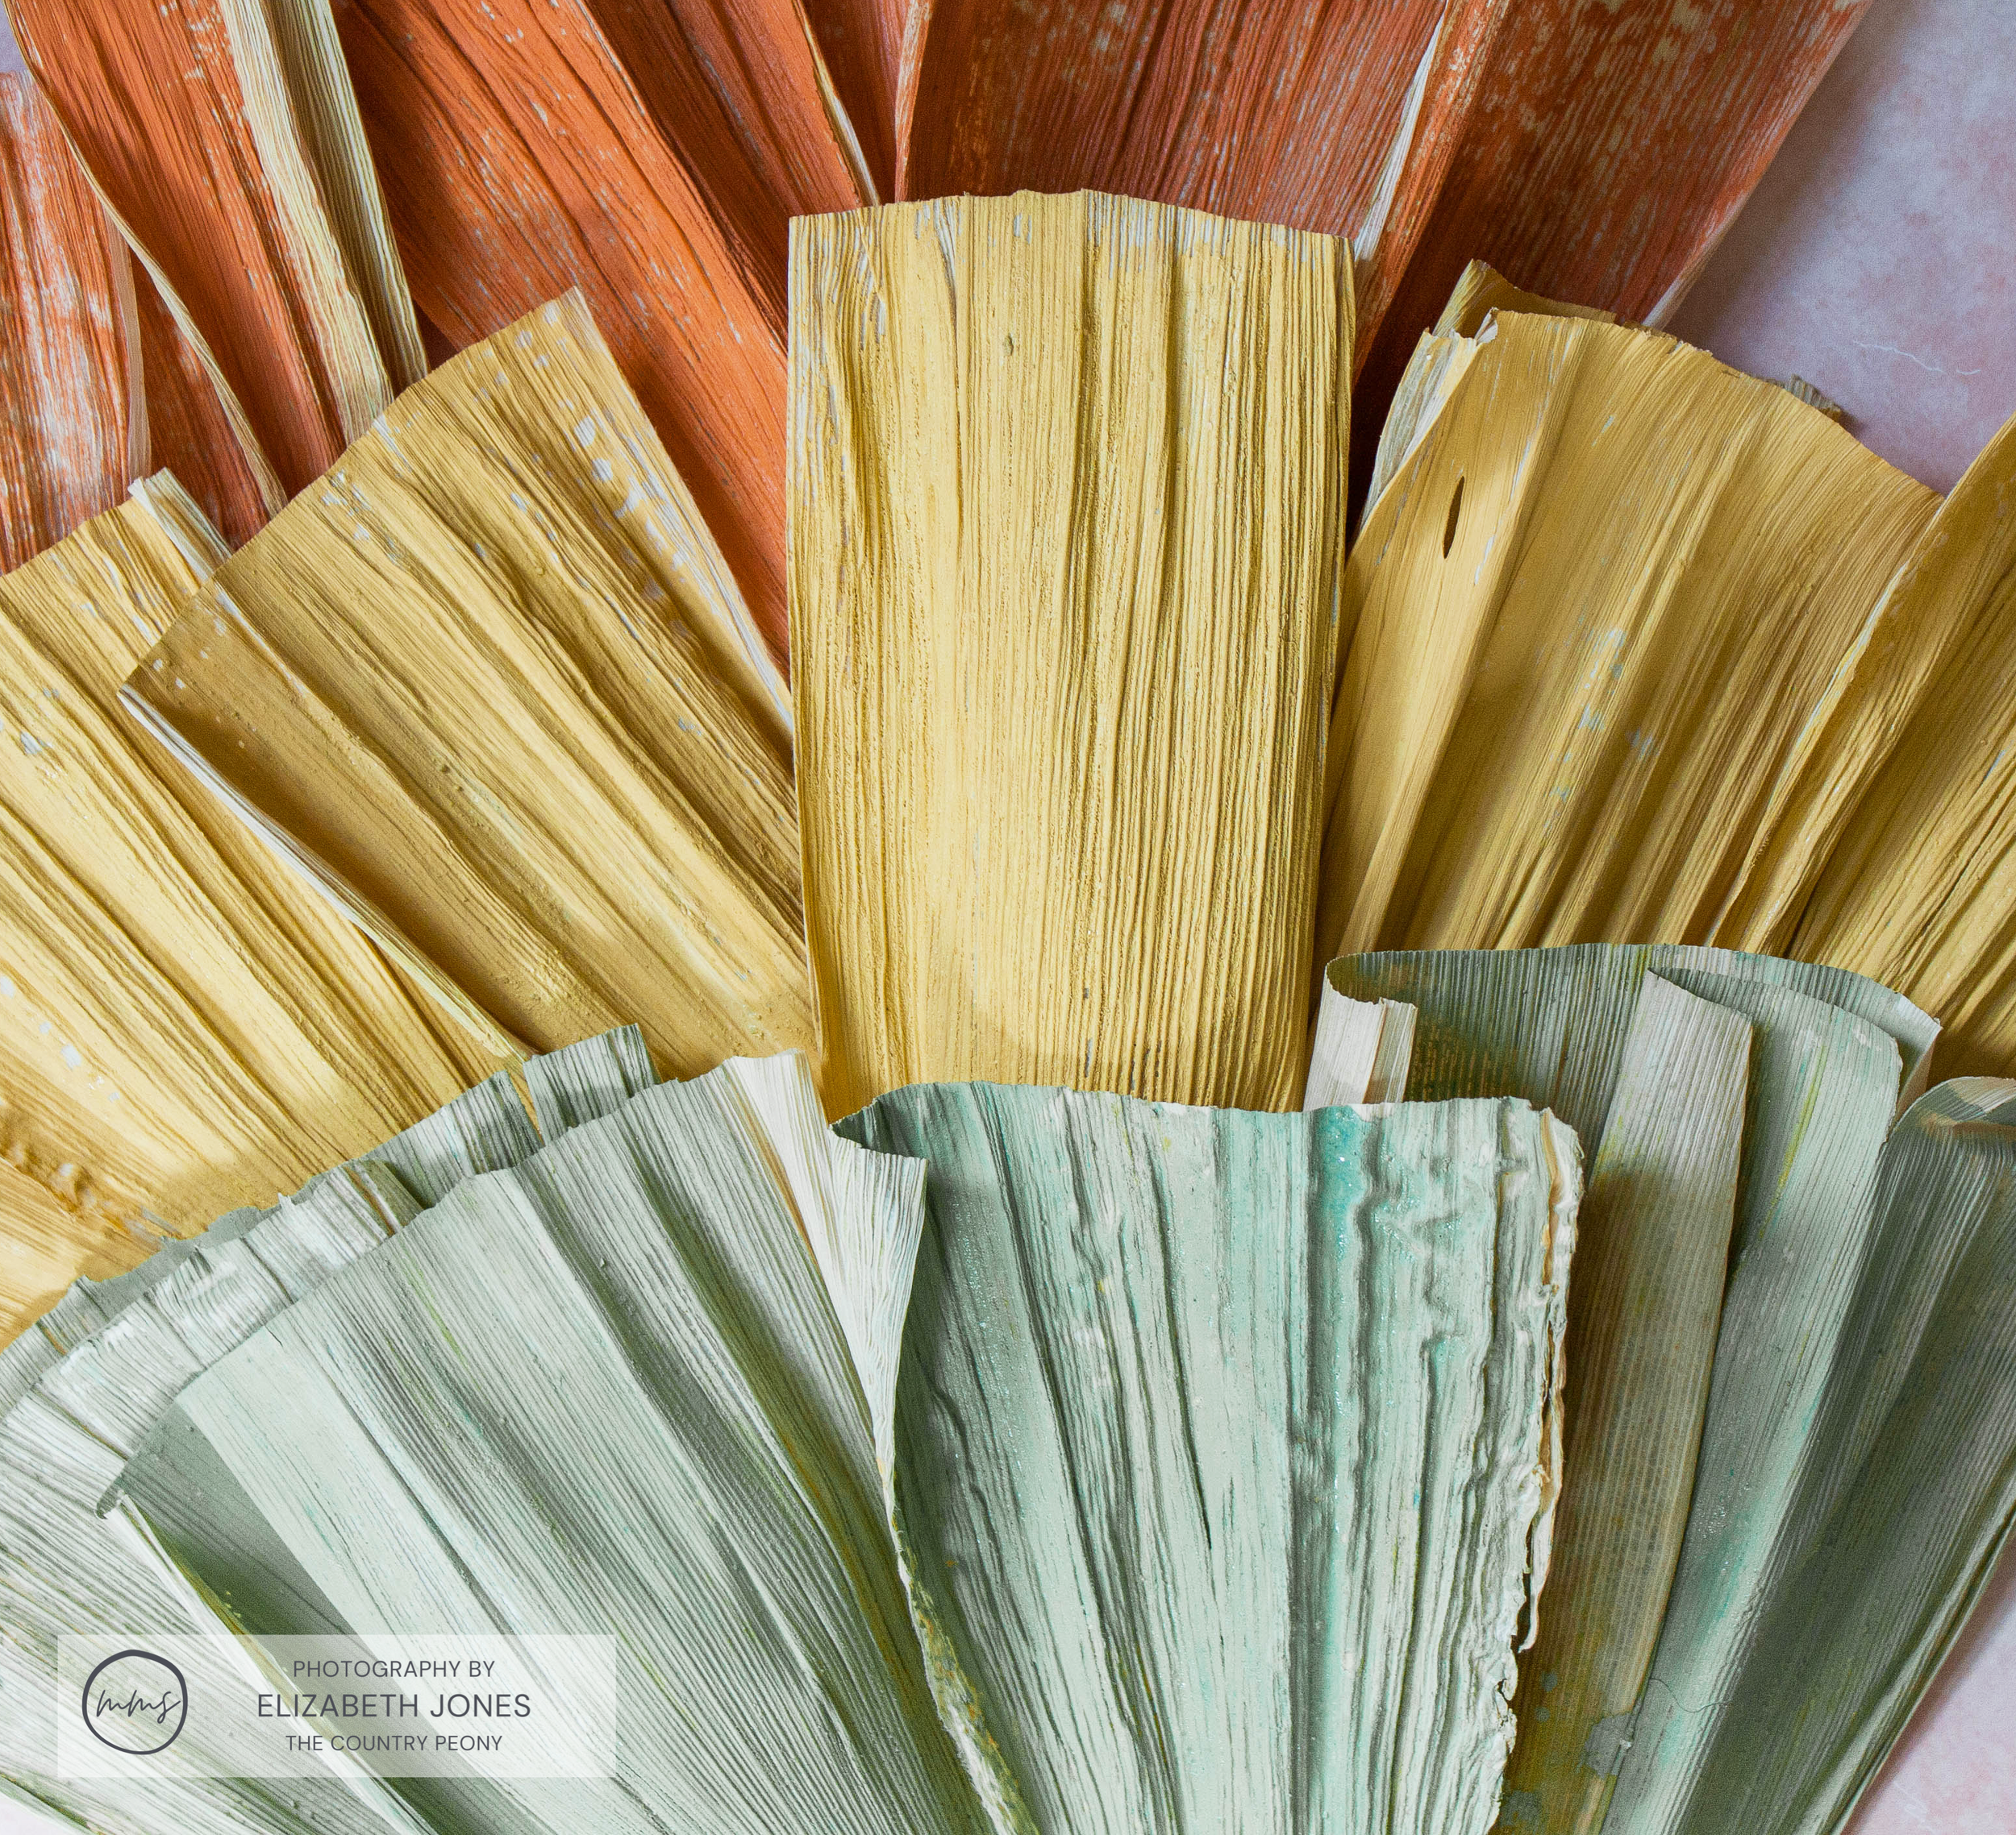
When choosing color palettes for my projects, I like to pick 3 different shades. Today’s palette was inspired by pumpkins in rich orange, spots of cheerful yellow, and a touch of bright green. As you probably know, Miss Mustard Seed’s® Milk Paint has so many beautiful colors to choose from, but I decided to go with Tangerine (formally named Outback Petticoat), Mustard Seed Yellow, and Lucketts Green.


I love using Miss Mustard Seed’s Milk Paint in my crafting projects (and furniture projects), because MilkPaint™ adds such a gorgeous texture, lovely warmth, and beautiful dimension to any piece. I particularly like using MilkPaint™ when I work with natural ingredients (like the corn husks) because it adds on to that original texture creating a beautiful end result!

Facebook Live Video Tutorial
In this Facebook live video from MMS MilkPaint™, I demonstrate how to make and assemble this beautiful corn husk wreath.
For those who would like to follow along with written directions and photos, or reference certain parts of the video, you can enjoy this written tutorial!
Supplies Needed
To make your own DIY Corn Husk Wreath, you will need:
Miss Mustard Seed’s® Milk Paint in Tangerine, Mustard Seed Yellow, and Lucketts Green
Straw Wreath. (This can be found at your local craft store.)
Corn Husks. (These can be found at your local grocery store or craft store.)
Hot Glue Gun with Glue Sticks
Scissors
Craft Paintbrush

Step 1: Mix Miss Mustard Seed’s® Milk Paint
Mix 1 part MilkPaint™ to 1 part water. A “part” can be any unit of measurement you wish. I used a tablespoon.
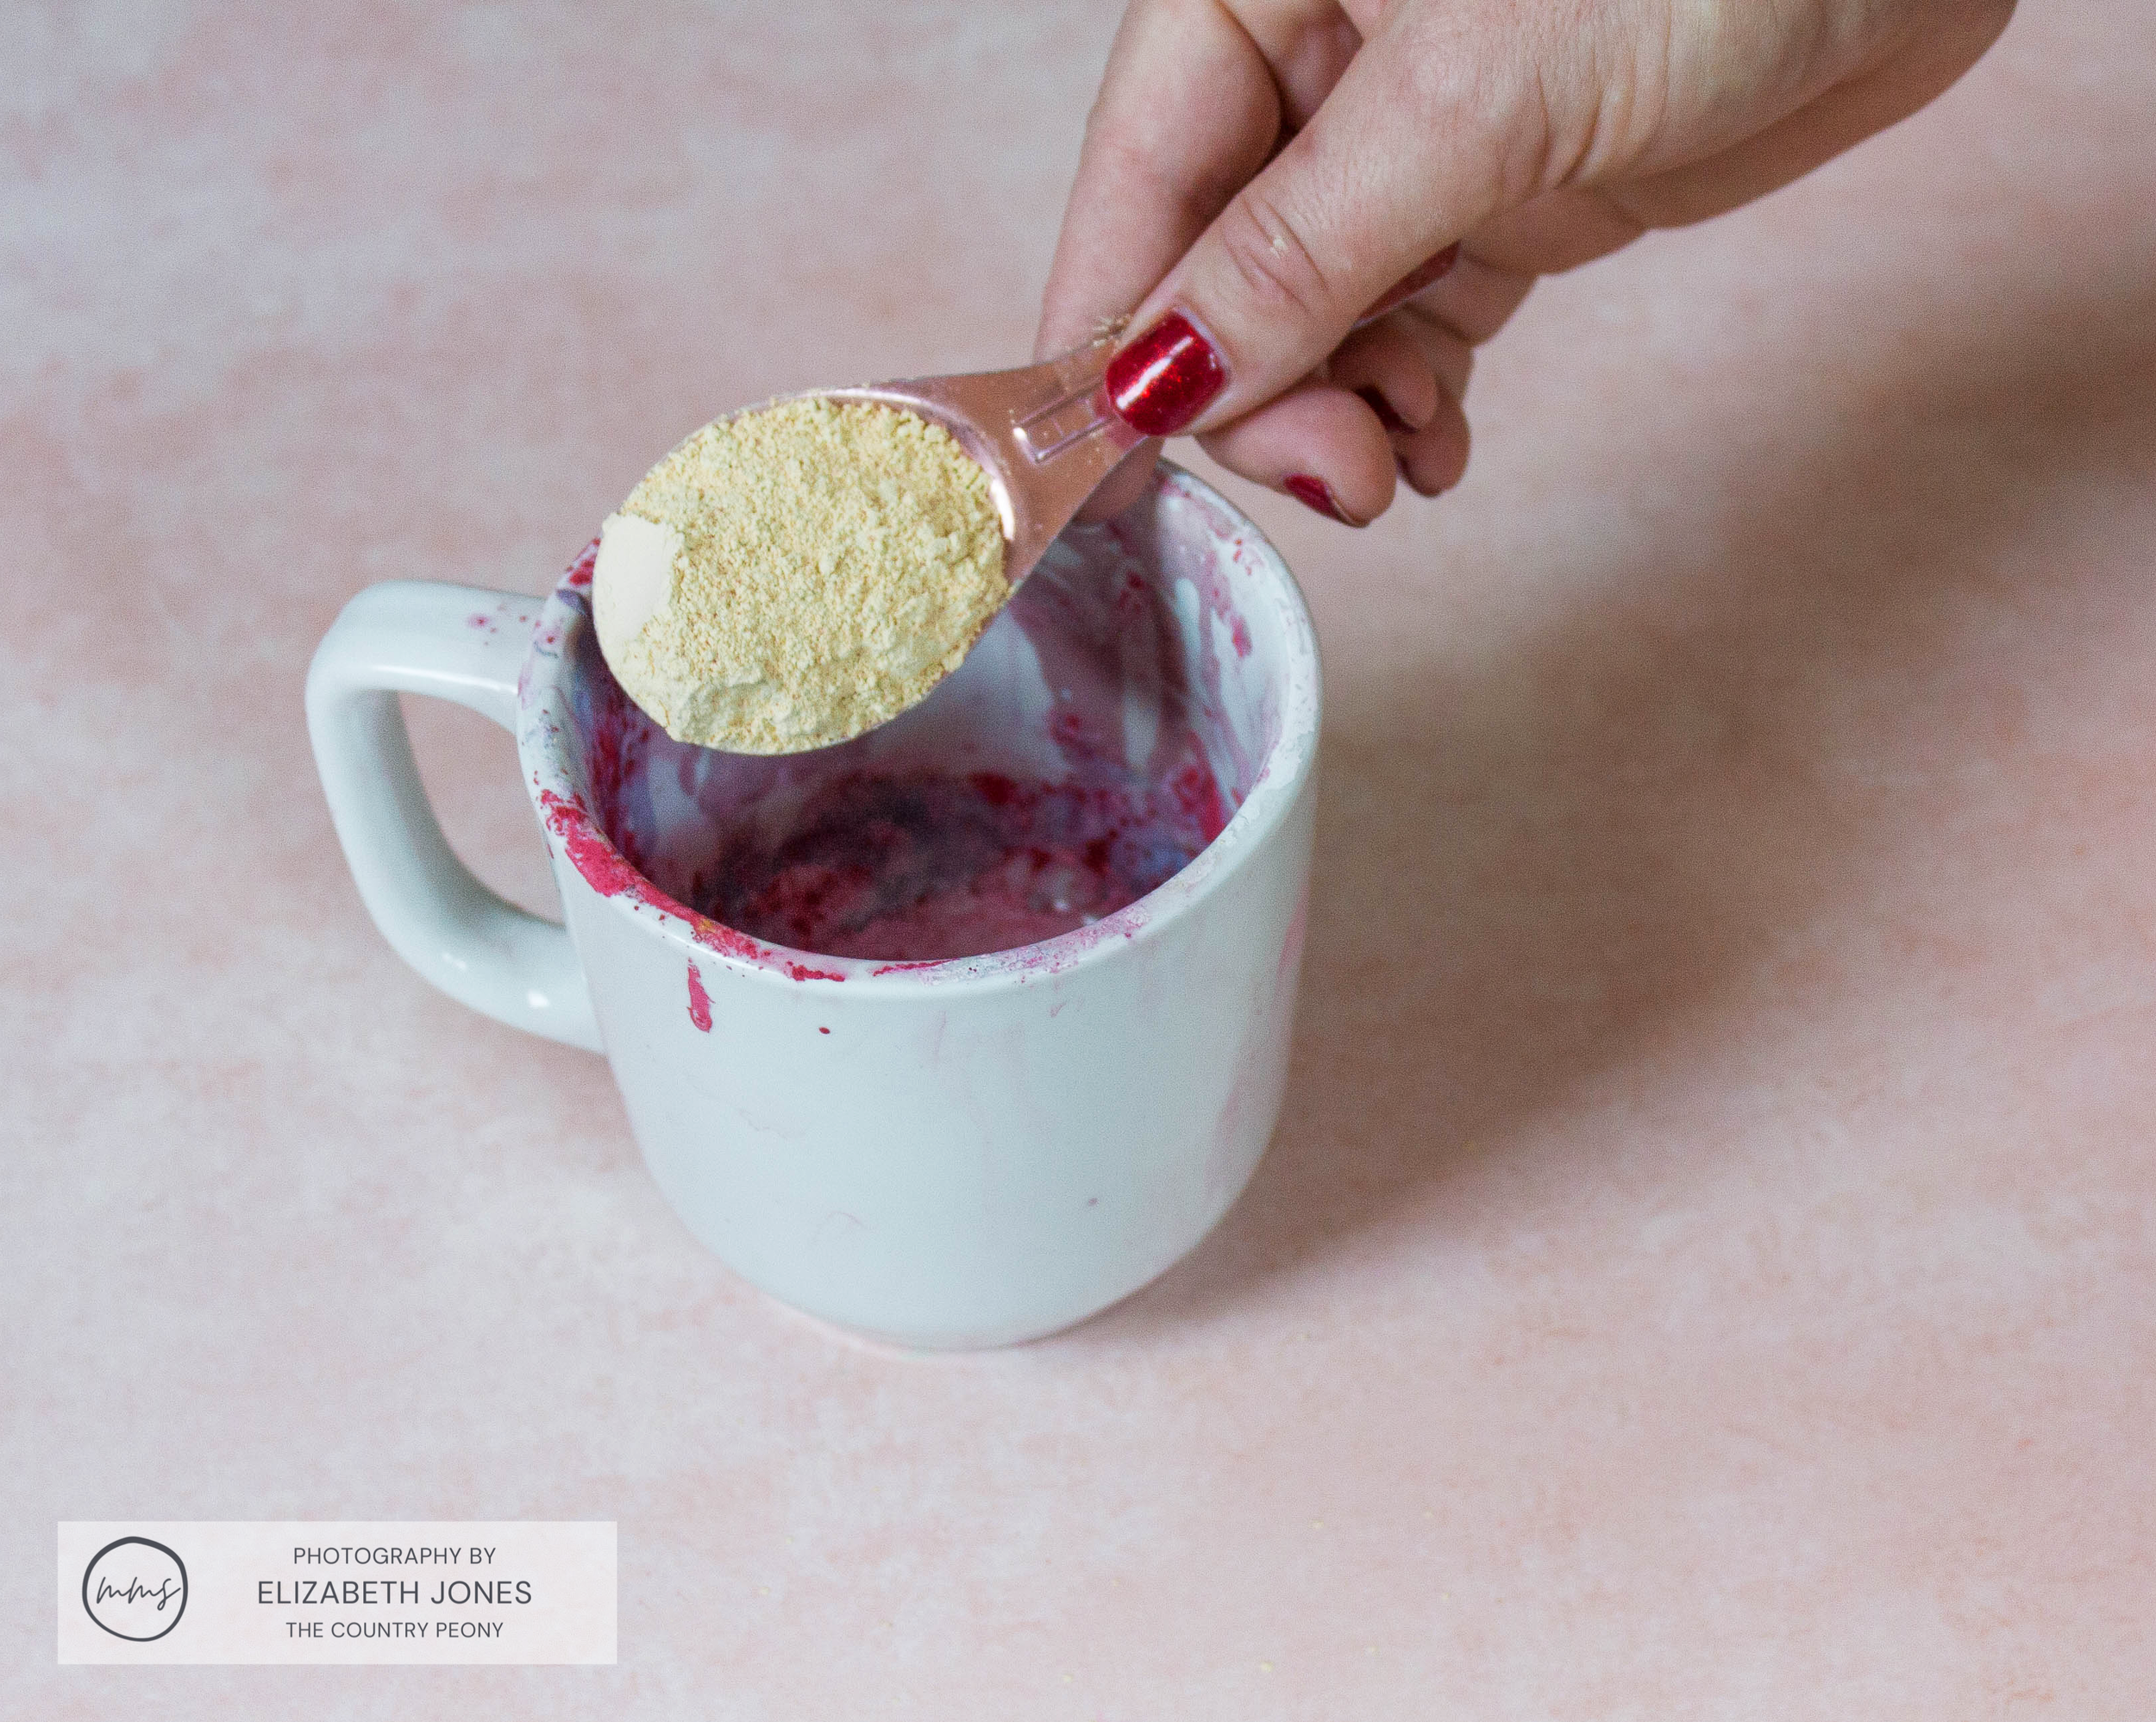
*I always recommend starting with less so you don’t waste your product. You can always make more paint later. A little bit of MilkPaint™ goes a long way, especially with this small project!

Whisk the paint together with the water until the paint is fully integrated into the water. I have found that a miniature whisk is the best mixing tool to ensure the milk powder stays fully integrated into the water.

Your paint mixture should look like a thin pancake batter once it is mixed.

Step 2 - Paint The Corn Husks
For this wreath, I used about 20 corn husks total. 5 were painted in Tangerine, 5 in Mustard Seed Yellow, and 5 in Lucketts Green. The remaining 5 were left natural.
To start the painting process, pick your first color and apply 1 coat of MilkPaint™ on one side of each corn husk. For added interest, I recommend letting some of the original corn husk peek through. You can add as much coverage to the corn husks as you like. Please do whatever your heart desires!
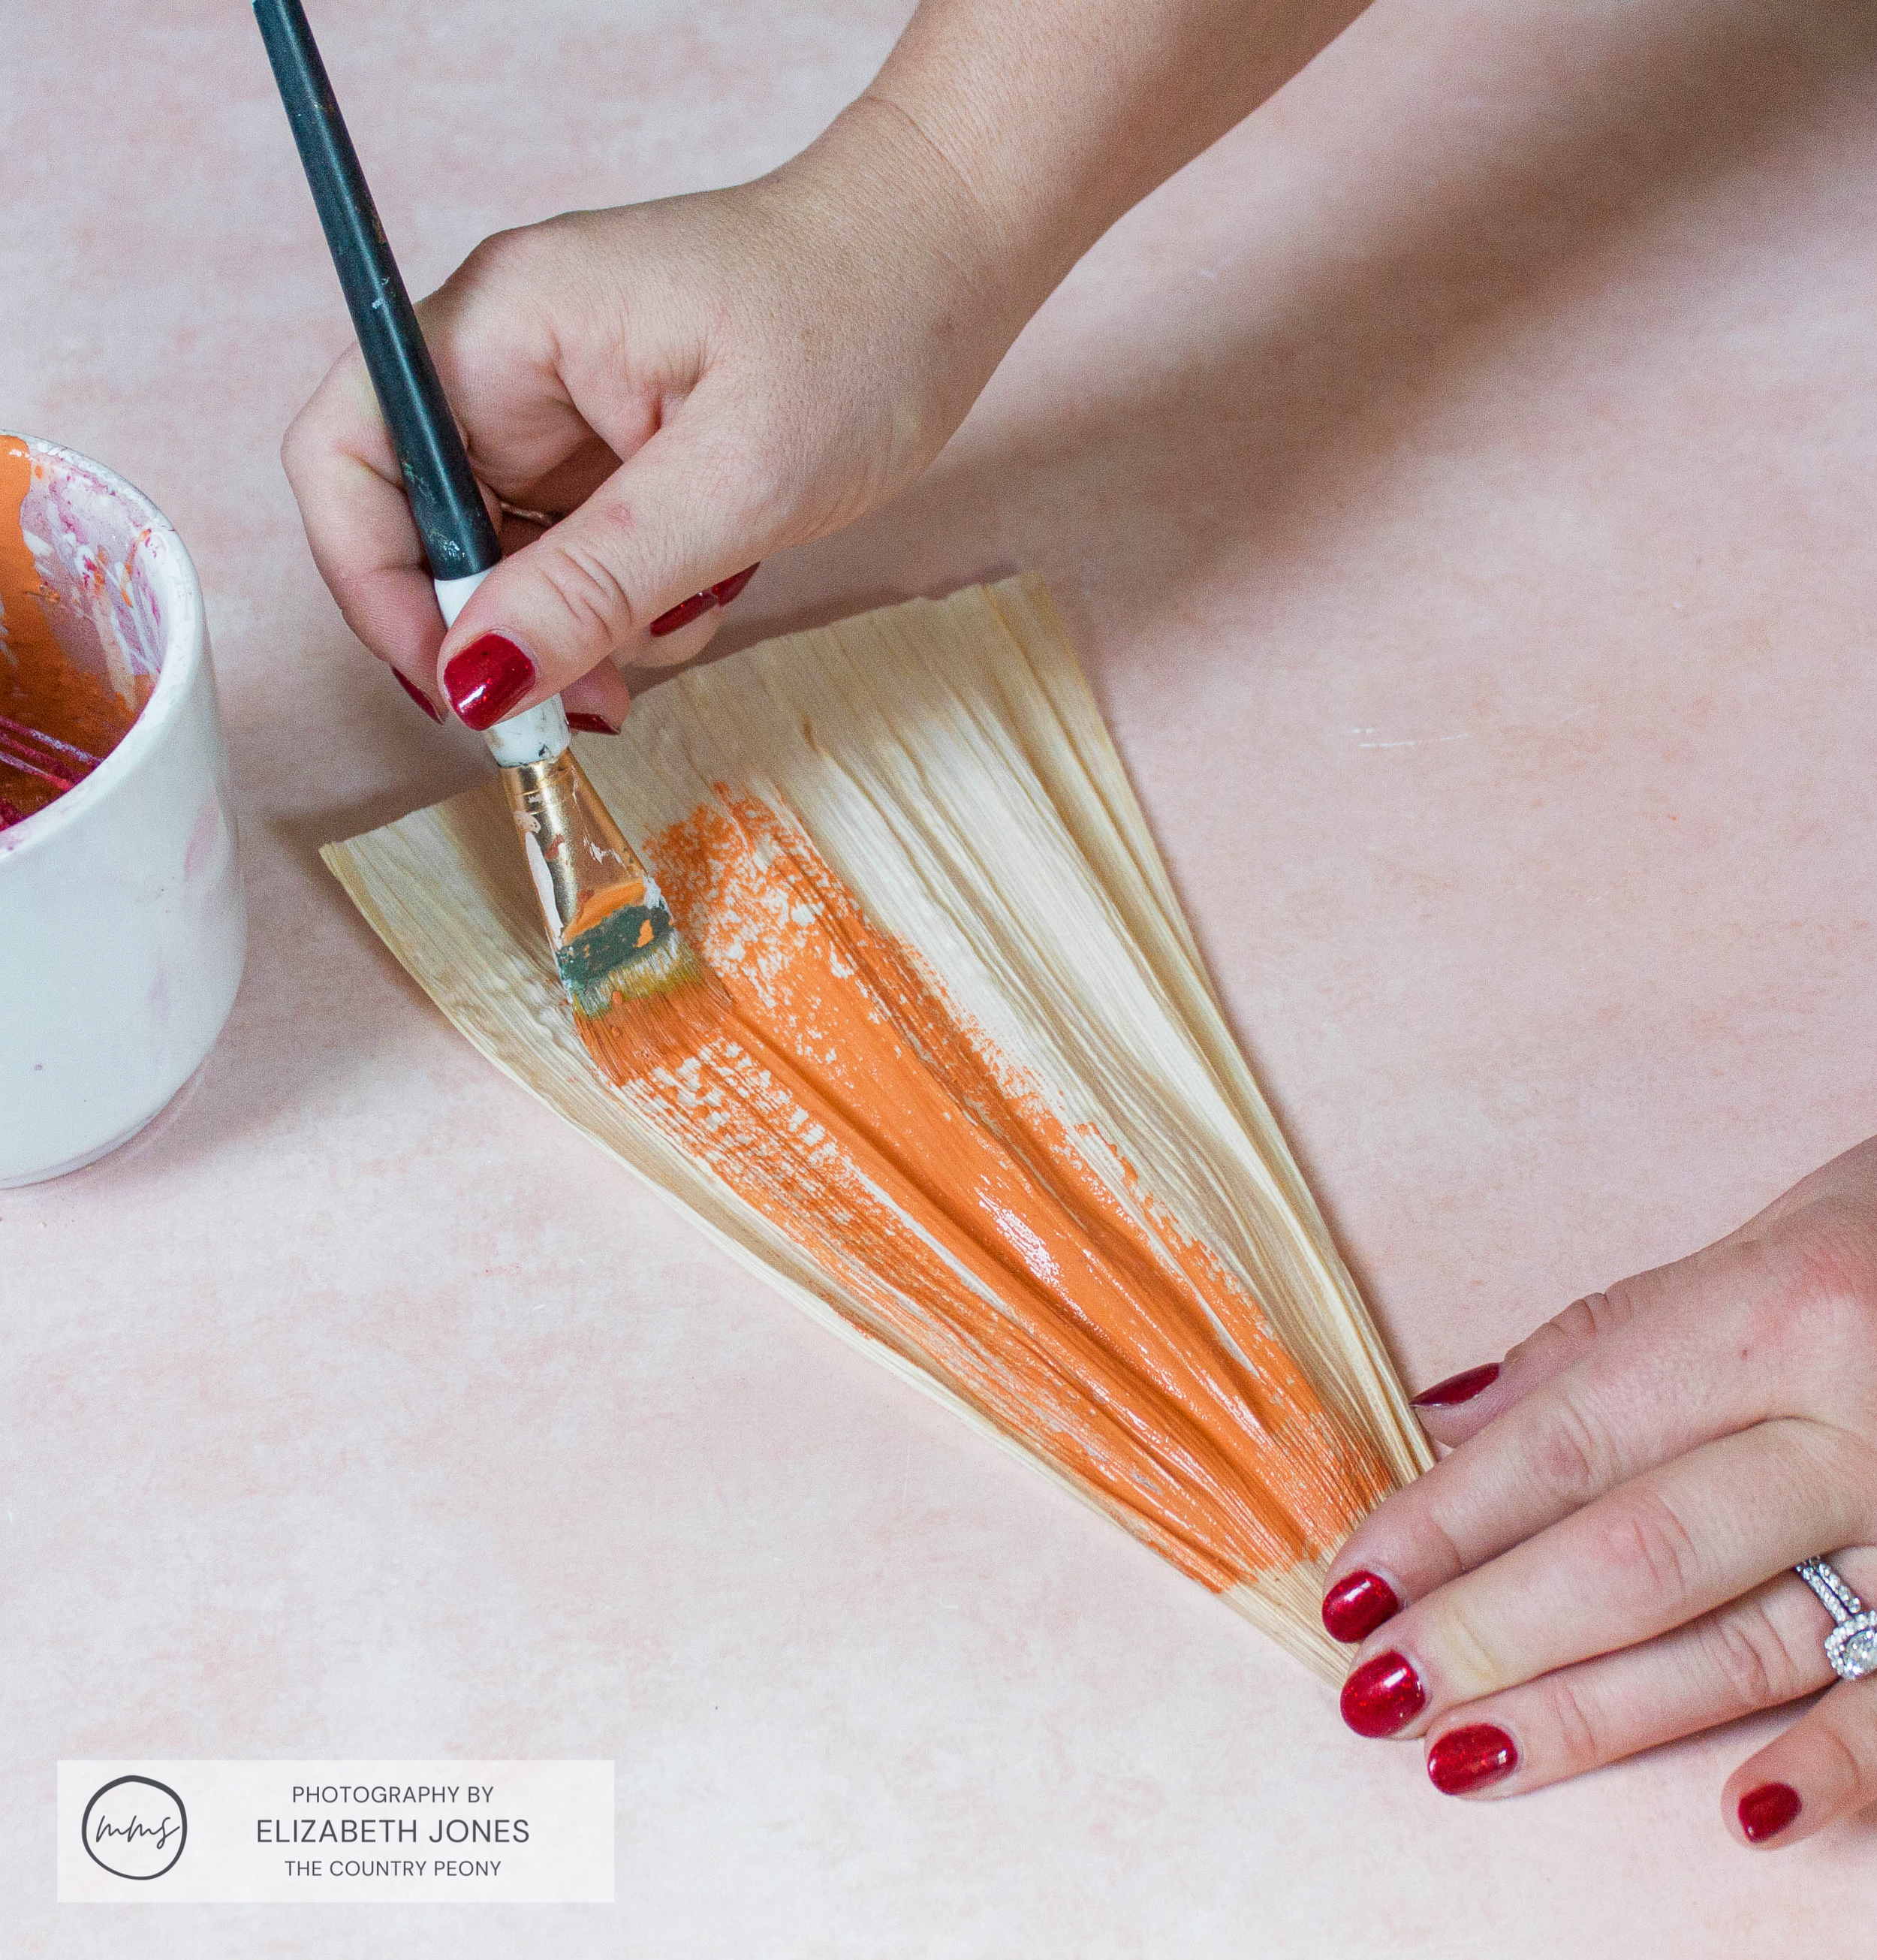

Set the husks aside to dry. Then, move on to your second and third colors.
Step 3: Tear and Cut Up the Corn Husks
Once the husks are dry, tear the corn husk down the middle.

This will leave you with 2 pieces.

Then use the scissors to cut each piece of husk halfway up at an angle.
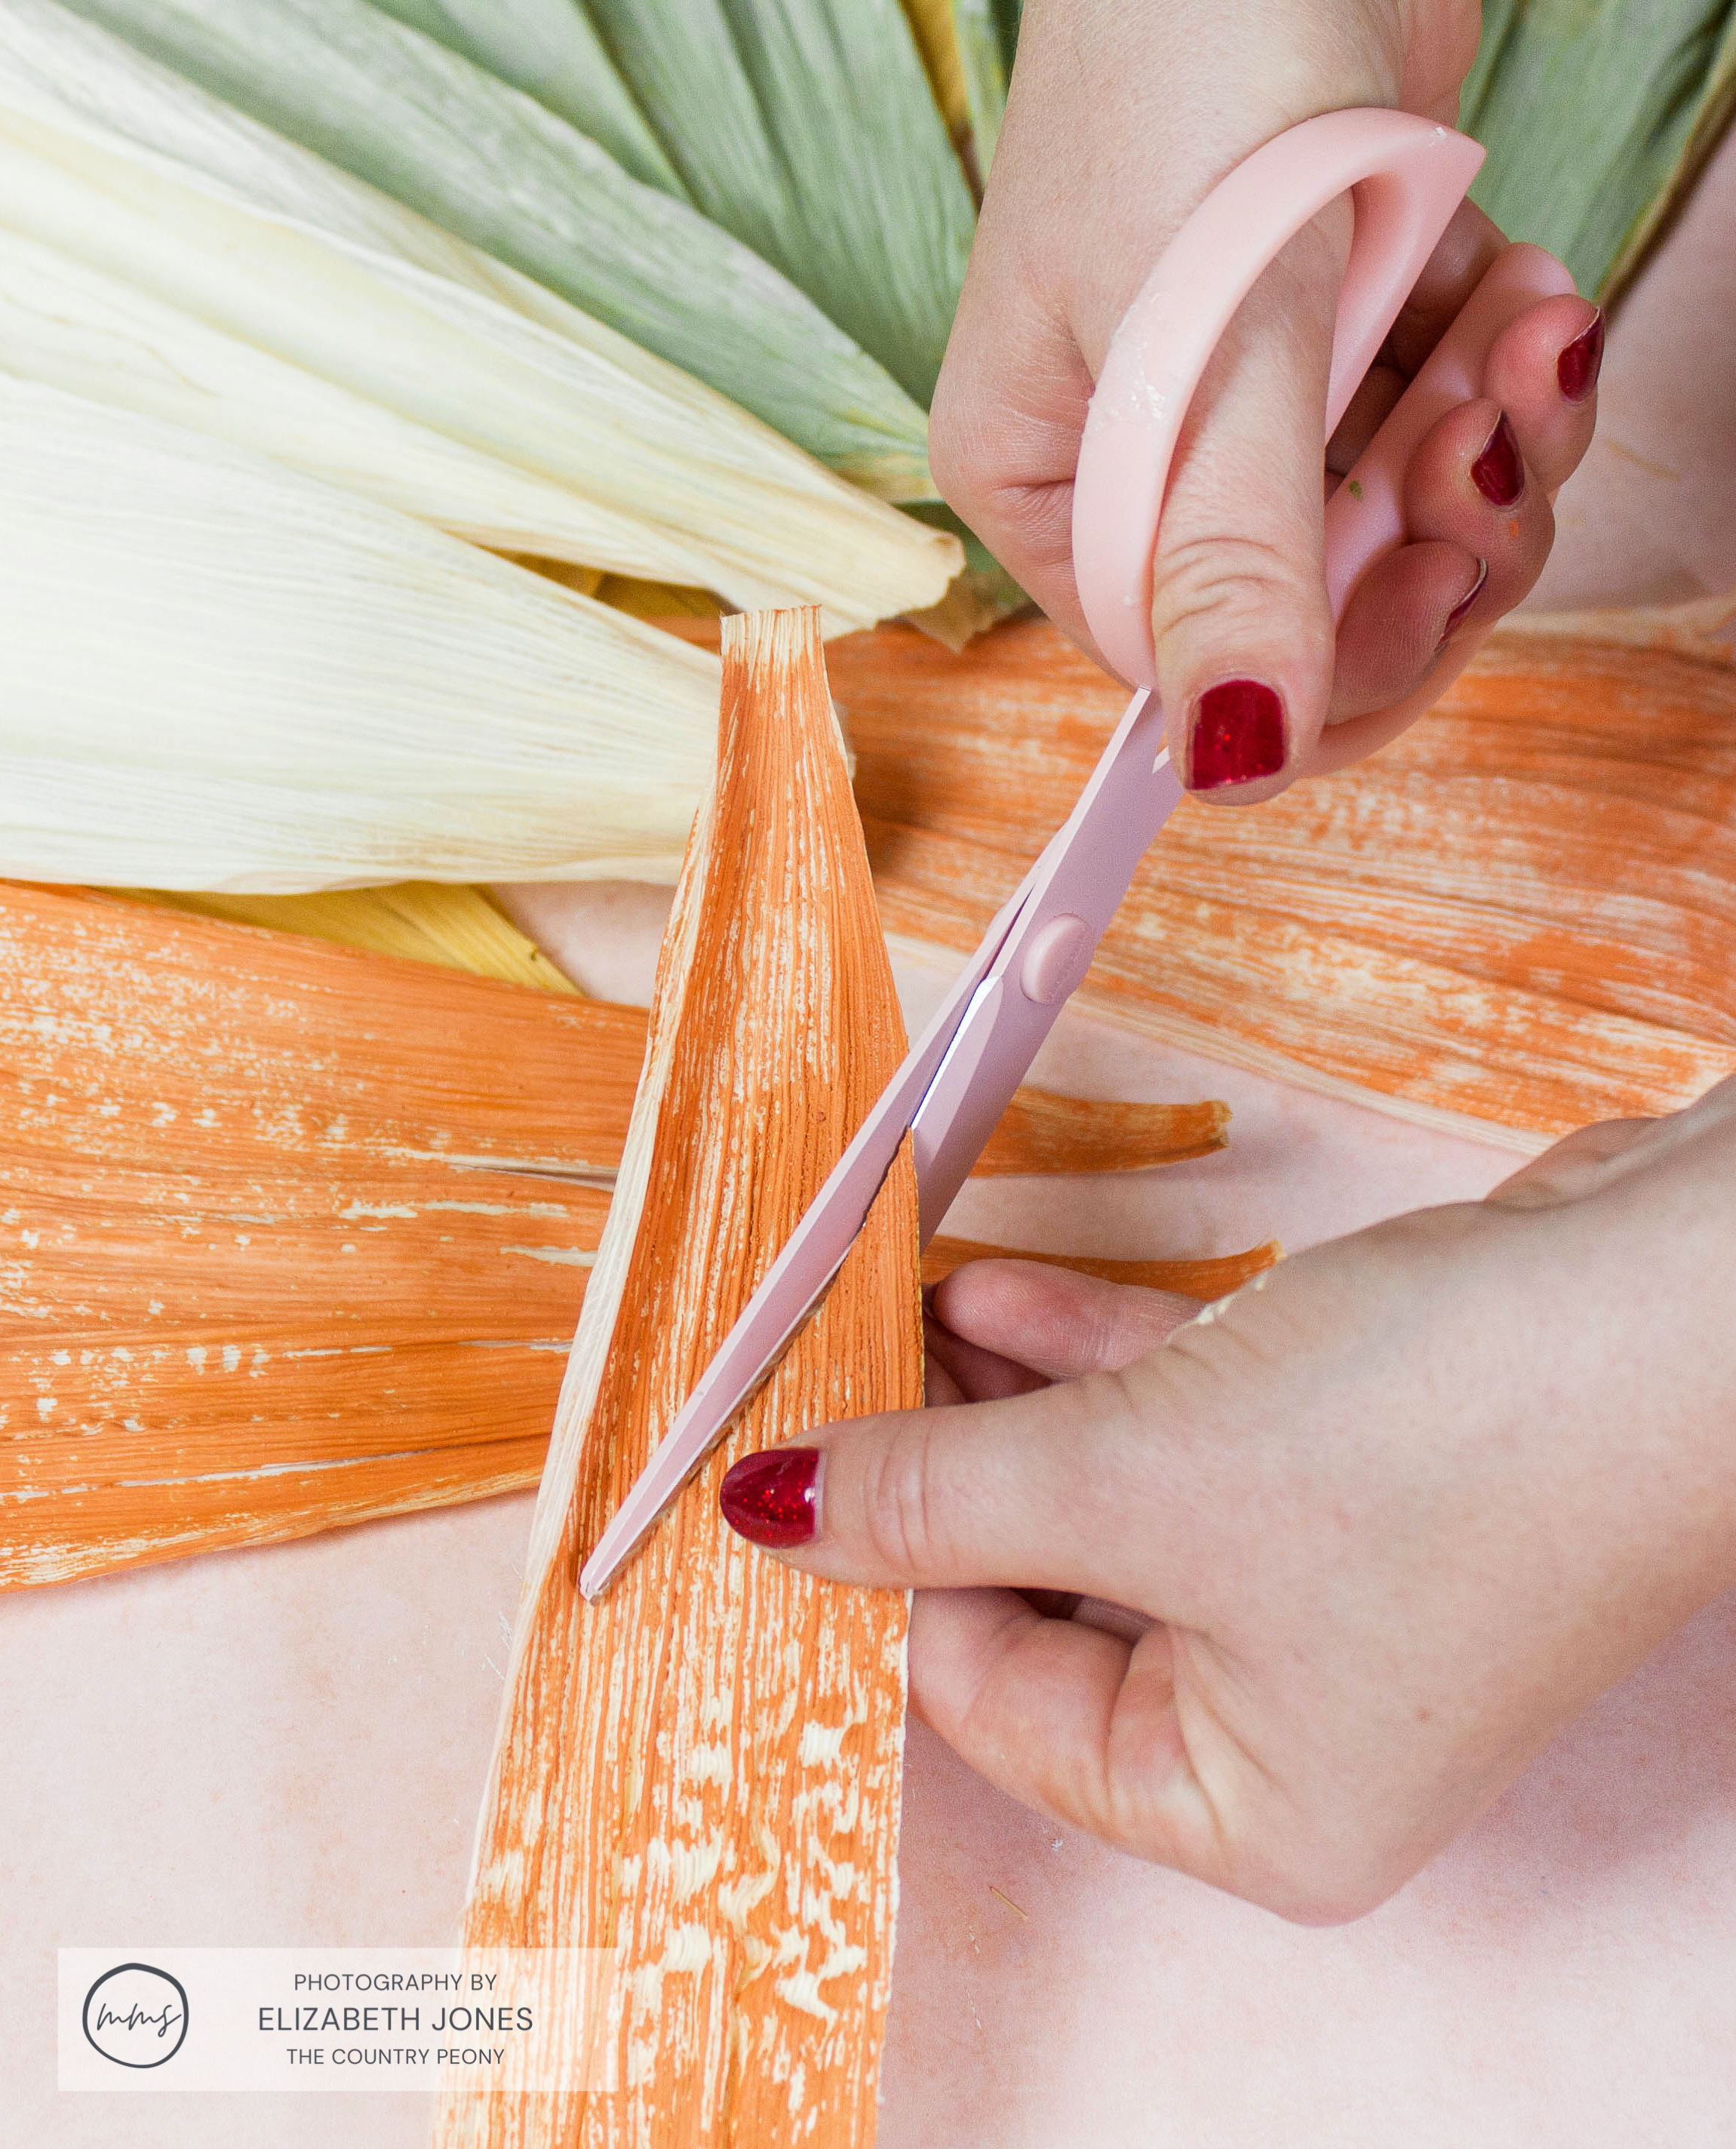
Each corn husk should produce 4 smaller pieces. Organize all of the pieces according to color. This makes the wreath assembly much easier!

Step 4: Create a Wreath Hanger
Use raffia, ribbon, or yarn to create a wreath hanger at the top of the wreath. I used orange raffia on my wreath.
(Note: To see this process in action, watch the tutorial video at the top of my post.)
To begin, cut a piece of raffia about 12 inches long. Fold it in half, creating a loop at the top. Make a slip knot so the loop is held in place. Then, take the long ends of the raffia and wrap them around the wreath.

Tie them into a knot and trim any excess raffia.

This is what it will look like.

Step 5: Attach the Corn Husks to the Wreath
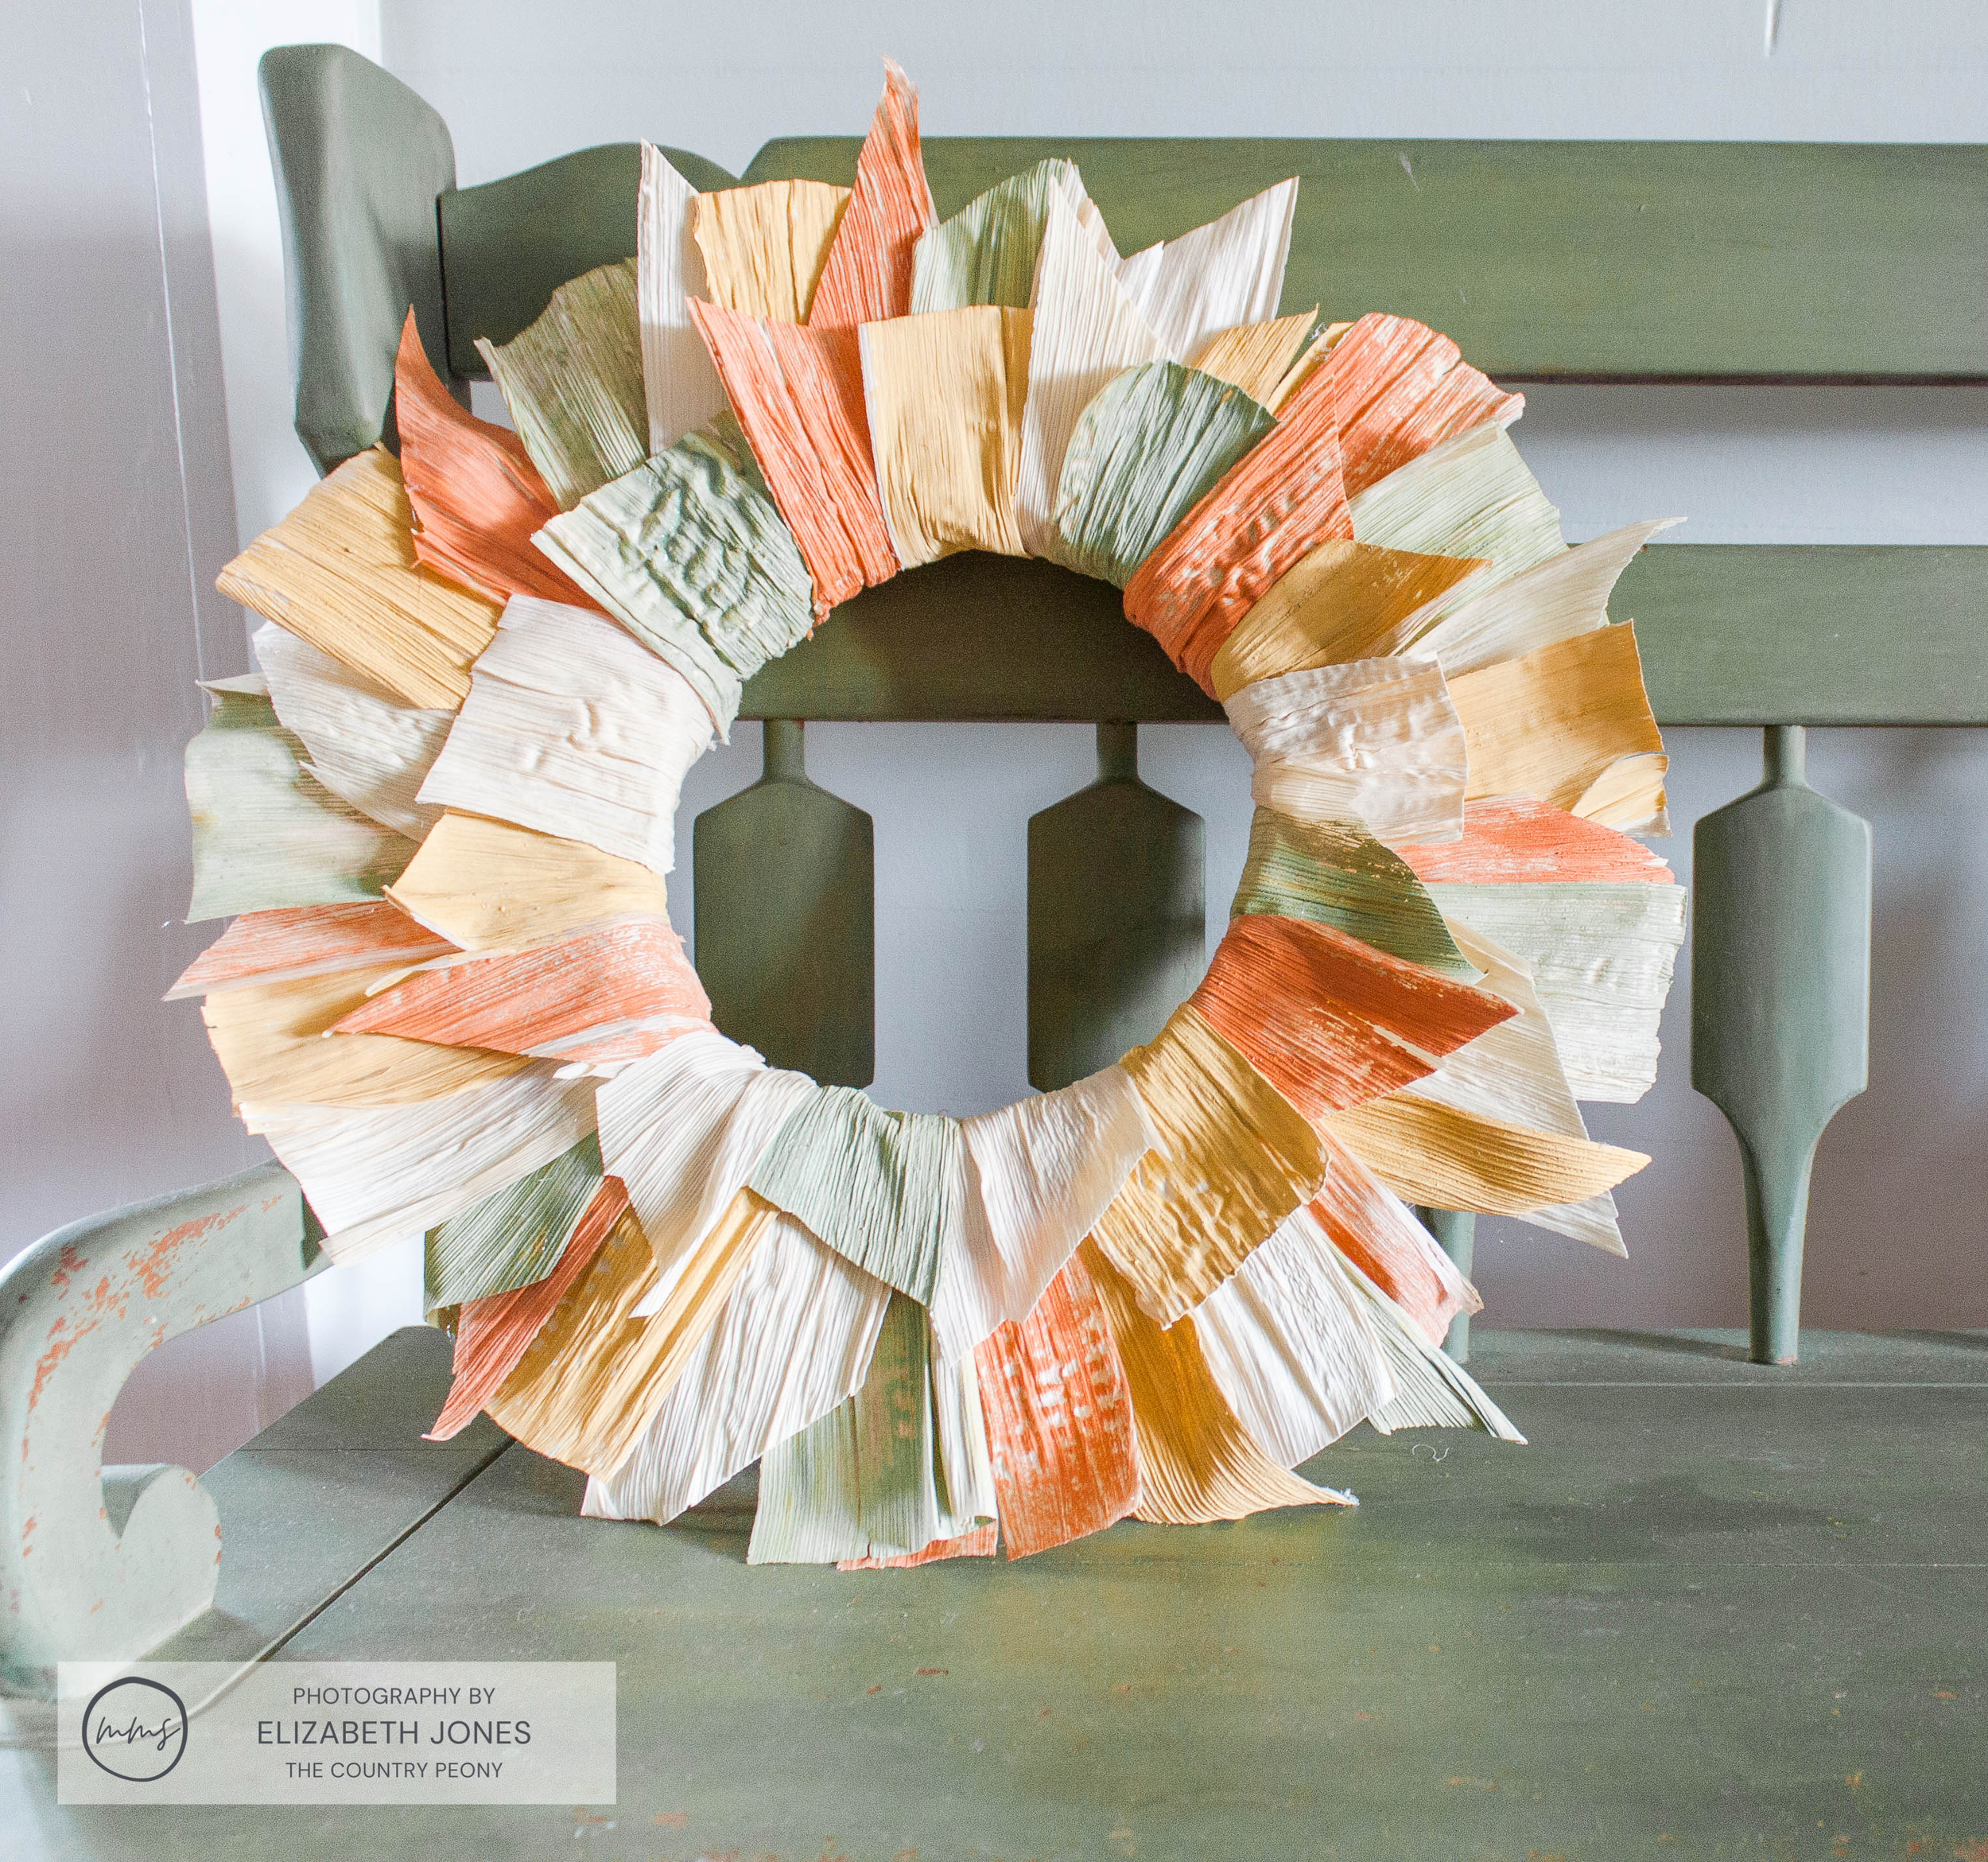
Decide what kind of pattern you want for your corn husks. Think about shapes and colors. The husks on my wreath were glued down in a pattern of Tangerine, then Mustard Seed Yellow, natural and finally, Lucketts Green. I also alternated pointed husks with flat husks.
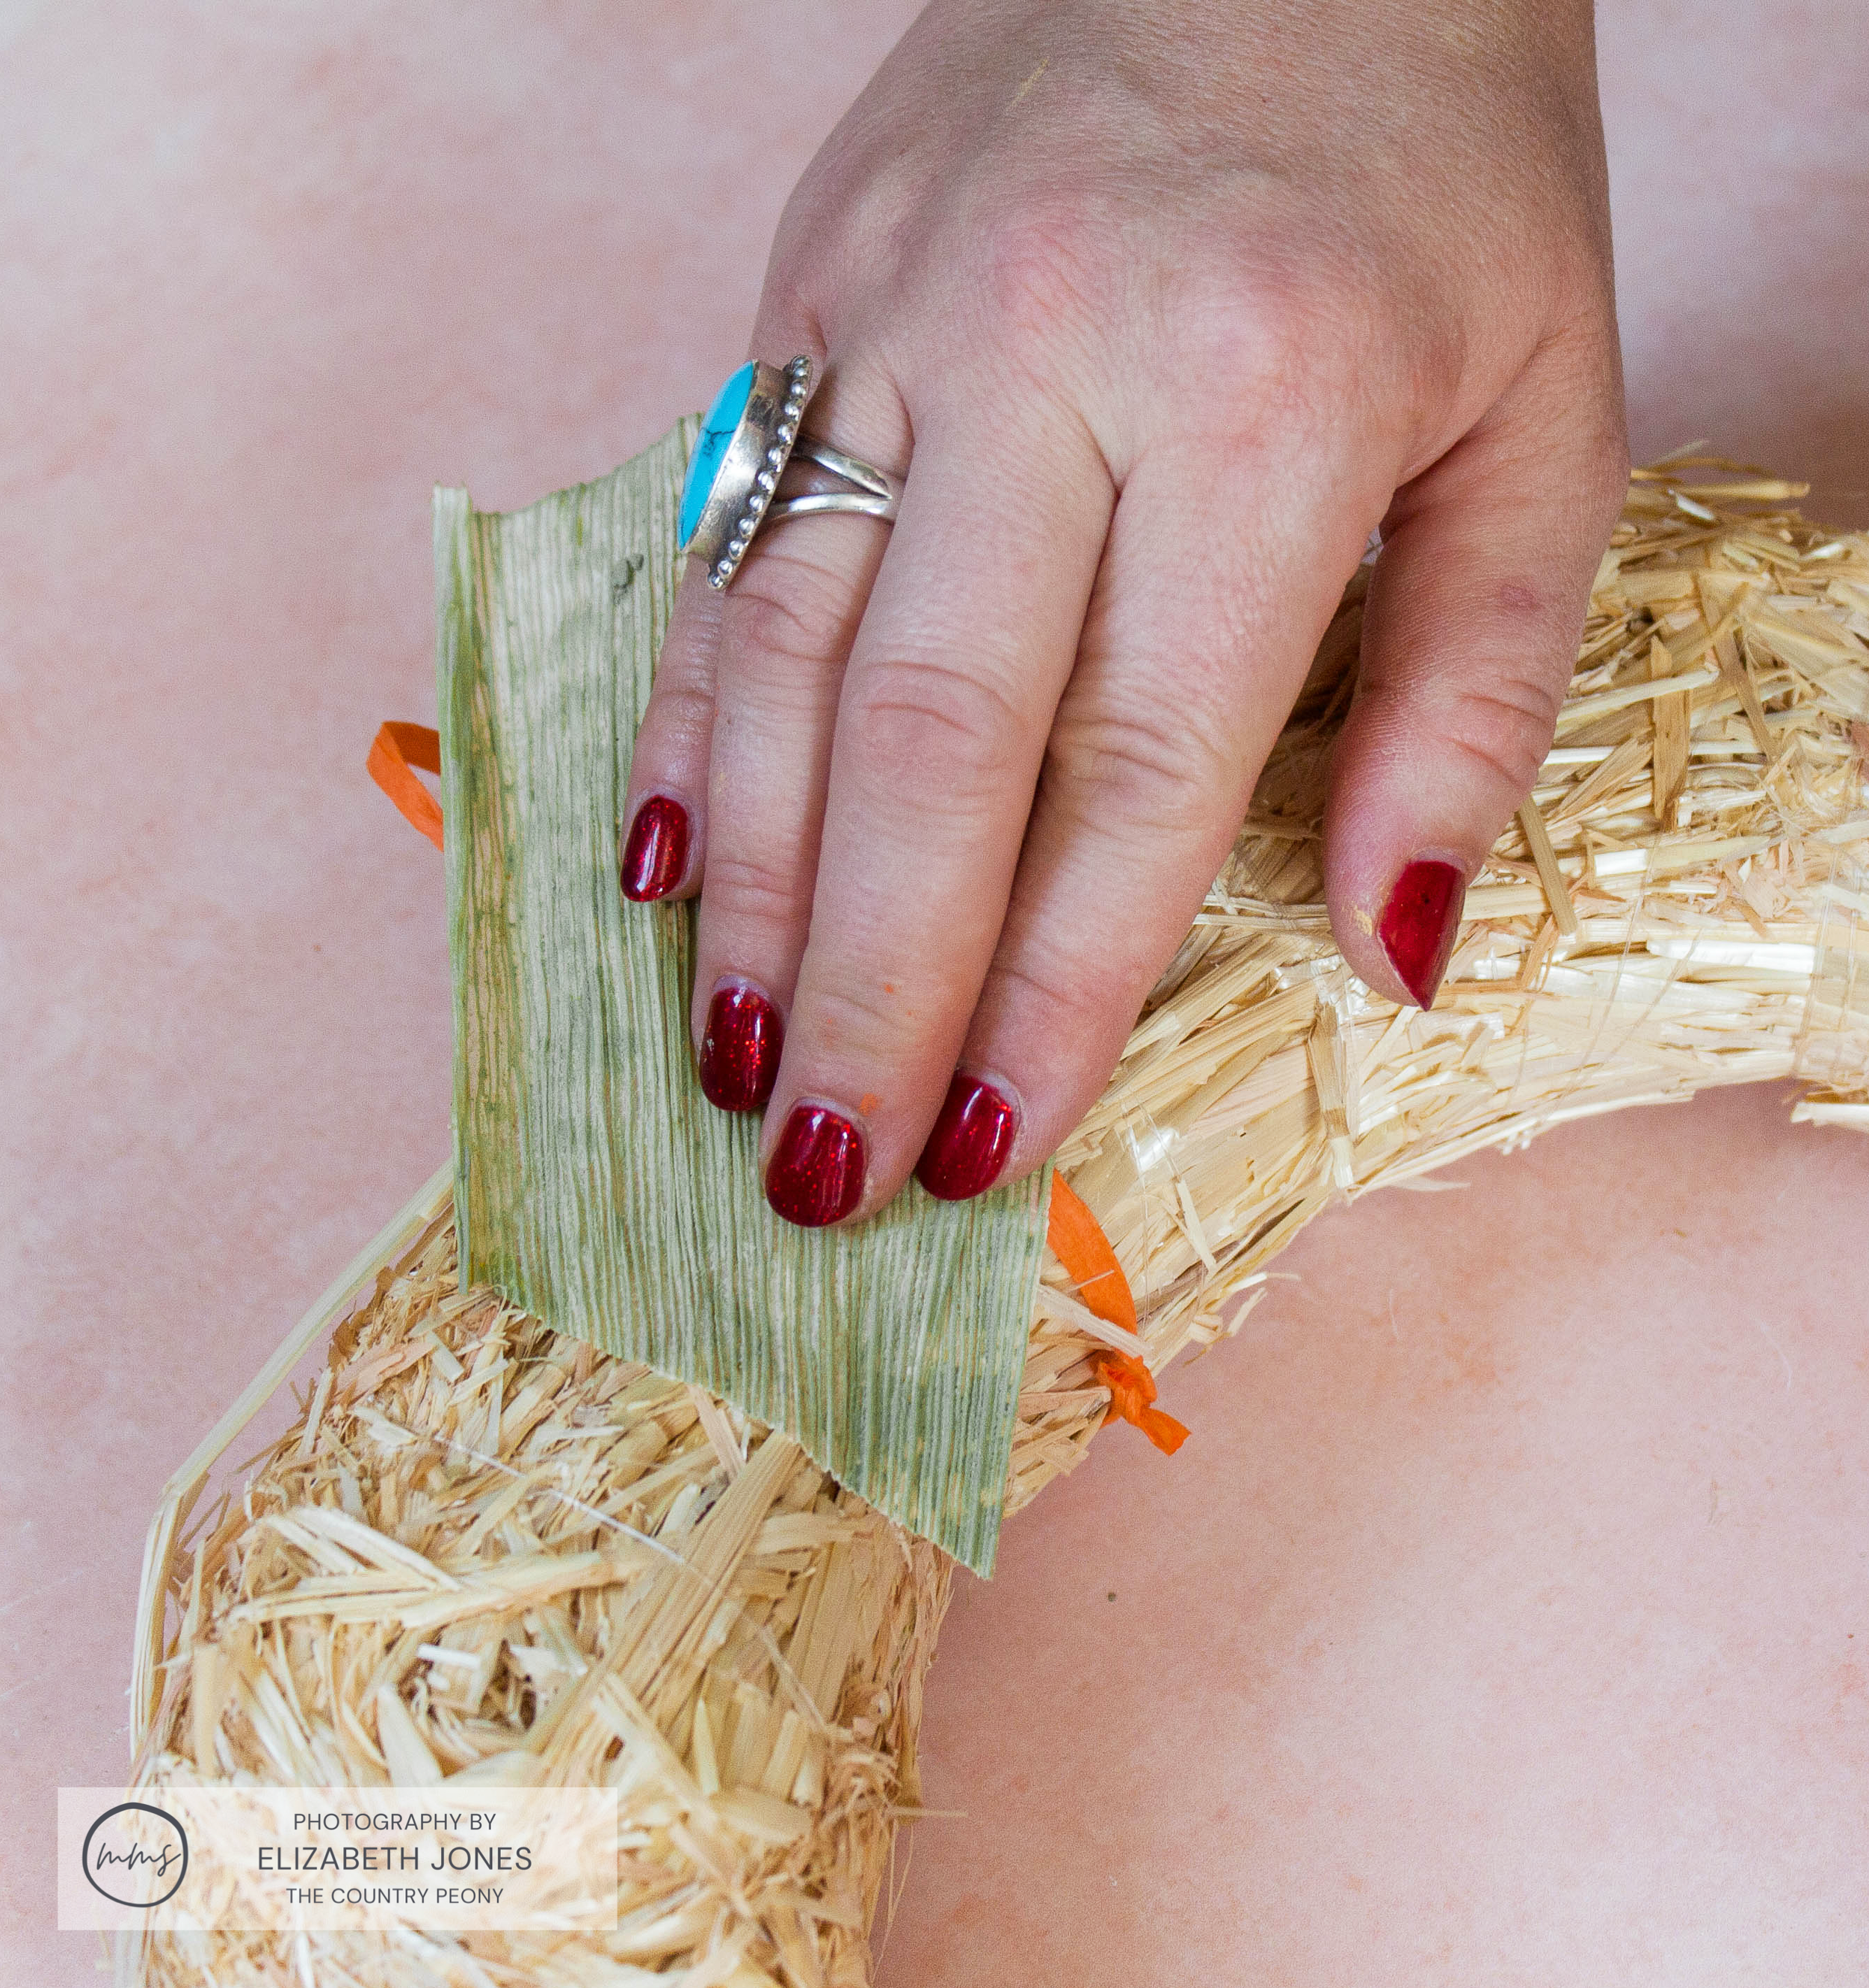
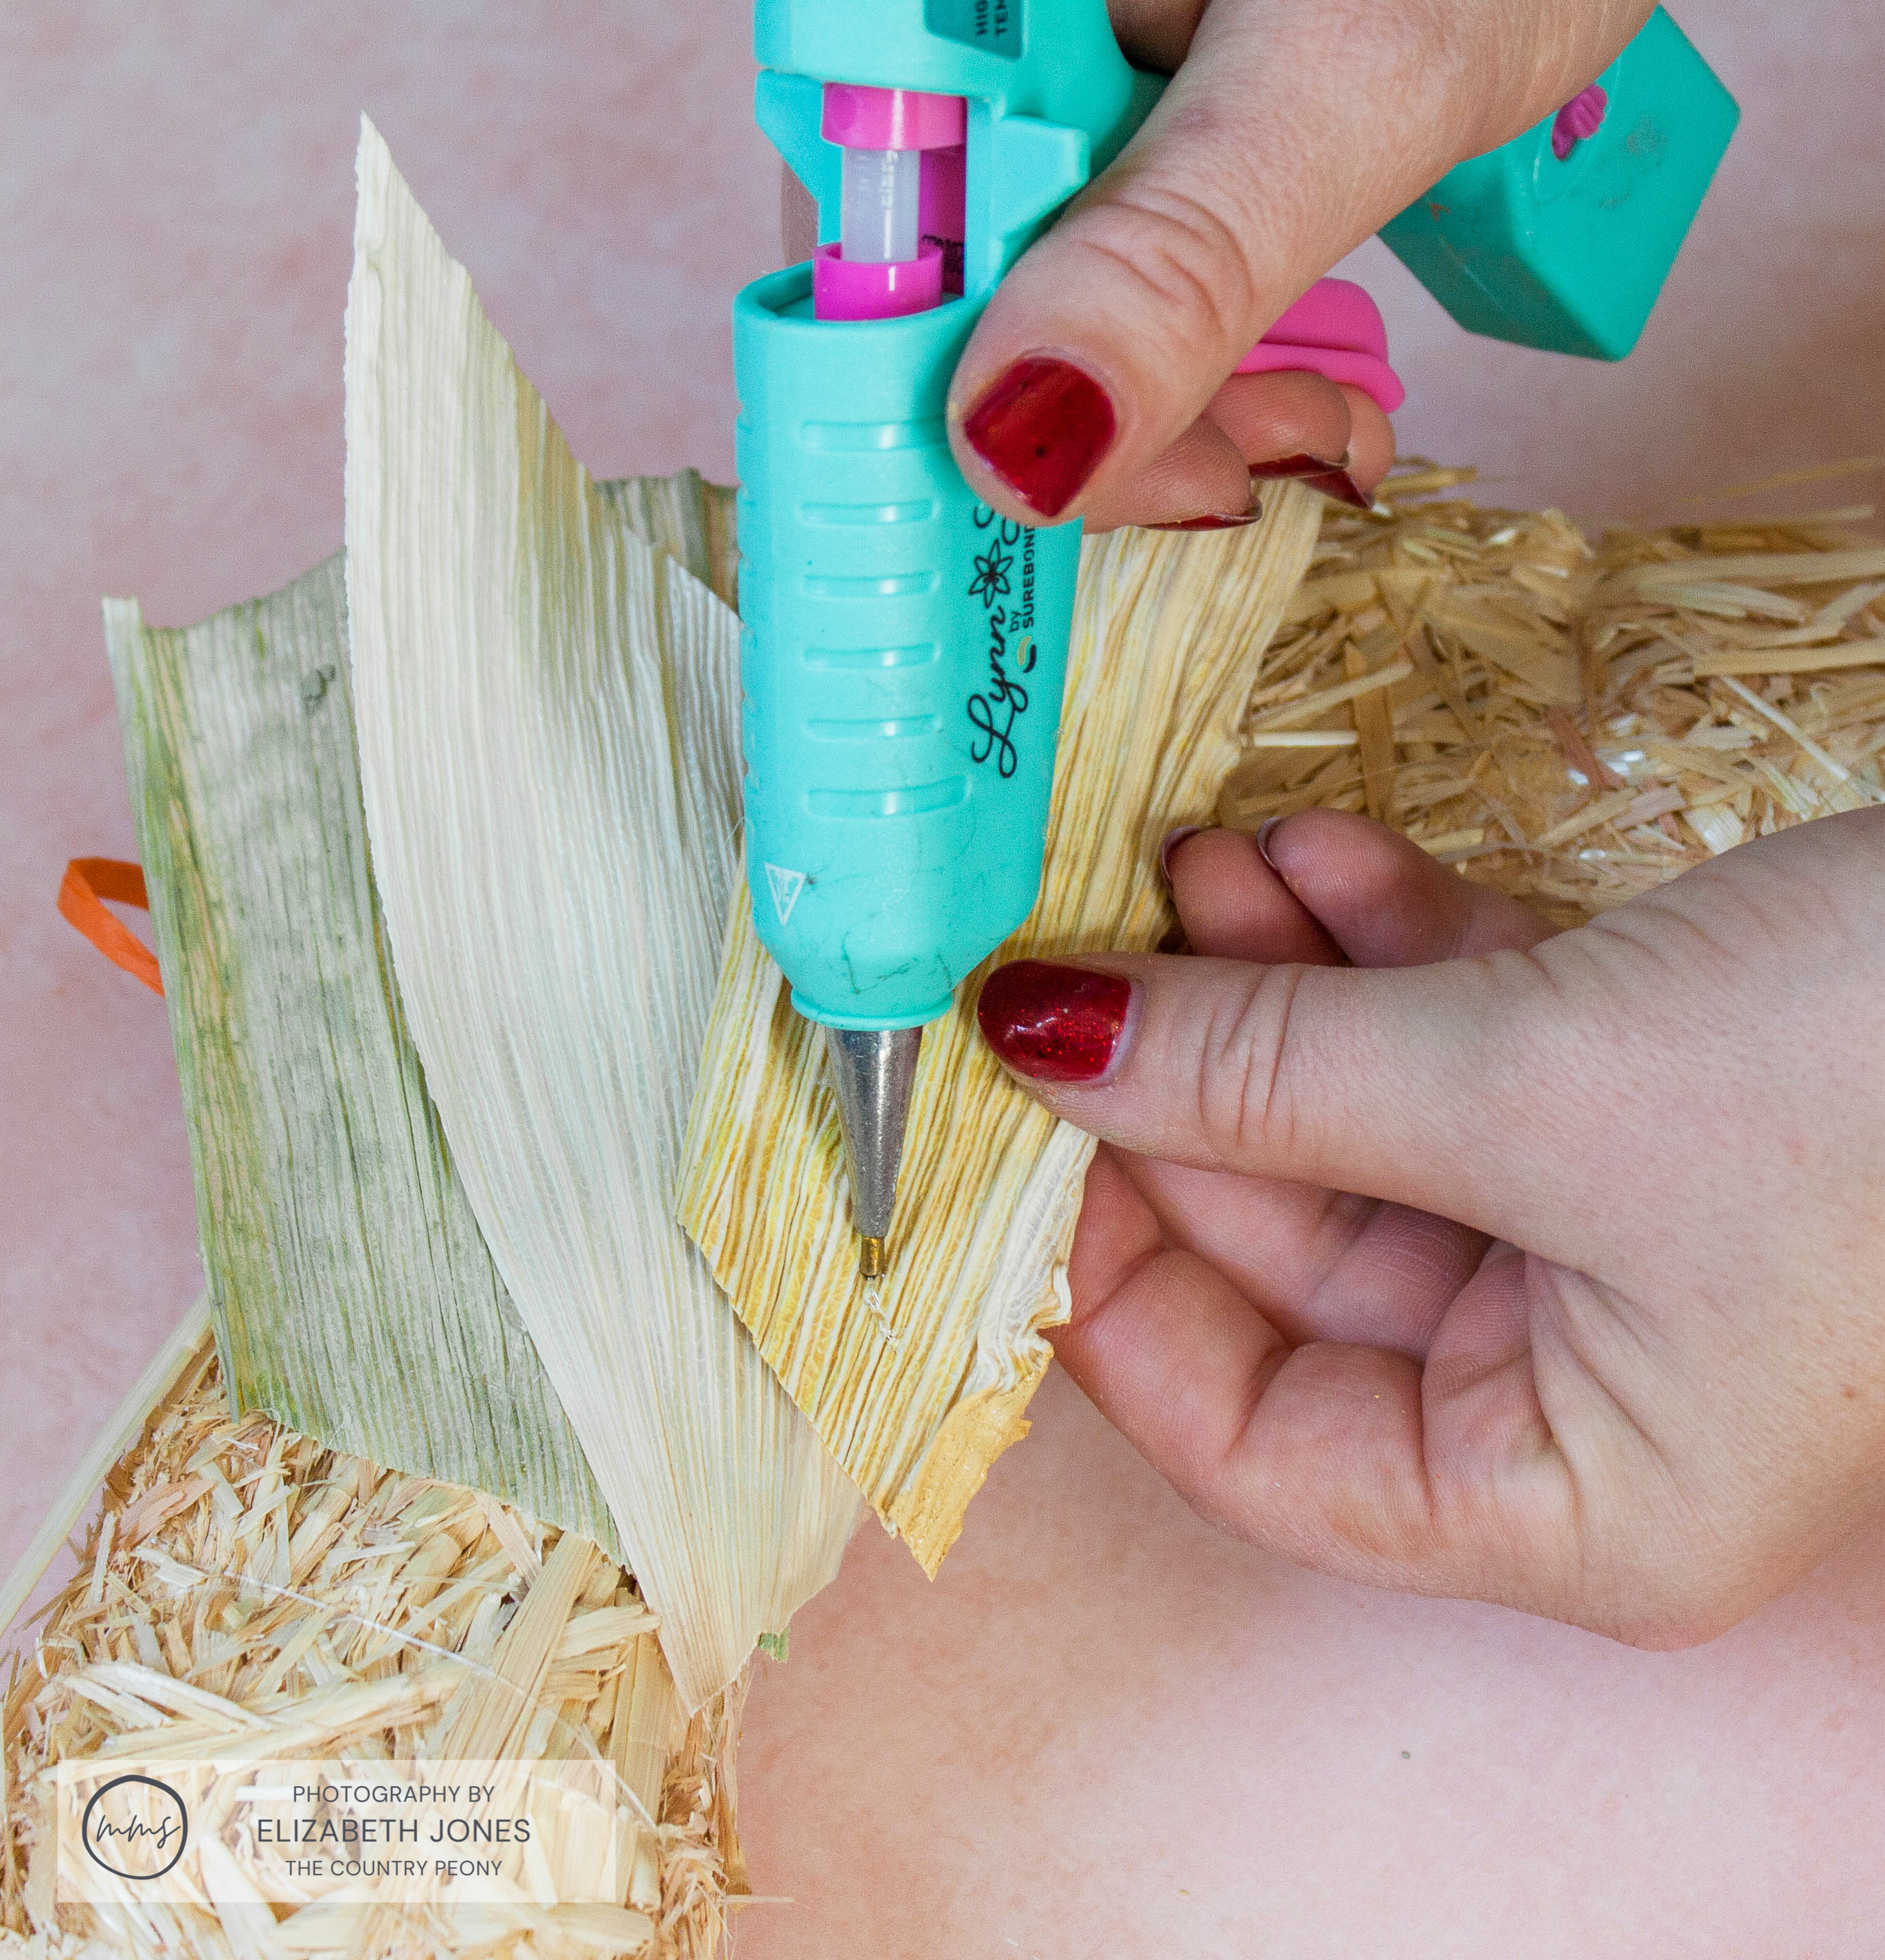
Once you have a pattern, choose your first corn husk and apply glue to the bottom of the non-painted side.

Then, gently press it onto your straw wreath about 3/4 of the way down. Let the corn husk extend above the wreath edge to create interest and height.
Continue to add more pieces in your chosen pattern all the way around the wreath. Overlap the pieces on top of each other for full wreath coverage.


You can watch this process in action in the tutorial video above.
Once you add your first layer of corn husks all the way around the face of the wreath, start adding a second layer on the interior of the wreath to cover the straw so you can’t see it.
First, hot glue the bottom part of the corn husk to the interior.
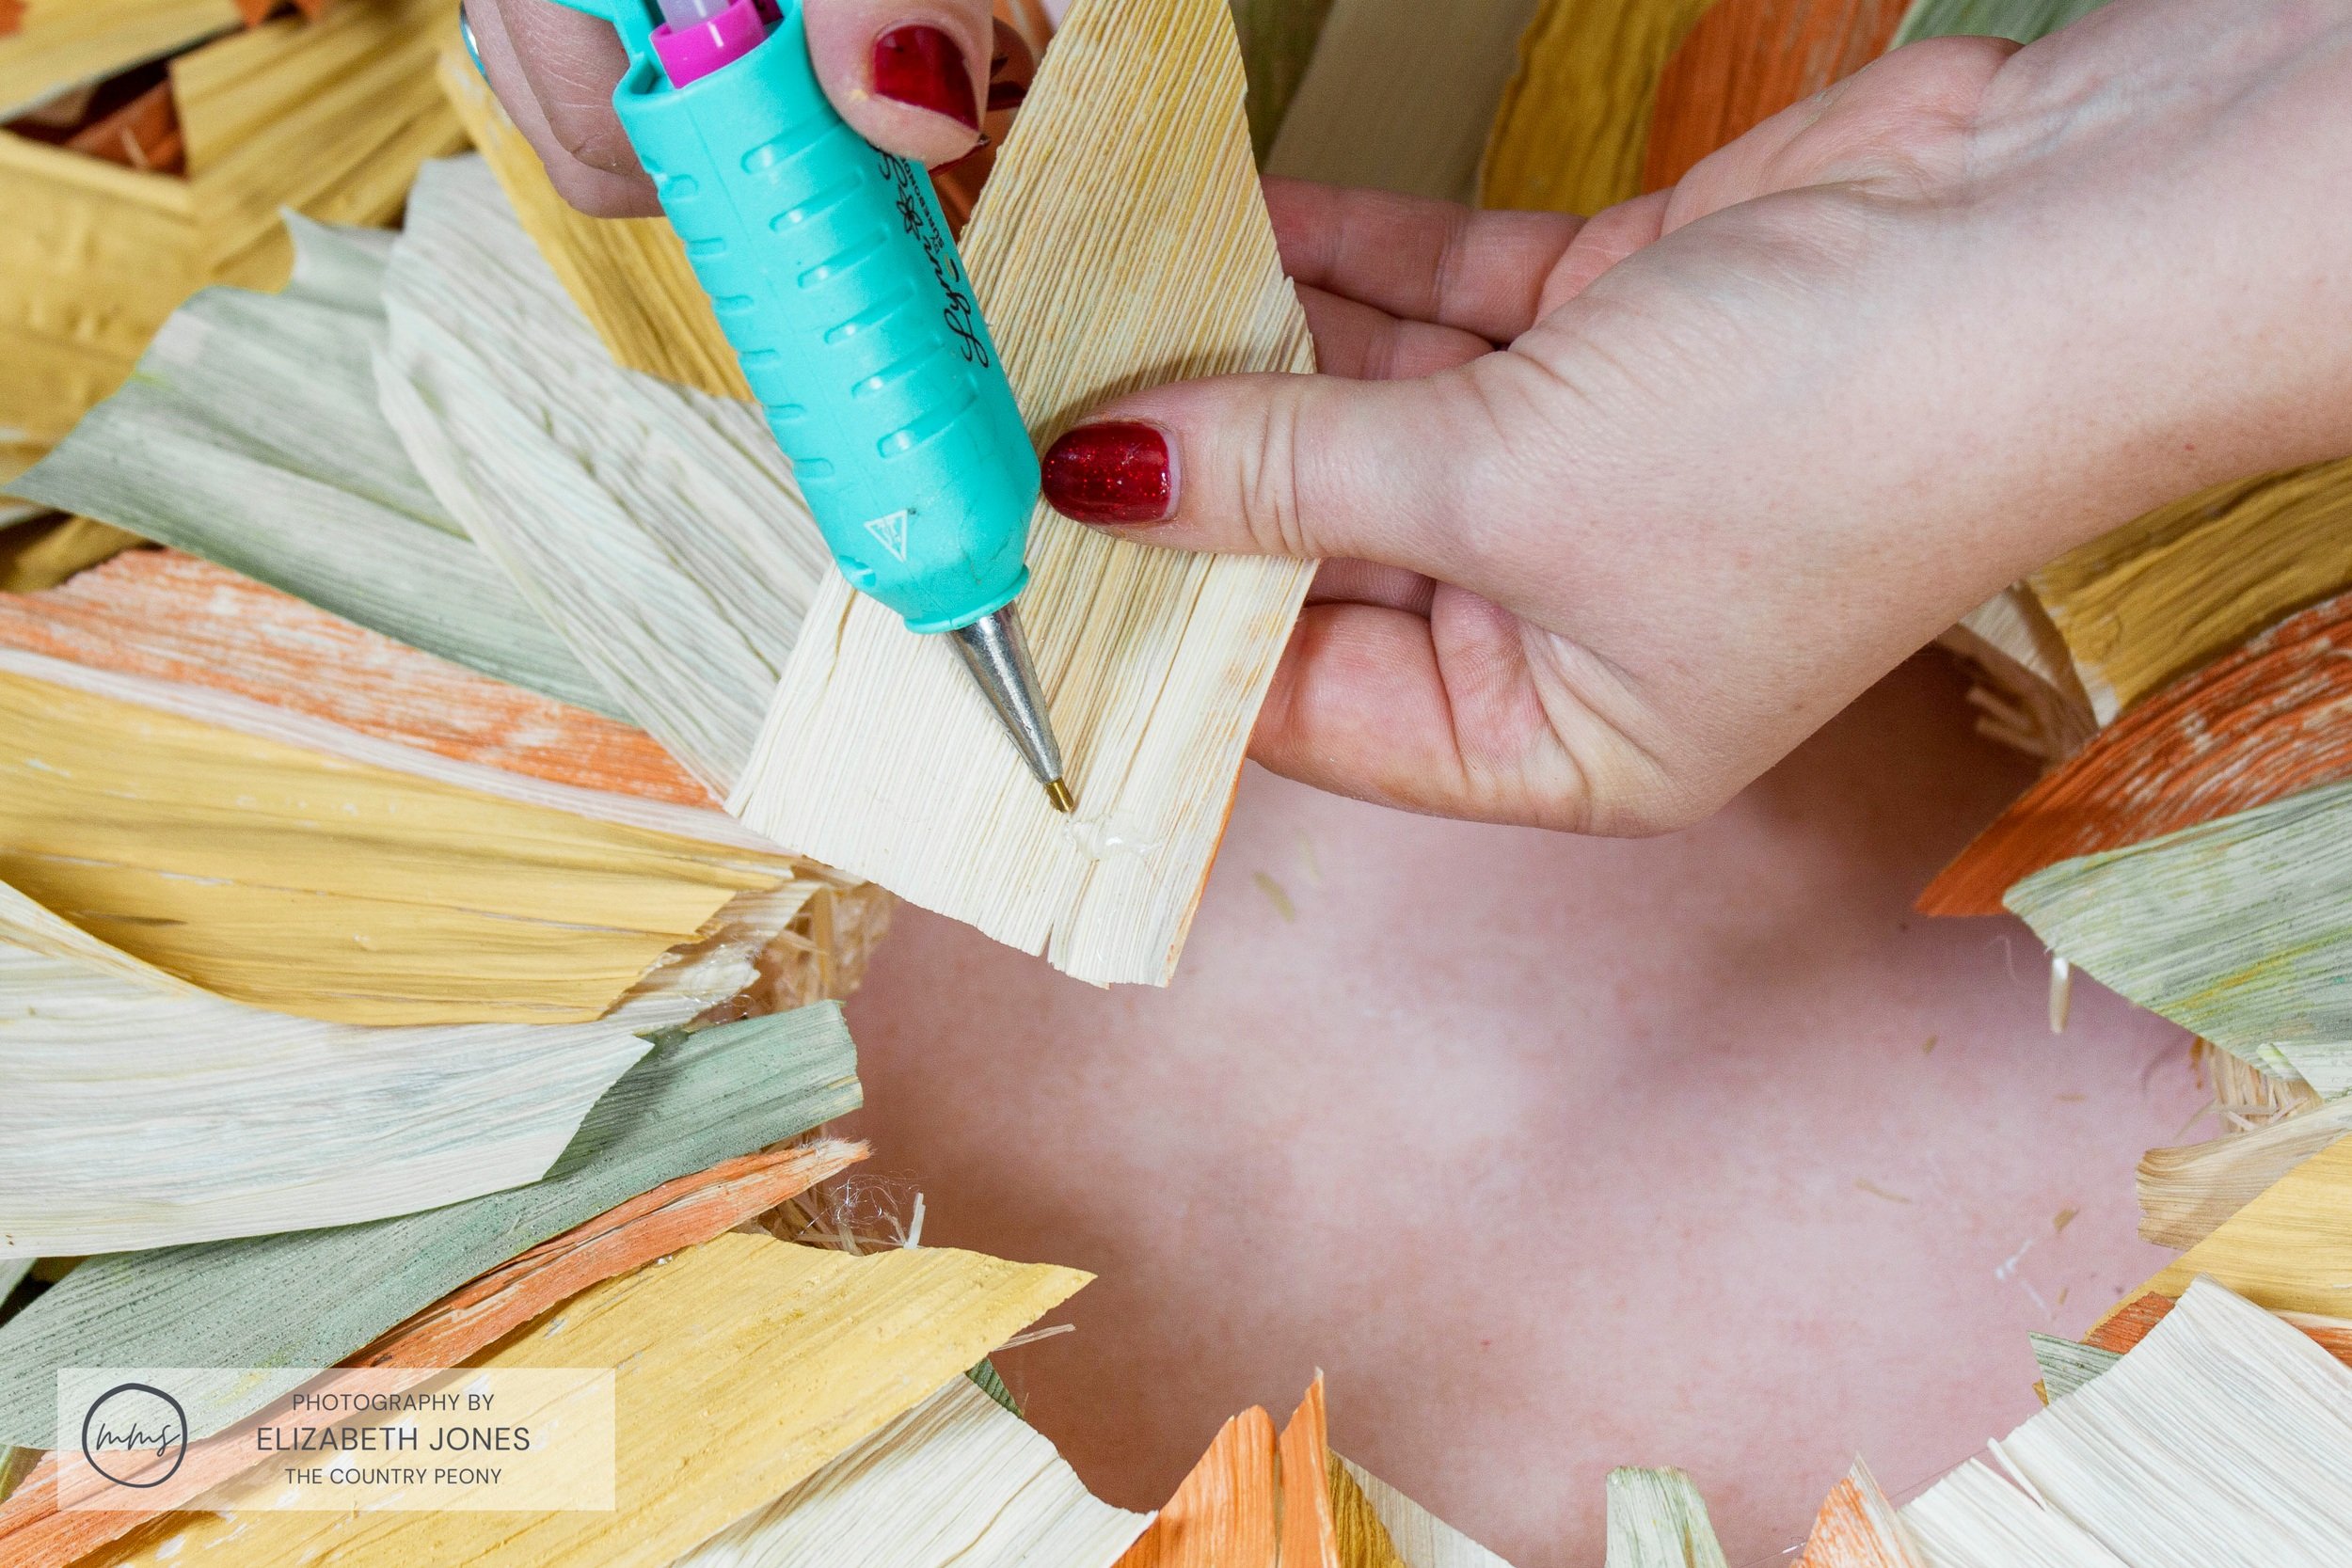
Then, fold it over top of the original corn husk layer so it overlaps.

See how it covers the straw part of the wreath?

Continue until you cover the entire wreath!

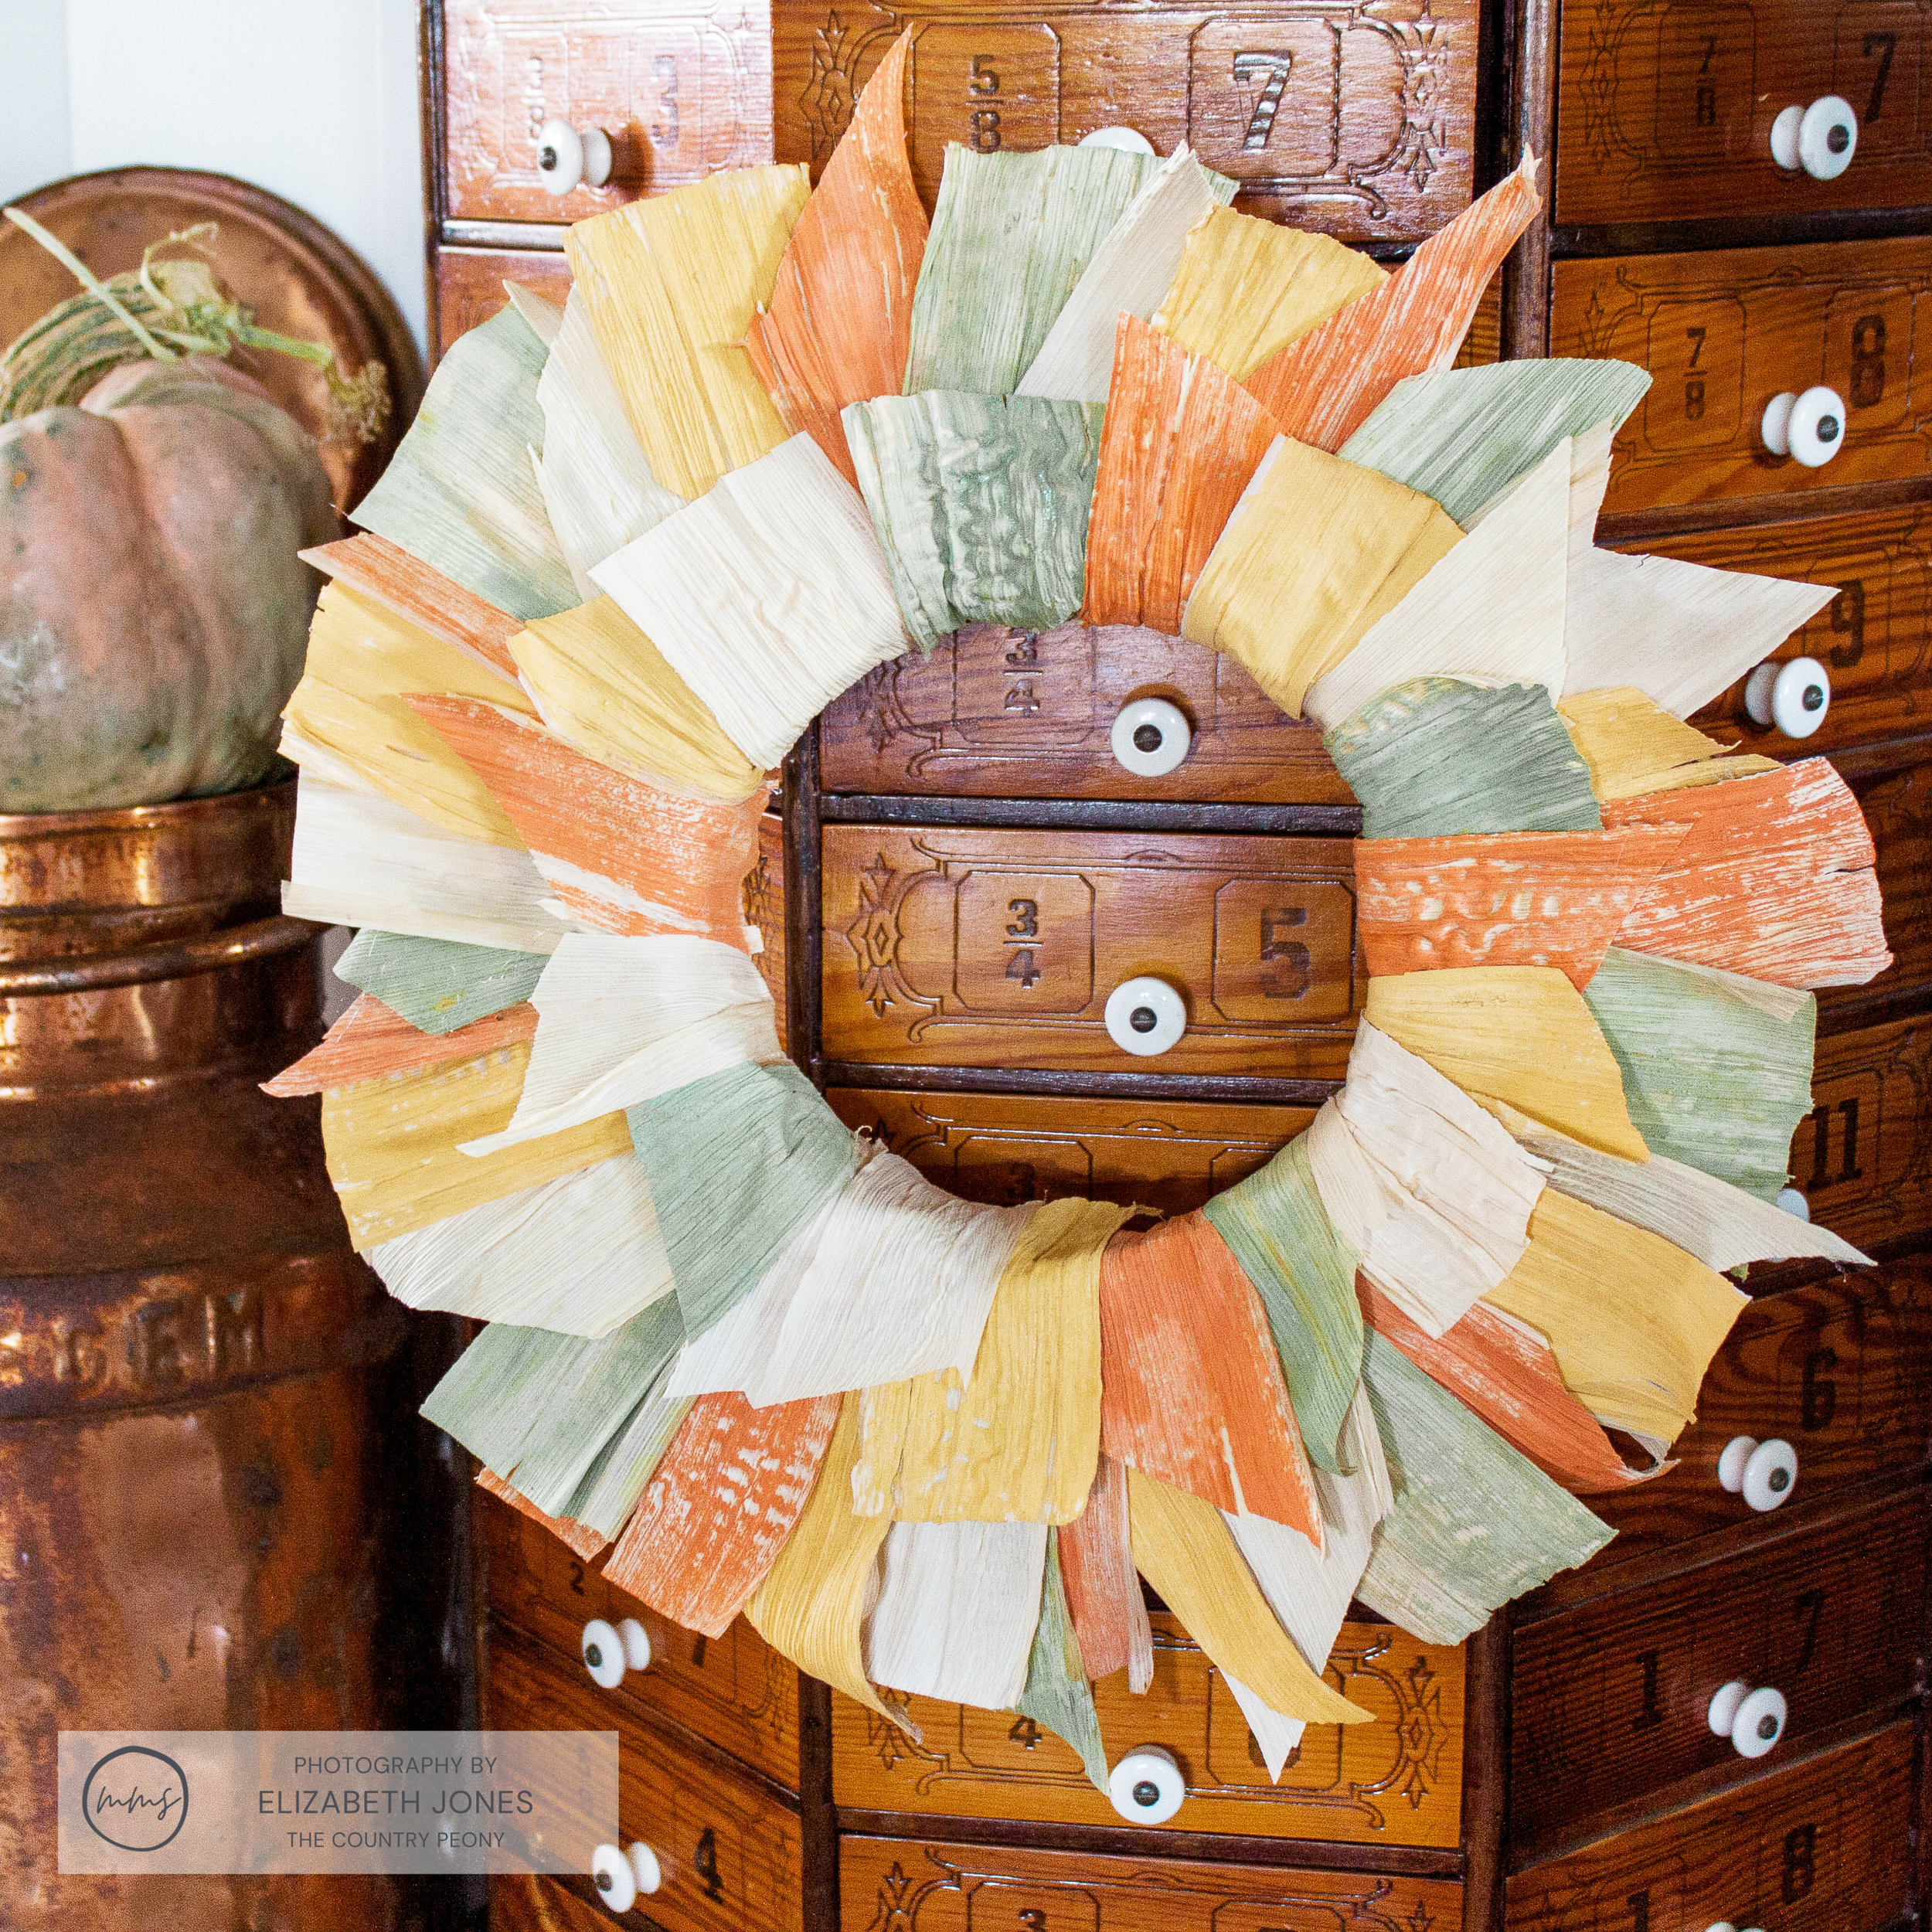
Step 6: Display and Enjoy Your Custom Wreath!
Display your wreath for all to enjoy this season!

As an alternative to hanging your wreath, you could lay it on your Thanksgiving table and place a cake stand in the middle with pumpkins on top or place candlesticks inside of it!
However you decide you display your MilkPaint™ Thanksgiving Corn Husk Wreath, I hope you enjoy the process of making it!
Thank you so much to Miss Mustard Seed’s® Milk Paint for having me, and thank you all so much for following along today. I hope you enjoy experimenting with Miss Mustard Seed’s® Milk Paint as much as I do!