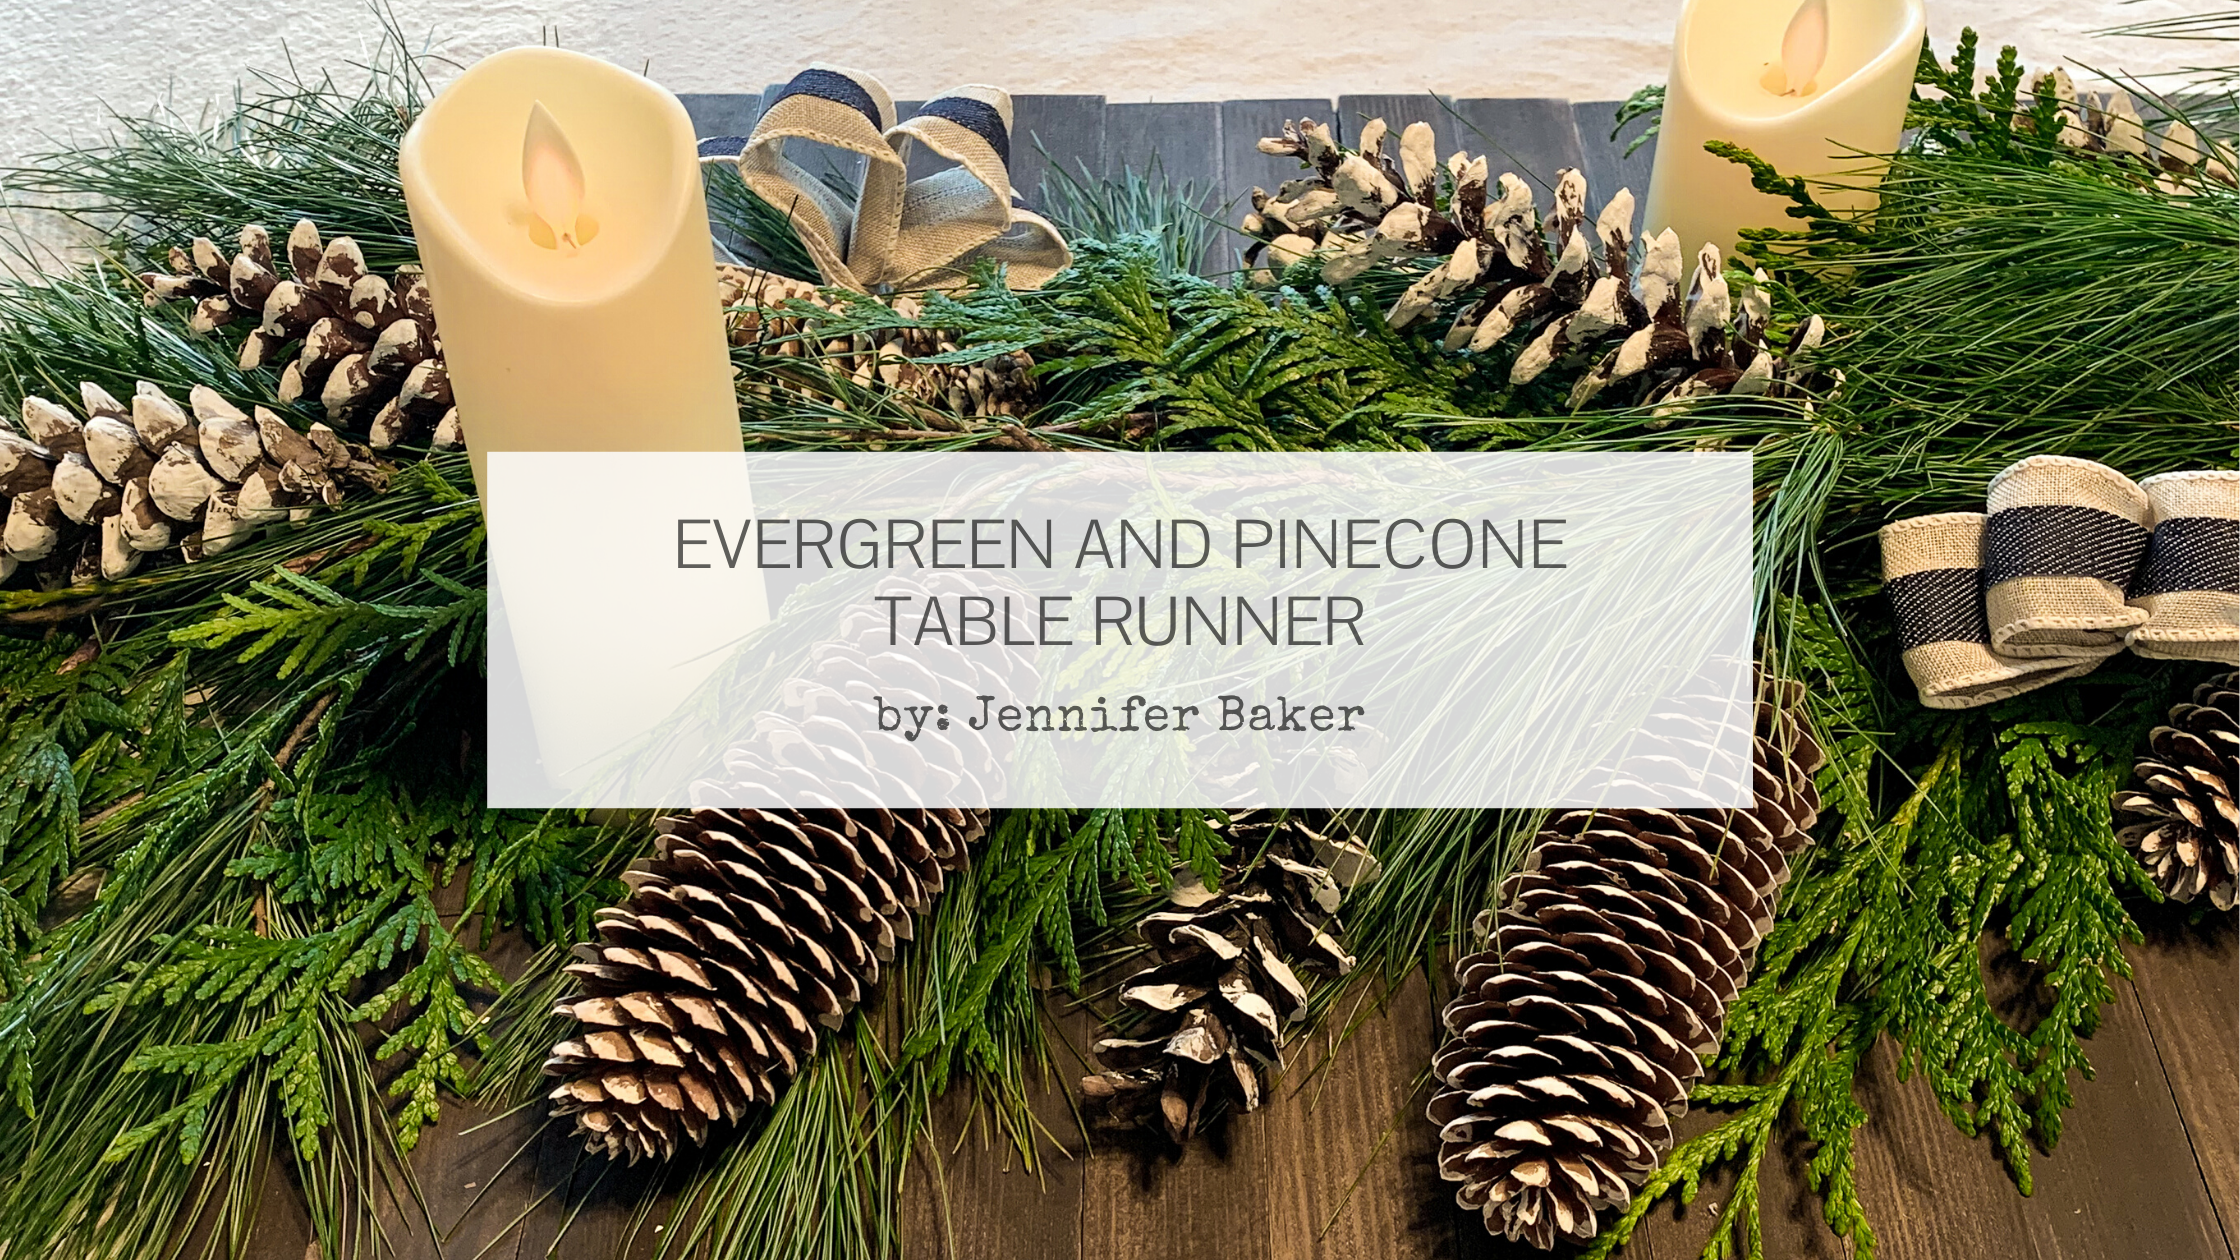
Evergreen and Pinecone Table Runner
As a first time homeowner, decorating for the holidays is 10 times as exciting. My husband and I worked so hard to afford our townhome, and decking its halls is a celebration of our accomplishment.
Unfortunately, I had major sticker shock when I went shopping for faux greenery and florals. Simple table pinecone and evergreen garland were upwards of $50 (USD) in some cases!
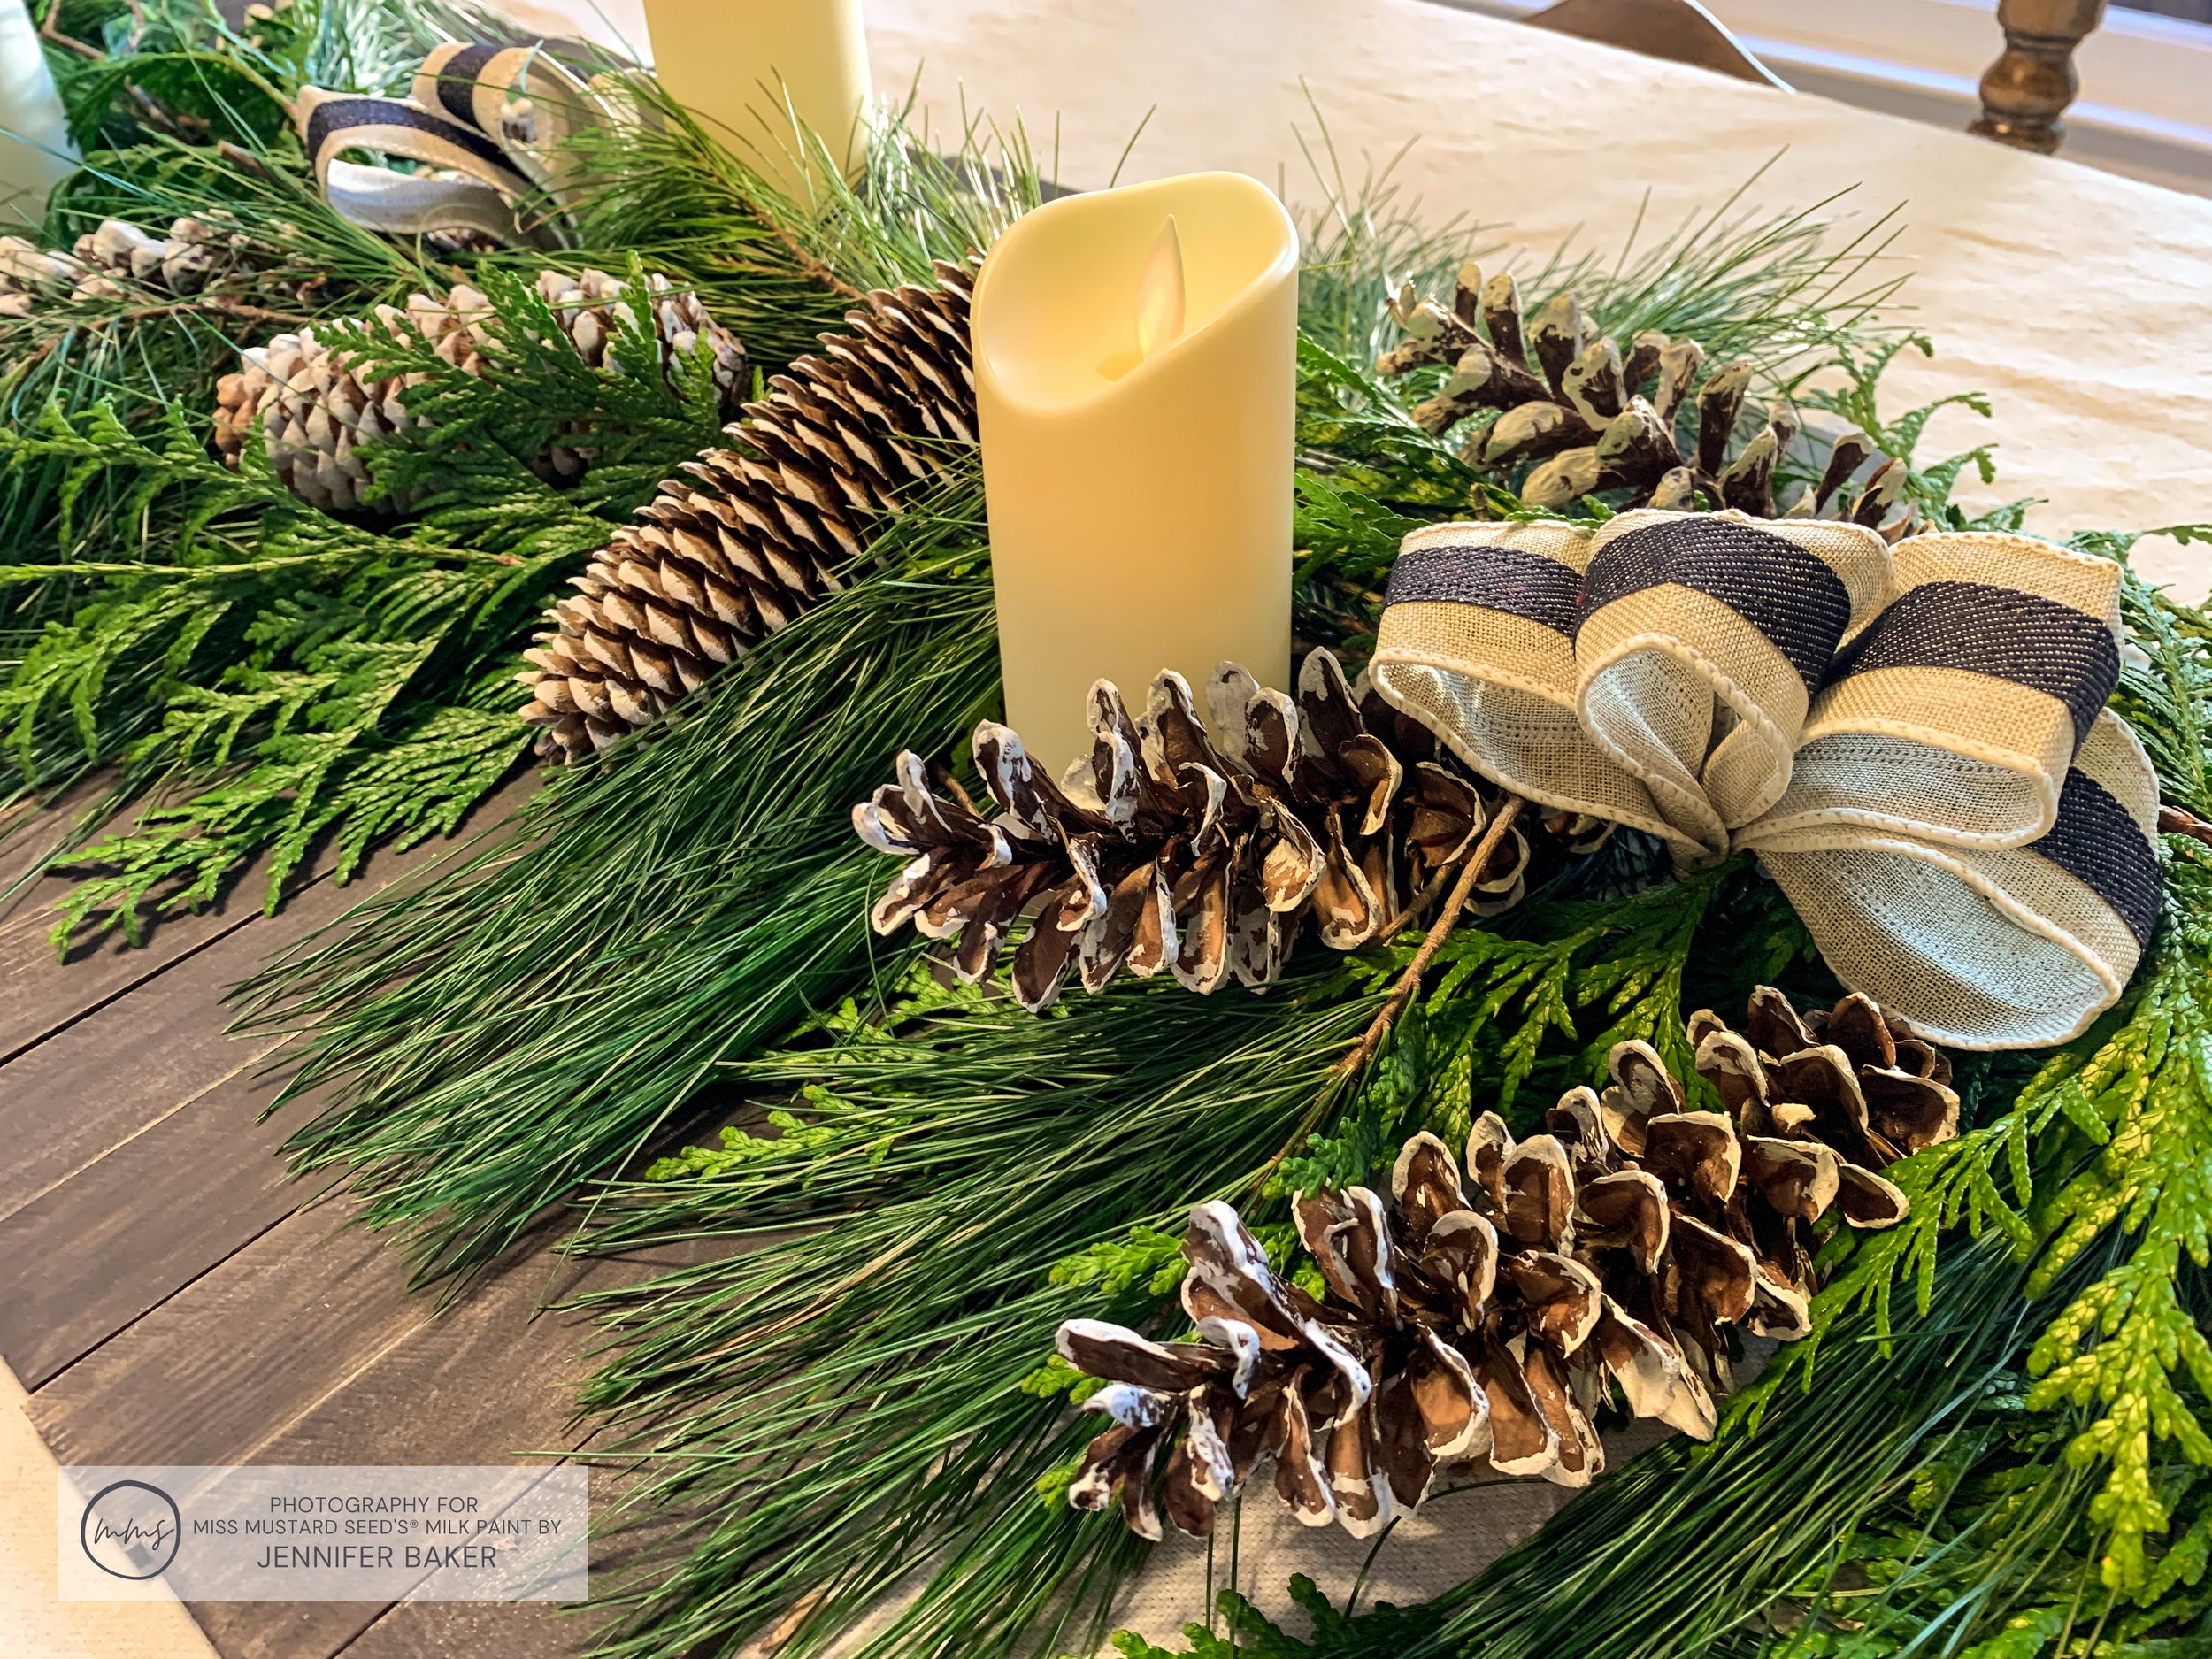
To get the rustic and natural look I wanted for our home, I decided to make my own evergreen and pinecone decorations. I started in the dining room with a lush evergreen and pinecone garland sitting atop a wooden table runner made from paint stir sticks.
The best part is that the entire project cost me about $20 (USD)! So if you’re looking to create natural and rustic Christmas decorations for your home, I know you’ll be inspired by my tutorials!
Project 1 - Making Evergreen And Pinecone Garland
Remember that sticker shock I mentioned? This is what I was talking about:

This is the garland that I was hoping to use in my home. The more I studied it, the more I realized that I could probably make it myself. Further more, I could add more pizzaz with MMS MilkPaint™!
Step 1 - Foraging For Evergreens And Pine Cones
We have some pine trees right behind our townhome. Even though they were a bit sparse, there were plenty of slender boughs to snip.

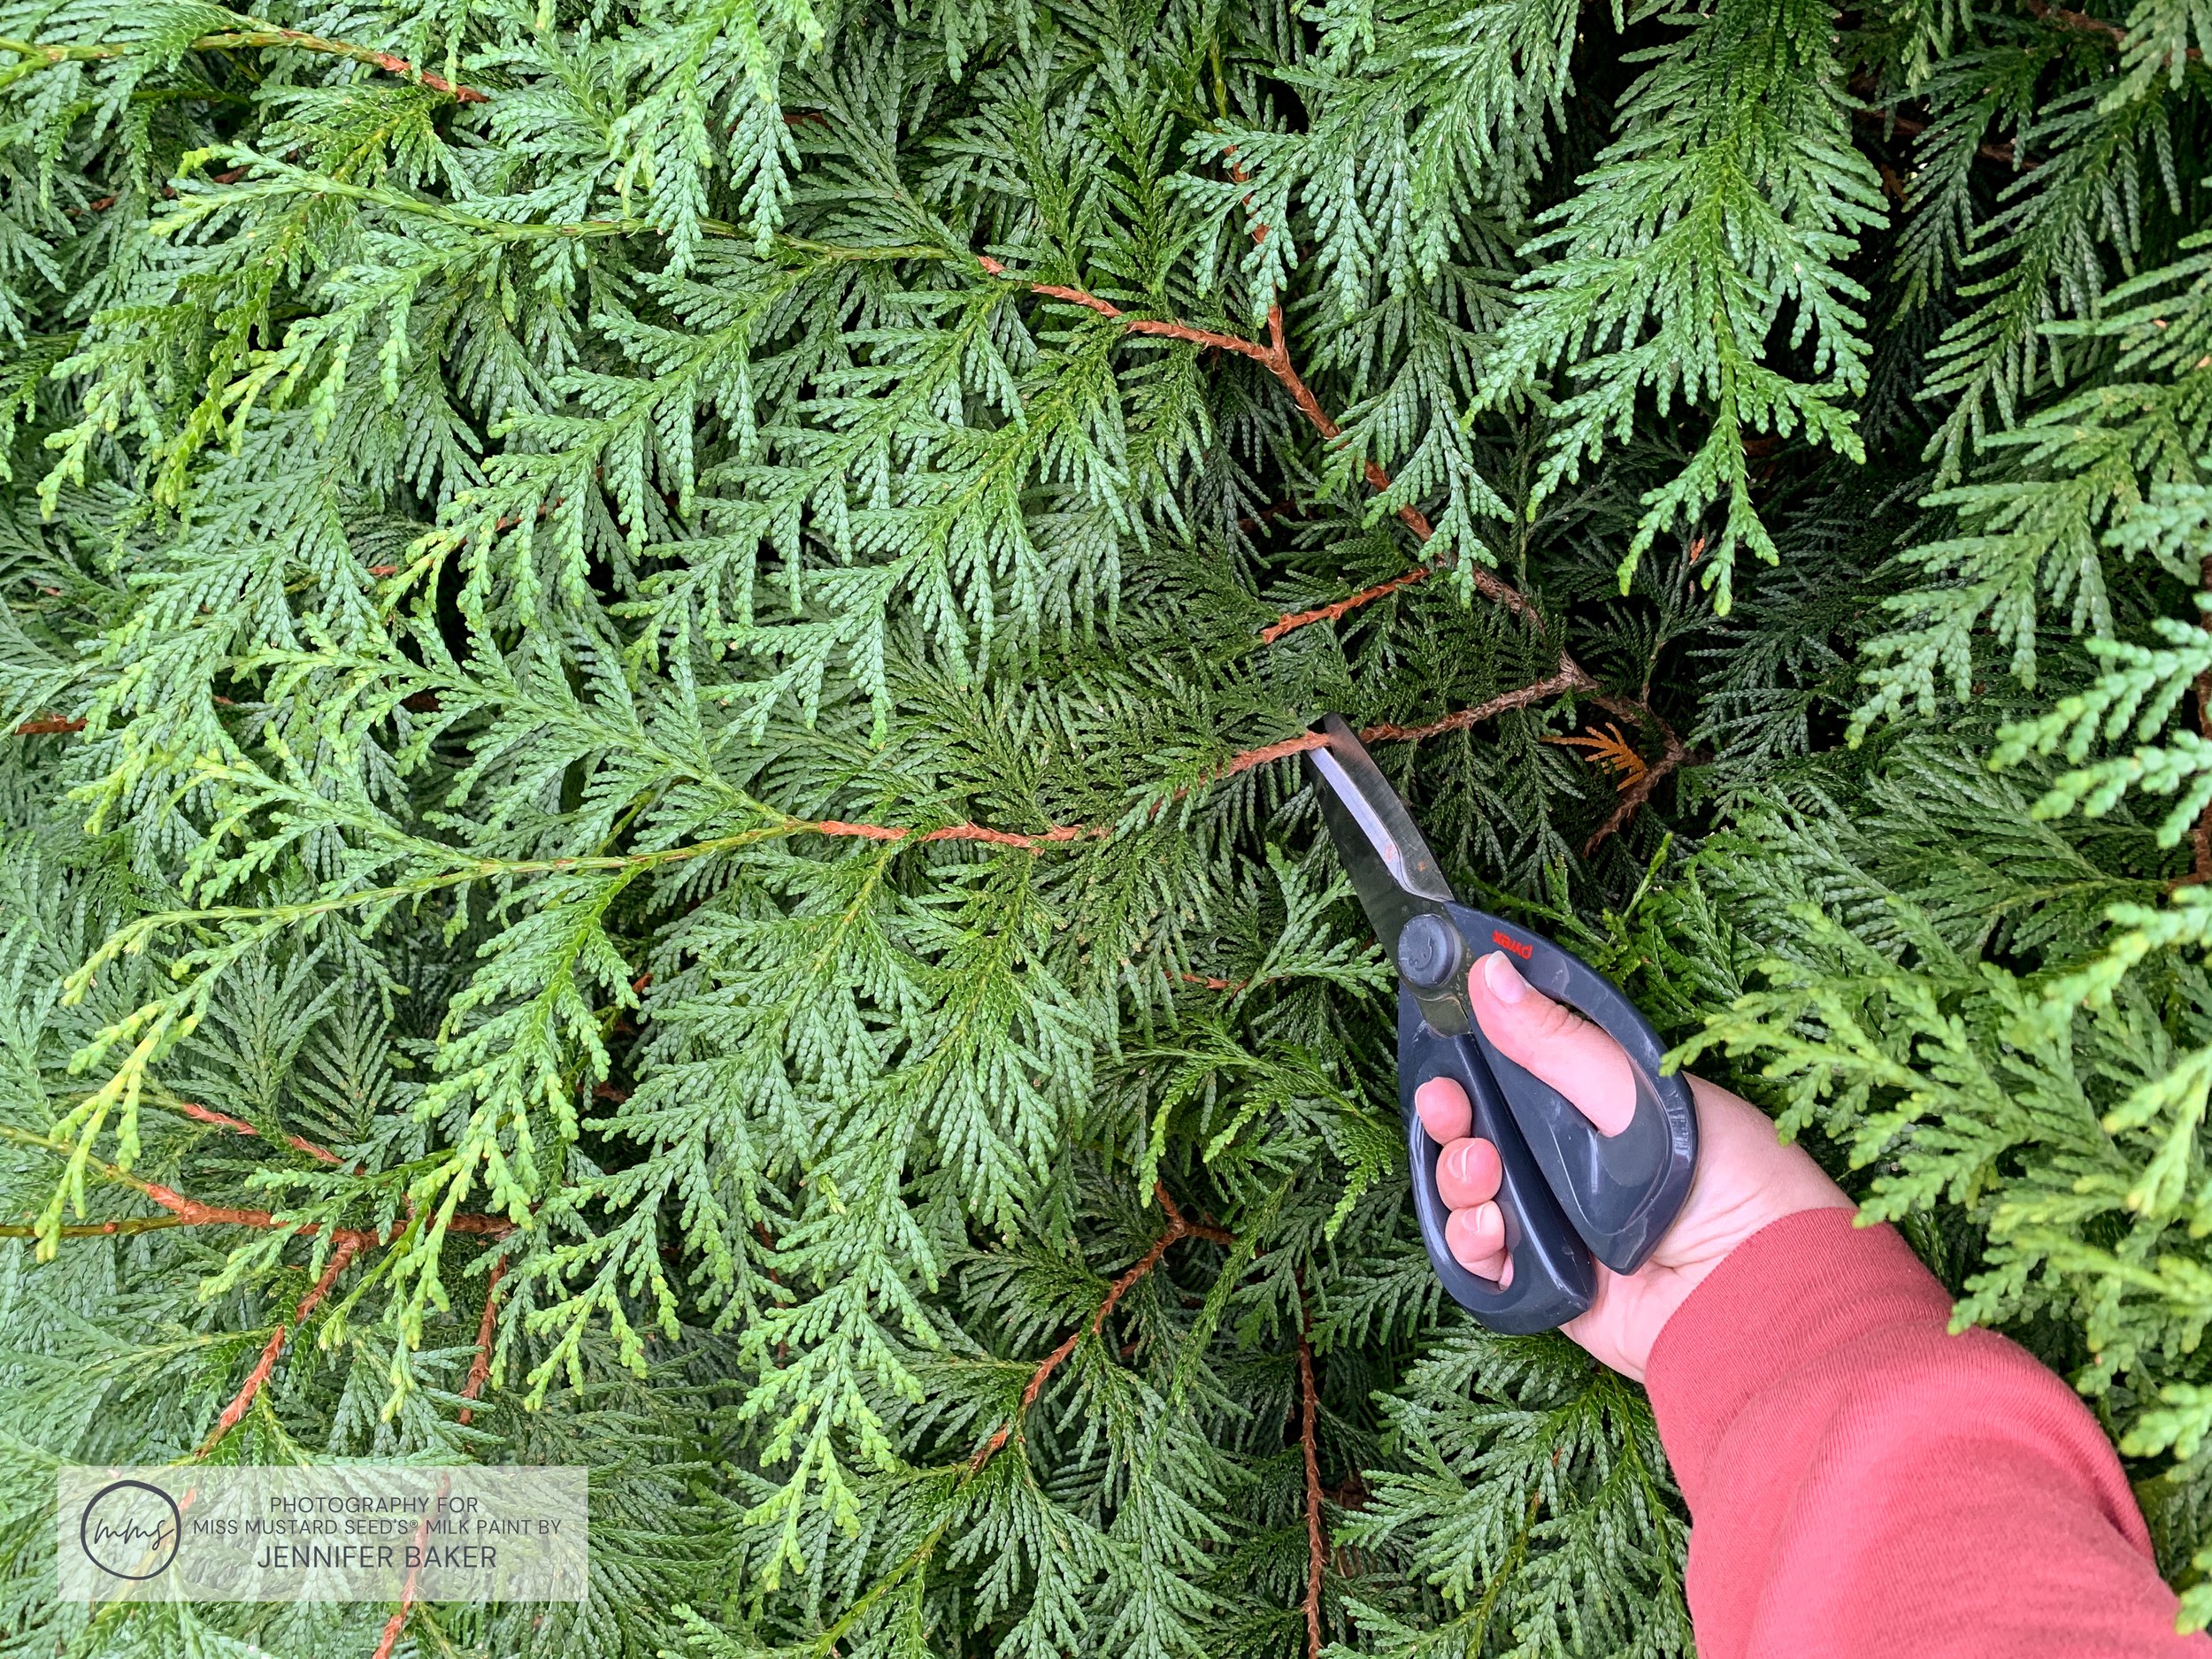
Using pruners, I snipped a trashcan full of stems. Make sure that you leave plenty of stem on yours too! This will help you later when it’s time to assemble the garland.

I also grabbed some pinecones that were laying here and there. My foraged bits were all placed in a trashcan for easy transport. (Fancy, huh?)

After a short ride over to my parents’ house, I snipped some Giant Green Arborvitae from their back yard. I thought the bright green clippings would make a nice addition to the garland. They also have a lovely sweet resin smell that I wish I could bottle!
Finally, I snagged some spruce pinecones from their neighbor’s yard. (Don’t worry, I asked first.)
Step 2 - Baking The Pinecones
It’s important to make sure that any natural materials you bring into your home are bug-free. You don’t want any critters hitching a ride into your living room!
My evergreens were shaken outside to remove any dead needles. The pinecones, however, needed to go into an oven at 250°F for 30-45 minutes. This baking process did a few things. First, it opened the leaves up a bit, releasing seeds that were inside. This also made the pinecones easier to paint!
Secondly, baking the pinecones killed any bugs that were inside.
(I did have a few worms in mine. Sorry little guys.)
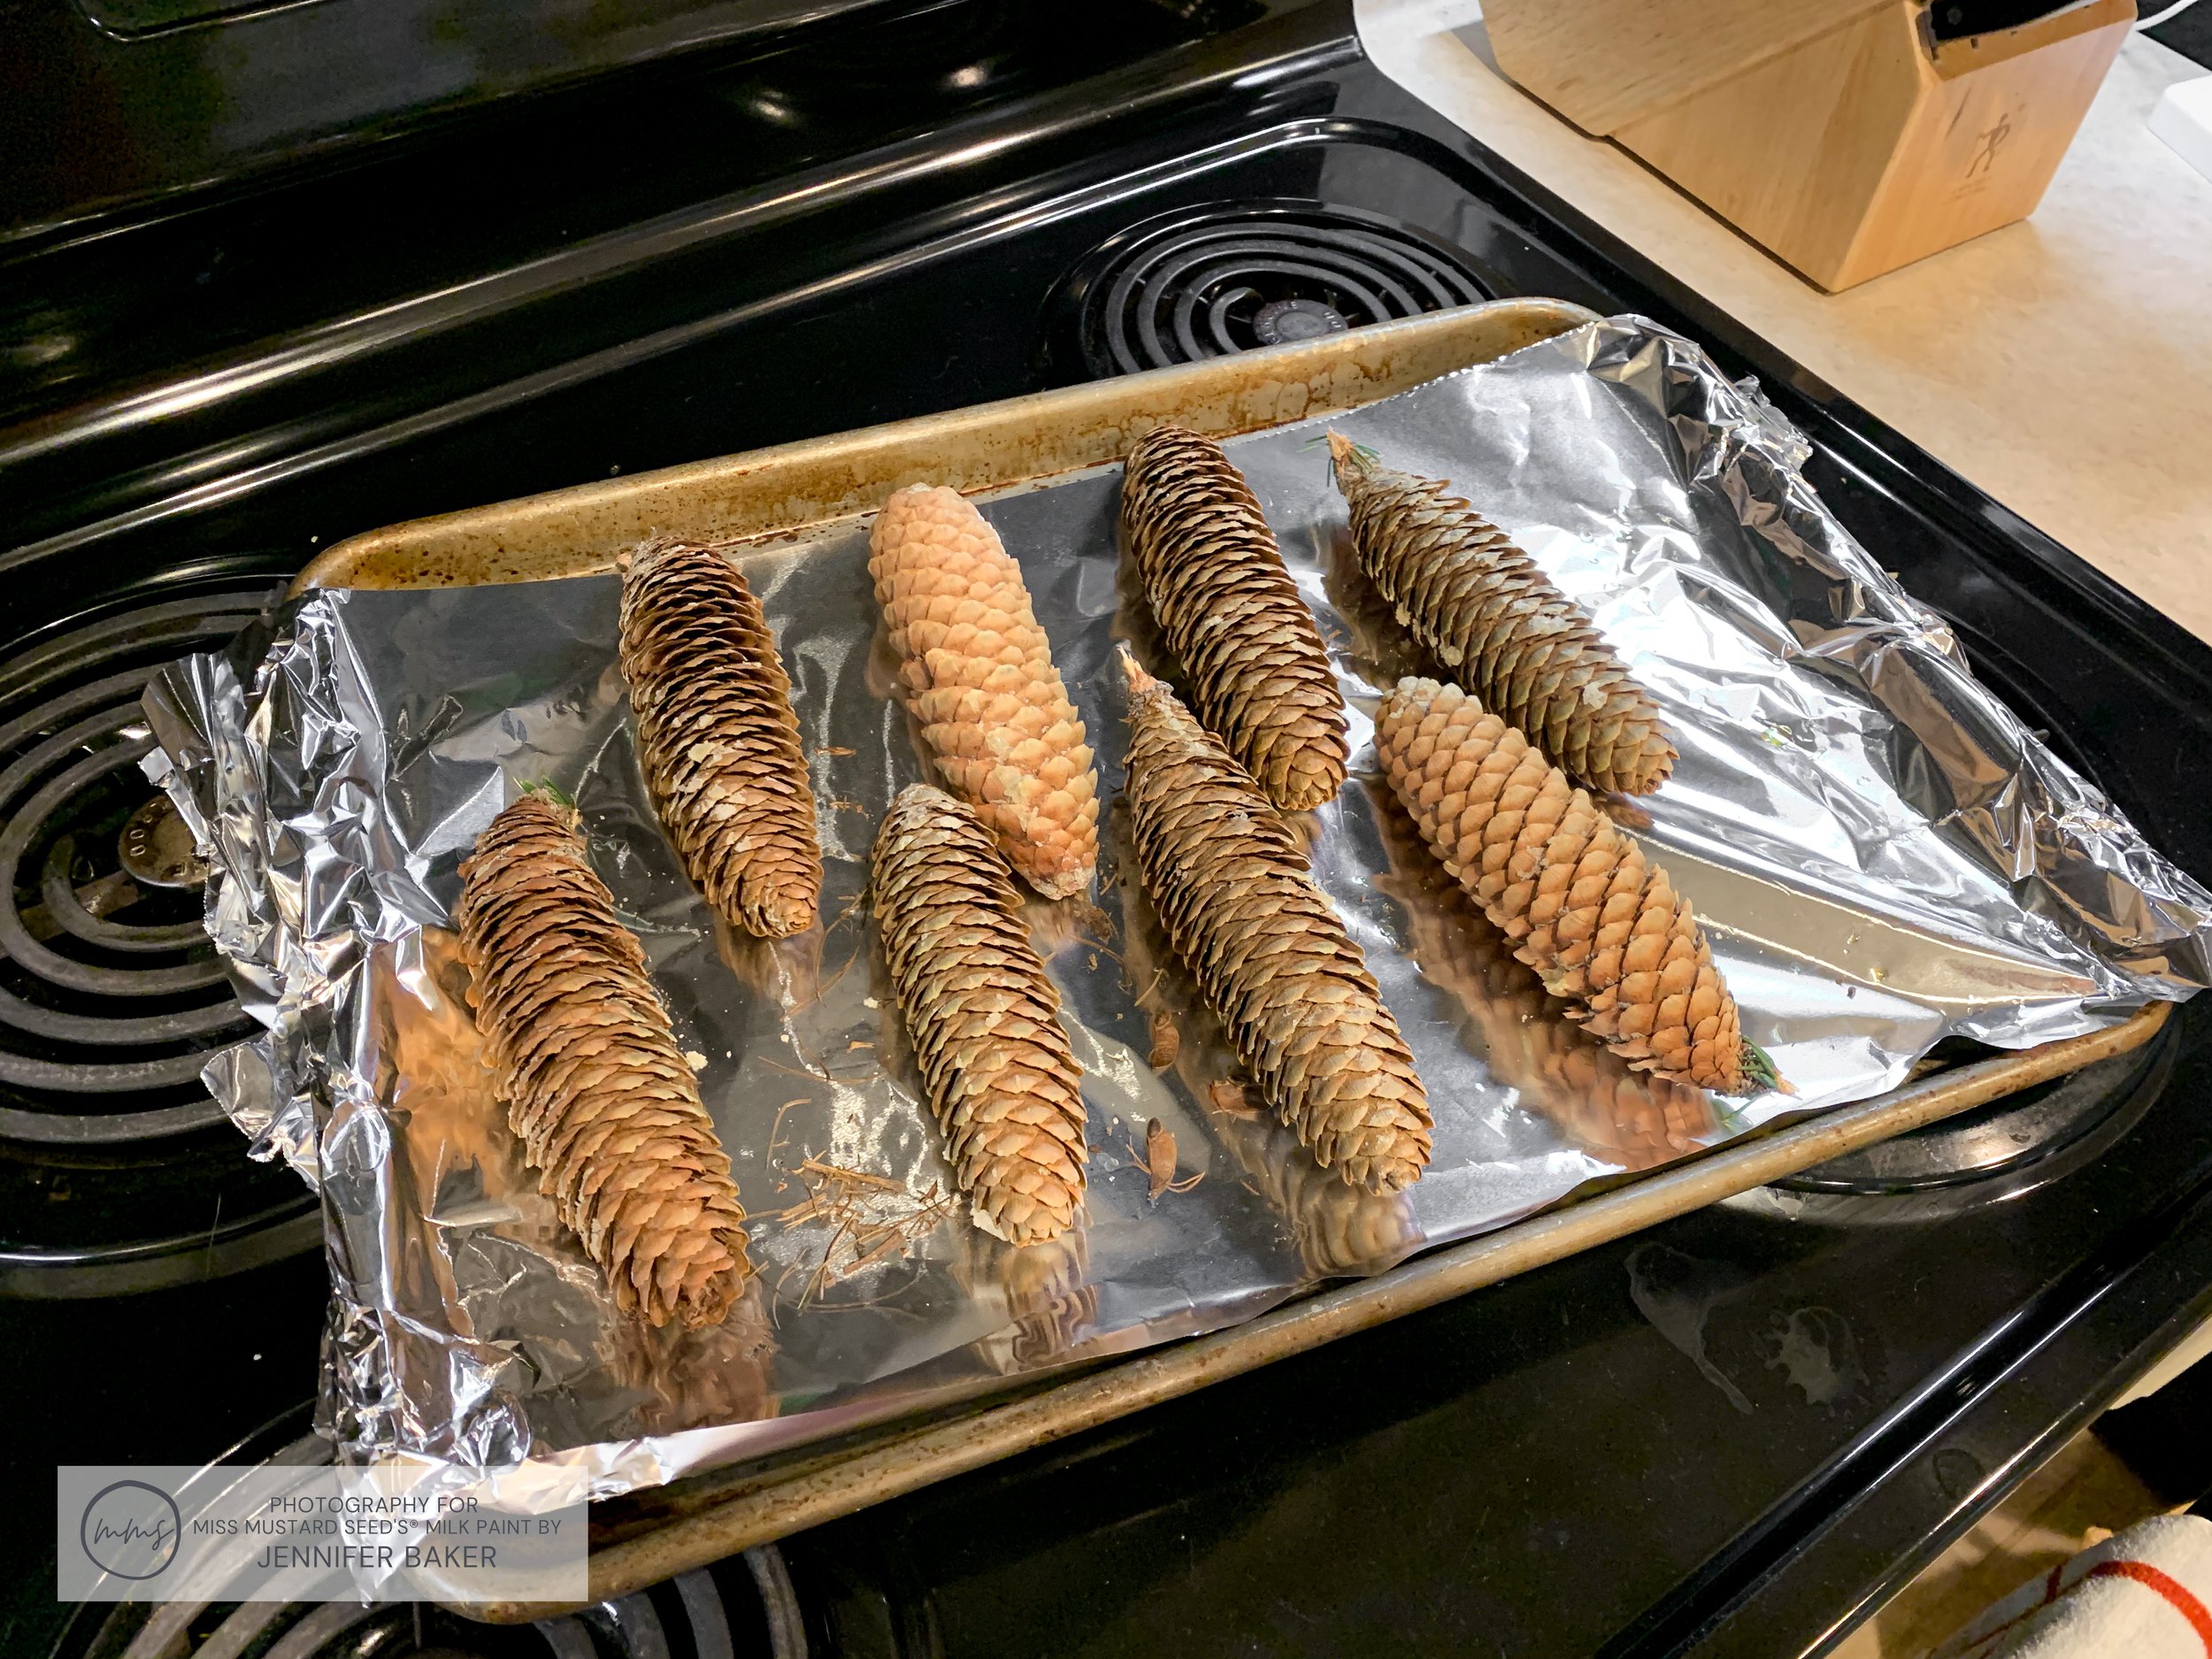
Spruce Pine Cones Before Baking

Spruce Pine Cones After Baking
The baking process also dried the sap so it didn’t get on my hands or furniture. Tip: If you get sap on your hands, use alcohol-based hand sanitizer to remove it!

Step 3 - Wiring The Greens Together
As the pinecones cooled off, I started assembling the garland. I started by laying 2 pine boughs on top of one another.

To keep the stems together, I wound a piece of floral wire around them, twisting it tight so they didn’t come apart.


Next, I took another pine bough and place it on top and slightly below the two I just wired. This is where that extra bit of stem came into play. I had plenty of places to wire everything together!

This third piece was wired to the first two. I continued this process one piece at a time, and the garland began to grow.
The process continued until I reached the length I wanted. You can place your garland on a table, wire it to a railing or drape it over a hutch cabinet. The choice is up to you! Make yours however long it needs to be.
Here’s what mine looked like:

Once the pine boughs were all wired, I went back and filled in with the Arborvitae pieces.

The whole process took me about an hour. Some of that was shushing my two cats away from the garland. Apparently “evergreen garland” means “snack” in cat language!
Step 4 - Painting The Pinecones With Miss Mustard Seed’s® Milk Paint
By the time the garland was wired together, the pines were cooled from being in the oven. I thought it would be nice to add Ironstone MilkPaint™ to the tips to make them look snow-covered.
To start, I mixed up 2 tablespoons of Ironstone. You can refer to this blog post to learn how to mix MilkPaint™.

I mixed up 2 tablespoons of Ironstone

A mini whisk is my stirring tool of choice
Using a small artist’s brush, I gently swept the tips of the pinecones with the Ironstone.


It was such a fun process because every pinecone was different. The Ironstone MilkPaint™ adhered beautifully and added that dusting of snow that I wanted. If you look close, you can see little flecks of paint on the pinecone leaves. The random pattern added to their natural charm!

It hardly took 15 minutes for the pinecones to dry!

Step 5 - Wiring The Pinecones To The Garland
Once the pinecones were dry, I used more floral wire to attach them to the evergreen garland.

I placed the pinecones here and there, wiring them in a random pattern. The Ironstone painted pinecone tips were absolutely lovely!

Part 2 - Making A Paint Stick Table Runner
Once my evergreen and pinecone garland was finished, I turned my attention to making a table runner. To keep things inexpensive, I popped over to my local Home Depot and grabbed 5 gallon paint stir sticks. I needed 24 total to stretch across my table. They were $1.50 (USD) for a pack of 3 - score!
I used 5 gallon sticks as opposed to single gallons because I needed the width. Gallon-long stir sticks would be covered over by my garland. (And that, friends, defeats the point.)
Using some Curio MilkPaint™, Hemp Oil, hot glue and ribbon, my dining room table soon had a lovely rustic runner going down the middle!
To show you the process, I made this tutorial video:
When all was said and done, I spent roughly $20 on this entire project. That alone is an accomplishment because the inspiration garland I found was $50. This proves that with the help of MMS MilkPaint™, you can move mountains in your home no matter your budget!
I think it’s safe to say that my goal of creating a festive look was achieved!

And only you and I know how much it cost! (wink, wink)