
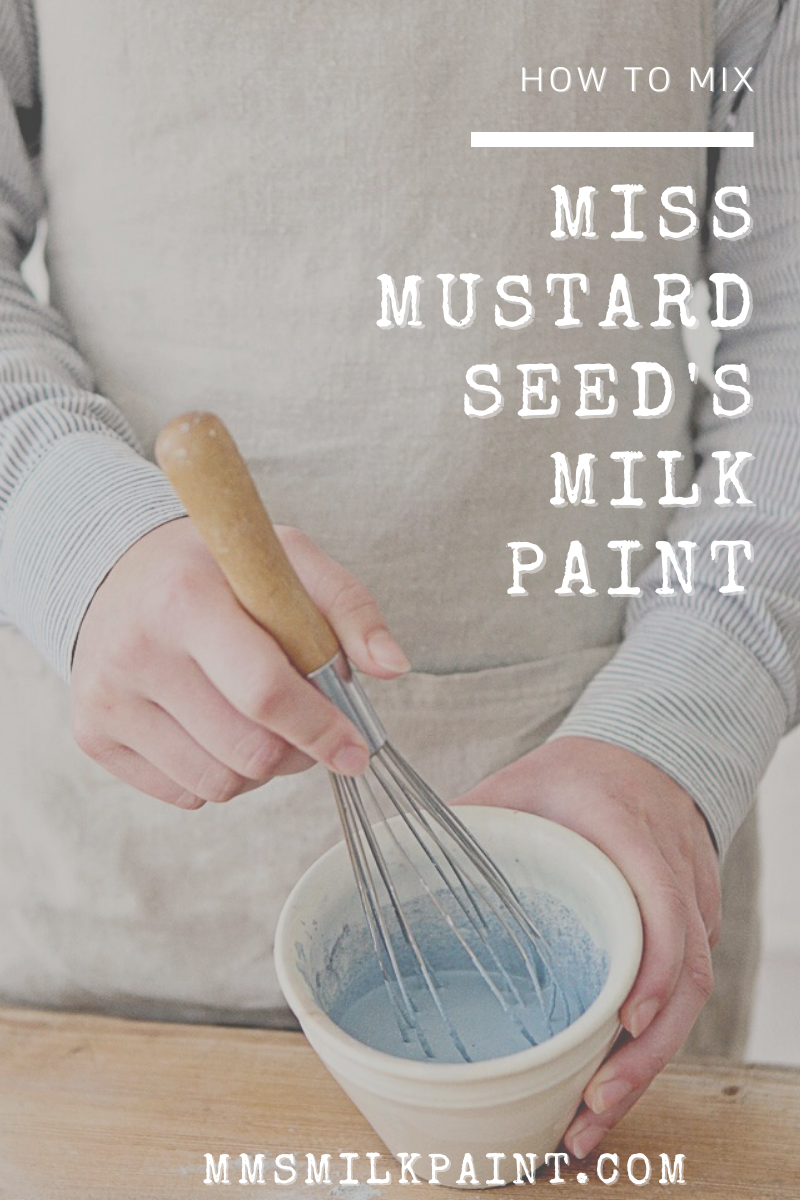
How to Mix MMS Milk Paint
3 Ways to Mix Miss Mustard Seed’s Milk Paint
Mixing Miss Mustard Seed’s Milk Paint is easier than you may think! We are sharing 3 ways to mix our powdered paint, and you can choose which method suits you best! After all, who doesn’t like options?
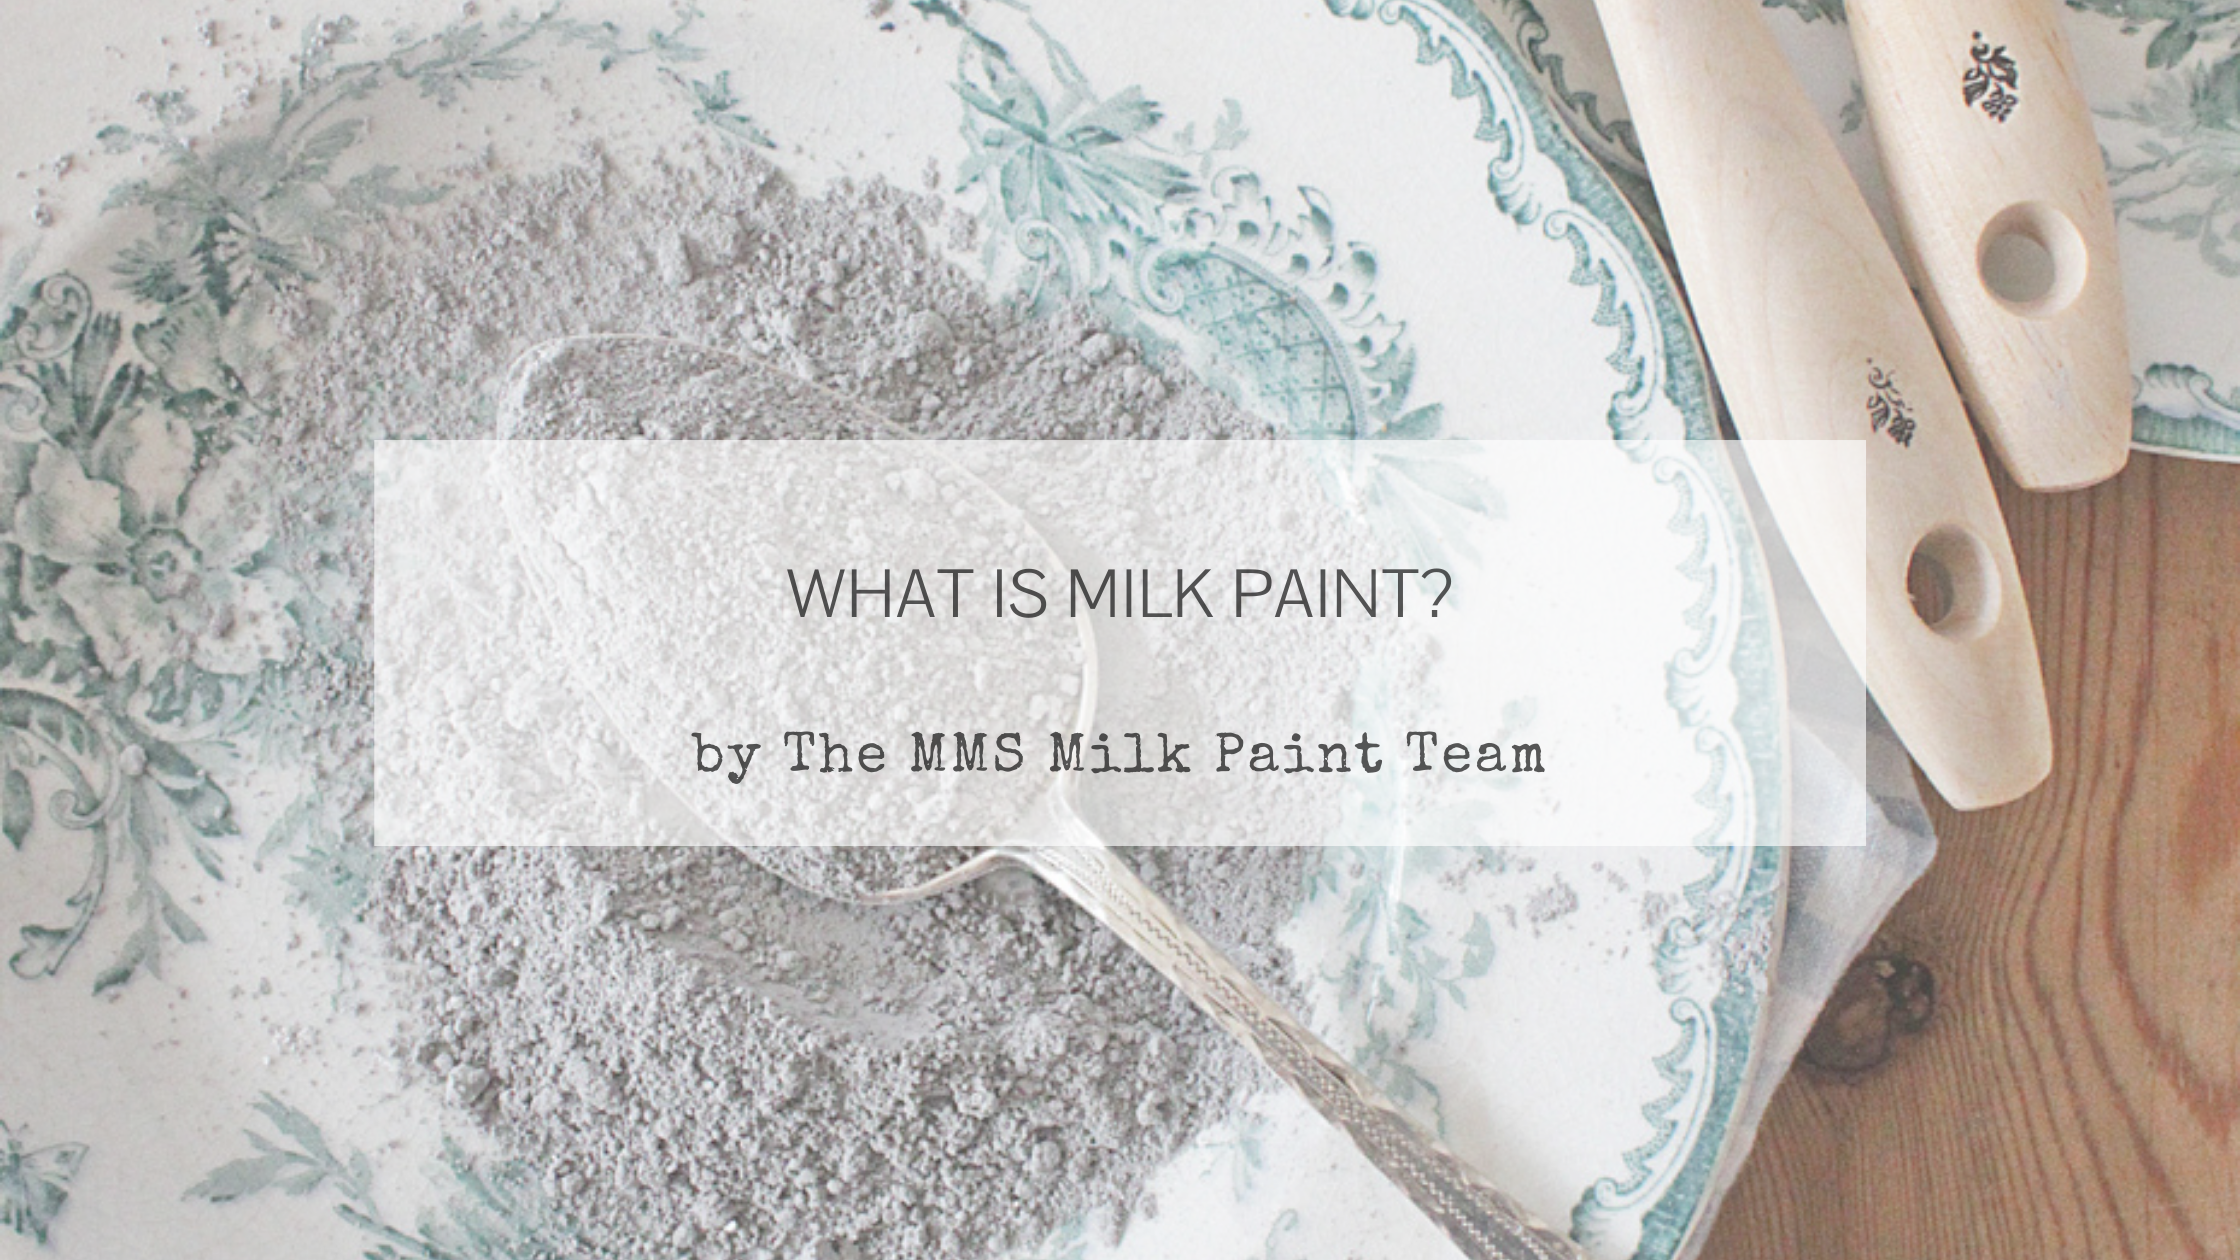
If you’re brand new to the world of Miss Mustard Seed’s Milk Paint, we recommend you start with our fundamental blog post on what Milk Paint is exactly. You can find that here.
Before we dive into how you go about mixing Milk Paint, let’s spend a minute discussing why it needs to be mixed in the first place and help calm those intimidating feelings you might be experiencing.
Is it Hard to Mix Milk Paint?
When folks hear they need to mix Milk Paint with water, they sometimes get intimidated. But like most things that scare us, they wind up not being all that bad once we put them into perspective.
For starters, mixing a powder with water is something we do ALL.THE.TIME!
Think of your morning protein shake, making boxed brownies or whipping up a batch of pancakes. Most convenience foods like mac-and-cheese are exactly that - convenient - because all you have to do is add water, right?
So why should paint be any different?
We’ve got good news for you - it’s not. If you can stir, you can mix Milk Paint!
We will admit that mixing paint can be unfamiliar. The paint we are used to comes in a bottle or can and is already a liquid. Just dip in your brush and go (after proper prep work, of course). So when you hear that ours needs to be mixed, we get it!
It’s different but familiar at the same time.
The reason milk paint doesn’t come pre-mixed is that it is perishable once it’s in liquid form. It’s sold in powdered form to increase the shelf life (which is indefinite by the way). This also gives you the flexibility to mix as much as you need and save the rest for later without having to worry that it will spoil or go rancid (unlike liquid paints).
Milk Paint is Like Natural Peanut Butter
Remember the peanut butter most of us grew up with? You know, the processed, artificial-ingredient-laden peanut butter that would have a perfectly smooth and level top no matter how much the jar was shaken? The peanut butter that would make stiff peaks on a knife and perfect waves on a piece of bread? That is like modern paints. They have all kinds of ingredients and chemicals added to make them smooth and creamy.
Now think about natural peanut butter. Upon opening the jar, it may have oil on the top that needs to be incorporated. The texture is a bit chunky and has bits of peanuts in it. The ingredient list is short and pronounceable.
THAT is like Milk Paint! It doesn’t have all of the additives that modern paints do, so it looks different, behaves different and needs to be prepared differently.

Neither paint is wrong or bad. They’re different types of paint, just as there are different types of peanut butter. You can’t expect one to be like the other.
Well, you can, but we don’t recommend it ;-)
Mixing Method 1 - Stir Stick or Mini Whisk

There are many different ways to mix Milk Paint. This one is the method we use most often.
Pour desired amount of milk paint into cup, jar or container. If you’re painting a small piece of furniture (like a nightstand or small table), we suggest 1/4 cup (32g). If you’re painting a larger piece, such as a dresser or buffet, use 1 cup (128g).
Add equal parts room temperature water. (For example, if you put 1/4 cup powder in your cup, add 1/4 cup water.) You can also warm your water up a bit, but it shouldn’t be hot.
Stir with a wooden popsicle stick, paint stir stick, spoon, fork or whisk for 1-2 minutes. Scrape the sides and the bottom as you go.
Allow the paint to sit for about 15 minutes. This gives clumps of powder a chance to absorb the water.
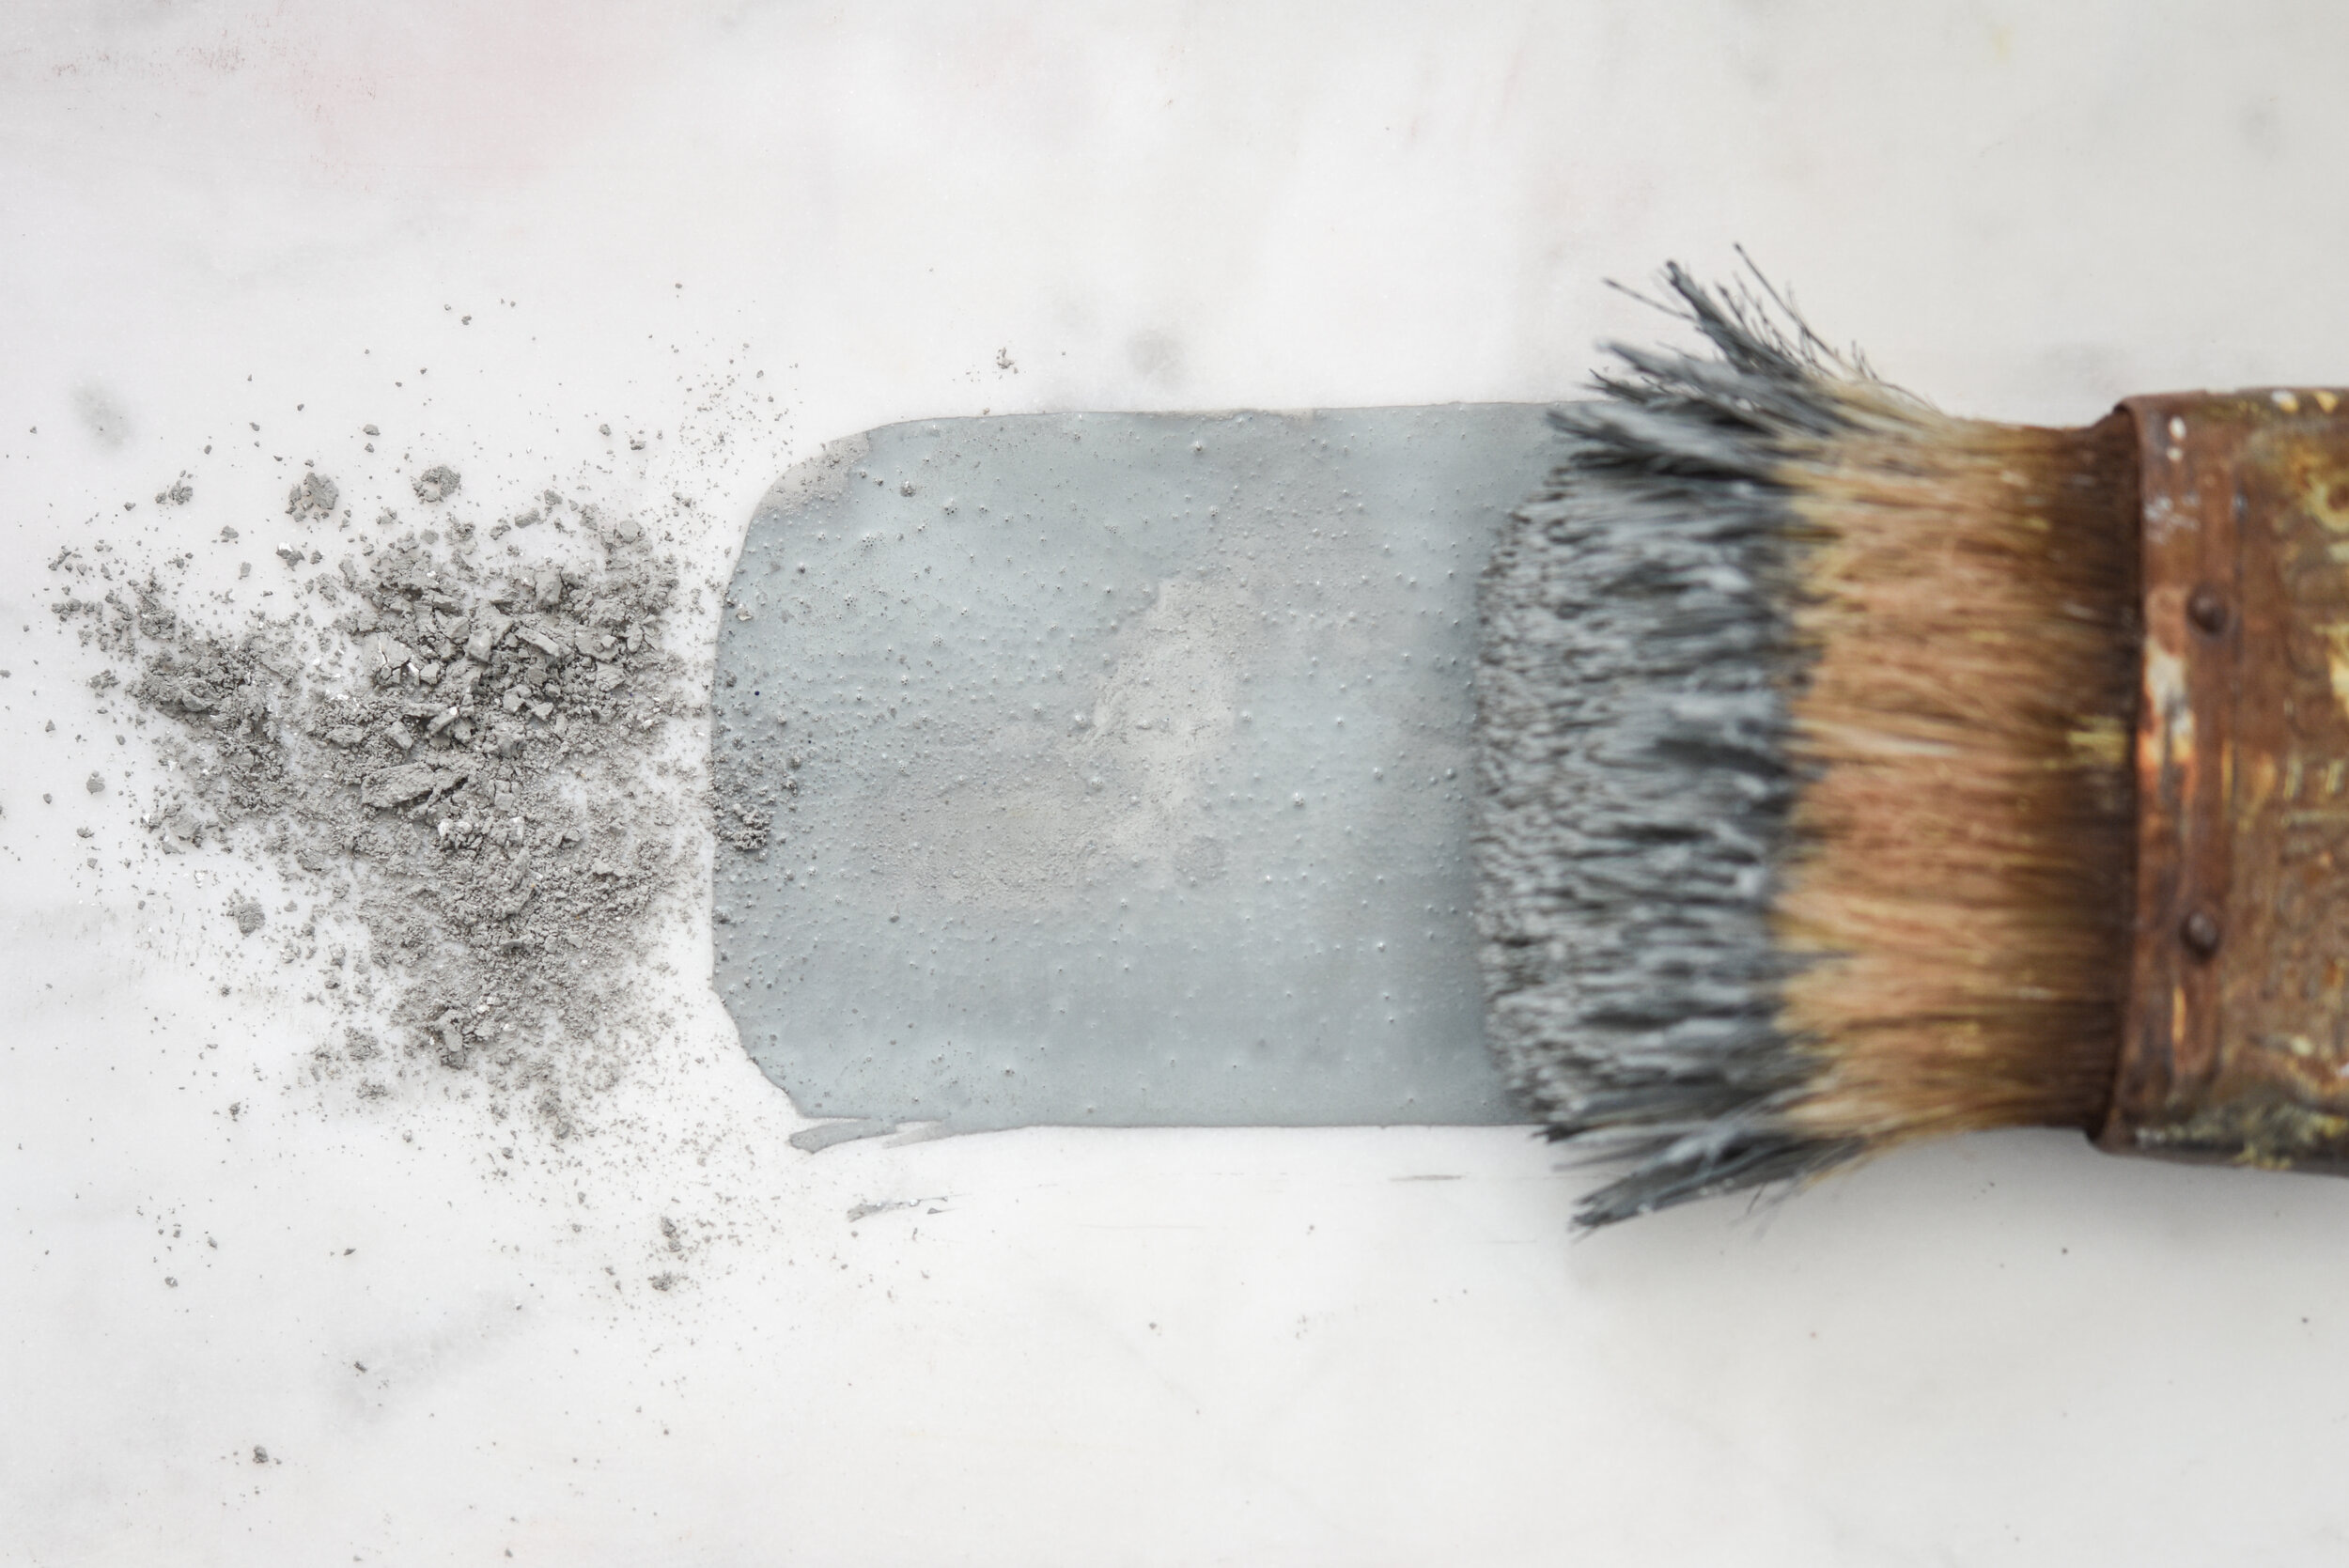
After resting, give your paint a stir. The ideal consistency is like that of melted ice cream. It will be thinner than modern paints, but it shouldn’t feel like skim milk. It should come off a stir stick in a steady ribbon for a few seconds before it breaks into drips.
If your mix is too drippy…
Add more powder, stir, then let rest again. For some colors, equal parts is enough and for others, it will be too thick.
If your mix is too lumpy…
Add more water, stir, then let rest again.
Don’t stress about a few small lumps. This is totally NORMAL for Milk Paint. Remember, think “natural peanut butter”!
Brush the paint onto the surface you wish to paint. This is the best way to tell if your mix is right. If your brush is dragging or there are a lot of lumps, the mix is too thick and needs more water and more stirring. If the paint is runny or dripping, it’s too thin and you need to add a bit more powder and stir again.
Here is that process in a nutshell:
Method 2 - Blender, Hand-Held Mixer or Latte Frother
If you’re mixing a large batch or a challenging color (like Tricycle or Boxwood), then use a blender specifically dedicated to mixing paint. This can be a regular food blender, immersion blender or a latte frother. Don’t use this device for anything other than mixing paint!
We recommend you pulse your blender and pounce your frother to avoid turning your mix into a latte! This method can add a lot of air bubbles, so short pulses are best.
Method 3 - Shaking Milk Paint in a Lidded Jar
This method makes us feel like we’re shaking up a cocktail! It’s quite easy and gives you a bit of an arm exercise at the same time!
Use any jar with a tight fitting lid. Mayonnaise jars, mason jars or canning jars are perfect for this method!
Add your powder and water to the jar.
Screw the lid on tight.
Shake, shake, shake!
Allow the paint to rest for 15 minutes or so. This will help any air bubbles to settle out.
Open the jar and test the consistency with a stir stick. Adjust as needed.
Tips for Mixing Tricky Milk Paint Colors
Because our colors have varying pigments in them, some will mix differently than others.
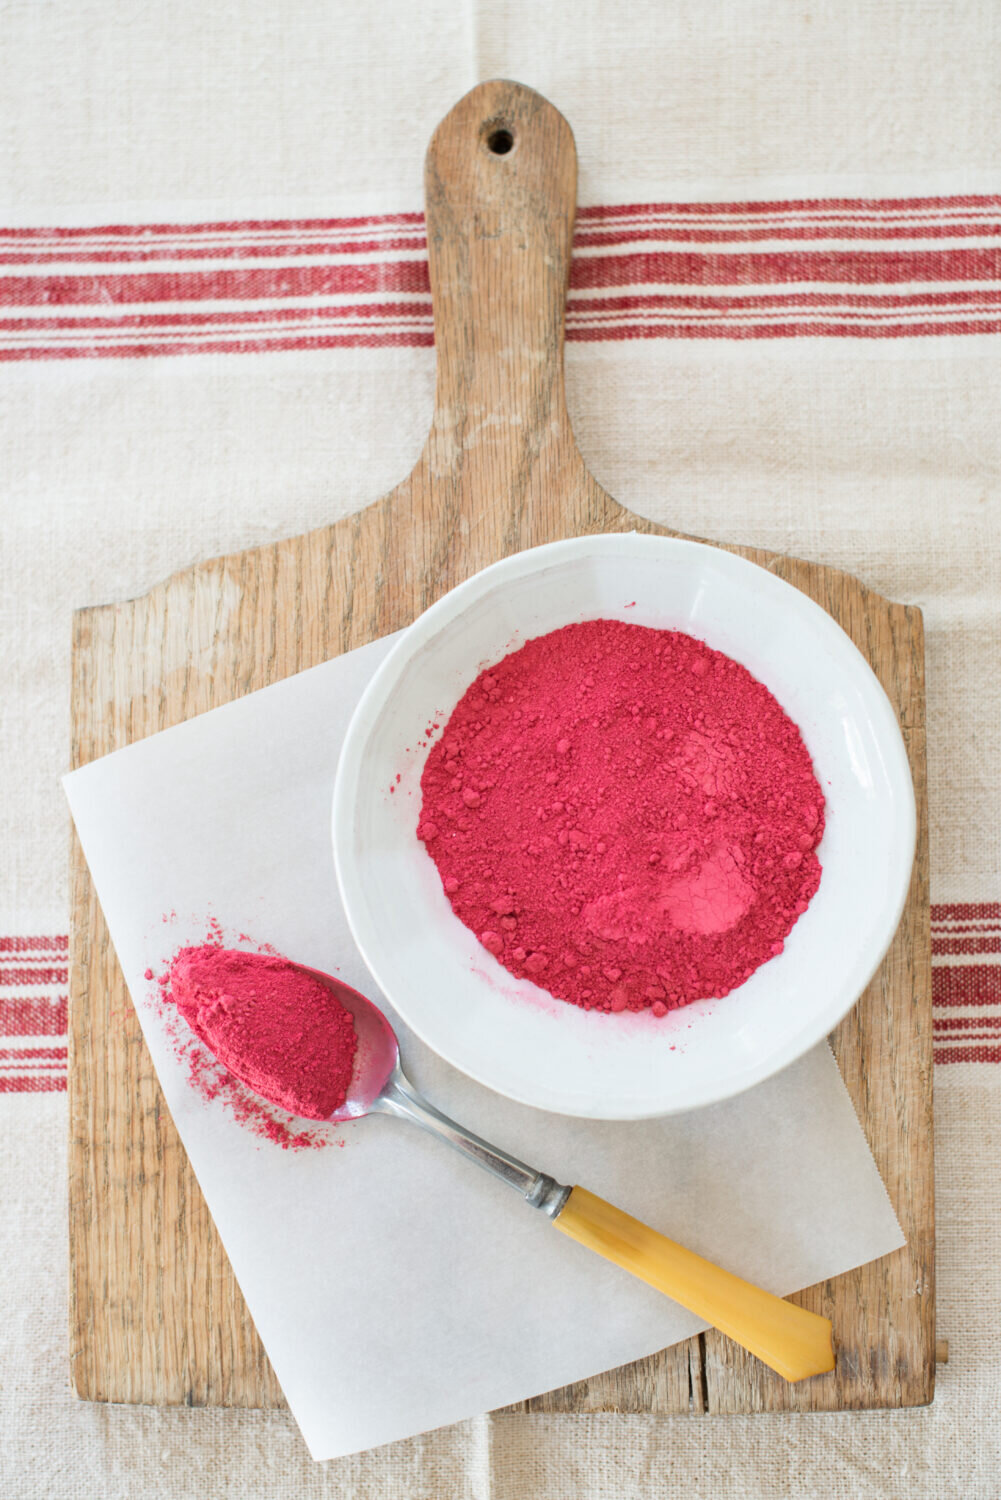
Our classic red, Tricycle, can be the most challenging color to mix because the red pigments tend to resist dissolving in water at first. This is a perfect color to use an electric mixer with or to shake in a lidded jar. It will still come together if you mix it by hand, but it may take a bit more stirring.
The colors that have high ratios of yellow and blue pigment, like Boxwood, tend to separate in their containers. (For all of the science nerds out there - This is due to the fact that yellow and blue pigments have different densities and therefore separate.)
This can potentially be problematic if you’re painting a larger piece and don’t stir a little as you go. The paint will look more yellow or more blue towards the end, resulting in an uneven look. This won’t happen if you give the paint a little stir, even just with your brush, every few brushstrokes.


Extra Mixing Tips
The quality of water you use can make a difference. If you have well water or really hard water, you may want to consider using bottled for mixing.
You may find that the paint thickens as you use it. That is because the brush is drawing more water out of your cup or container, so you may need to add a little more water and give it another stir.
Once mixed, the paint can be stored for about a week. Just cover it with plastic wrap or a lid and keep it at room temperature (not in the fridge). When you’re ready to use it again, mix it and add some more water to revive it and bring it to the right consistency.
You can mix two or more shades to make custom colors! We recommend writing your “recipe” down to replicate it on future projects.

Visit a Miss Mustard Seed’s Milk Paint Retailer
Our retailers are the best in the business! They love Milk Paint just as much as we do, and are a fabulous resource for hands-on help. Check our retailer map to find a MMSMP Retailer in your neighborhood.
Don’t have a retailer nearby? Our social media channels have oodles of videos demonstrating all sorts of MMS Milk Paint skills. Visit us on our platforms below, and get to mixing!