How to Prevent and Troubleshoot Bleed-Through
Every now and then, a furniture painting project will go sideways. Things may not play out as you had hoped, and you may find yourself trying to troubleshoot a common problem known as “bleed-through”.
The experts and refinishing professionals here at Miss Mustard Seed’s® Milk Paint are here to set you up for success so your encounters with bleed-through are minimal and easy to fix.
While this blog post may be one of our longer content pieces, we feel these tips and background information are essential for any furniture refinisher or woodworker to know.
Read on and learn, fellow Milk Painter!
What is Bleed-Through?
Bleed-through is a term we furniture refinishers and wood workers use to describe stains that appear on our projects either during or after we have finished painting or staining. They continue to reappear no matter how many coats of paint are reapplied, or how much wood stains are wiped away. They literally bleed through everything!
Make sense?
Bleed-through can have all sorts of colors and patterns. Sometimes it’s pink, brown, or orange in color. It can show up as little speckles and polka dotted spots, a wiggly circle or oval across your piece or even a perfectly round yellow circle where a knot lies underneath.
On this Martha Washington sewing table, you can see the dark spots of pink/red where the arrows are pointing. Those are spots where a dye in the original finish wiggled through the paint finish and reared its blotchy head.
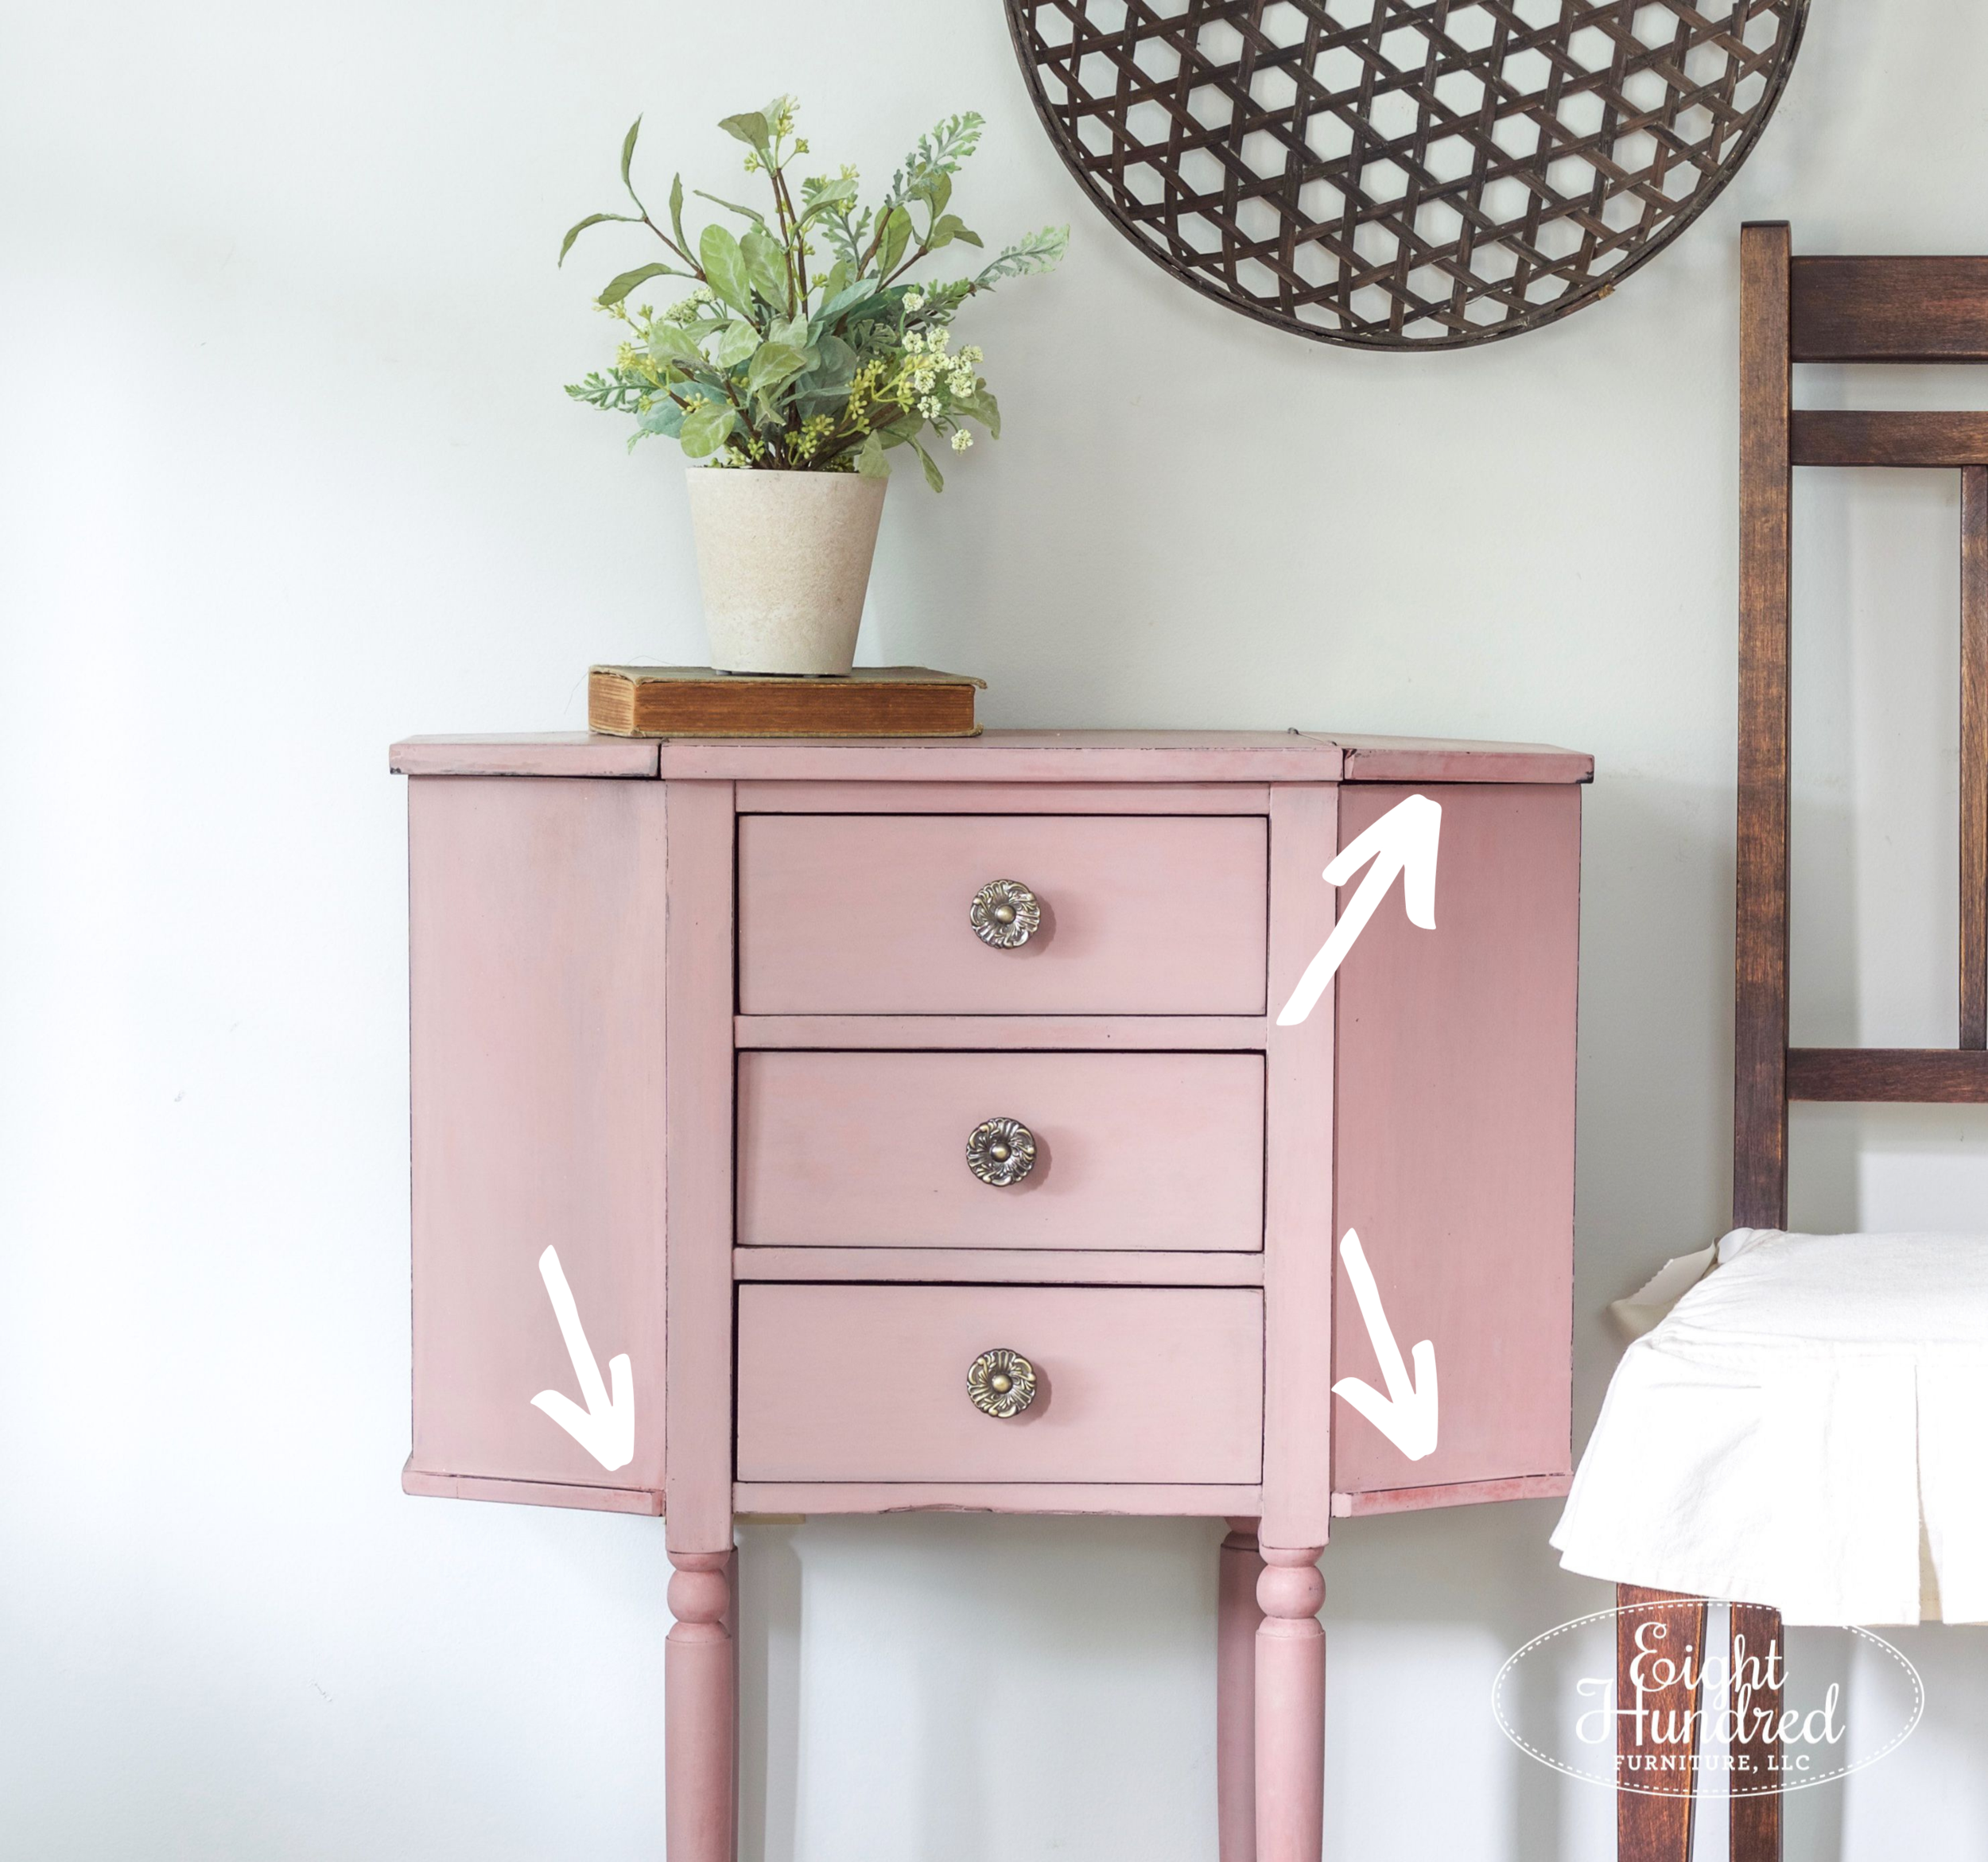
When bleed-through happens, you’ll definitely know because it won’t go away no matter how many coats of paint you apply!
What Causes Bleed-Through?
There are lots of potential causes of bleed-through. They range from stains and discolorations in the existing finish to natural characteristics of wood grain and colors.
While there are always exceptions to the rule, here are some common sources of bleed-through, along with some fundamental information about trees and wood species.
Once you have these tidbits of information under your belt, you’ll be able to recognize potential problem areas ahead of time and prepare your refinishing project accordingly.
Wood Tannins, Resins, Grain and Colors
9 out of 10 projects that you are going to refinish with Milk Paint will be made of wood.

Photo Credit: Miss Mustard Seed
Remember, wood is a natural product that has natural variations in color, texture, grain pattern and oils (called tannins). All of these characteristics can be sources of bleed through.
Wood Color/Species
Some vintage dressers, like the one shown above and the one shown below have damaged veneer on them. You can carefully remove it with a heat source, like the heat gun shown below.

The wood underneath had green and gray streaks running through it. The wood was most likely a species called Tulip Poplar. This was often used underneath decorative wood veneer. The streaks of color are natural in this type of wood and are actually mineral deposits!

There were some wiggly brown patches of water damage, a few knots and patches of leftover adhesive from the veneer. (We’ll dive into water damage in a few paragraphs.)

Here’s what those characteristics looked like when the top was stained.

Icky, right?
This is all a form of bleed-through. The green streaks didn’t stain evenly and the bits of leftover adhesive look like dark brown patches.
The top of this dresser would have looked better in a coat of full-strength Curio rather than a translucent wood stain. The opaque coverage of Curio would hide those imperfections and inconsistencies.
Wood Tannins
Trees have oils in them called tannins. These are what keep a tree protected from insects and fungal infections, among other benefits. Tannins can wiggle their way through your paint (no matter how many coats you apply) and will manifest themselves on the surface.
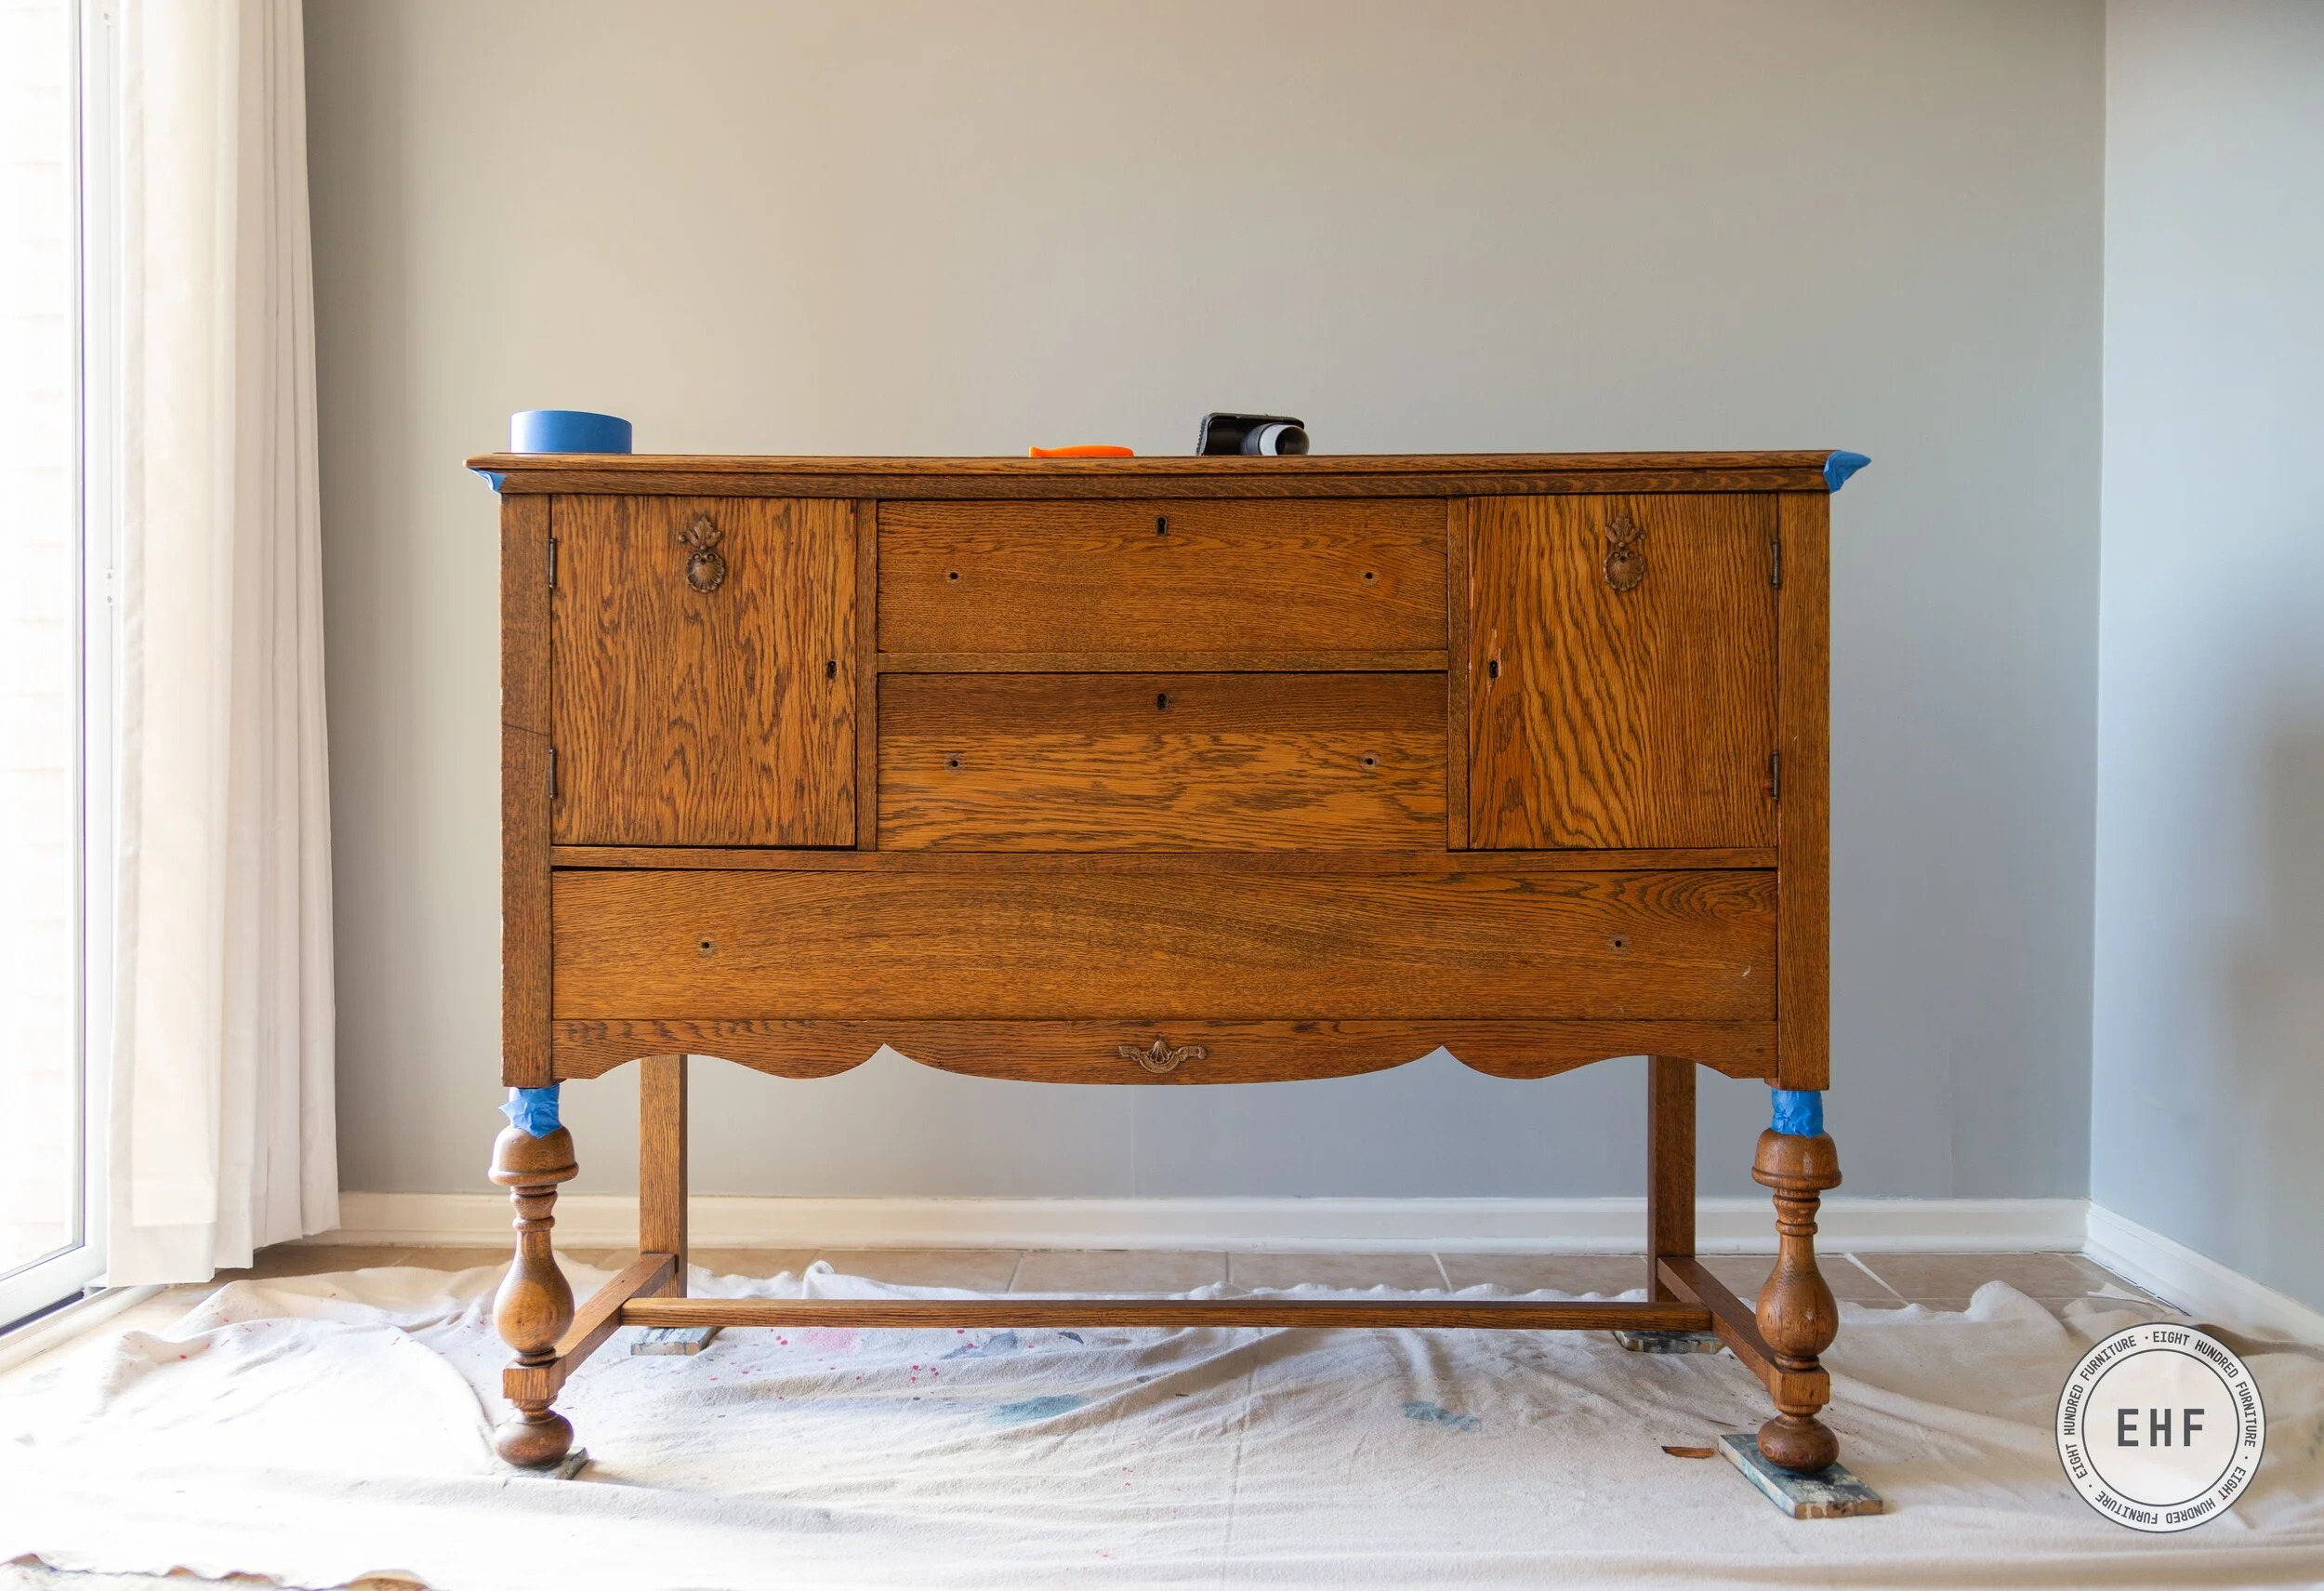
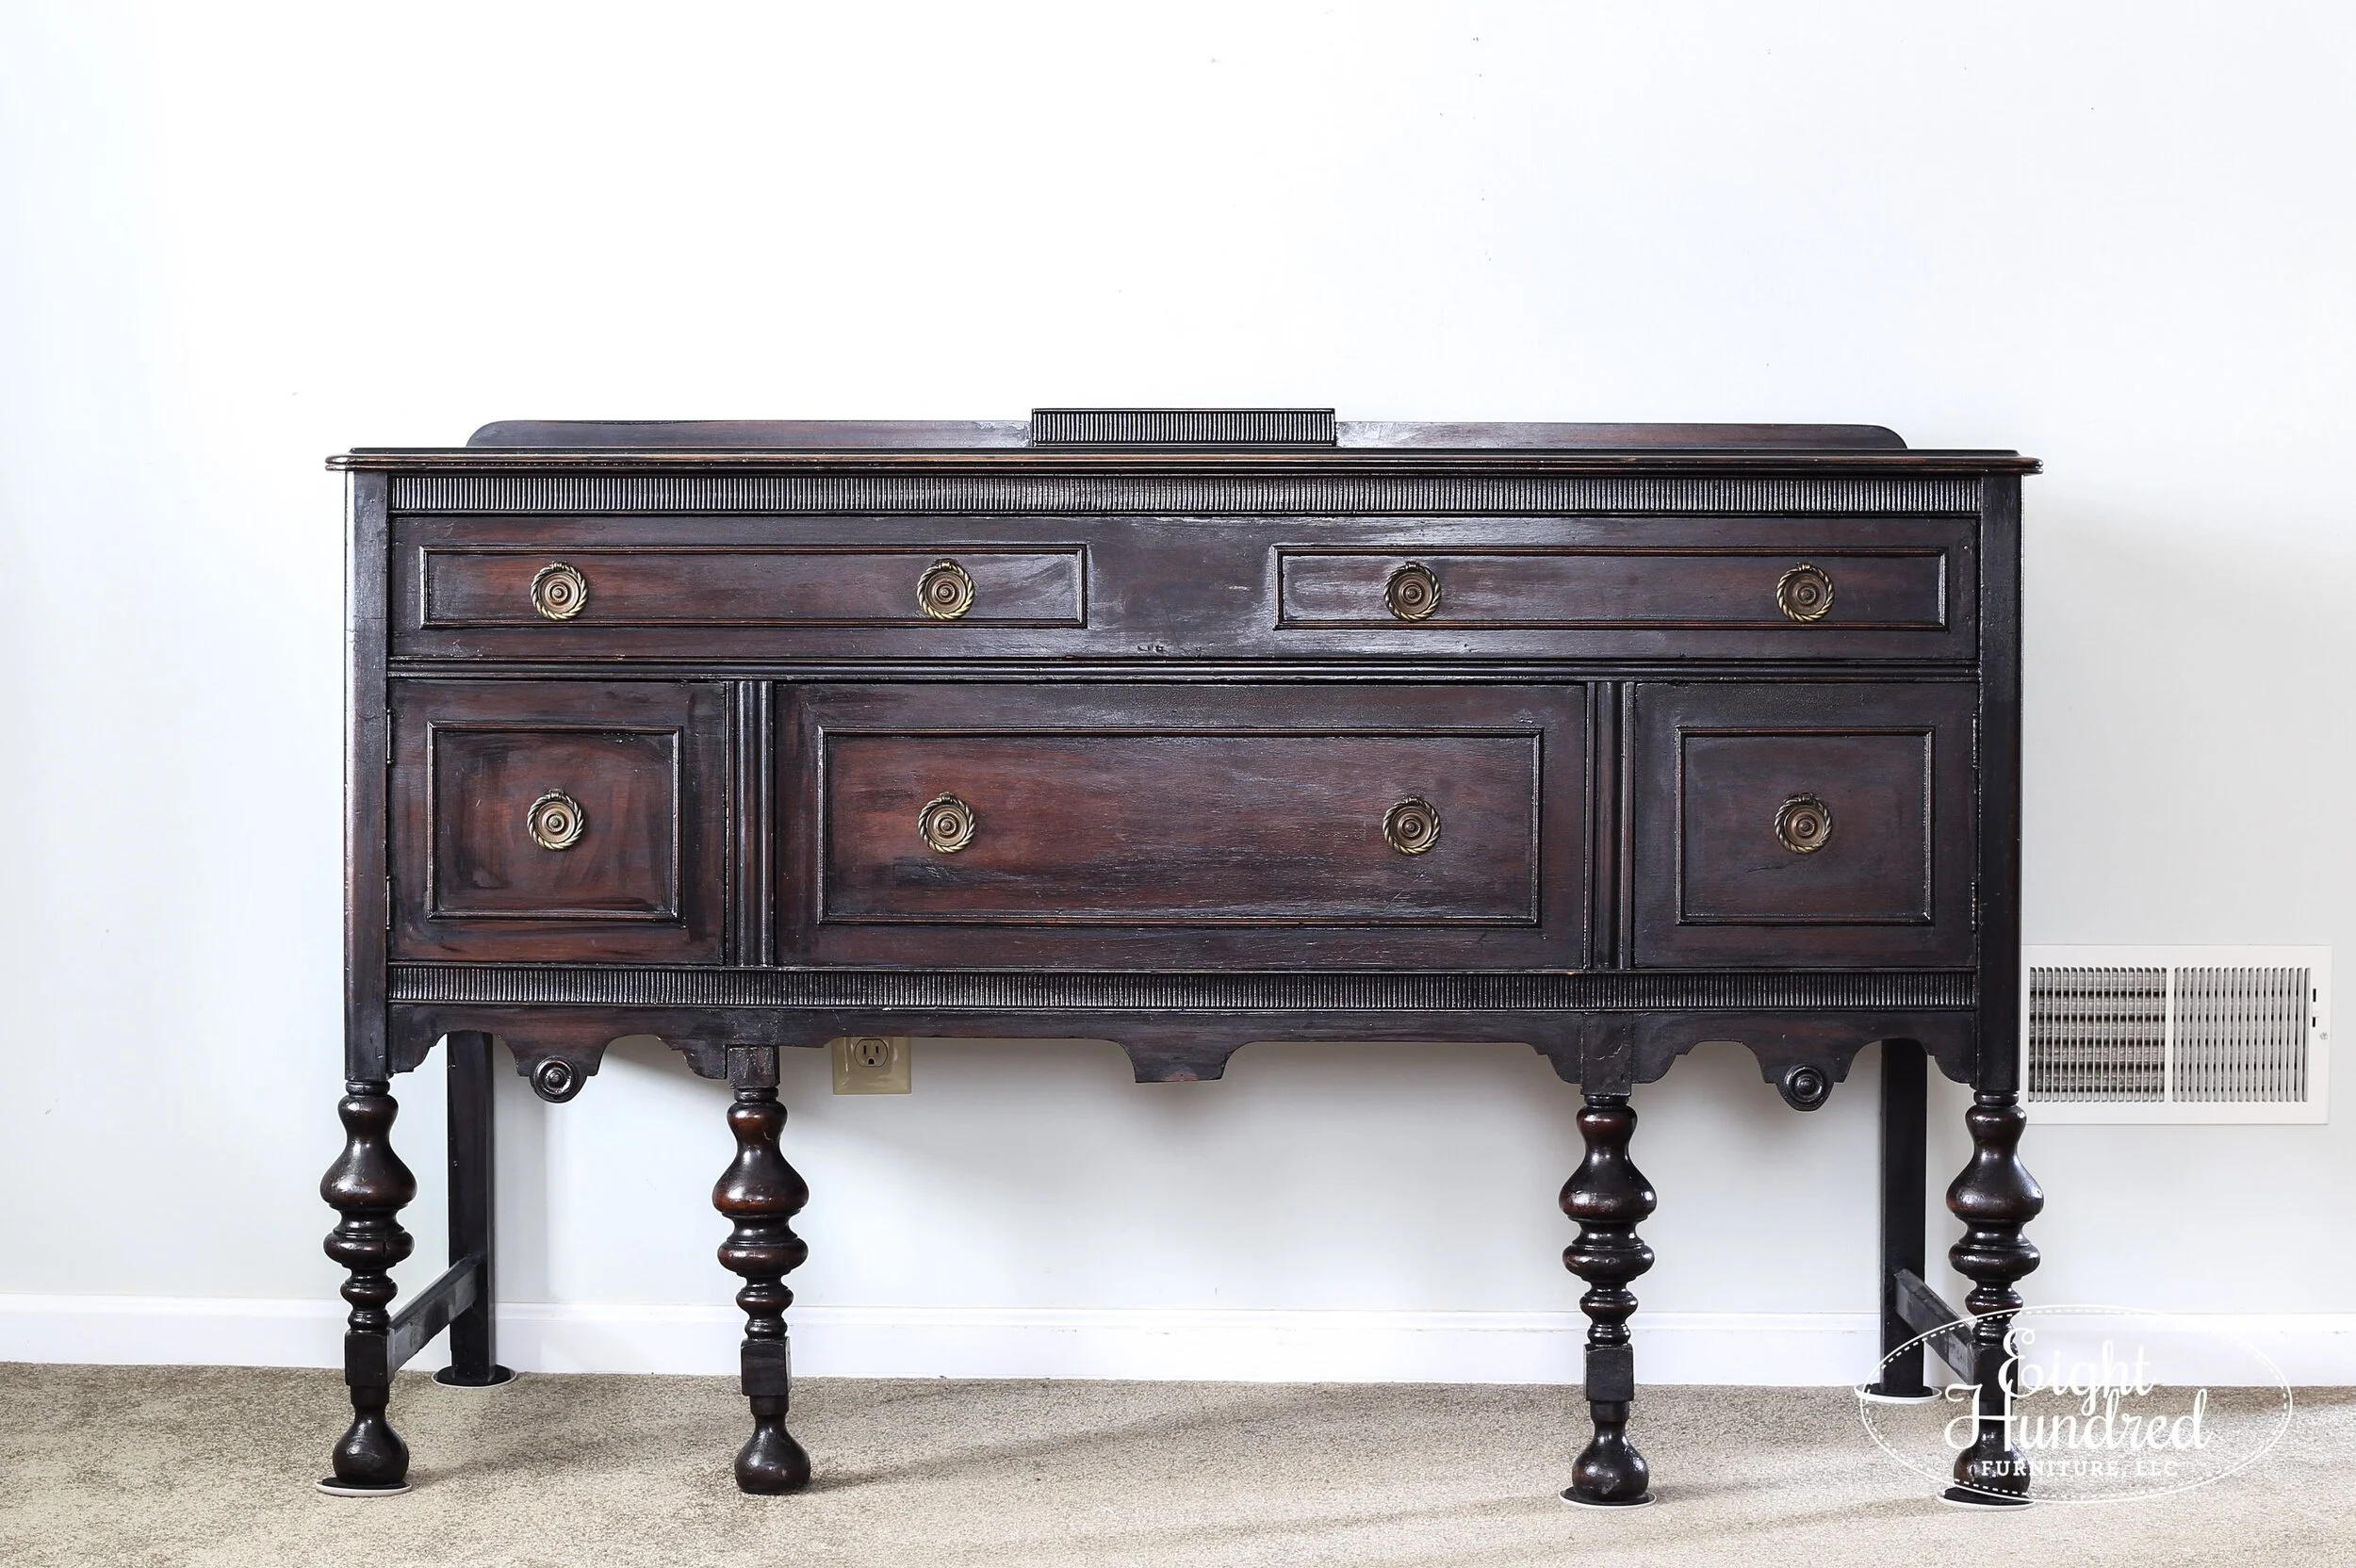
Oak, Walnut, Cherry and Mahogany all have high concentrations of tannins. Here’s an oak buffet that has a very pronounced grain pattern and a warm orangey/brown original stain.
The round knots found in Pine and Cedar are problem areas and hotspots for tannins, sap and resins. Just look at all of the knots on the inside of this vintage cedar chest in our lovely Bergere Milk Paint!

Acacia and Teak woods have high concentrations of natural oils and resins that help keep them from drying out and being eaten by bugs. This is why they’re great choices for outdoor furniture, but those natural oils will most likely prevent paint from adhering.
Aniline Dye
This little troublemaker can be the bane of a furniture refinisher’s existence. Lots of mahogany pieces from the 1920’s - 1940’s have a unique finish on them that contains an aniline dye.


This dye is very deep red/brown in color and can cause serious bleed-through! Now if you come across one of these beauties, don’t be deterred from refinishing them. They look absolutely gorgeous in Miss Mustard Seed’s® Milk Paint! This vintage mahogany dresser was refinished in a custom blend of 2 parts Flow Blue, 1 part Artissimo and 1 part Boxwood with a Hemp Oil finish.

That dye wasn’t a problem on this dresser because the custom paint color was dark enough to hide it. If this were painted in white, however, that aniline dye would most likely have been an issue.
By the way, this custom color is approximately 2 parts Flow Blue, 1 part Artissimo and 1 part Boxwood. Give it a try on your next project!
Water Rings, Burn Marks and Discolorations
Some pieces have white or black water rings scattered across the top from drinks being left unattended. There may also be some wiggly patches of brown and tan, which is a sign of water damage.

Heck, there may even be burn marks!

This little stool was painted by our Facebook Group member, Brittany Bagley in Boxwood. There were stains on the stool that wiggled their way through the paint.
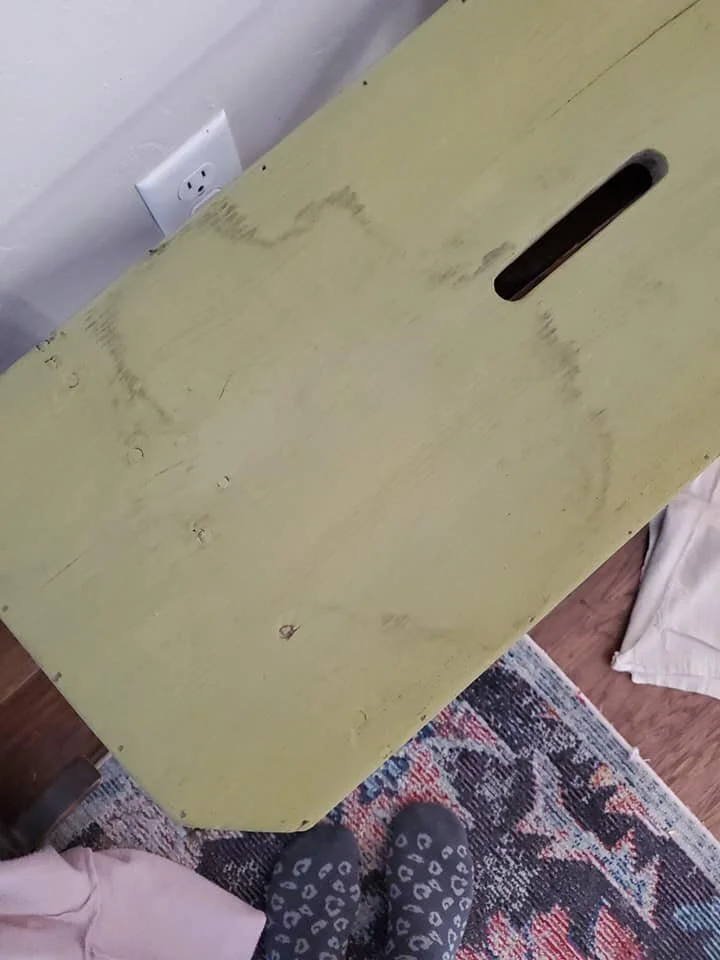
Photo Credit: Brittany Bagley
Furniture Polishes, Dusting Sprays and Wood Oil Soaps
Dusting sprays like Endust, furniture polishes like Pledge® and Wood Oil Soaps like Murphy® contain ingredients like oil and silicone that will impact the appearance and adherence of a finish. Since silicone is almost impossible to remove, pieces that have been “Pledged to death” tend to put up a fight when it comes to being painted.
Second hand furniture stores often use Pledge® to shine up their pieces before placing them on the sales floor. If a potential piece smells like pine or lemons, you might want to move on to another project.
How Do You Prevent Bleed-Through BEFORE You Paint?
Now that you know what bleed-through is and can recognize potential sources of problems, let’s dive into how you prevent it from happening in the first place. These are steps you should take BEFORE YOU PAINT!
The Importance of Prep Work
Here at Miss Mustard Seed’s® Milk Paint, we are huge advocates of prep work! Prep cleaning and prep sanding your project greatly increases the likelihood that your finish will stand the test of time.

While other companies may say you don’t have to prep, we advise you to never skip this step. It’s kind of like building a house with no foundation, or going into a job interview knowing nothing about the company. Time spent prepping your project is never wasted effort! The 5-10 minutes you spend prepping your piece may save you HOURS of troubleshooting. As Ben Franklin said, “An ounce of prevention is worth a pound of cure!”
Prep Cleaning
Most furniture we work on isn’t brand new. It either came from your grandmother, the side of the road, a dirty barn or an estate sale. There are oodles of contaminants that are on the surface of your piece, both seen and unseen. Cleaning an existing finish prior to painting is a no-brainer way to remove common contaminants like dirt, grease, hair and general grime.
We recommend using a mix of equal parts Denatured Alcohol and water as your cleaning solution. You can find this product in the paint aisle of your local hardware store.

Use a green or maroon Scotch-Brite pad to scrub your piece clean. Wipe it dry with a shop towel. You may need to repeat this process a few times until your piece is clean.
Denatured Alcohol is a great cleaning product because it doesn’t have any phosphates, is inexpensive and easy to find, and doesn’t require extra rinsing, like TSP.
You can use a commercial furniture cleaner, like TSP (Trisodium Phosphate), but check the label for phosphates - they will leave a residue behind that requires extra rinsing. If you’d rather skip this extra rinsing, opt for the Denatured Alcohol/water mix.
Don’t use Mineral Spirits to clean your furniture if you’re following up with a water-based product, like Milk Paint. Mineral Spirits (or White Spirits) is a petroleum-derived product that is incompatible with water-based products. Oil and water don’t mix.
For your extra grungy or heavily-used pieces, like cabinets or those finds that were buried in an old barn for 20 years, we recommend scrubbing with a degreaser/detergent like Spic and Span or blue Dawn dish soap. Rinse well, then follow up with a 50|50 mix of Denatured Alcohol and water.
Let the piece dry completely before you move on to prep sanding.
Prep Sanding
Prep sanding is just as important as prep cleaning. Not only does it prepare the surface to accept a new finish, but it further cleans the piece from surface contaminants.
We recommend using a maroon synthetic steel wool pad, 220-320 sanding pad, or 150 grit sandpaper to scuff sand your piece. Make sure you wear a respirator or mask to protect your lungs.

Remove the dust with a shop vac.
You may hear some furniture painters say that they don’t prep their pieces before they paint them, and everything turns out fine. That may be the case with some projects, but that practice won’t provide consistent, reliable and durable results. Eventually, there’s going to be a piece that will give you a run for your money if you’re a prep-skipper. We prefer you not take that gamble and waste your time and money troubleshooting issues that could have been prevented with proper prep work.
If you follow the guidelines listed above, you’ll be in a much better position to have a smooth-sailing makeover.
Apply a Priming Product
Primers are products that are applied before paint to prevent stains and wood tannins from wiggling through your paint finish. Think of them like the bouncer at a nightclub who won’t allow any stains to come to the party!
The priming product you choose depends on the final finish you want to achieve on your project.
Chippy or Distressed Finishes - Dewaxed Shellac
If you would like your piece to be distressed and have wood peeking through, we recommend applying 2 light coats of Dewaxed Shellac on your project. As the name implies, it doesn’t contain any wax.
Dewaxed Shellac can be applied with a quality bristle brush. As you apply it, don’t back brush. Shellac gets tacky and starts to dry quickly, so lay it down and keep moving forward. If you miss a spot, let your dewaxed shellac dry, then hit it with another application. Work under good light so you can see what you’re doing. Use the reflection of the shellac in the light to see any spots you may have missed. You may look funny when you’re doing it, but it totally works!
Shellac is cleaned up with Denatured Alcohol (which you should already have on hand from the prep cleaning step). Make sure you have good ventilation and wear a respirator to protect your lungs.
Shellac is actually a natural product made from combining a resin that is secreted by the female Lac Bug with a solvent like Denatured Alcohol.
Fun, albeit slightly gross, right?
Solid, Opaque, Full Coverage - BIN Shellac-Based White Primer
If you want your final piece to have a full-coverage, non-chippy, opaque finish, then choose BIN Shellac-Based White Tinted Primer.
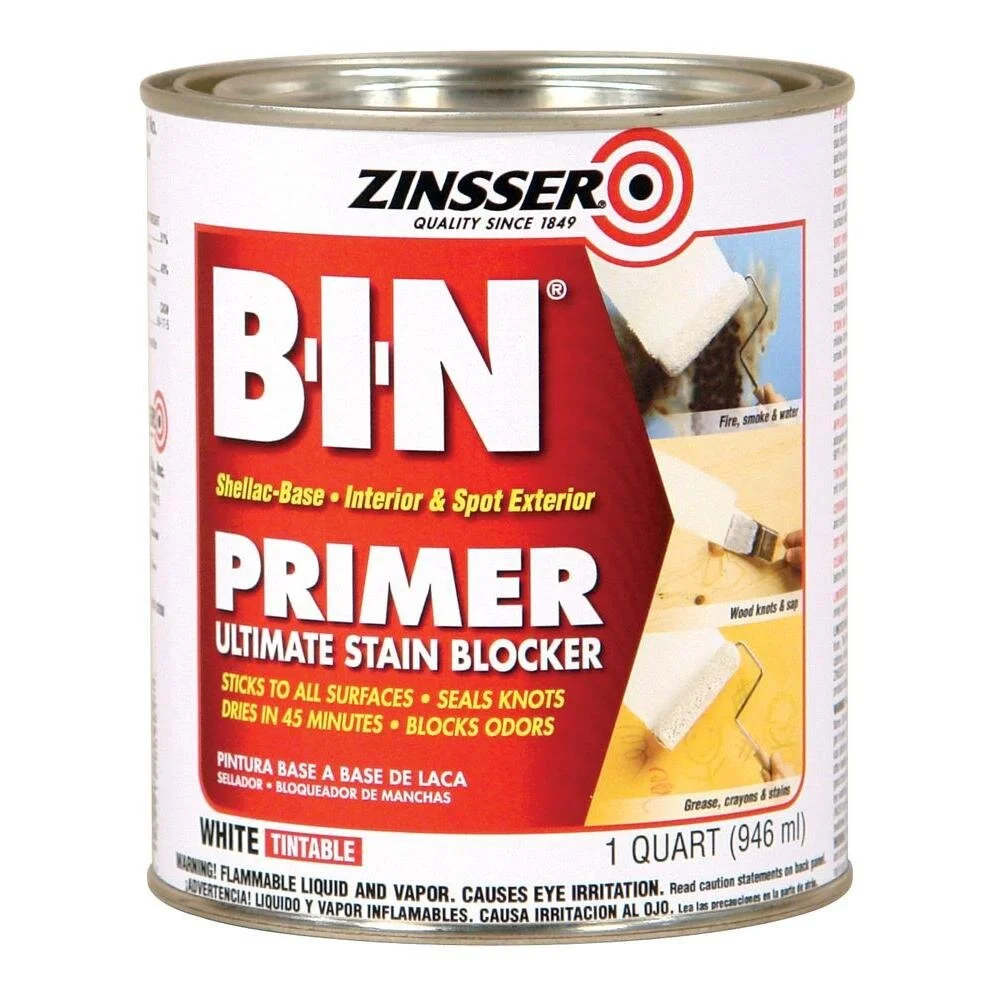
Apply 2 opaque coats on your project. The first coat draws out potential stains and the second coat seals them. Aim for as opaque of a coat as you can with each application while still maintaining control over the product. You don’t want your project to turn into a runny mess, but you also don’t want your coats to be paper thin and translucent. After all, you’re trying to cover up and prevent stains, remember? Primer is the bouncer of a nightclub keeping stains from coming to the party!
BIN is FANTASTIC at blocking bleed-through. It’s tinted white, which helps you easily see where it has been applied. It cleans up with Denatured Alcohol and again, make sure you wear a respirator and have good ventilation.
Preventing Crackling Caused By Shellac
Sometimes, shellac can cause your paint to crackle and craze like this:

Photo Credit: Eight Hundred Furniture

Photo Credit: Miss Mustard Seed
This look can be quite charming on antique pieces! If you’re aiming for a full-coverage, modern and clean finish, then we’ve got a tip for preventing this crackling from happening.
Gently scuff your shellacked piece with a maroon synthetic steel wool pad. This will give the shellacked surface some “tooth”, which will help your Milk Paint adhere. You may want to mix in a squirt or two of our Bonding Agent for good measure.
Troubleshooting Bleed Through in the Middle of a Project
If you’re in the middle of a paint project and you start to experience bleed-through, here are a few tips and suggestions to try:
Stop painting and let your piece dry completely.
Apply 1-2 coats of Dewaxed Shellac or BIN Shellac Based Primer over the bleed-through. Let it dry completely.
Gently scuff sand with the maroon pad again to create tooth, and keep moving through your project.
If you’ve already applied a topcoat…
Wax Topcoats:
Remove wax topcoats with 0000 steel wool or a maroon pad and Mineral Spirits. You may need to do multiple rounds. Let the piece dry for 24 hours to give the Mineral Spirits a chance to dry.
Prep clean and sand according to our directions in the previous sections above.
Apply 1-2 coats of Dewaxed Shellac or BIN Shellac Based Primer over the bleed-through. Let it dry completely.
Gently scuff sand with the maroon pad again to create tooth, and keep moving through your project.
Tough Coat Topcoat:
Scuff sand Tough Coat with maroon pad.
Apply 1-2 coats of Dewaxed Shellac or BIN Shellac Based Primer over the bleed-through. Let it dry completely.
Gently scuff sand with the maroon pad again to create tooth, and keep moving through your project.
Hemp Oil Topcoat:
You’ll need to wait 20-30 days for Hemp Oil to cure before you can begin correcting and fixing the bleed-through. Our Hemp Oil can act as a resist and create a chippy look, so you want to make sure it’s cured before you apply anything on top of it.
Apply 1-2 coats of Dewaxed Shellac or BIN Shellac Based Primer over the bleed-through. Let it dry completely.
Gently scuff sand with the maroon pad again to create tooth, and keep moving through your project.
Other Tips:
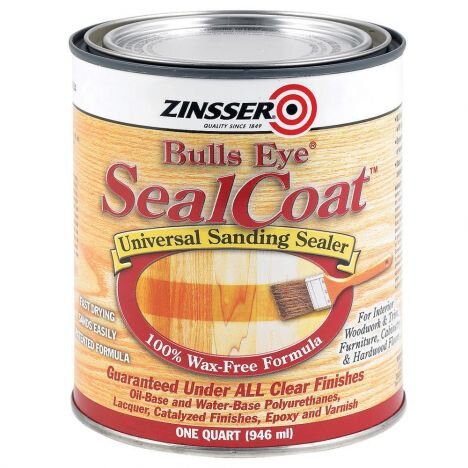
Stay away from water-based sealers. Water is actually what’s causing the bleed-through in the first place. Water makes the surface of your project wet and activates dyes and tannins. One of the few water-based primers we recommend is General Finishes Stain Blocker. This is a fantastic water-based, high solid content stain blocking primer that is tough as nails. It’s expensive though, so you may want to opt for a more affordable shellac-based option.
Be open to the possibility that some pieces may not stop bleeding no matter what you do. Remember, wood is a natural product that has oils, natural colors and knots. You may need to adjust your makeover if the piece won’t cooperate. Not every project will accept a new paint finish. If you’re someone who refinishes furniture for a living, make sure you explain this to your customers and educate them. This will help set realistic expectations.
Save and Share This Post!
We hope these tips will help you in the future with your next painting project. Make sure to Pin this post so you can reference it later. Bookmark it in your browser and share it with your fellow furniture painters. They’ll thank you for it!