
Modern Farmhouse Nightstands
How To Create a Modern Farmhouse Look on Previously Painted Furniture

Supplies Needed
Disclosure: Some of the links below are affiliate links.
150 grit sandpaper (or an orbital sander if you have one)
TSP and water mix
Bullseye Shellac
MilkPaint™ - Typewriter and Farmhouse White
Lint-free cloth or blue shop towels
Beeswax, Wax Puck, or any Soft Clear Wax
Paint Brush
Wax Brush
How To Paint Over Latex-Based Paint And Prevent Adhesion Issues
Our nightstands, blanket chest, and lingerie dresser began as raw pine ready to assemble furniture. At the time, it was an economical way to duplicate a look I had seen on the cover of a mailer from a large furniture manufacturer. I fell in love with the two-toned look and wanted it in my bedroom.
I chose a warm golden tone stain and a paint similar to Boxwood. Later, I changed the base to a dark gray but left the original stained top. I used a basic latex-based paint both times.

Now years later, I realize just how much I didn’t know about working with raw wood and how many mistakes I made along the way. The first mistake was not sealing the knots in the pine. Although the bases were coated multiple times in several layers of paint, I still had bleed-through.
The second mistake was using latex-based paint. I constantly had the back of the drawers stick to the faceplate. My solution was to add felt pads to the corners of the drawers where they contacted the faceplate, which also softened the sound of the drawer closing. The properties of latex paint are excellent for walls, but not so much for furniture.
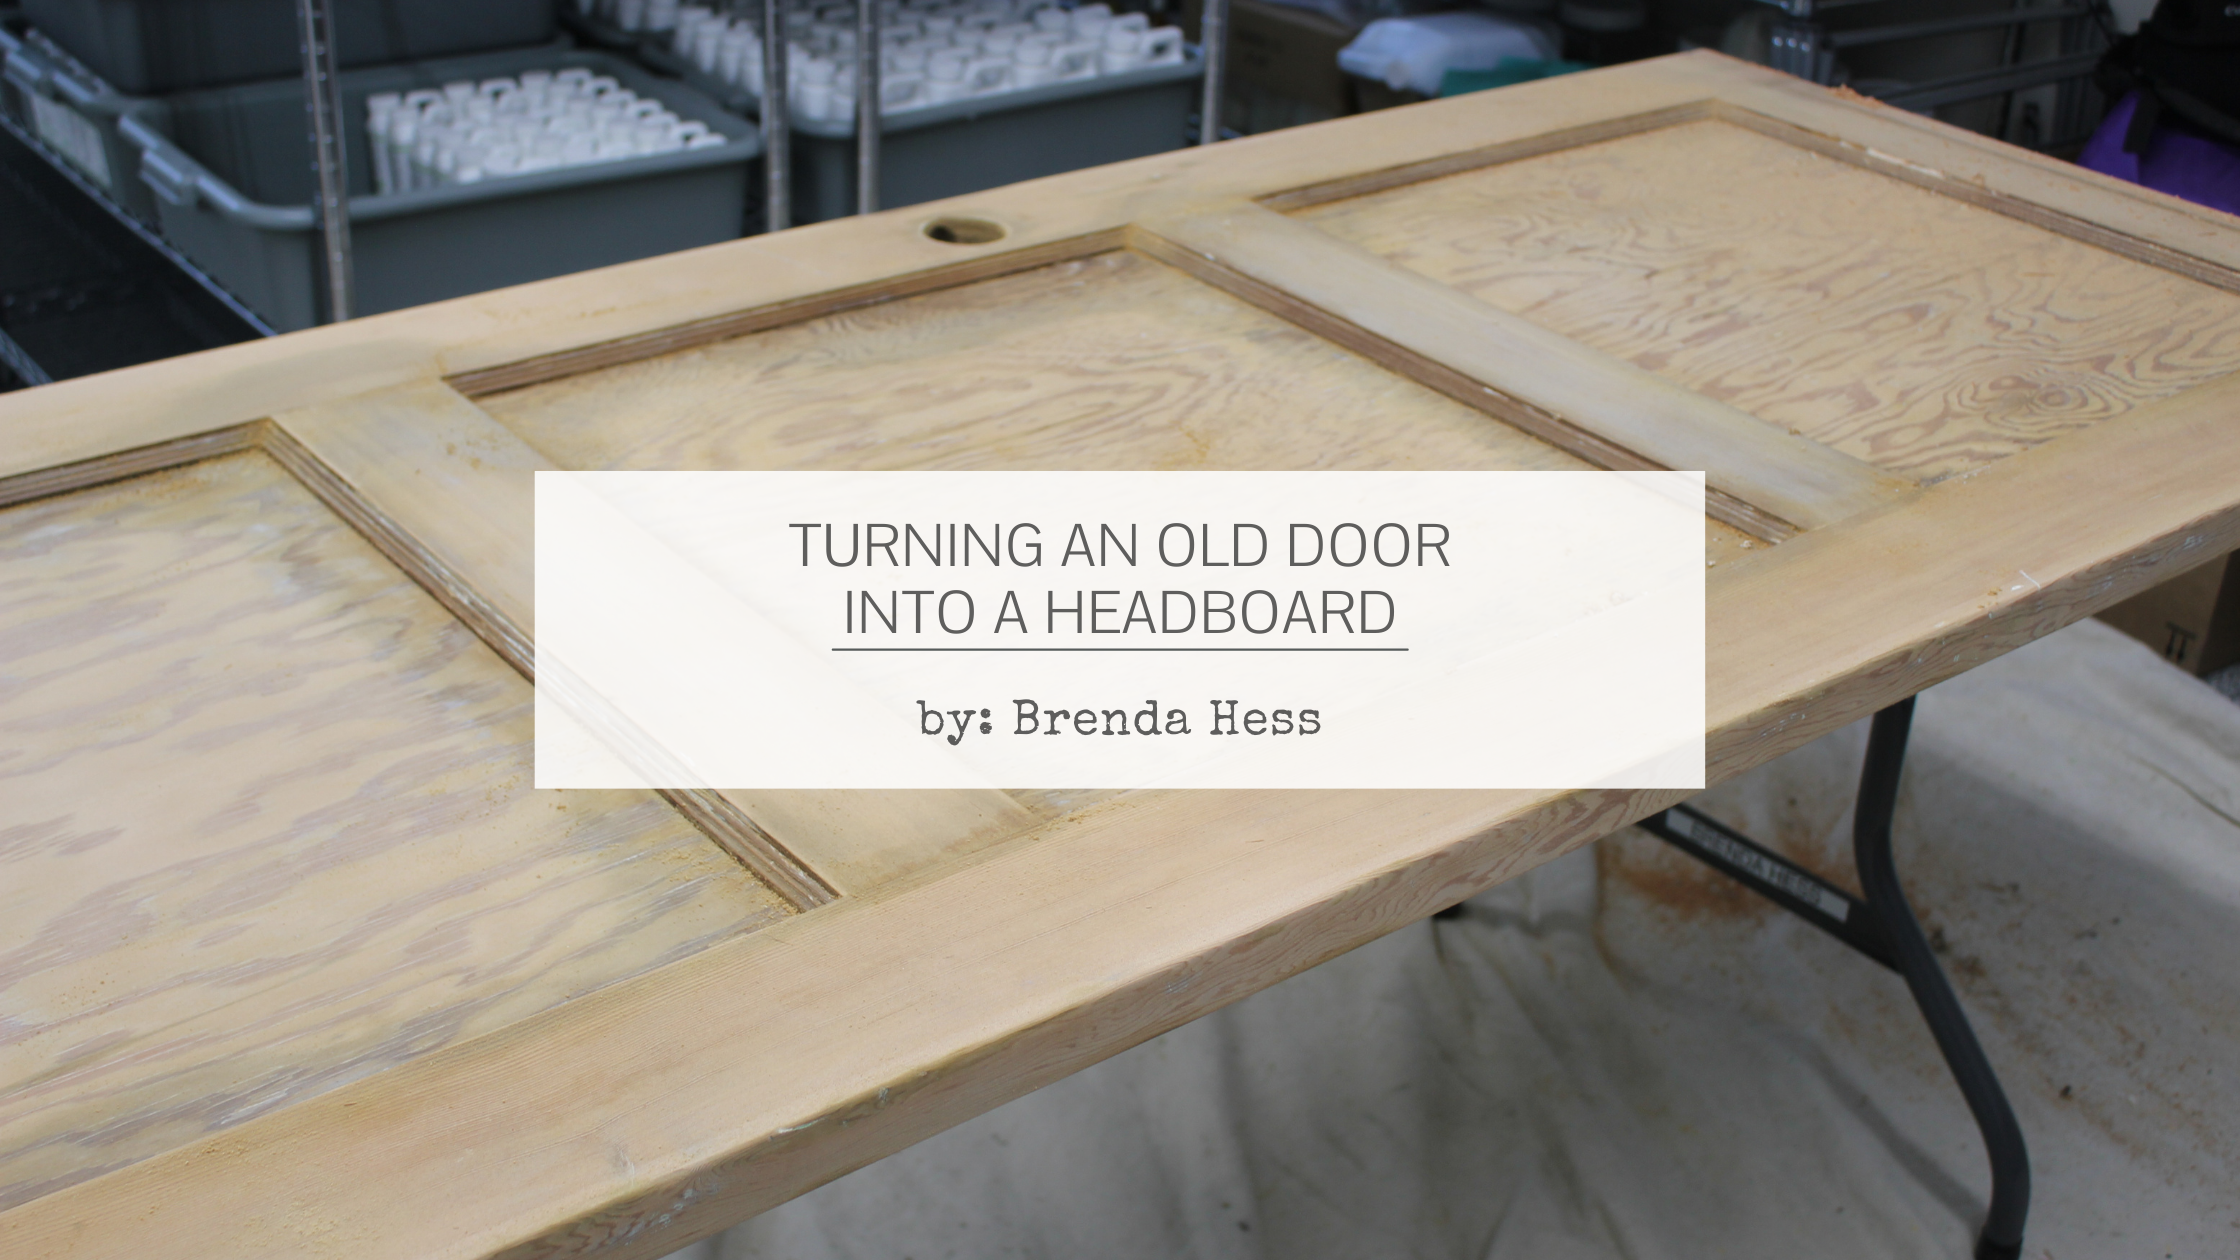
Here are the steps we used to clean, prep, paint, and finish these pieces to coordinate with the door headboard. You can read all about our headboard here:
Preparing The Surfaces For Paint
We always start every project with a good scrub using a mix of TSP and water with a general-purpose Scotch-Brite. This mixture removes just about everything that can be on the surface, all while scuffing the surface. Don’t forget to give your piece a good rinse to remove any residue left behind by the cleaning mix.

We then used an orbital sander with 150 grit sandpaper to remove the old stain from the top and more paint from the base to better expose the knots.

We then applied a layer of shellac to seal the knots and prevent bleed-through.


The last step was to apply stainable wood filler to fix a couple of deep gouges. Once everything was dry, the nightstand was ready to paint.

Painting The Bases
The bases were painted with two coats of Typewriter MilkPaint™combined with MilkGrip™ Indoor / Bonding Agent in a ratio of 4 parts paint to 1 part bonding agent. This step will prevent adhesion issues since the latex paint is not very porous.

Next, we applied beeswax to the areas where we wanted the top layers of paint to chip, followed by a couple of coats of Farmhouse White MilkPaint™.
Tip: If you are not getting the resist or chipping desired, add heat with a hairdryer, direct sunlight, or a heat gun.

Staining The Tops
Before applying our protective finishes, we stained the tops using Typewriter MilkPaint™ combined with water in a ratio of 4 parts water to 1 part paint. It was quickly absorbed into the raw wood top, making the perfect combination for our new updated 2-toned modern farmhouse look. We used a paint brush to apply the stain and a lint-free cloth to wipe back the stain.
Applying The Protective Finish
Before applying the protective finish on the bases, we used sandpaper to force chipping and remove the loose paint where we applied the beeswax. We followed that with a final wipe down to remove the paint particles and dust. We decided to use MilkWax-ECO™ on the tops. It adds moisture and cures to a hard washable finish. We are known for the occasional glass of water spill along with cold remedies and such.

Top: After MilkWax-ECO™ | Bottom: Before
Then we applied MilkOil™ Indoor / Hemp Seed Oil on the bases. Both were allowed to sit and absorb, followed by a wipe back and buff with a lint-free cloth.
Best of all, no VOCs!

There is one final project left to go before we show you the finished room.
Next up is a makeover for our mirrored maple dresser!