
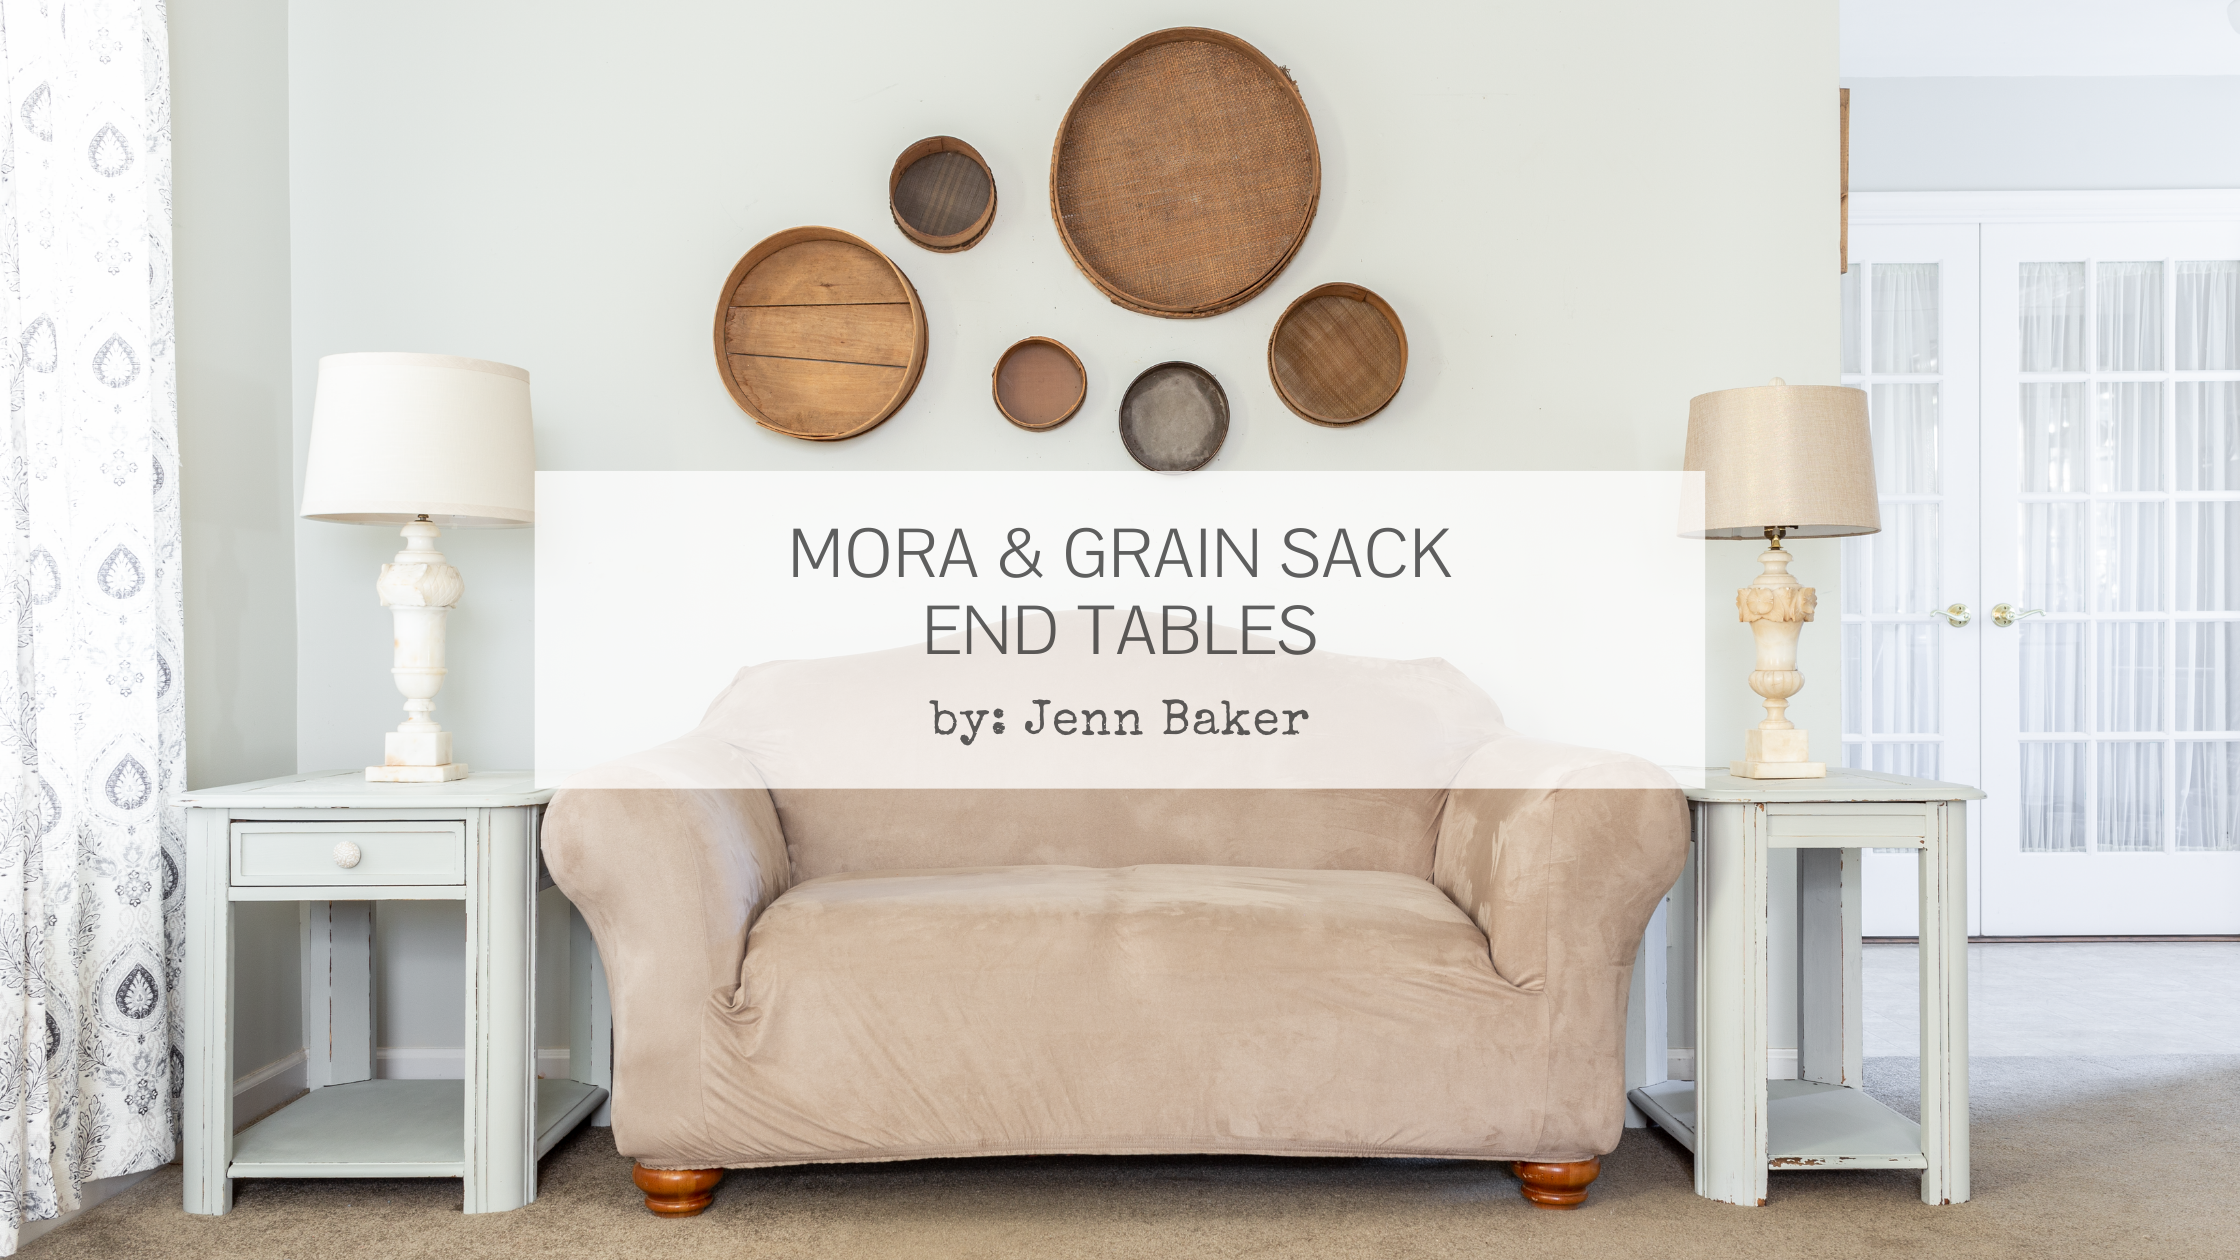
Mora & Grain Sack End Tables
A Multi-Functional Granny Flat
While my husband and I were saving for our first home, we lived in a granny flat off the back of my parents’ house. It’s a cozy, 600 foot, one bedroom apartment with a full kitchen, laundry room and basement. When we were there, I ran my furniture refinishing business from the basement, and we lived upstairs.
We were able to purchase our townhome a year and a half ago, so now the granny flat is back to being my workshop. This time, I have the run of the entire space! I sealed and painted the basement, which is now being used as a photography and television studio. The upstairs serves as my office and a place to sleep over during bad weather and late night QVC airings.
Most of the upstairs is undecorated because we took everything with us when we moved. Luckily, my parents recently redecorated their living room, and they asked me if I wanted their old sofa, end tables and ottoman.
It took me all of two seconds to say, “heck yeah!”
I’m so jazzed to share how I transformed my freebie end tables using two of my absolute favorite MilkPaint™ colors - Mora and Grain Sack!
Color Palette From A Pair Of Curtains
Now that I have a hodge-podge mix of free furniture in my studio, I’ve been taking my time thinking about how to bring it all together. A no-brainer way is by using MilkPaint™!
Picking colors was proving to be tricky though, so I searched for inspiration in our townhome. We have this pair of curtains on our first floor, and we absolutely love them! I thought I’d carry that love over to the studio, so I placed an order and jumped for joy when they arrived!

There are lots of MMS MilkPaint™ colors that can work with this pattern. I wound up picking these:

Left: Mora | Center Top: Ink Blue | Center Bottom: Grain Sack | Right: Aviary
Once I had my main studio colors sorted out, I began the makeover process with my two free end tables. They sit on either side of a free love seat that my mother-in-law gave me. The sofa that my parents gave me went over to our townhome.
So in addition to sorting out colors, I’ve been sorting out new homes for all of my free furniture!
Prepping My Free End Tables
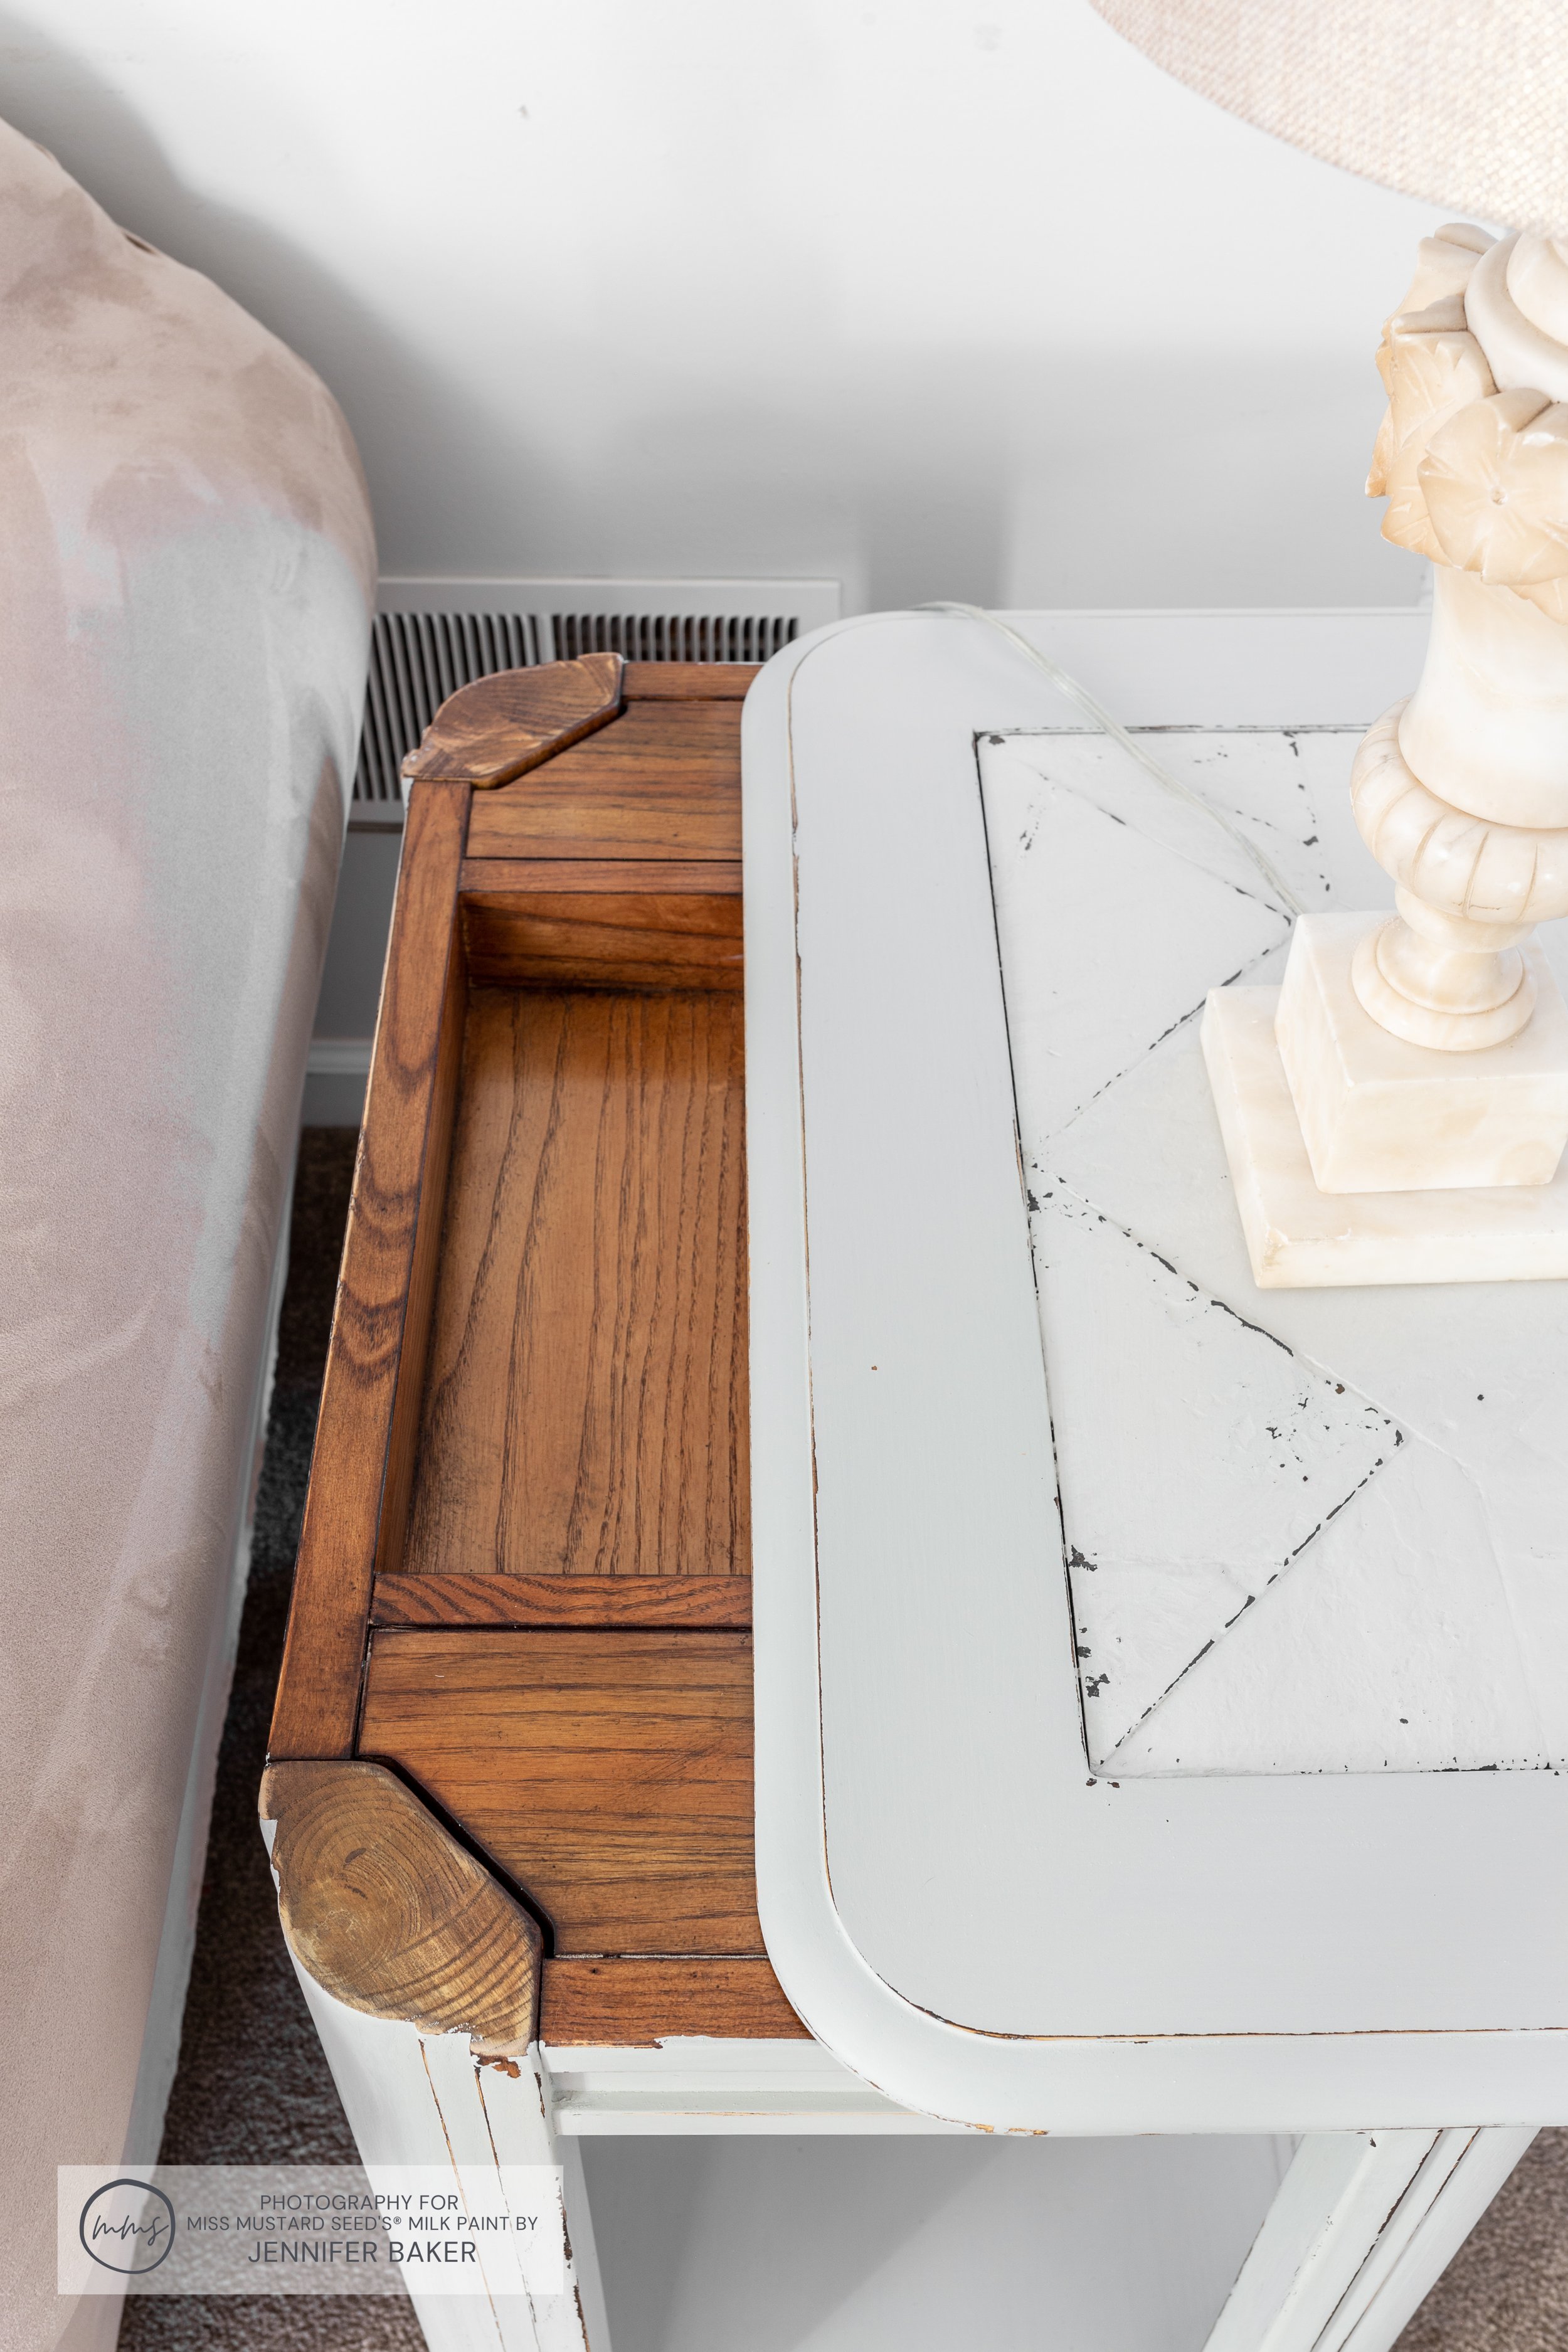
Once I decided where everything was going to go, I started prepping the end tables for their MilkPaint™ makeovers! Each one had a metal chain design around the base and a slate top.

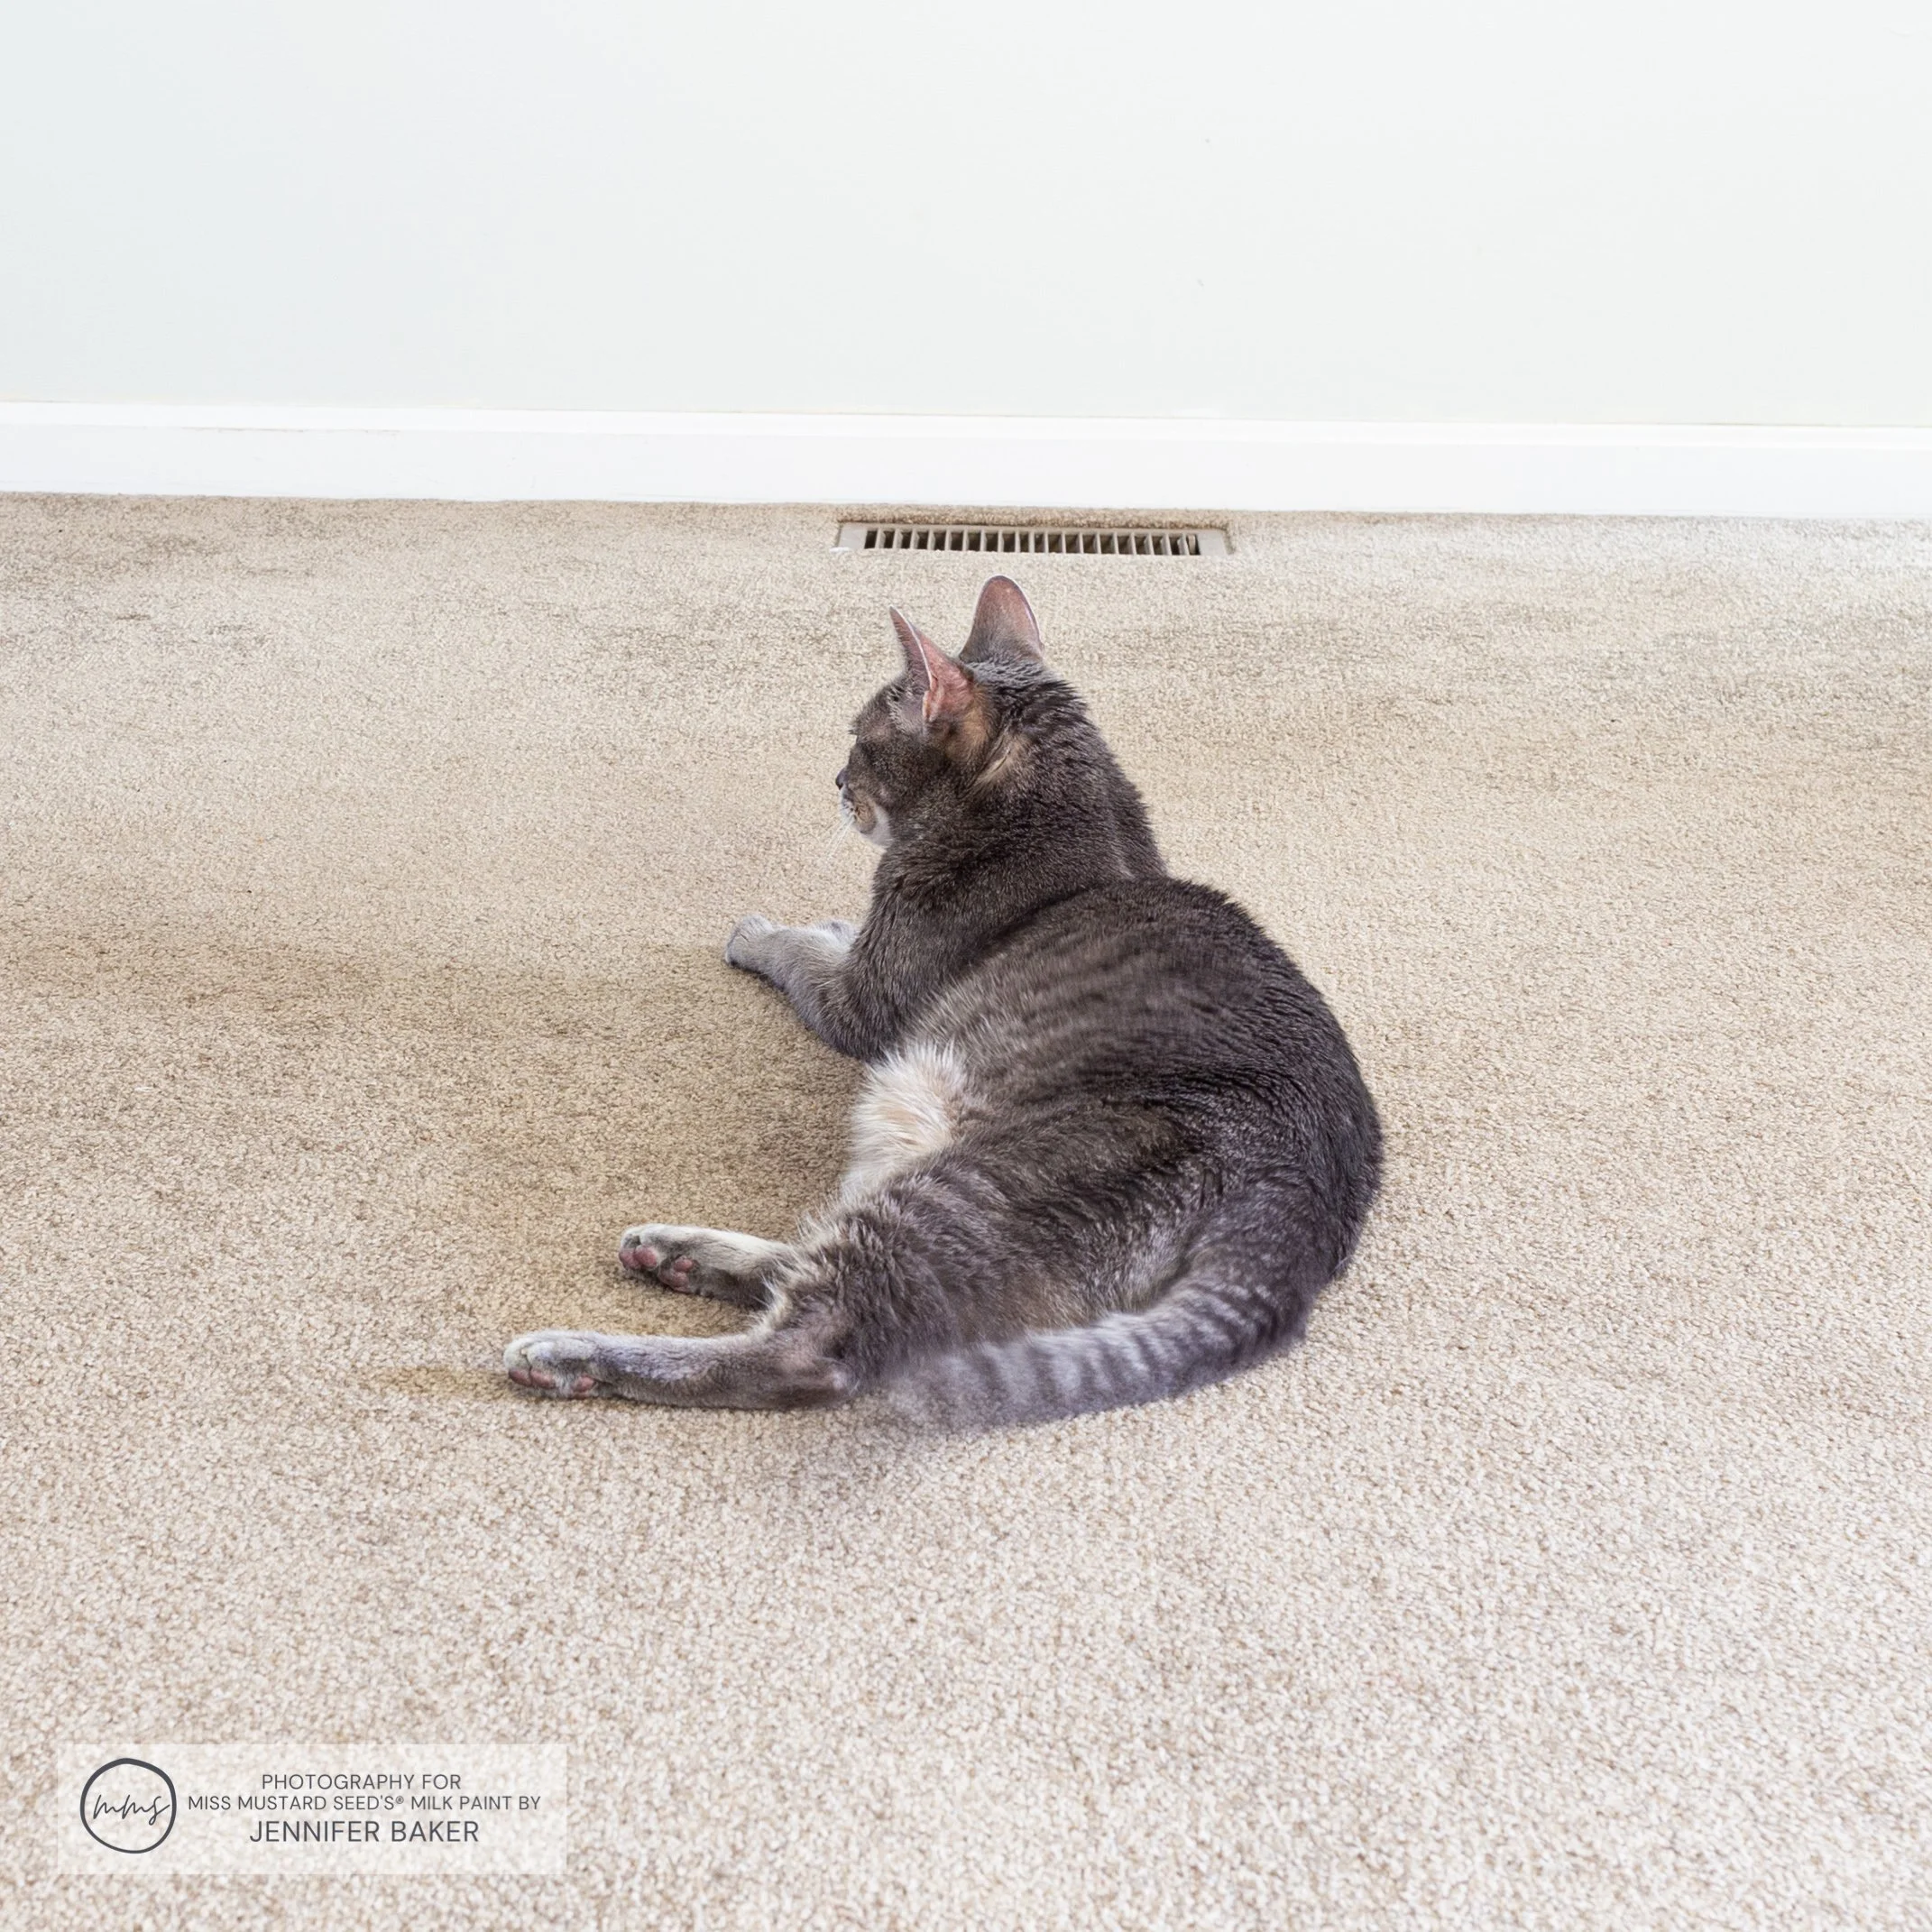
My photo-bombing studio cat, Jake
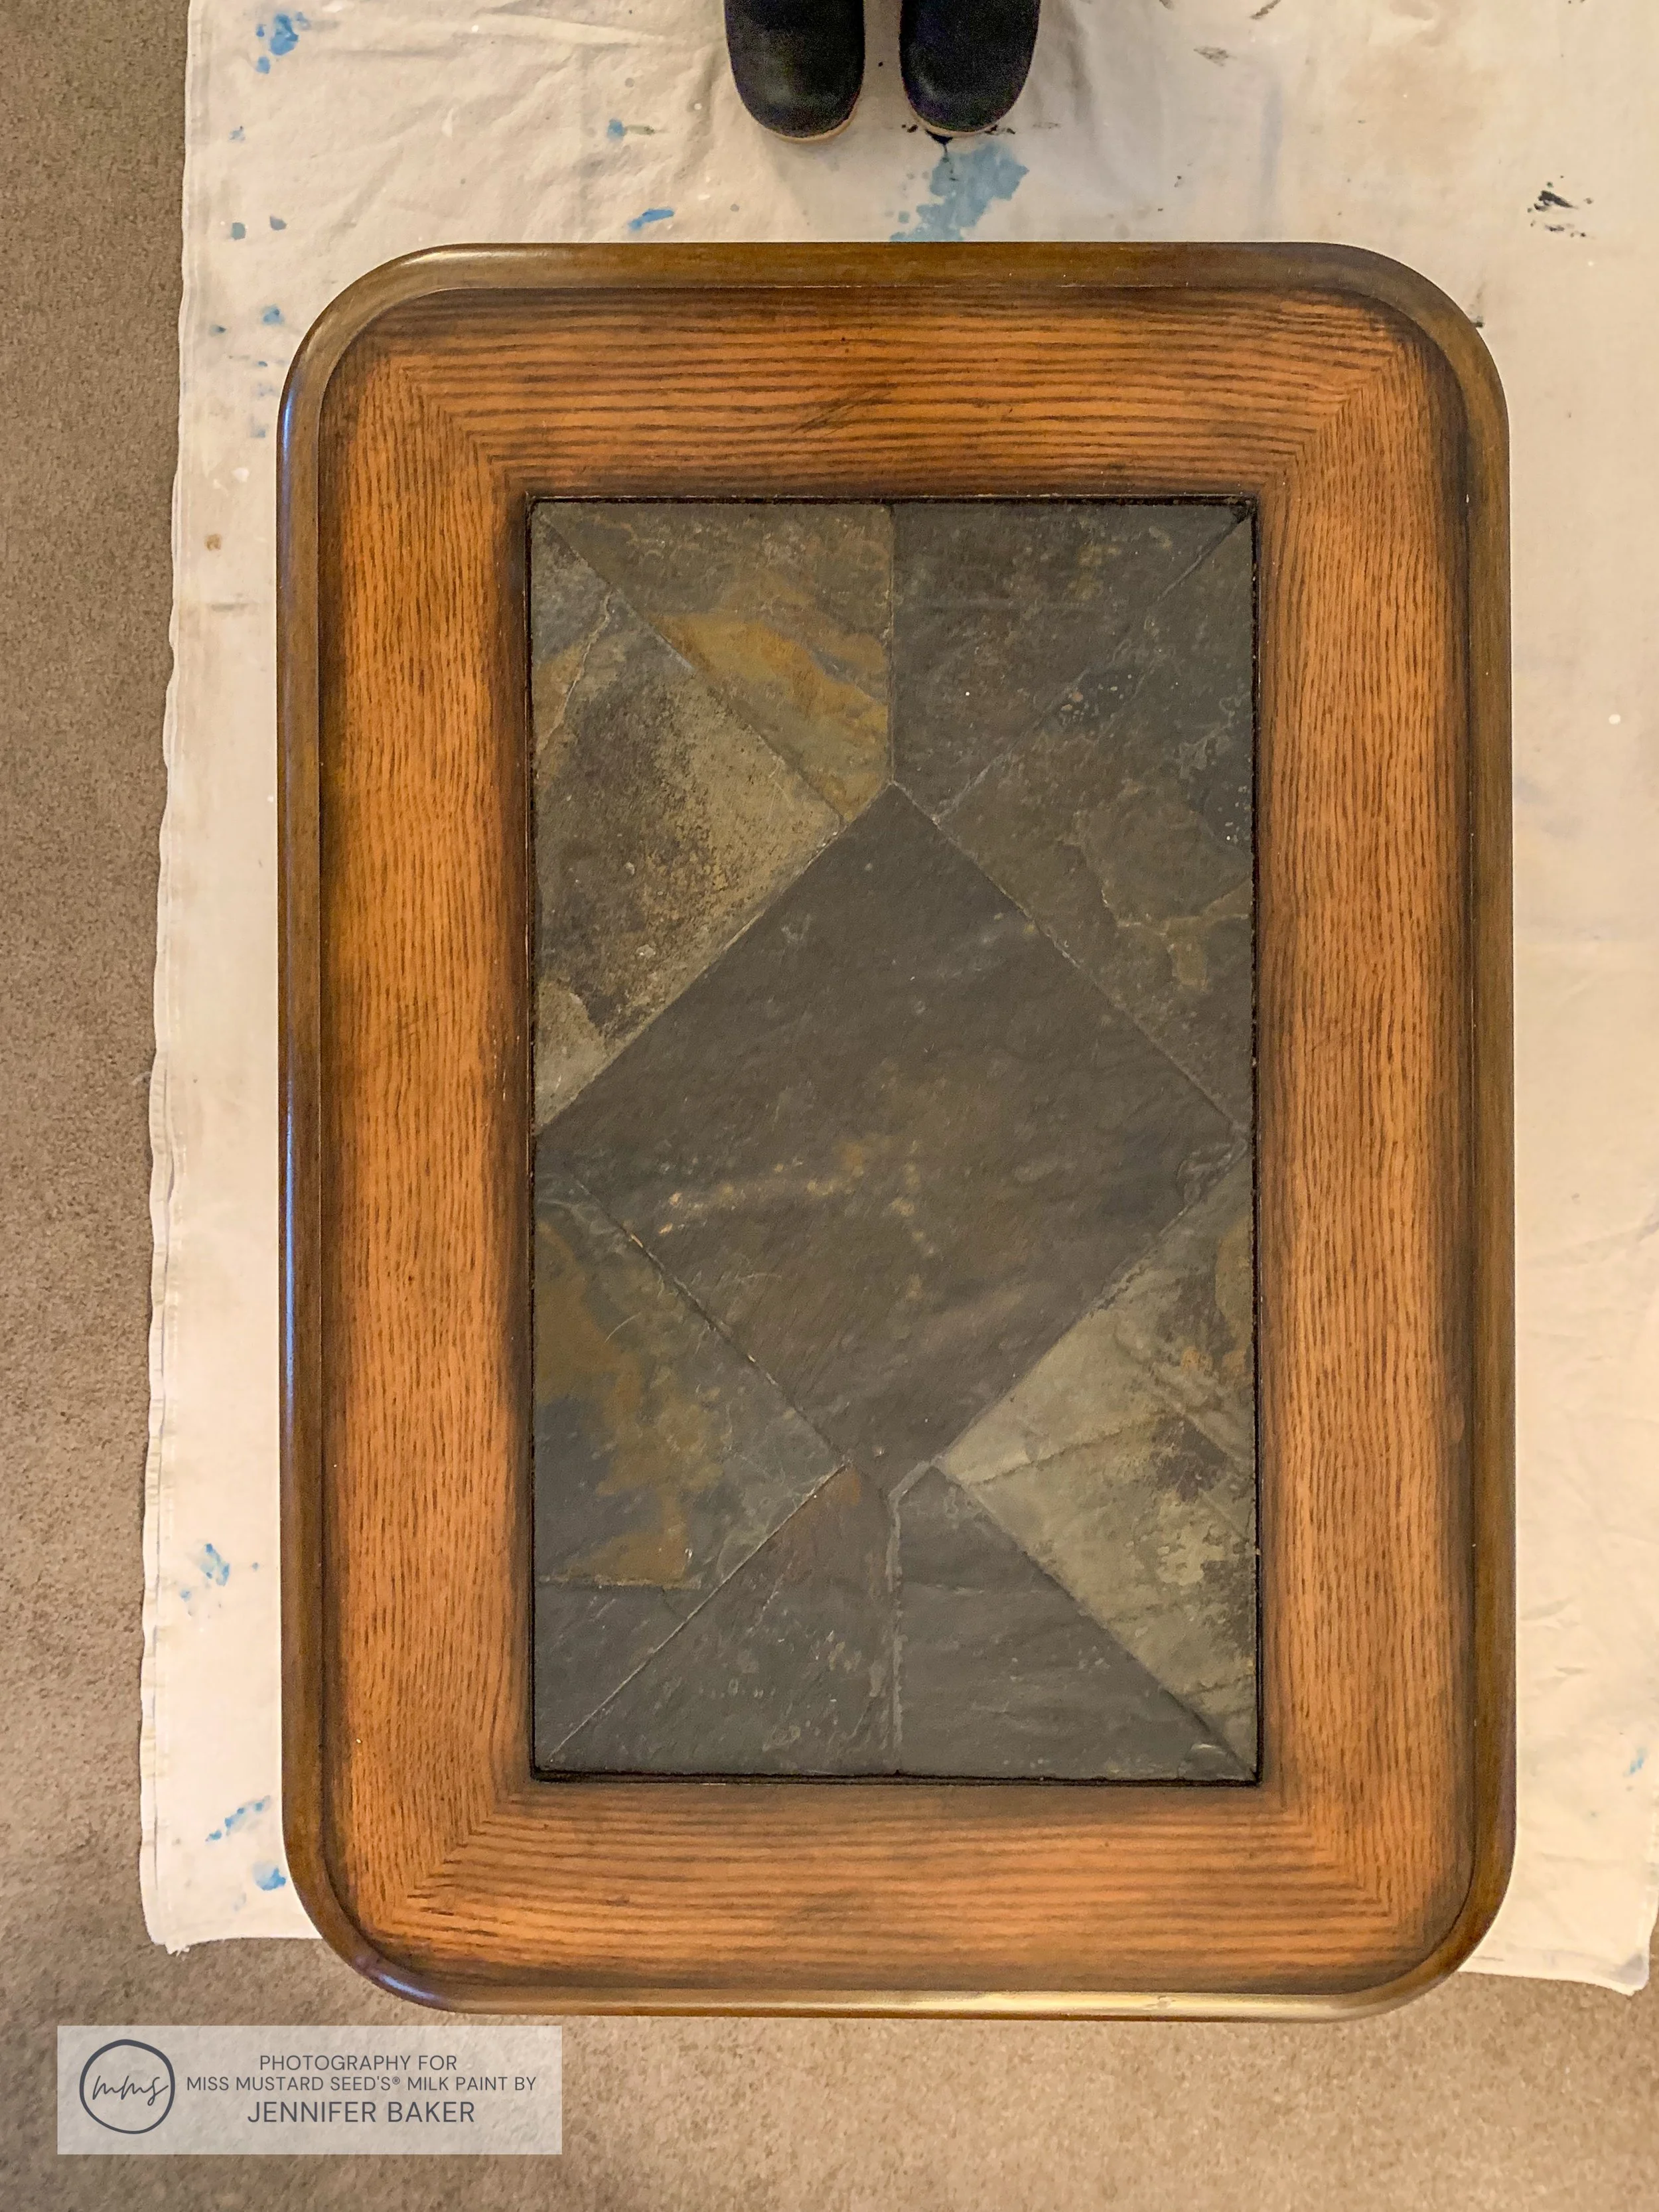
Slate Top
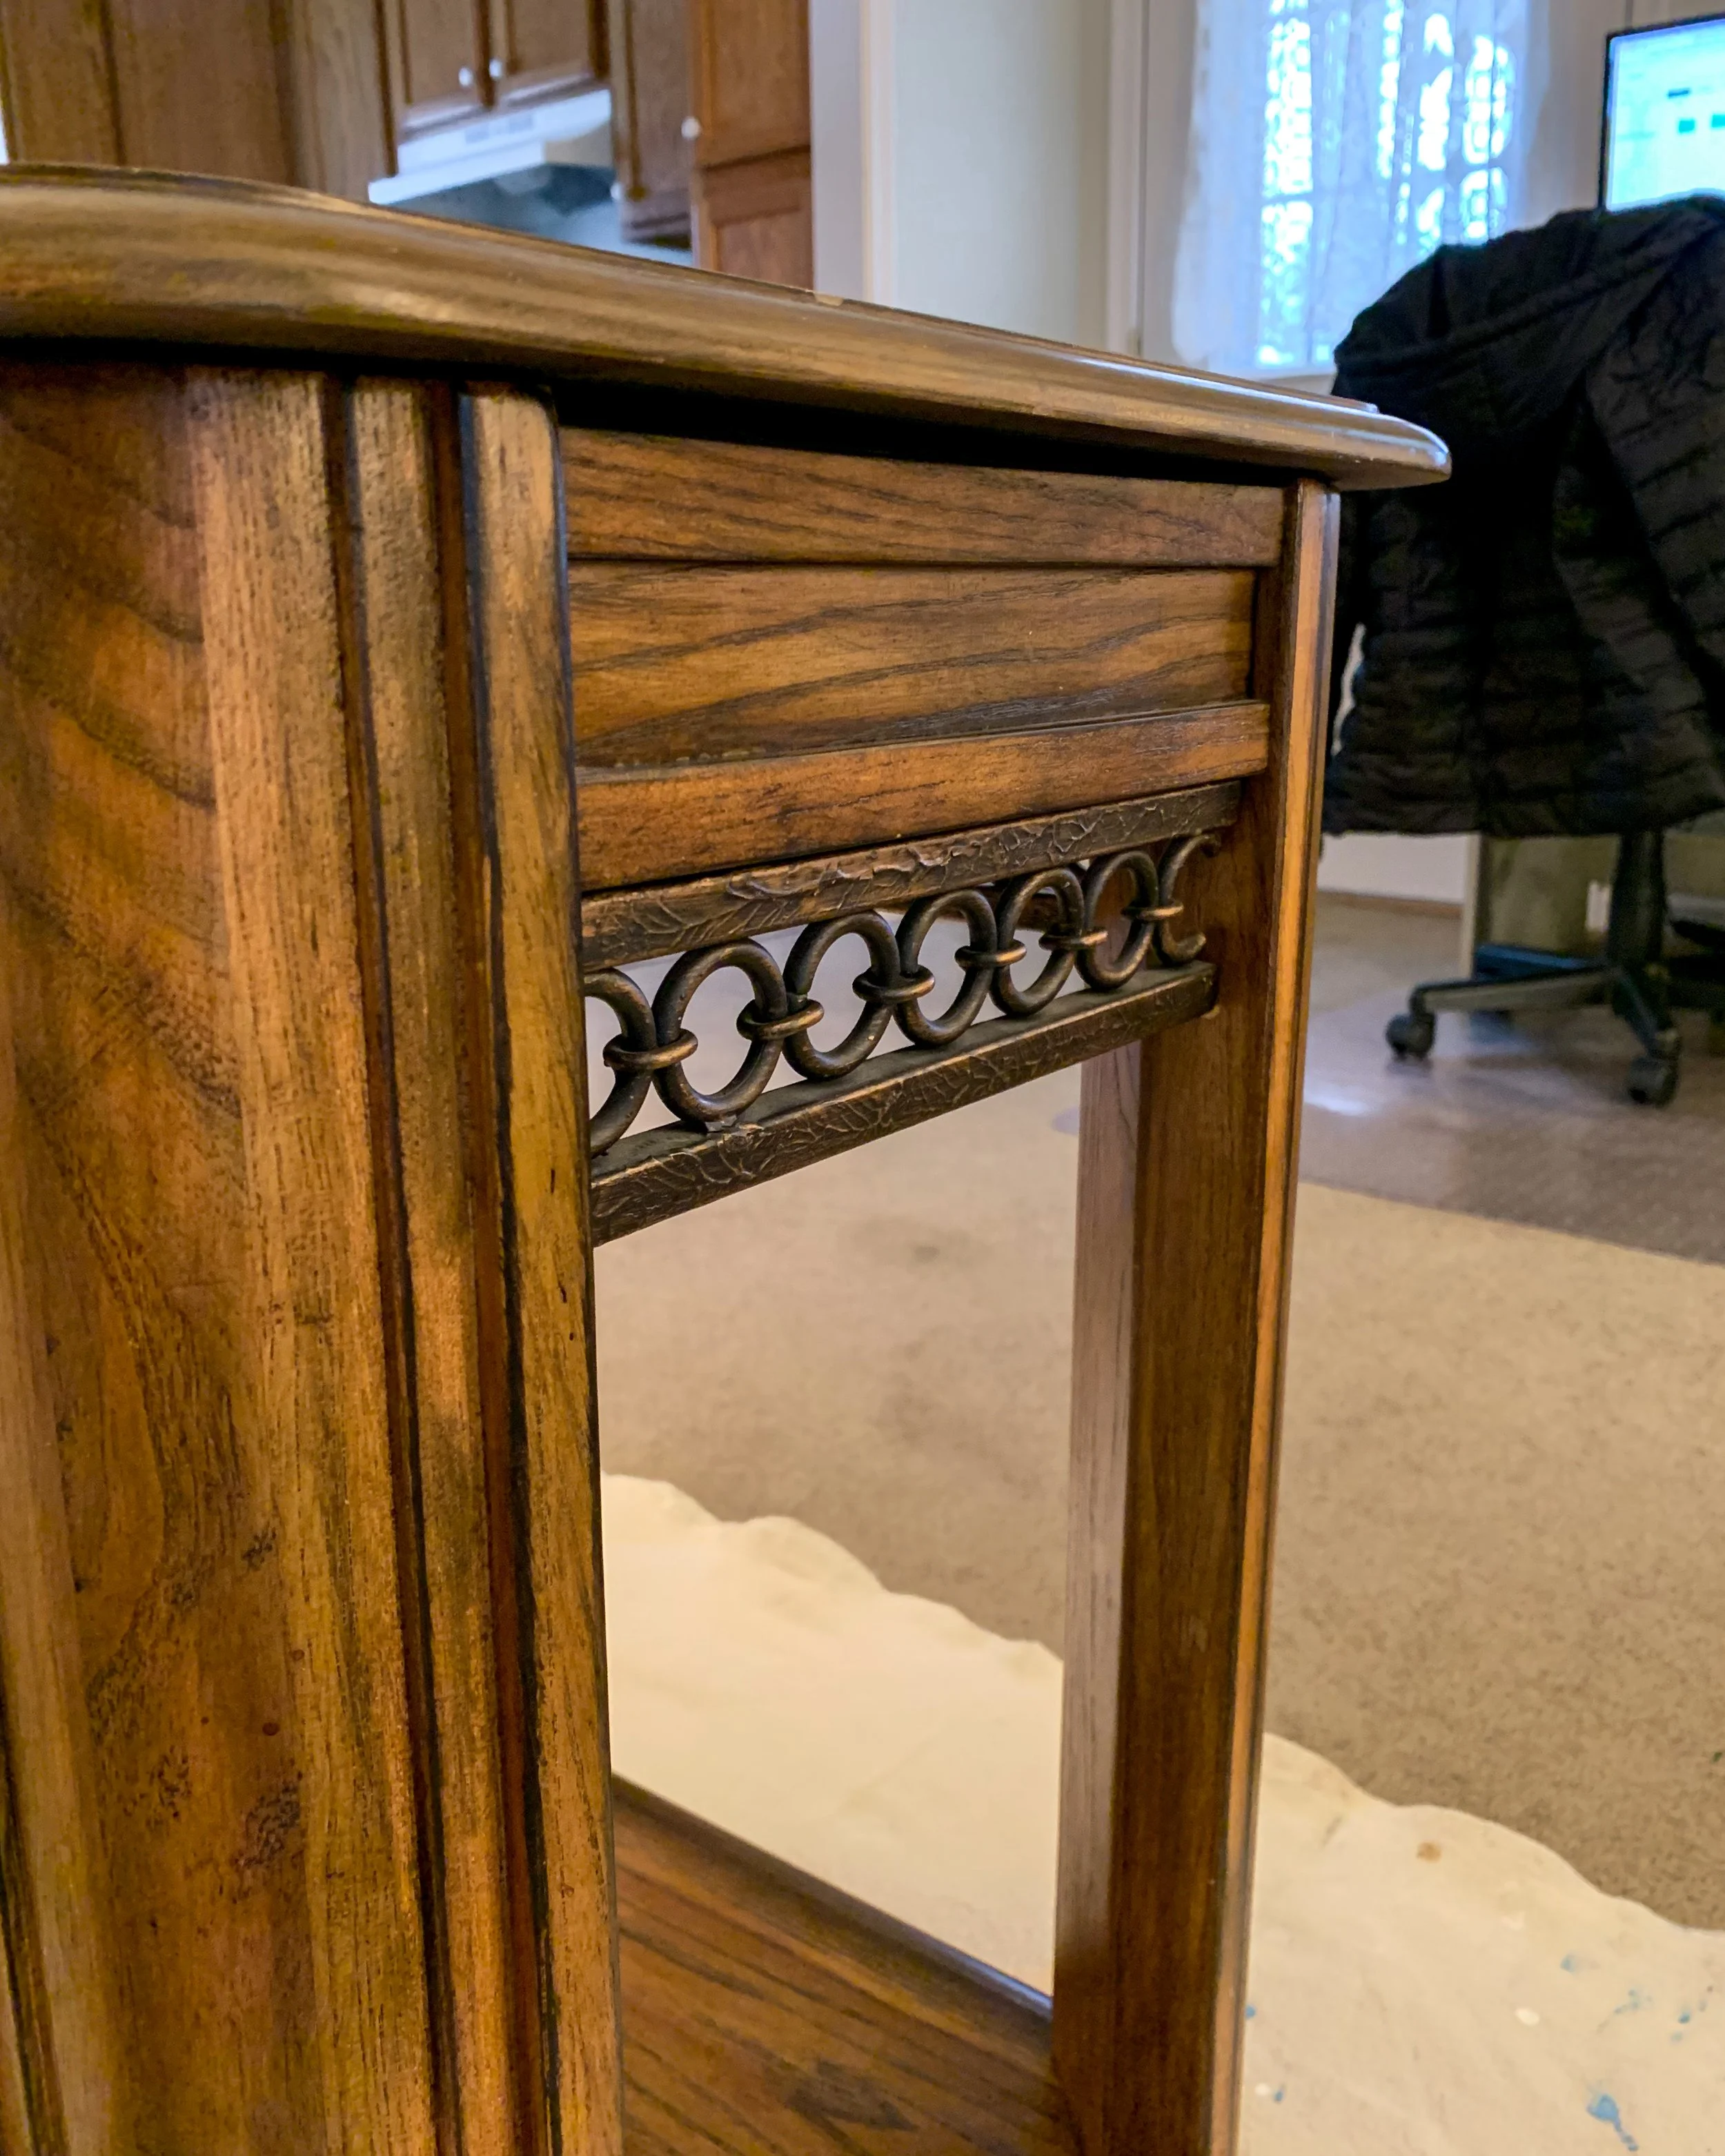
Chain Link Accent
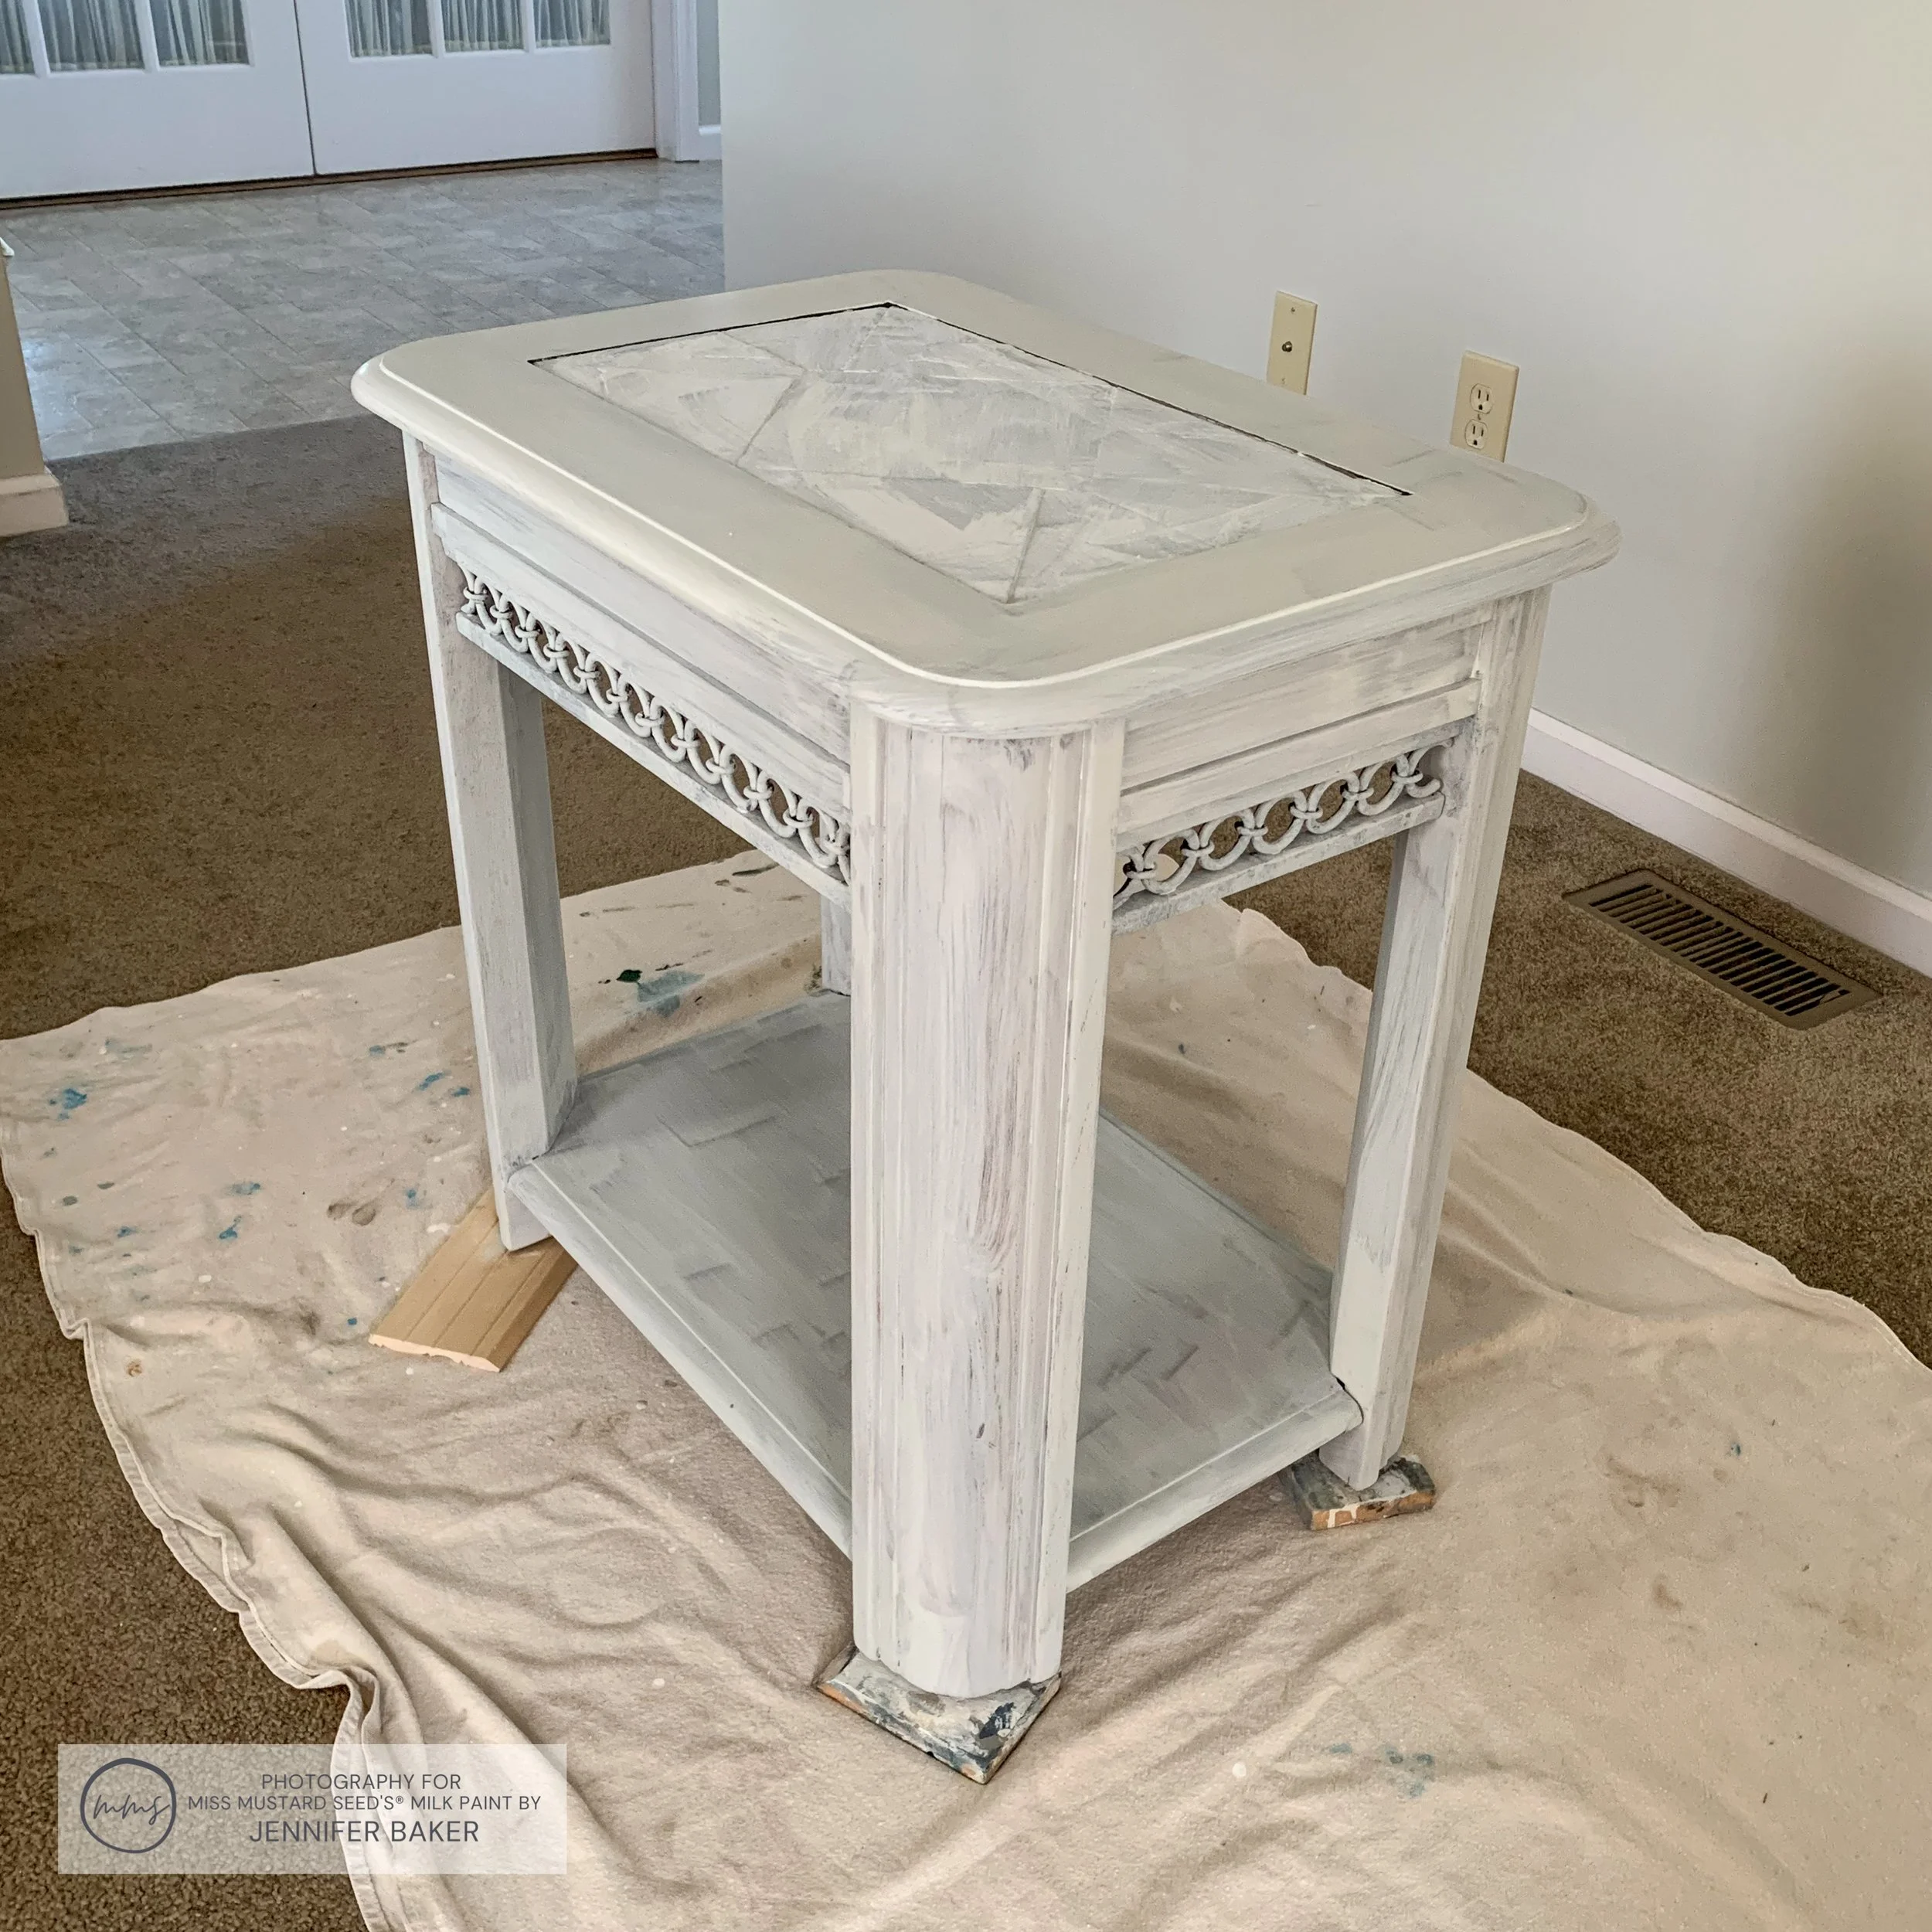
My plan was to paint the bodies in Mora and the slate tops in Grain Sack. I would use MilkGrip™ (formally known as Bonding Agent) to help the MilkPaint™ adhere to the slate and the factory finished wood.
Prep work started with a good scrubbing using blue Dawn® dish detergent and a blue Scotch-Brite scrubbie sponge. I wanted to make darn sure any oils, grease, dirt, dust or pet hair were gone!
After that, I went around and prep sanded with 150 grit sandpaper. It took me almost an hour to do both tables - no joke. There were SO MANY little nooks, ledges and corners on these tables. I wanted to make sure each one got scuff sanded. I even scuffed the slate tops. They had some sort of sealer on them which powdered up nicely!


The last step was to vacuum all of the dust and shake out my drop cloths.
Mixing MilkPaint™ With MilkGrip™
To begin the painting part of the end table makeovers, I mixed up a batch of Mora for the body. I used 1/2 cup of the old powder formula, and mixed it with 1/2 cup of slightly warm water, stirring with a popsicle stick. Then, I added a splash of MilkGrip™.
For the slate tops, I mixed up 4 tablespoons of the new formula of Grain Sack with just a few drips of MilkGrip™.
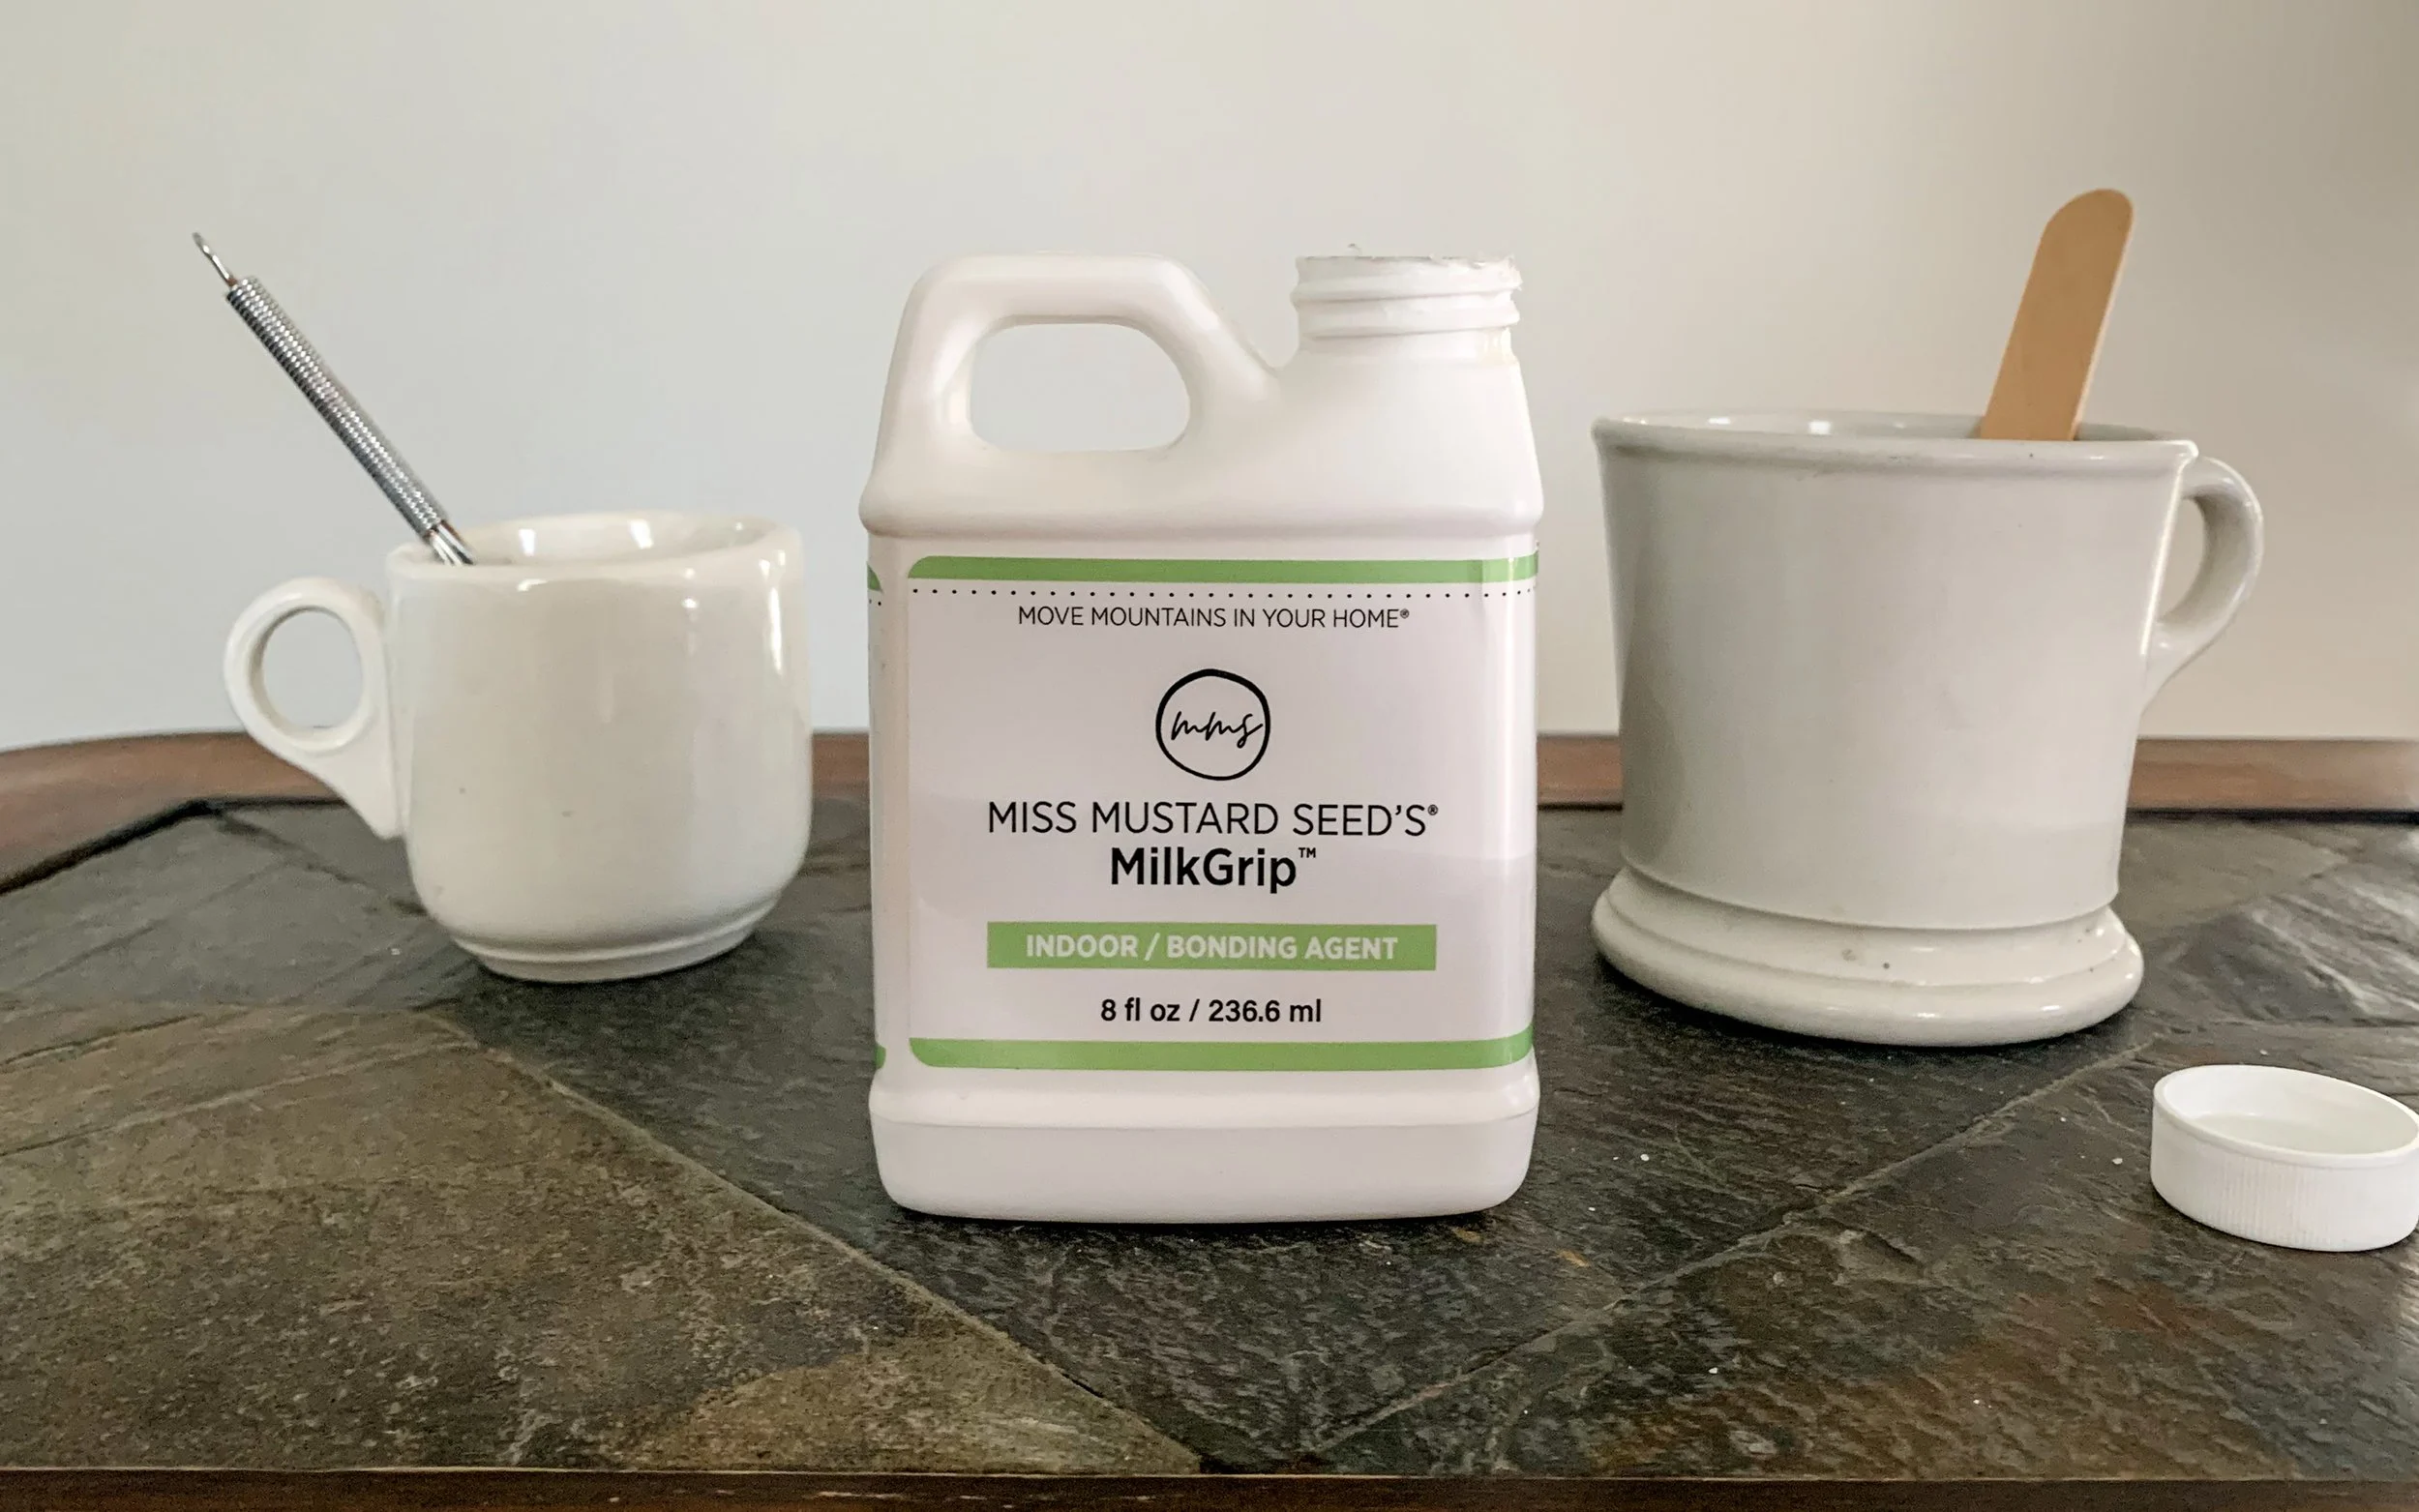
Left Cup - Grain Sack | Right Cup - Mora
I wasn’t using MilkGrip™ to prevent any chipping whatsoever. The point was to control the chipping and keep it at a reasonable level.
(You’ll see just how well this all worked out in a few paragraphs!)
Painting The End Tables With Mora & Grain Sack MilkPaint™
I started painting the slate tops first, and then worked my way down. The Grain Sack MilkPaint™ was an immediate improvement! It went on so smooth and there weren’t any gritty bits when it dried.

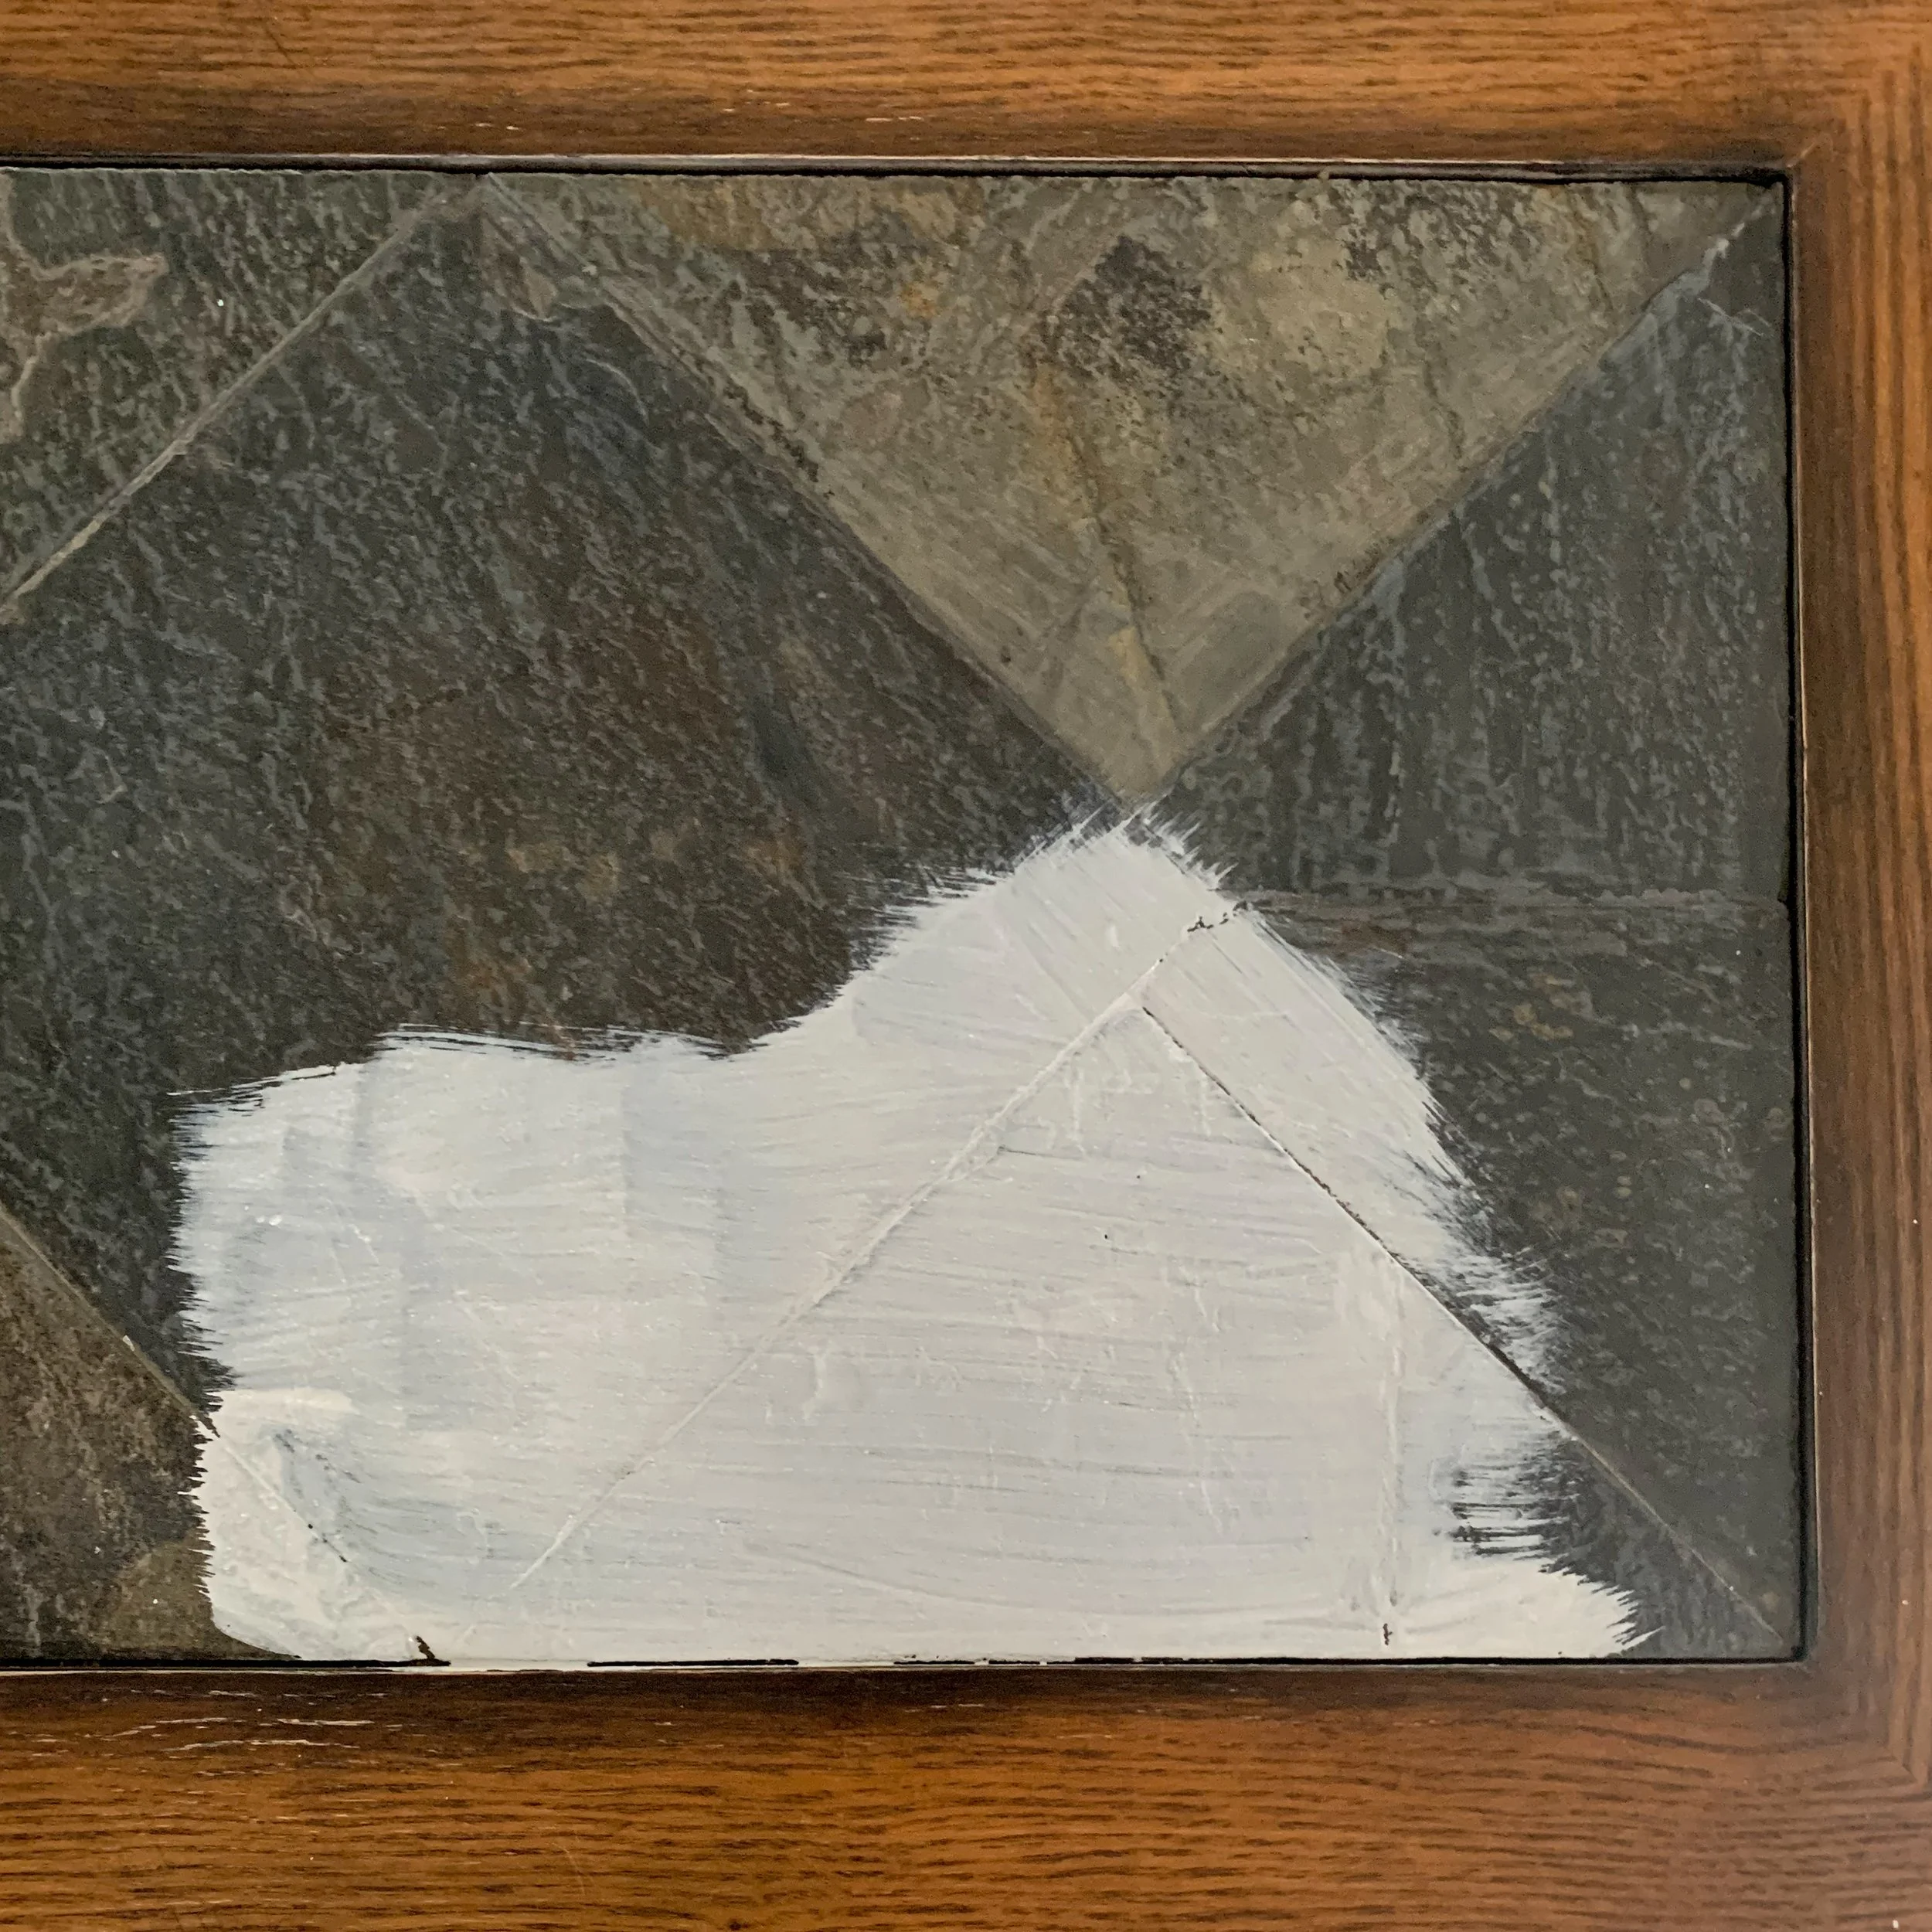
Then, I painted the body in Mora. Since I was using the old formula, I did have lumps in my cup and a gritty texture when I was finished.
After one coat, things were looking a little ugly, both in terms of the paint and that chain link accent. I wound up removing it, which simplified the design quite a bit!
When it came to the paint, I wasn’t actually worried because I know that MilkPaint™ often looks like this after the first coat.
If you’re new to using MilkPaint™ rest assured that you haven’t ruined your project at this state. The first coat is just a foundation. Once you apply your second, things will immediately look better!
In all, I applied 2.5 coats of Mora and Grain Sack on my end tables. That last “half” coat is basically a touch-up to add more coverage in spots that looked a bit transparent.
Smoothing And Distressing The End Tables
Once my tables were all dry, I went over them with a 220 grit sanding pad to smooth everything down. (A sanding PAD is basically a piece of sandpaper that has a layer of foam on the back. It’s different than sandpaper.)

With the old Mora MilkPaint™ formula, I wound up with little bumps and gritty spots across my tables. This is what I smoothed down with the 220 grit sanding pad.

You don’t have to worry about that with the new MilkPaint™ formula! The new Grain Sack didn’t require any smooth sanding over the slate tops. It dried perfectly flat and soft!
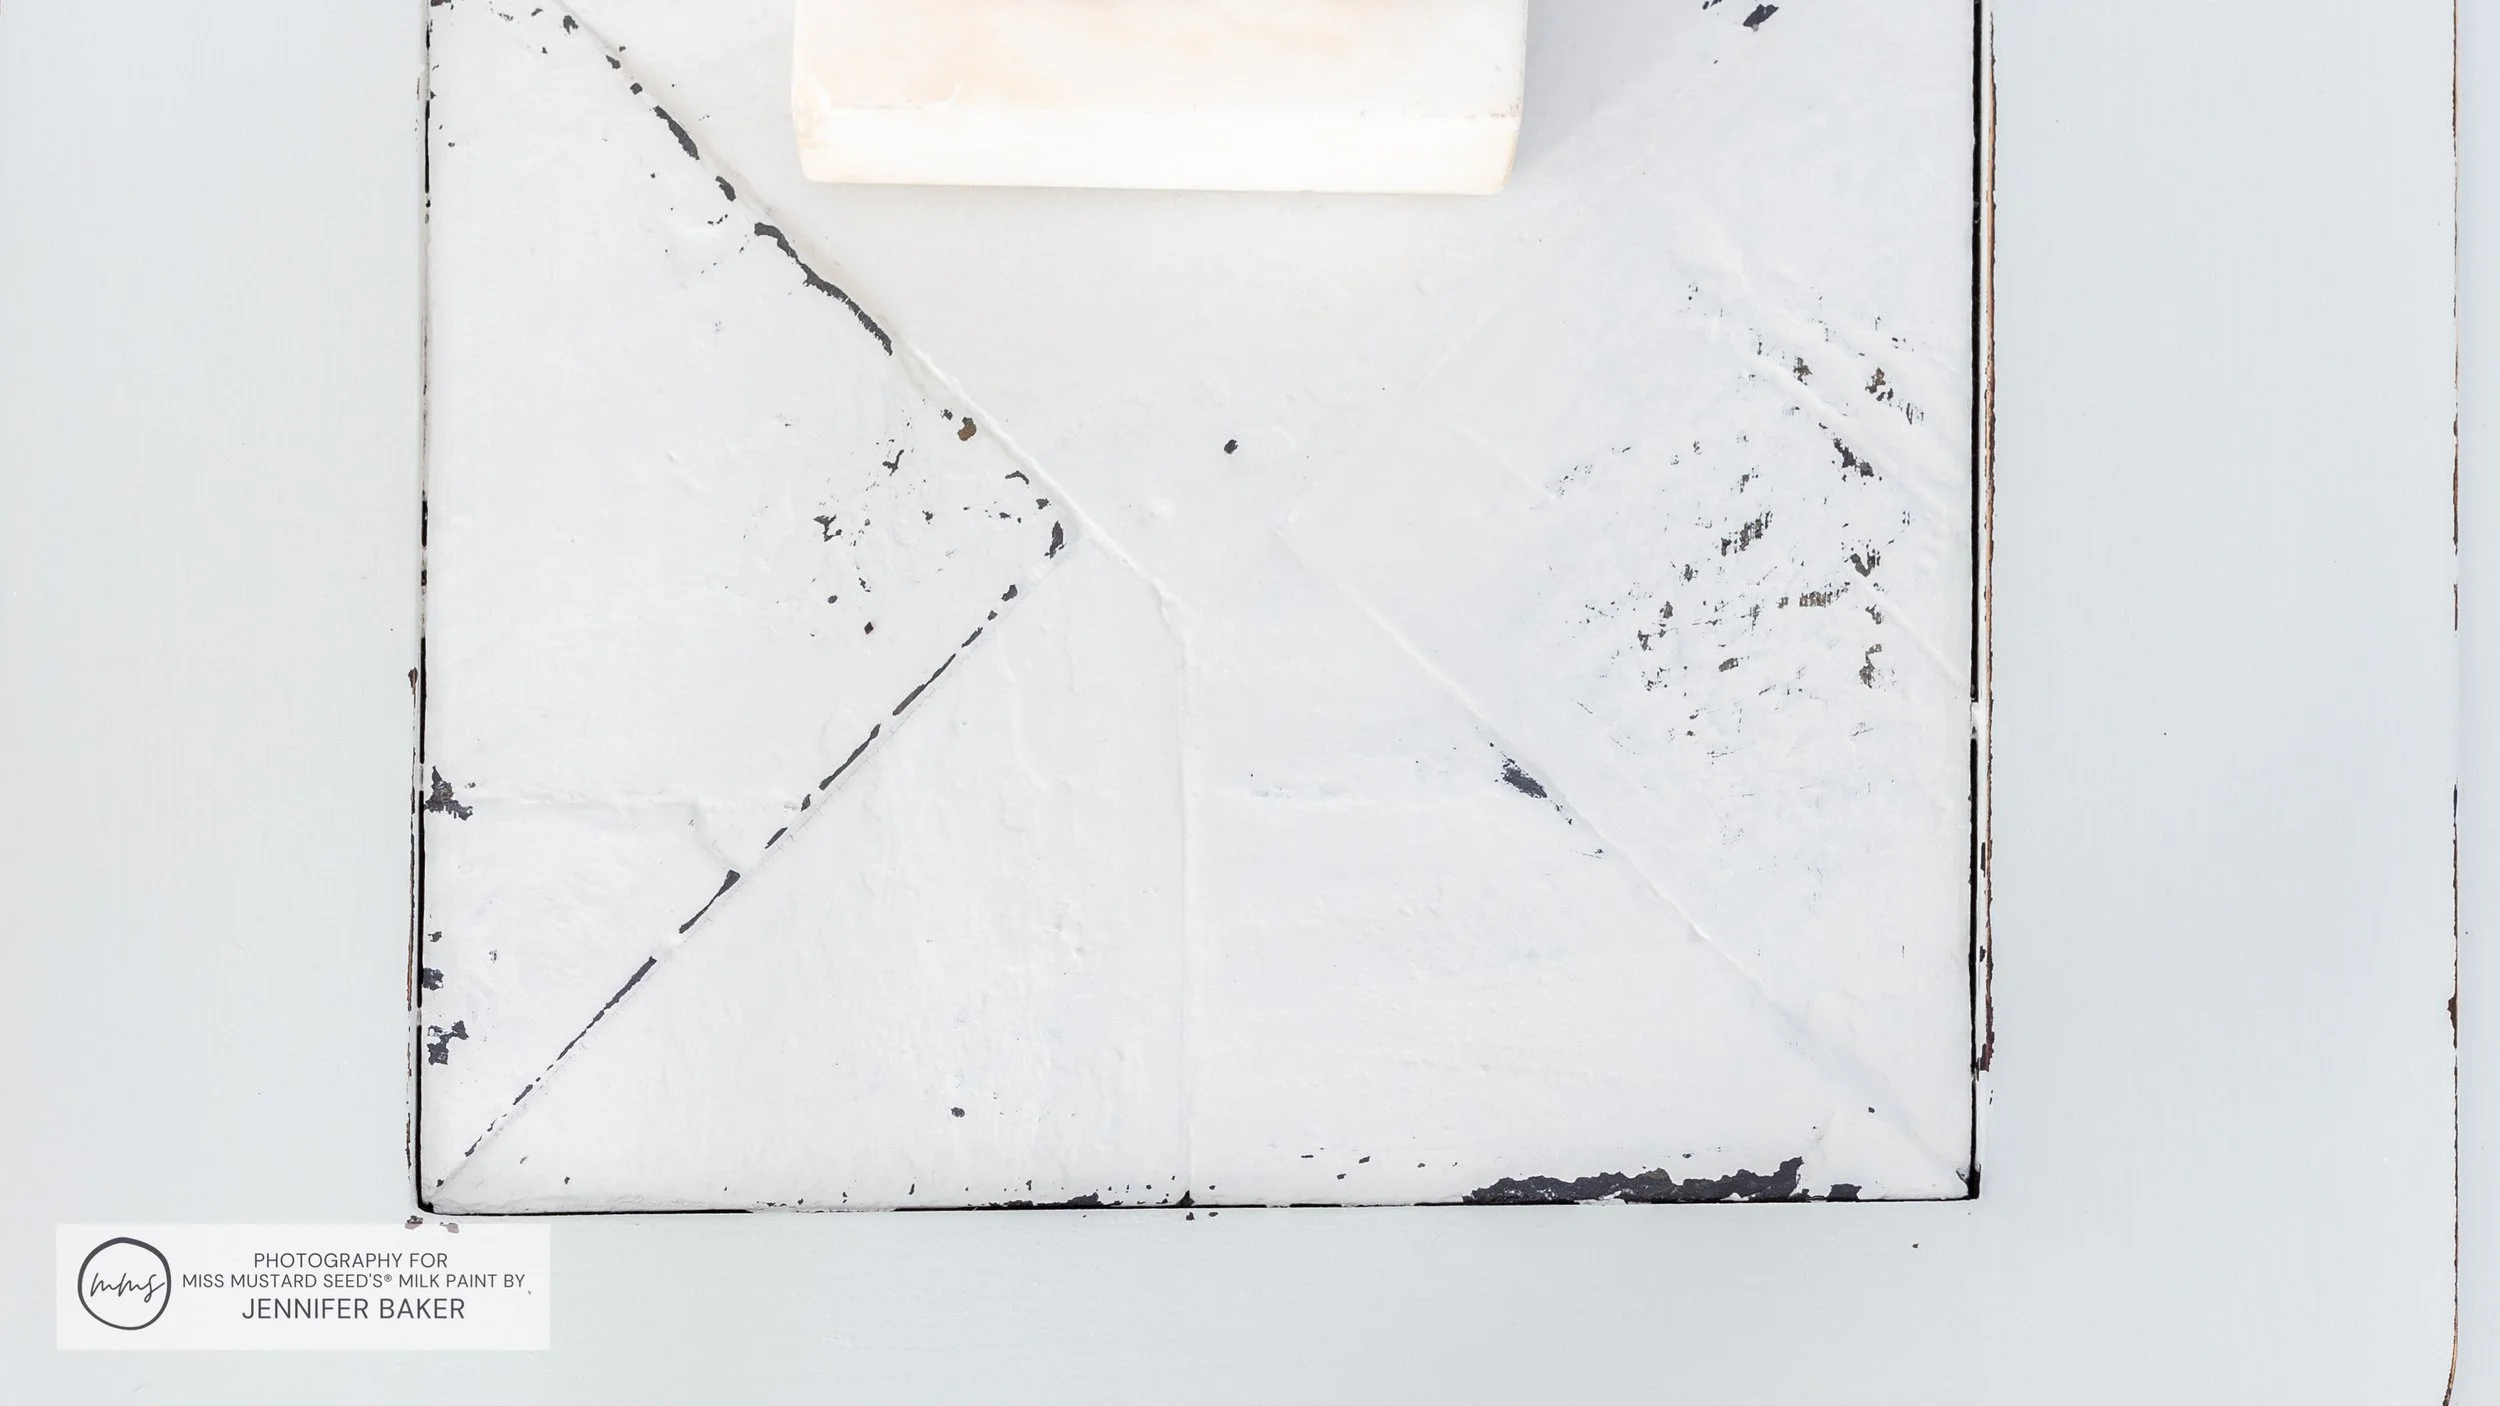
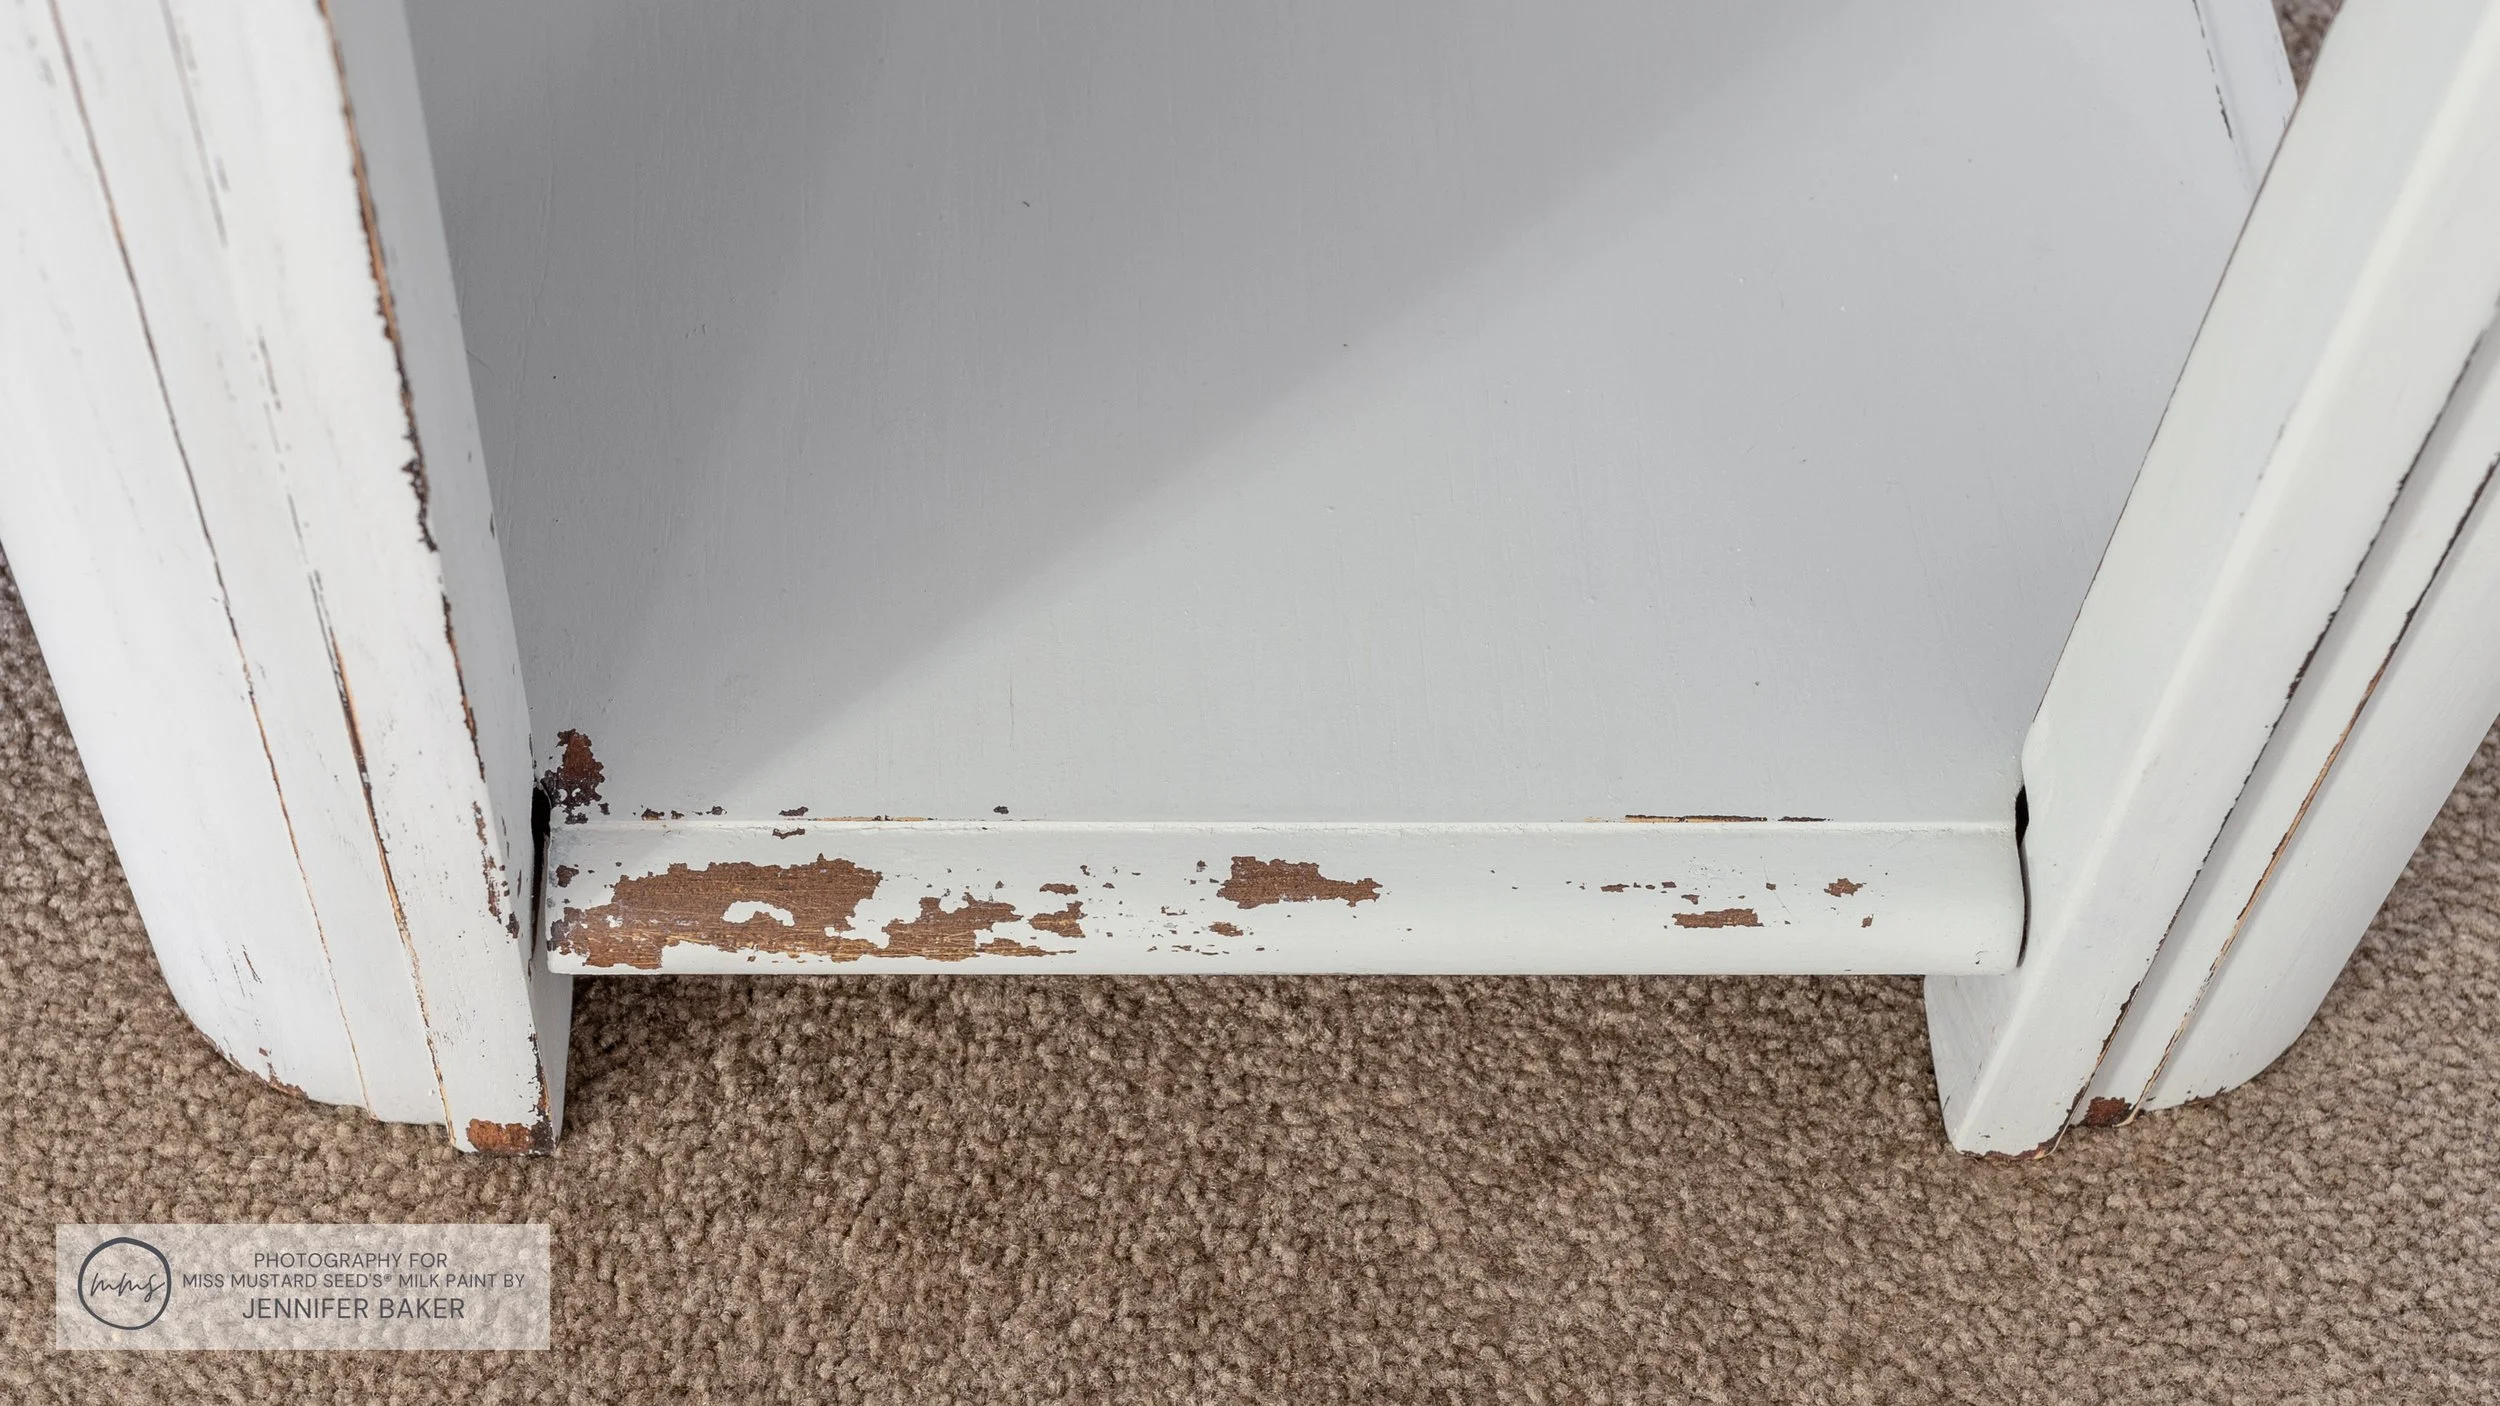
After the Mora was all smoothed out on the bodies, I went back over each piece with a worn-ish square of 150 grit sandpaper. I ran it all over the edges and bumpy ridges of the slate top.


To my delight, I got some spots of very controlled chipping. Nothing got out of hand and it all looked lovely!
(Thanks, MilkGrip™!)
Applying MilkWax - Clear™
For a topcoat, I picked MilkWax - Clear™. Here’s my reasoning:
I was worried that water-based MilkCoat™ might activate wood tannins or stain pigments under the paint and cause bleed-through.
I needed a topcoat with more durability than MilkOil™. Plus, I didn’t want the color of my Mora and Grain Sack to deepen that much.
My tables didn’t need to be food-contact safe, so I didn’t need MilkWax - ECO™.
That only left one option - MilkWax - Clear™!
Using a popsicle stick, I scooped out a few dollops of MilkWax - Clear™ onto a paper plate. That’s the pile I worked from - not the jar. I didn’t want to get bits of Mora or Grain Sack all up in my gorgeous wax!

I found a wax brush to be the best way to get the wax all spread out across my end tables. The bristles worked it into the corners and along the tops perfectly. While I was spreading it out, a lovely smell of oranges rose up from my tables. It’s so nice using products that smell good!


Using a lint-free shop towel, I gently buffed away the excess MilkWax - Clear™ from the surface and gently put my end tables back in place.
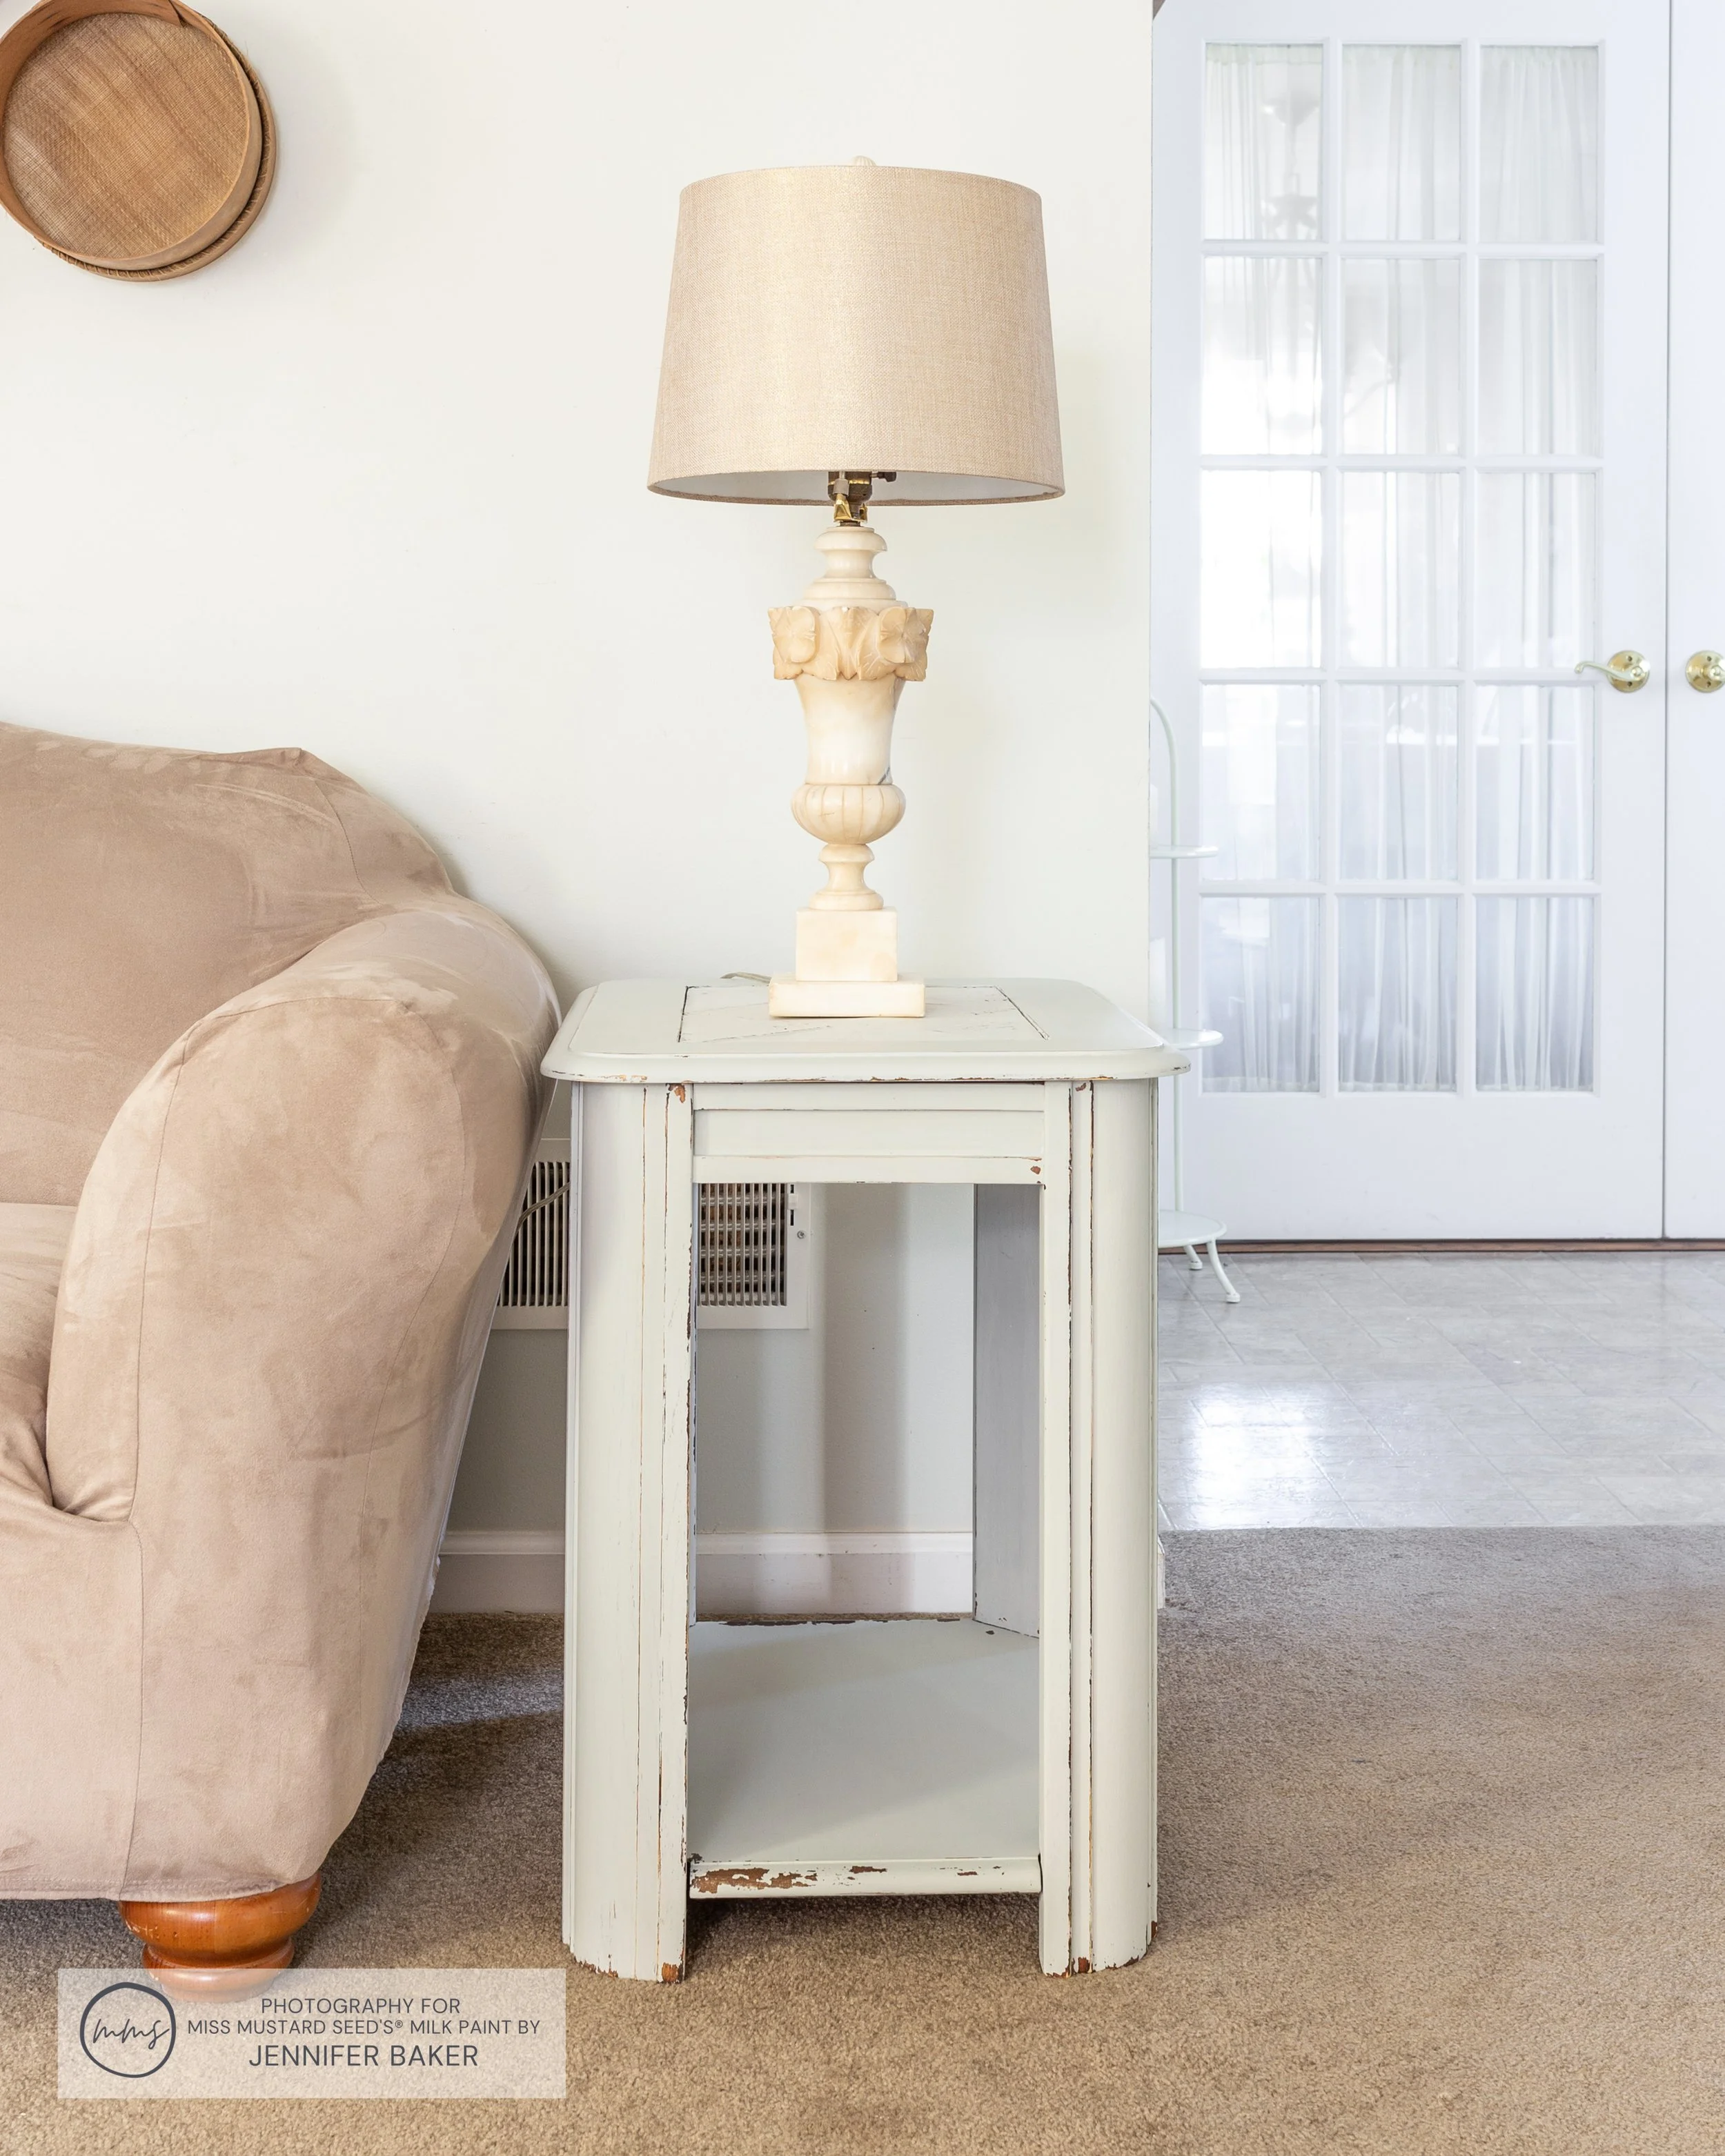
End Tables In Mora, Grain Sack & MilkWax - Clear™
I let my tables sit overnight to give the wax a chance to settle. The next day, I placed a slipcover over the free love seat, adhered felt pads under a pair of alabaster lamps, and stepped back to admire how my studio space is coming together!
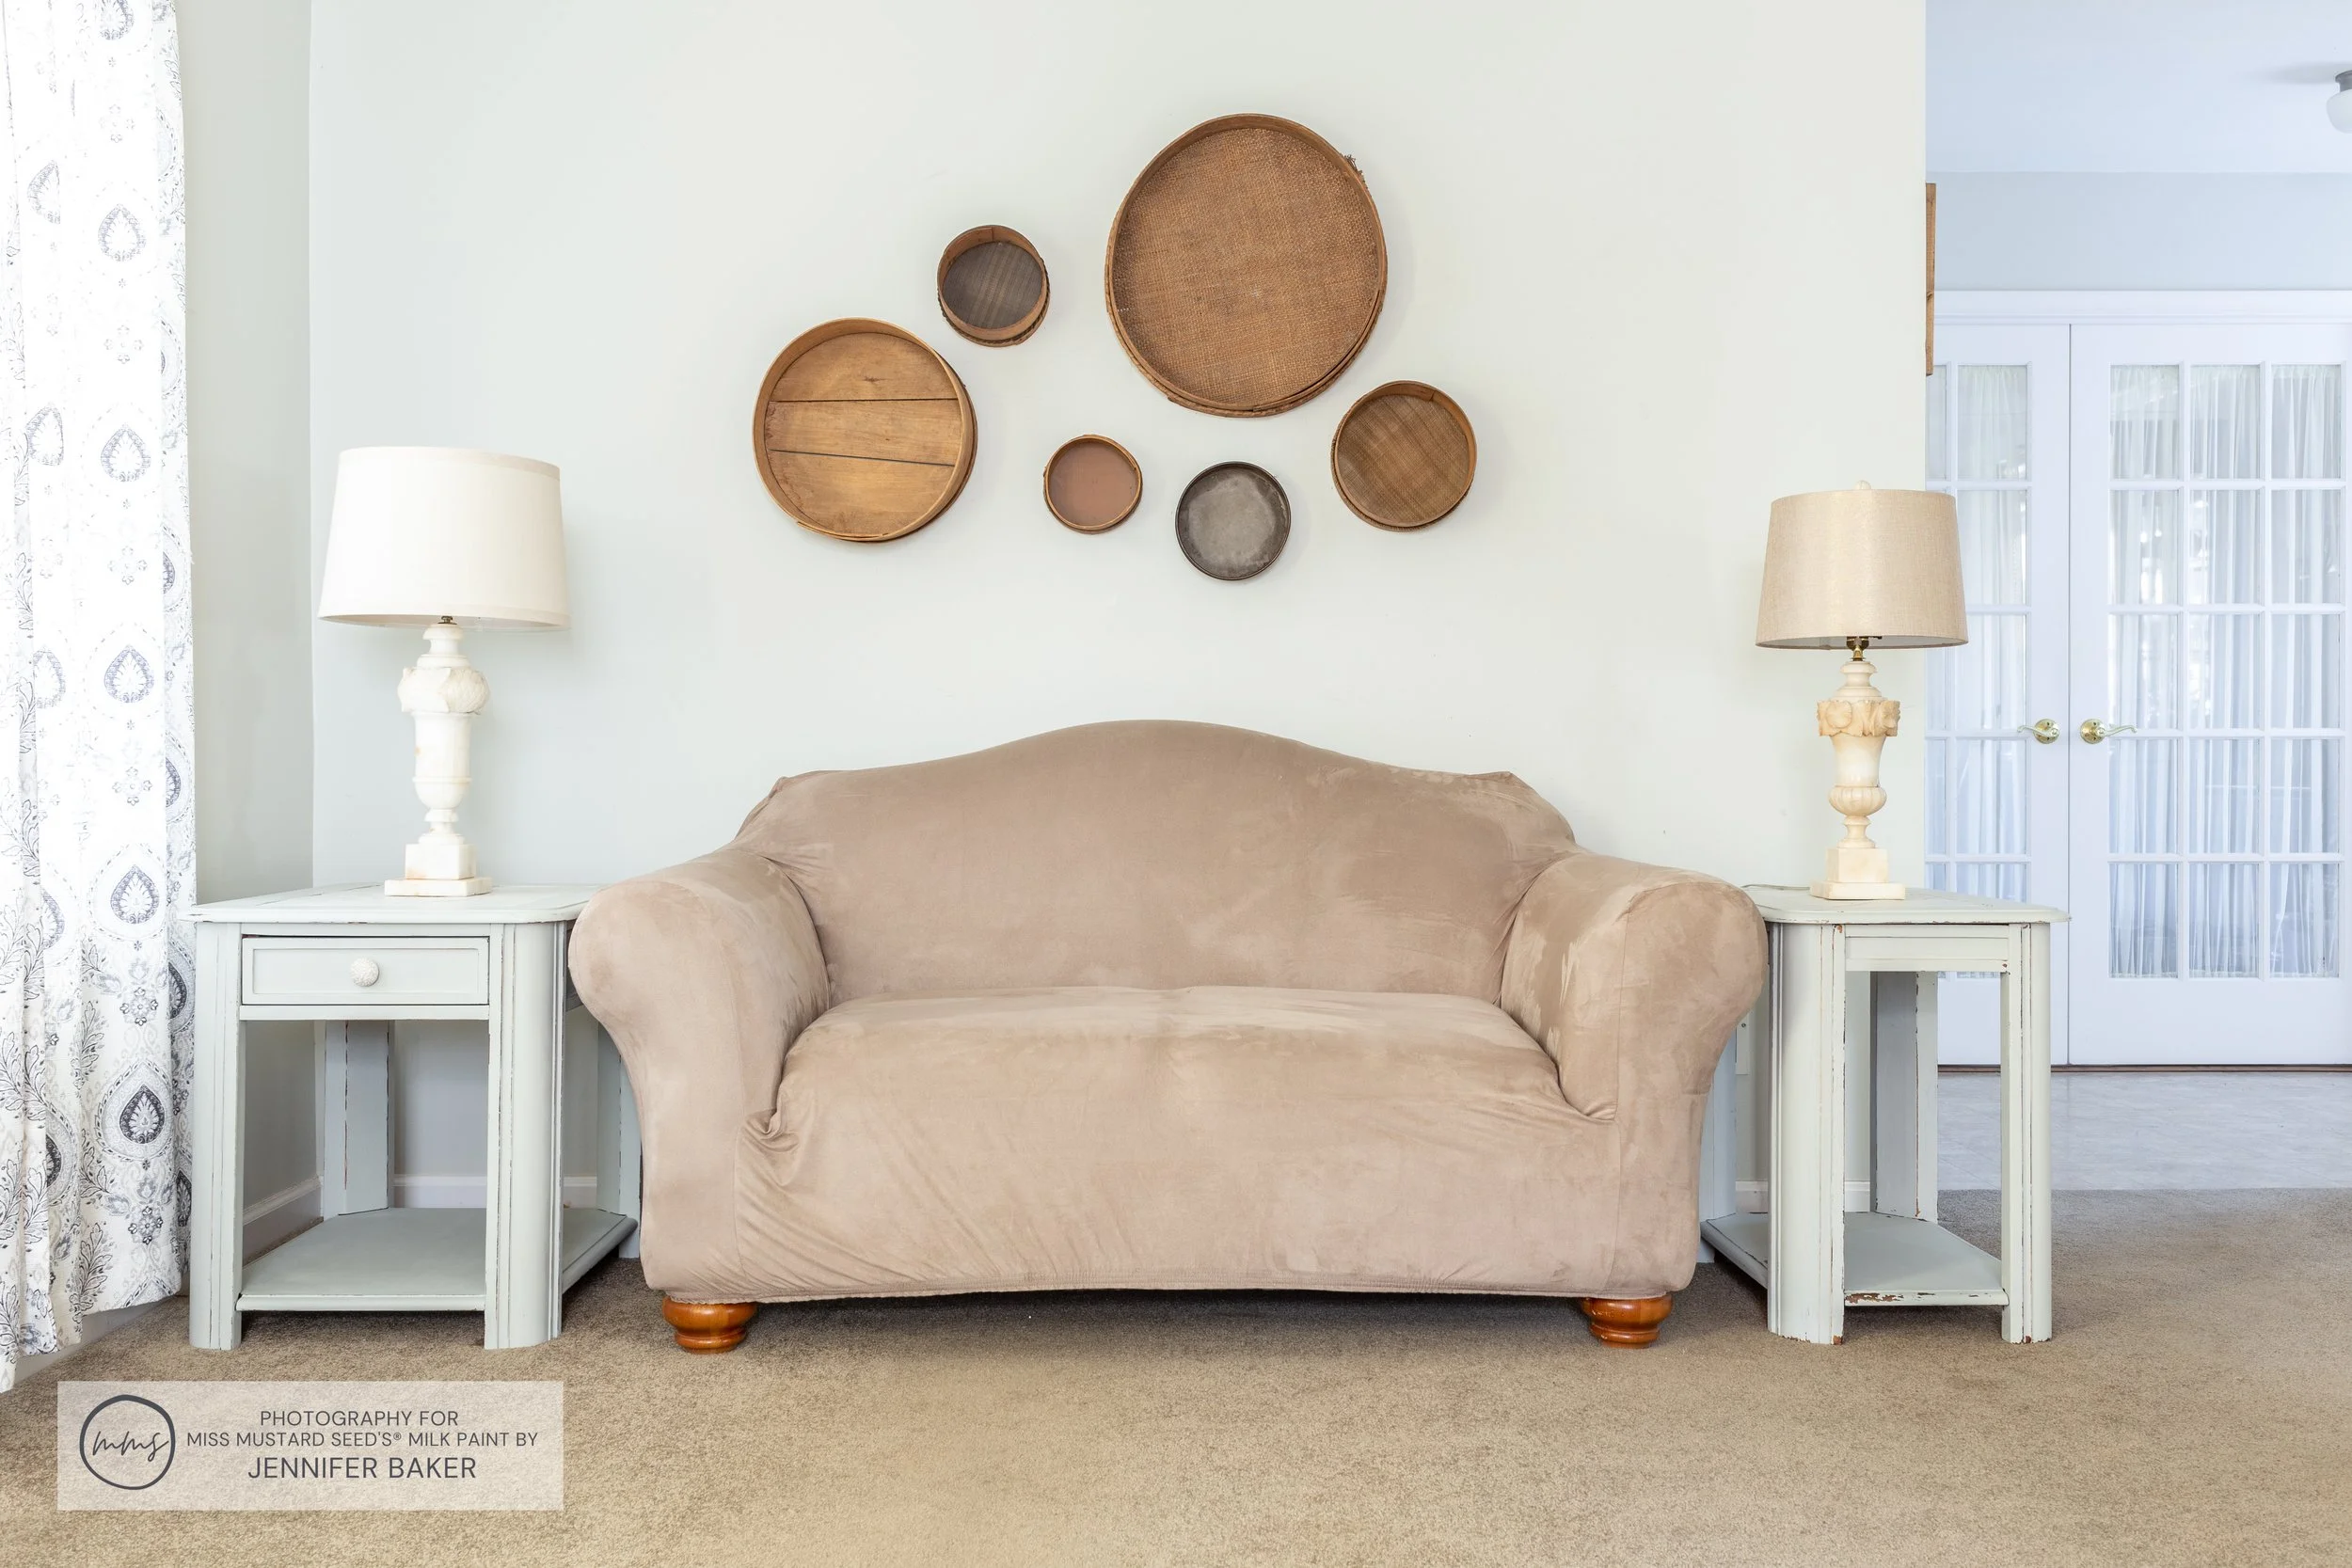
The French doors lead over to my parents’ side. Usually my desk is on the left near the curtains.
I just love how soft the color Mora is. It’s seriously one of my absolute favorites! It’s a whisper of a color without being too much. It blends so well with the alabaster lamps that I re-wired a few days ago too! I made sure to add some felt pads under those lamps so they didn’t scratch the slate tops.
I’m probably going to unscrew the furniture feet on the loveseat and sand them down to get rid of that orange-ish stain. They look like they need to be pale wood with MilkWax - White™!
I’m also thinking about doing the same thing with the antique cheese presses on the wall. They lean a bit too orange for my taste. I think a Grain Sack makeover is in their future!

My cat, Jake, has been with me since college (2006-ish). He comes to the studio with me every day, and his spot is the left side of the love seat. He was very patient while I staged and photographed for a few minutes. Once I put his blanket back, he immediately resumed his position!
These end tables are substantial, heavy, well-built and have ample storage.

The only thing that was “wrong” with them was their existing finish. That’s what’s so great about MilkPaint™ - in a day or two, you can completely transform the look and feel of a piece of furniture with a few coats of paint and a durable topcoat!
It can take two unappealing end tables and make them more suited to your style in no time flat!
My studio is coming along one project at a time. I’m really enjoying being thoughtful about each color and design decision that I make. There’s truly no rush to get it all done any time soon, so I get to savor every step of the MilkPaint™ process!
