
Outback Petticoat Pumpkins

Outback Petticoat is the newest color in the Miss Mustard Seed's Milk Paint collection. It's a gorgeous rusty orange that gets its color inspiration from the soil of the Australian Outback. Settler women would get orange stains on their petticoats as they walked over the soil, so a group of our Australian retailers determined this would be the perfect name for the color. How fun?!
As Fall is approaching, we thought it would be super fun to share a quick, easy, and Fall-themed DIY project using Outback Petticoat. The subjects of our project are these sweet little pumpkins. You can grab these at any craft store in your area, or shop for them online through Amazon or Etsy. We wanted to show you two different types of pumpkin makeovers so you can see how Milk Paint looks on paper mache...and on ceramic! Milk Paint soaks in well to porous surfaces including raw wood, concrete, clay, ceramic, and paper mache.


To begin, you'll need a few materials - Outback Petticoat Milk Paint, Curio Milk Paint, cups to mix your Milk Paint in, stir sticks, paint brushes, water, and Hemp Oil.

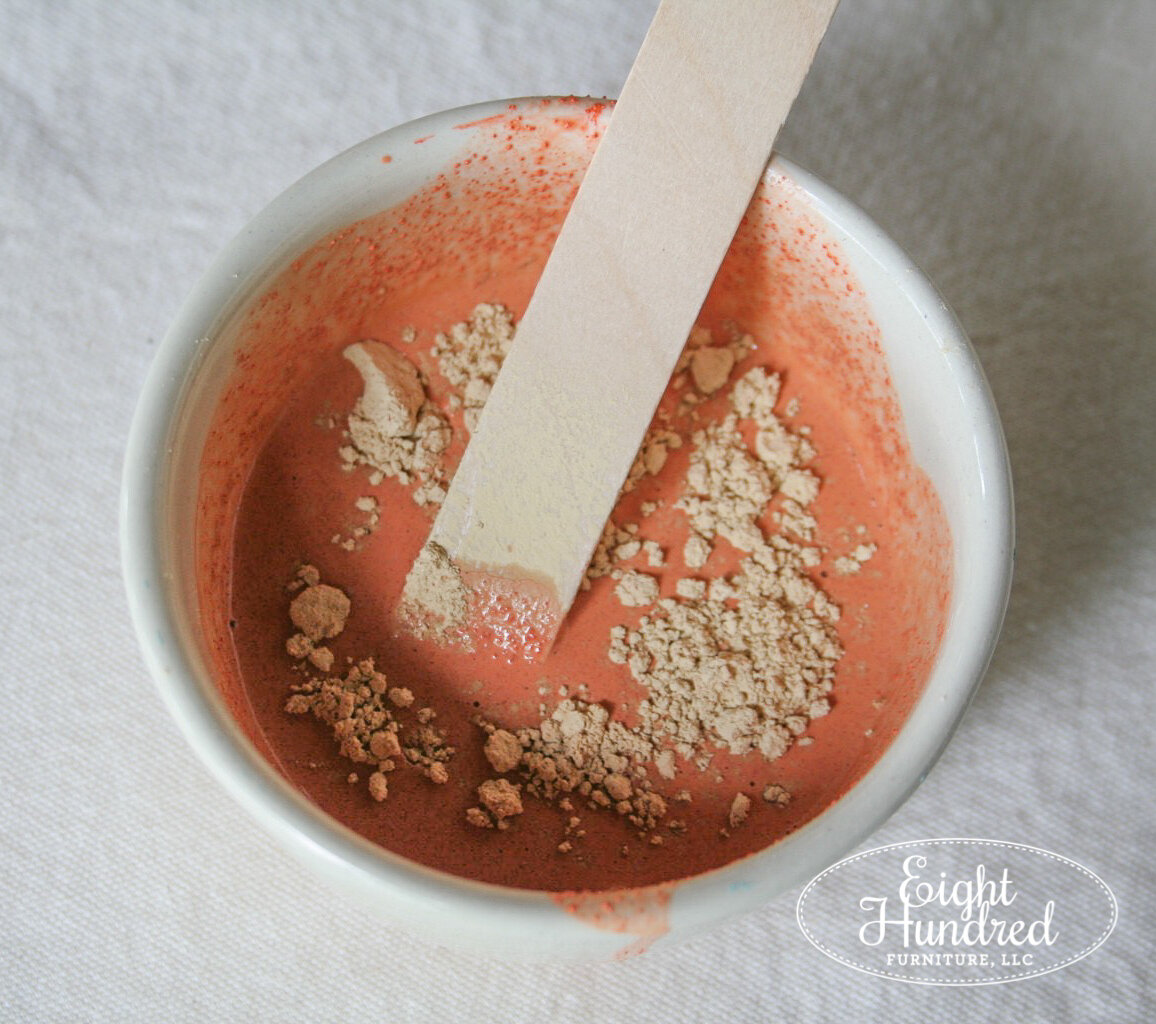
Next, measure out 3-4 tablespoons of Outback Petticoat and dump it into a mixing cup. Then add the same amount of water and watch the pale orange powder turn into rusty orange goodness!


Using a stir stick, mix the Milk Paint for about one minute straight, making sure to scrape the sides and the bottom of your cup. Stir well until all of the powder has been mixed into the water. Once the Milk Paint has been mixed for a minute or two, set it aside to rest for five minutes. This will give the Outback Petticoat powder a chance to absorb more water. The ideal consistency you're looking for is that of melted ice cream. You want the Milk Paint to run off of your stir stick in a steady stream. If it drips off, then the paint is too thin and you need to add a touch more powder. If the Milk Paint is clumpy, then add a touch more water. Don't stress about this part - you really can't mess it up! It's just like mixing pancake batter.
For more tips on mixing Milk Paint, visit our tutorials page.


Once your Milk Paint is mixed, begin painting your pumpkins! It may help to hold the ceramic pumpkin in the hole on the bottom so you can paint the body. Outback Petticoat is the prettiest color to use. It looks amazing as you brush it out. As you get near the top of the stems, switch to a smaller brush so it's easier to get a clean edge.


You don't have to paint the bottoms if you don't want to. (As a tip, you may want to put tiny felt feet on the bottoms of the ceramic pumpkins to avoid scratching the surface of your wood furniture). As the paint dries, keep an eye out for spots that sparkle in the light. That's the limestone in the Milk Paint! Allow your first coat of Outback Petticoat to completely dry before applying a second. We applied two coats on our pumpkins and the coverage was just right!


As the Outback Petticoat is drying, you can mix up a small bit of Curio to use on the stems. One tablespoon of powder and water will do the trick, as the stems are relatively tiny and you won't need that much paint.


We advise using a tiny brush for this part so you can create clean lines and wiggle your way around the shape of your pumpkin stems. We applied two coats of Curio to the stems and allowed our pumpkins to dry for about thirty minutes. The air was humid on the day these were painted, so a little extra time was needed to make sure everything was dry.


You could leave your Milk Paint pumpkins raw at this point, but both Outback Petticoat and Curio look amazing when finished with our Hemp Oil. We advise pouring a small amount into a separate cup and using a paintbrush to apply it all over your pumpkins.
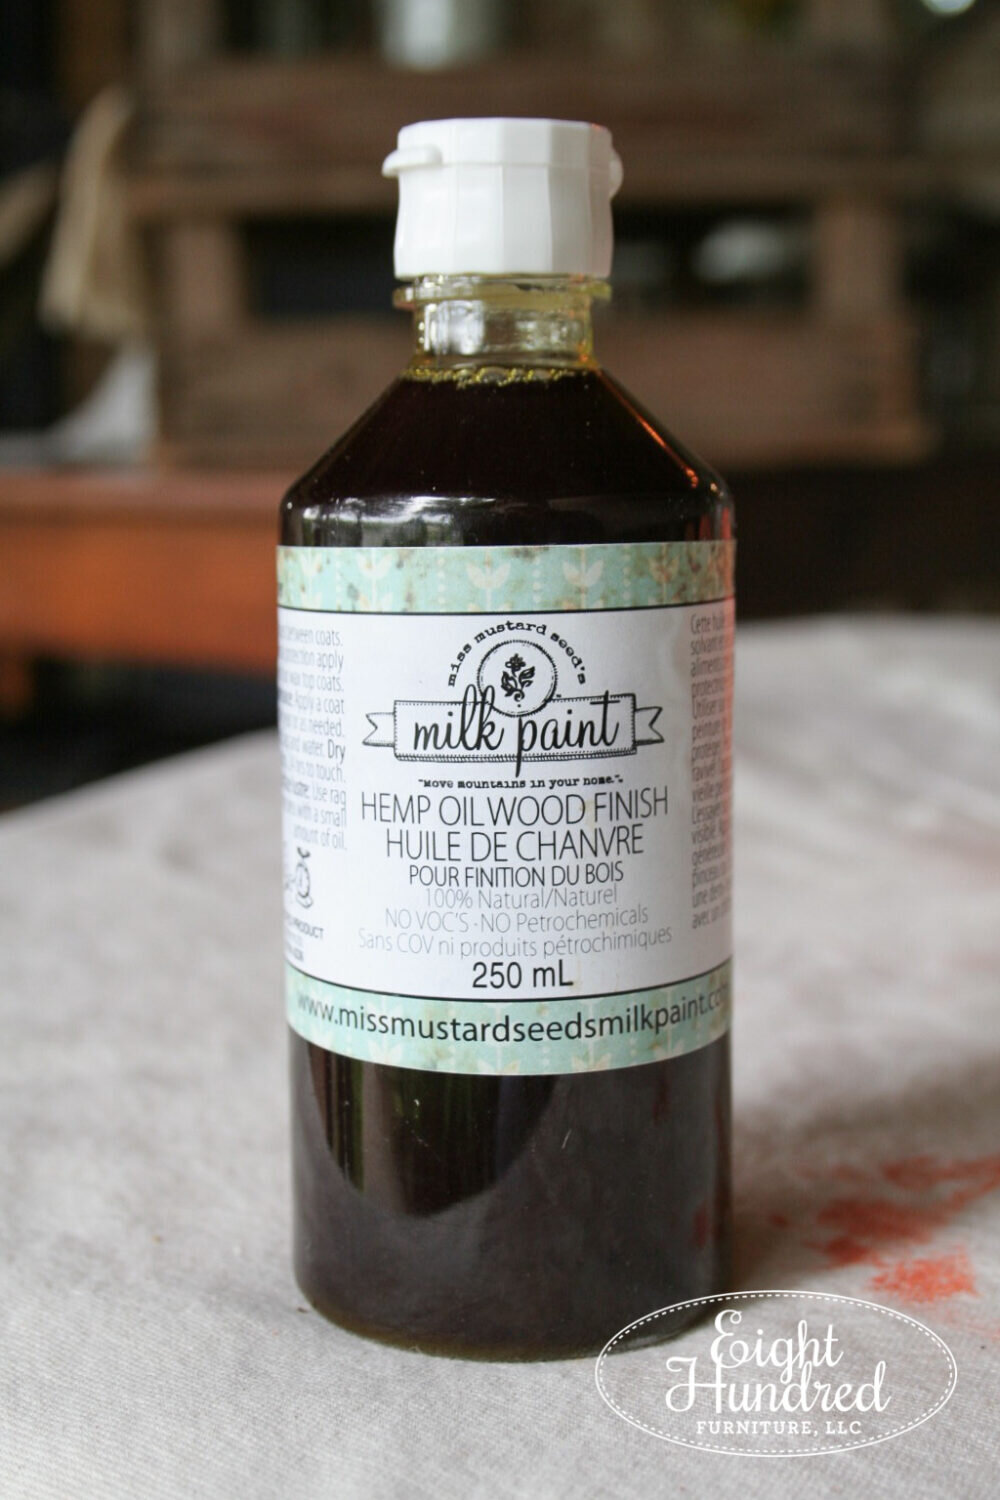

As you apply the Hemp Oil over the Milk Paint, you'll see the magic happen!Can you see the depth and richness that Milk Paint takes on when it's sealed with Hemp Oil? This was our absolute favorite part of this DIY project!


Here are the paper mache and ceramic pumpkins side-by-side: The left is raw and the right has fresh Hemp Oil on it.

paper mache

ceramic
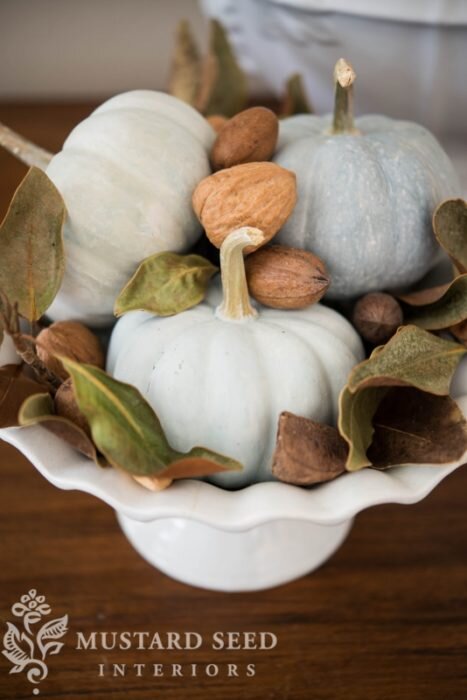
Once the pumpkins are covered, gently wipe away the excess Hemp Oil with a lint-free cloth. Don't use a paper towel - trust us! You'll get little fuzzies all over your pumpkins. We staged our pumpkins on a wood slice with buds of cotton tucked in. It doesn't get more autumnal than that!


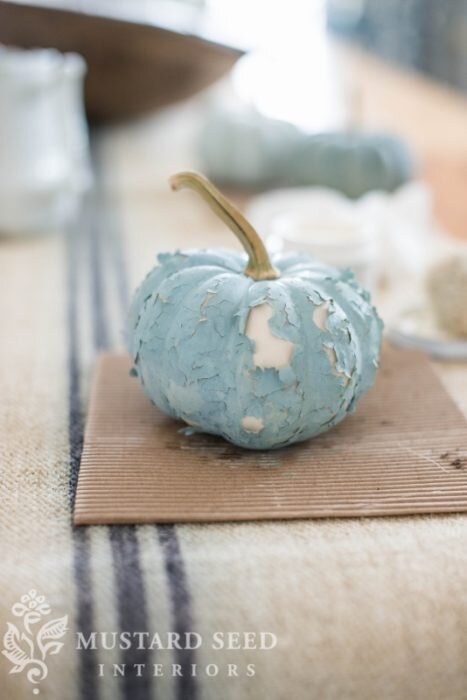
While this DIY project used Outback Petticoat as the primary color, you can use any of the gorgeous Milk Paint shades on your pumpkins. Miss Mustard Seed mixed some bespoke color combinations on a tutorial she shared back in 2013. She painted real white pumpkins and wrote all about her steps on her blog. Just make sure you mix in our Bonding Agent if you're going to paint real pumpkins or else this will happen: One of the benefits of painting faux pumpkins is that you can use them year after year!
Thanks to Jenn Baker of Eight Hundred Furniture, LLC. for the beautiful photos and the fabulous tutorial. We also wanted to thank Brenda Shirk of Painted Table Designs for her staging pieces and the beautiful setting of these photos! Hopefully this tutorial will inspire you to create beautiful Milk Paint pumpkins to add to your Fall decor in your home!
