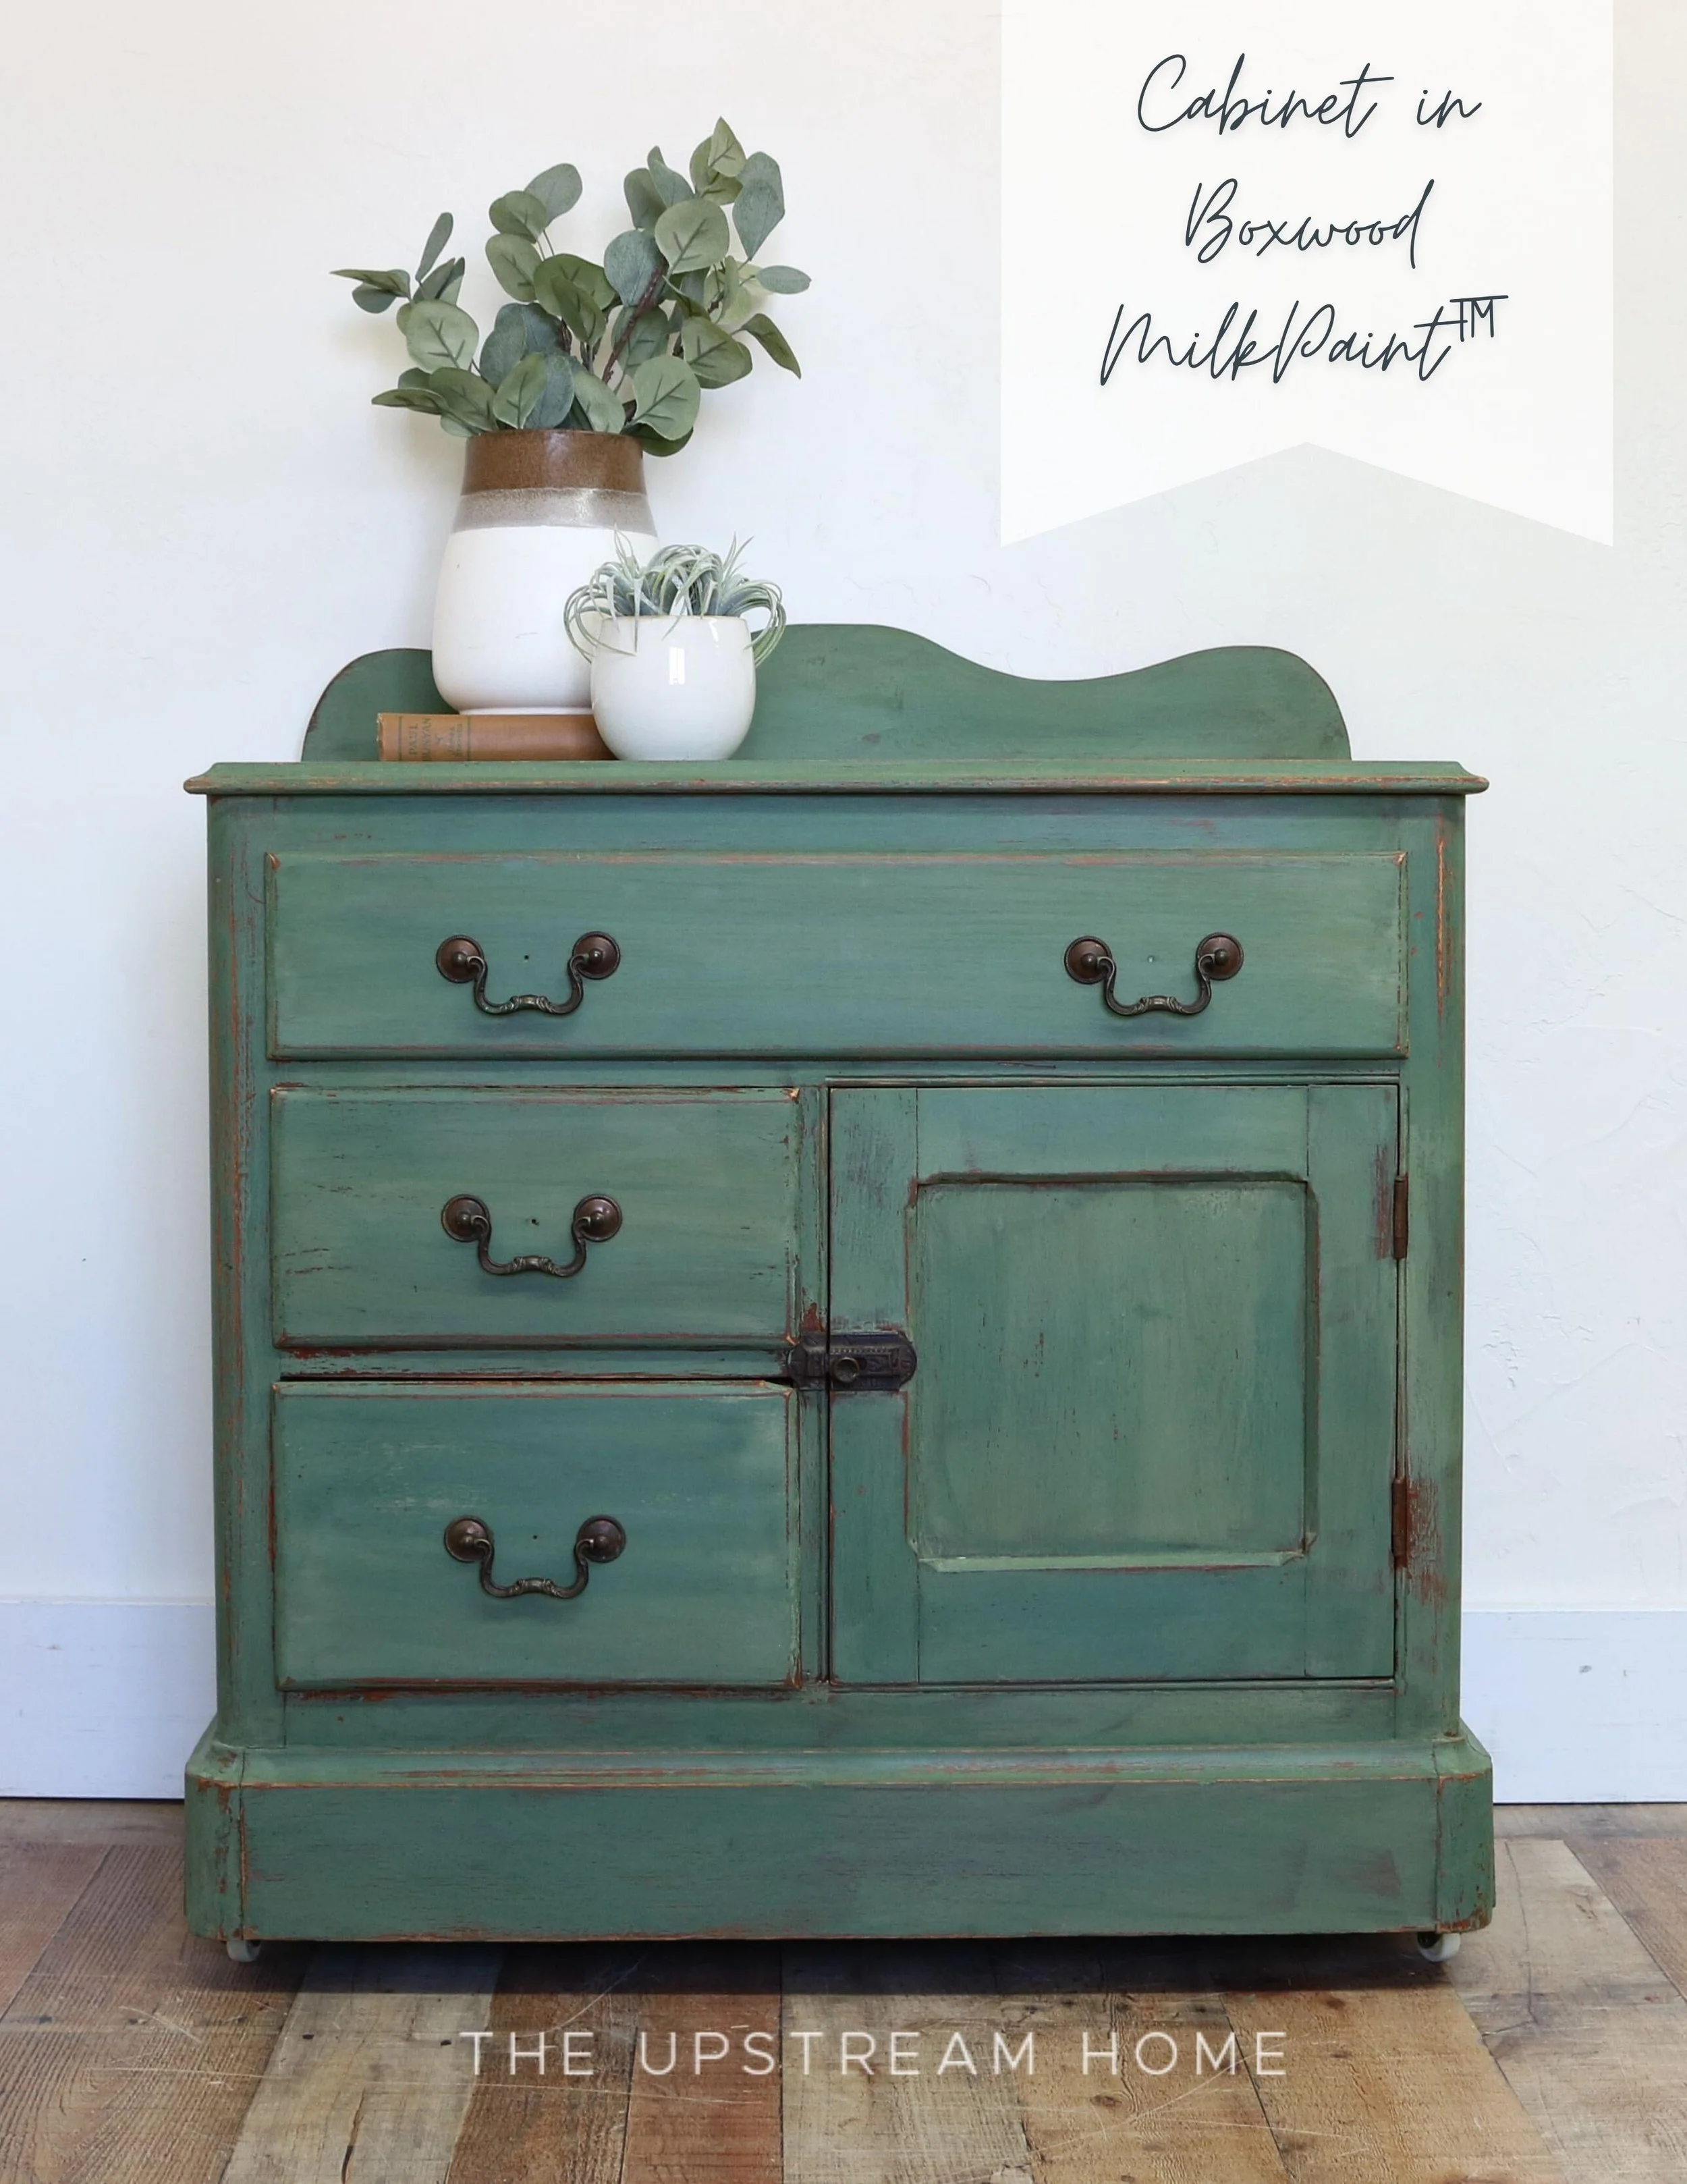
Cabinet In Boxwood
A Cabinet Gets A Makeover In Boxwood MilkPaint™!
If you are brand new to MilkPaint™, you are going to enjoy this tutorial! Seeing the progress of this project will help you take on your first furniture painting project with confidence and anticipation!
This past March, we took a family trip to Texas for some R+R, and on our way home, we stopped in a few towns to shop for antiques. There were lots of beautiful furniture pieces, and I brought a few home with me! Last week, I decided it was time to paint this cabinet I had found in Kerrville, Texas.
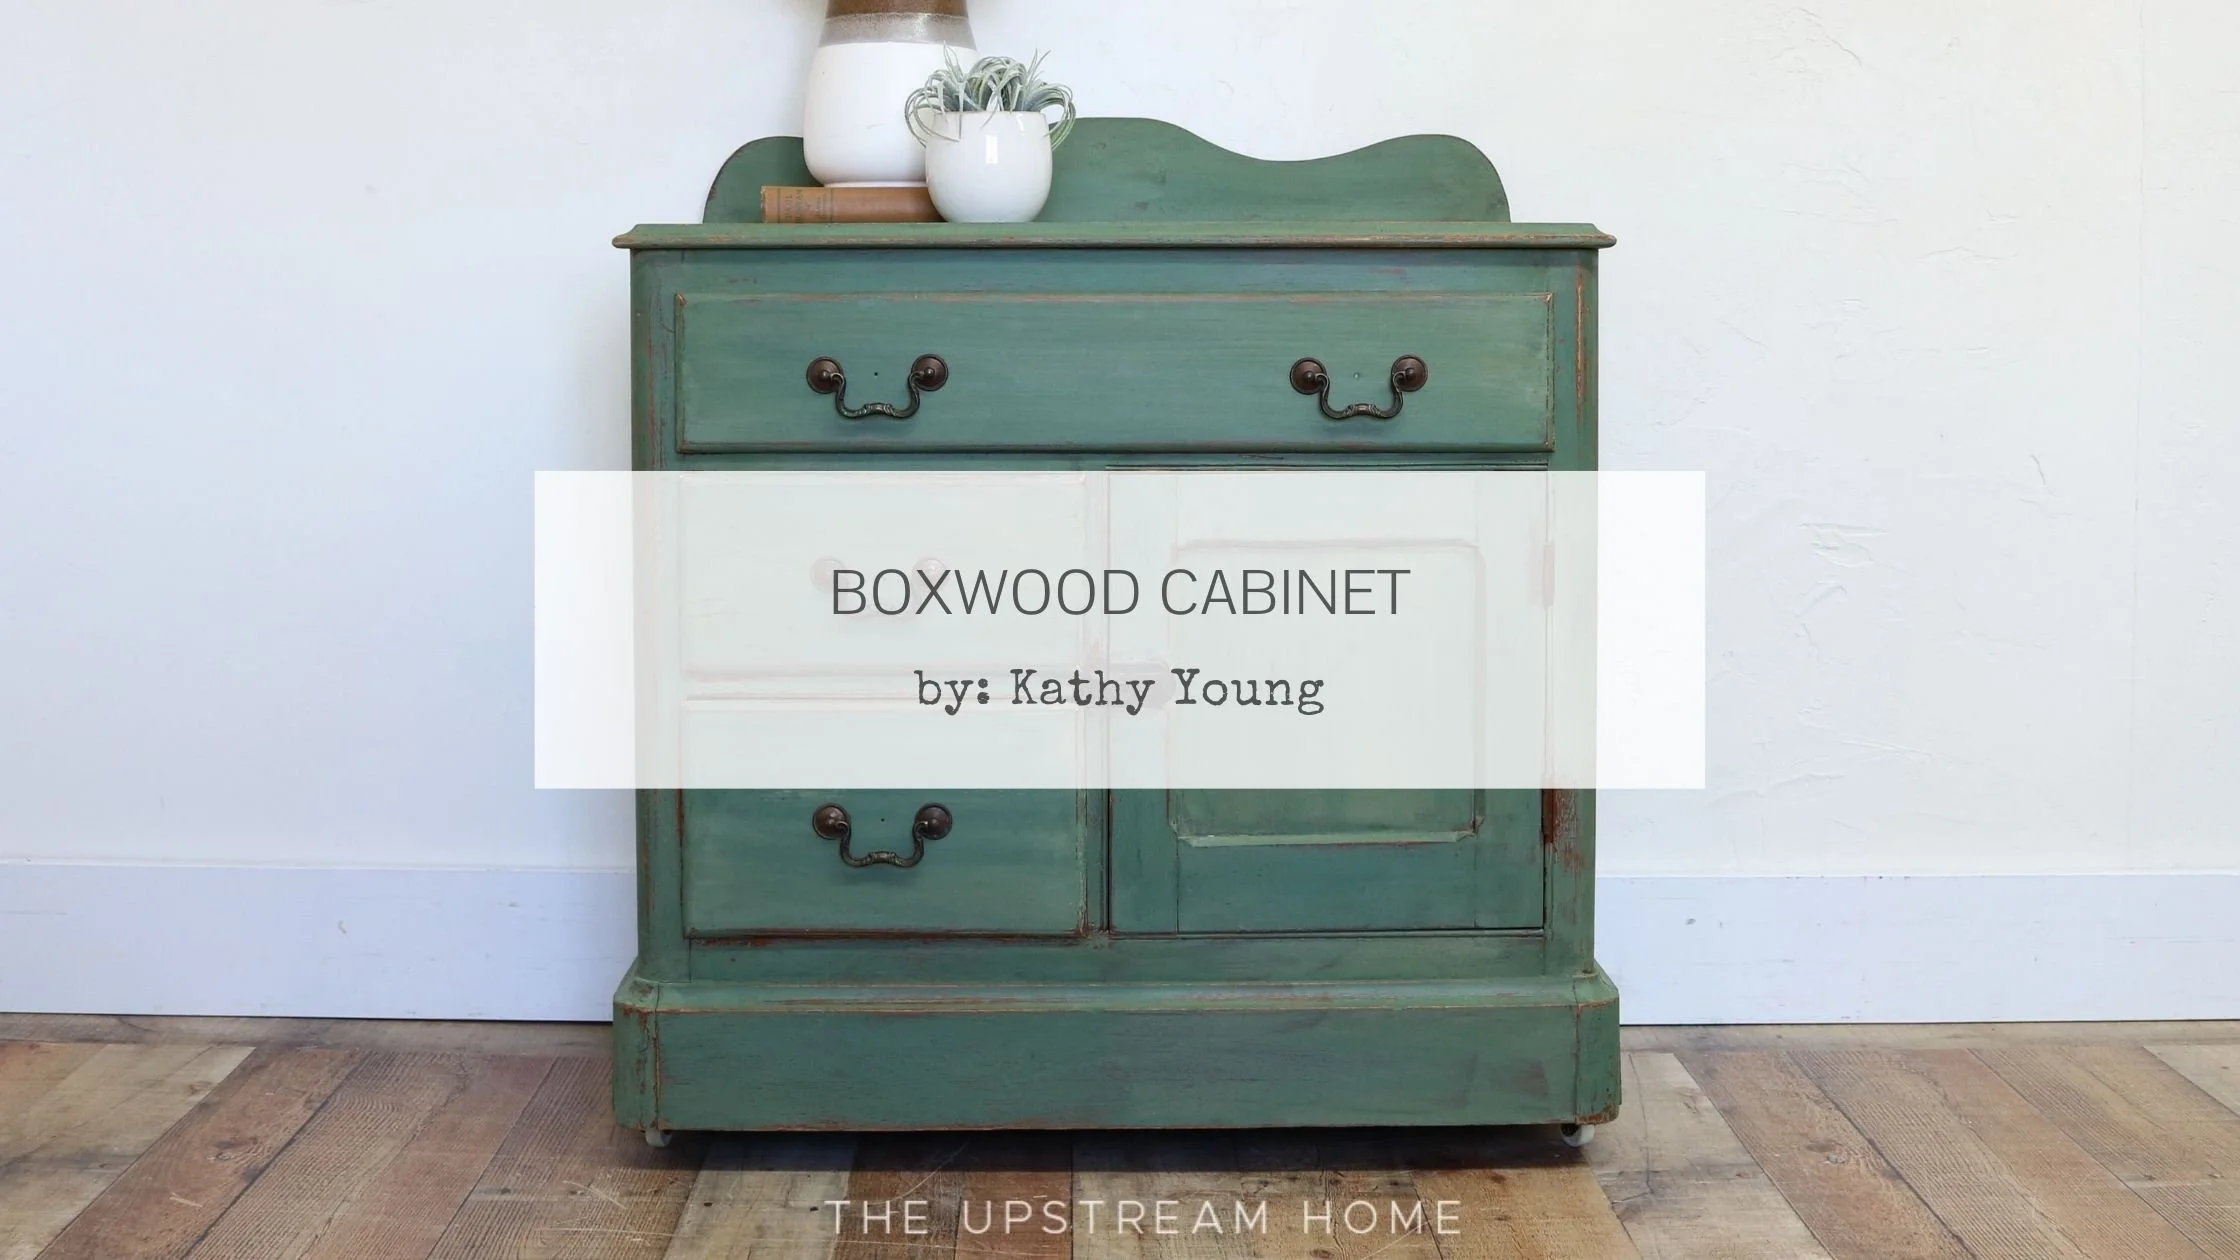
I polled my followers on my Instagram feed and asked if they’d like to see Boxwood or Tricycle on this cabinet. Boxwood was the winner, and it’s now ready for its next home! If you’re interested in purchasing it, please head here!
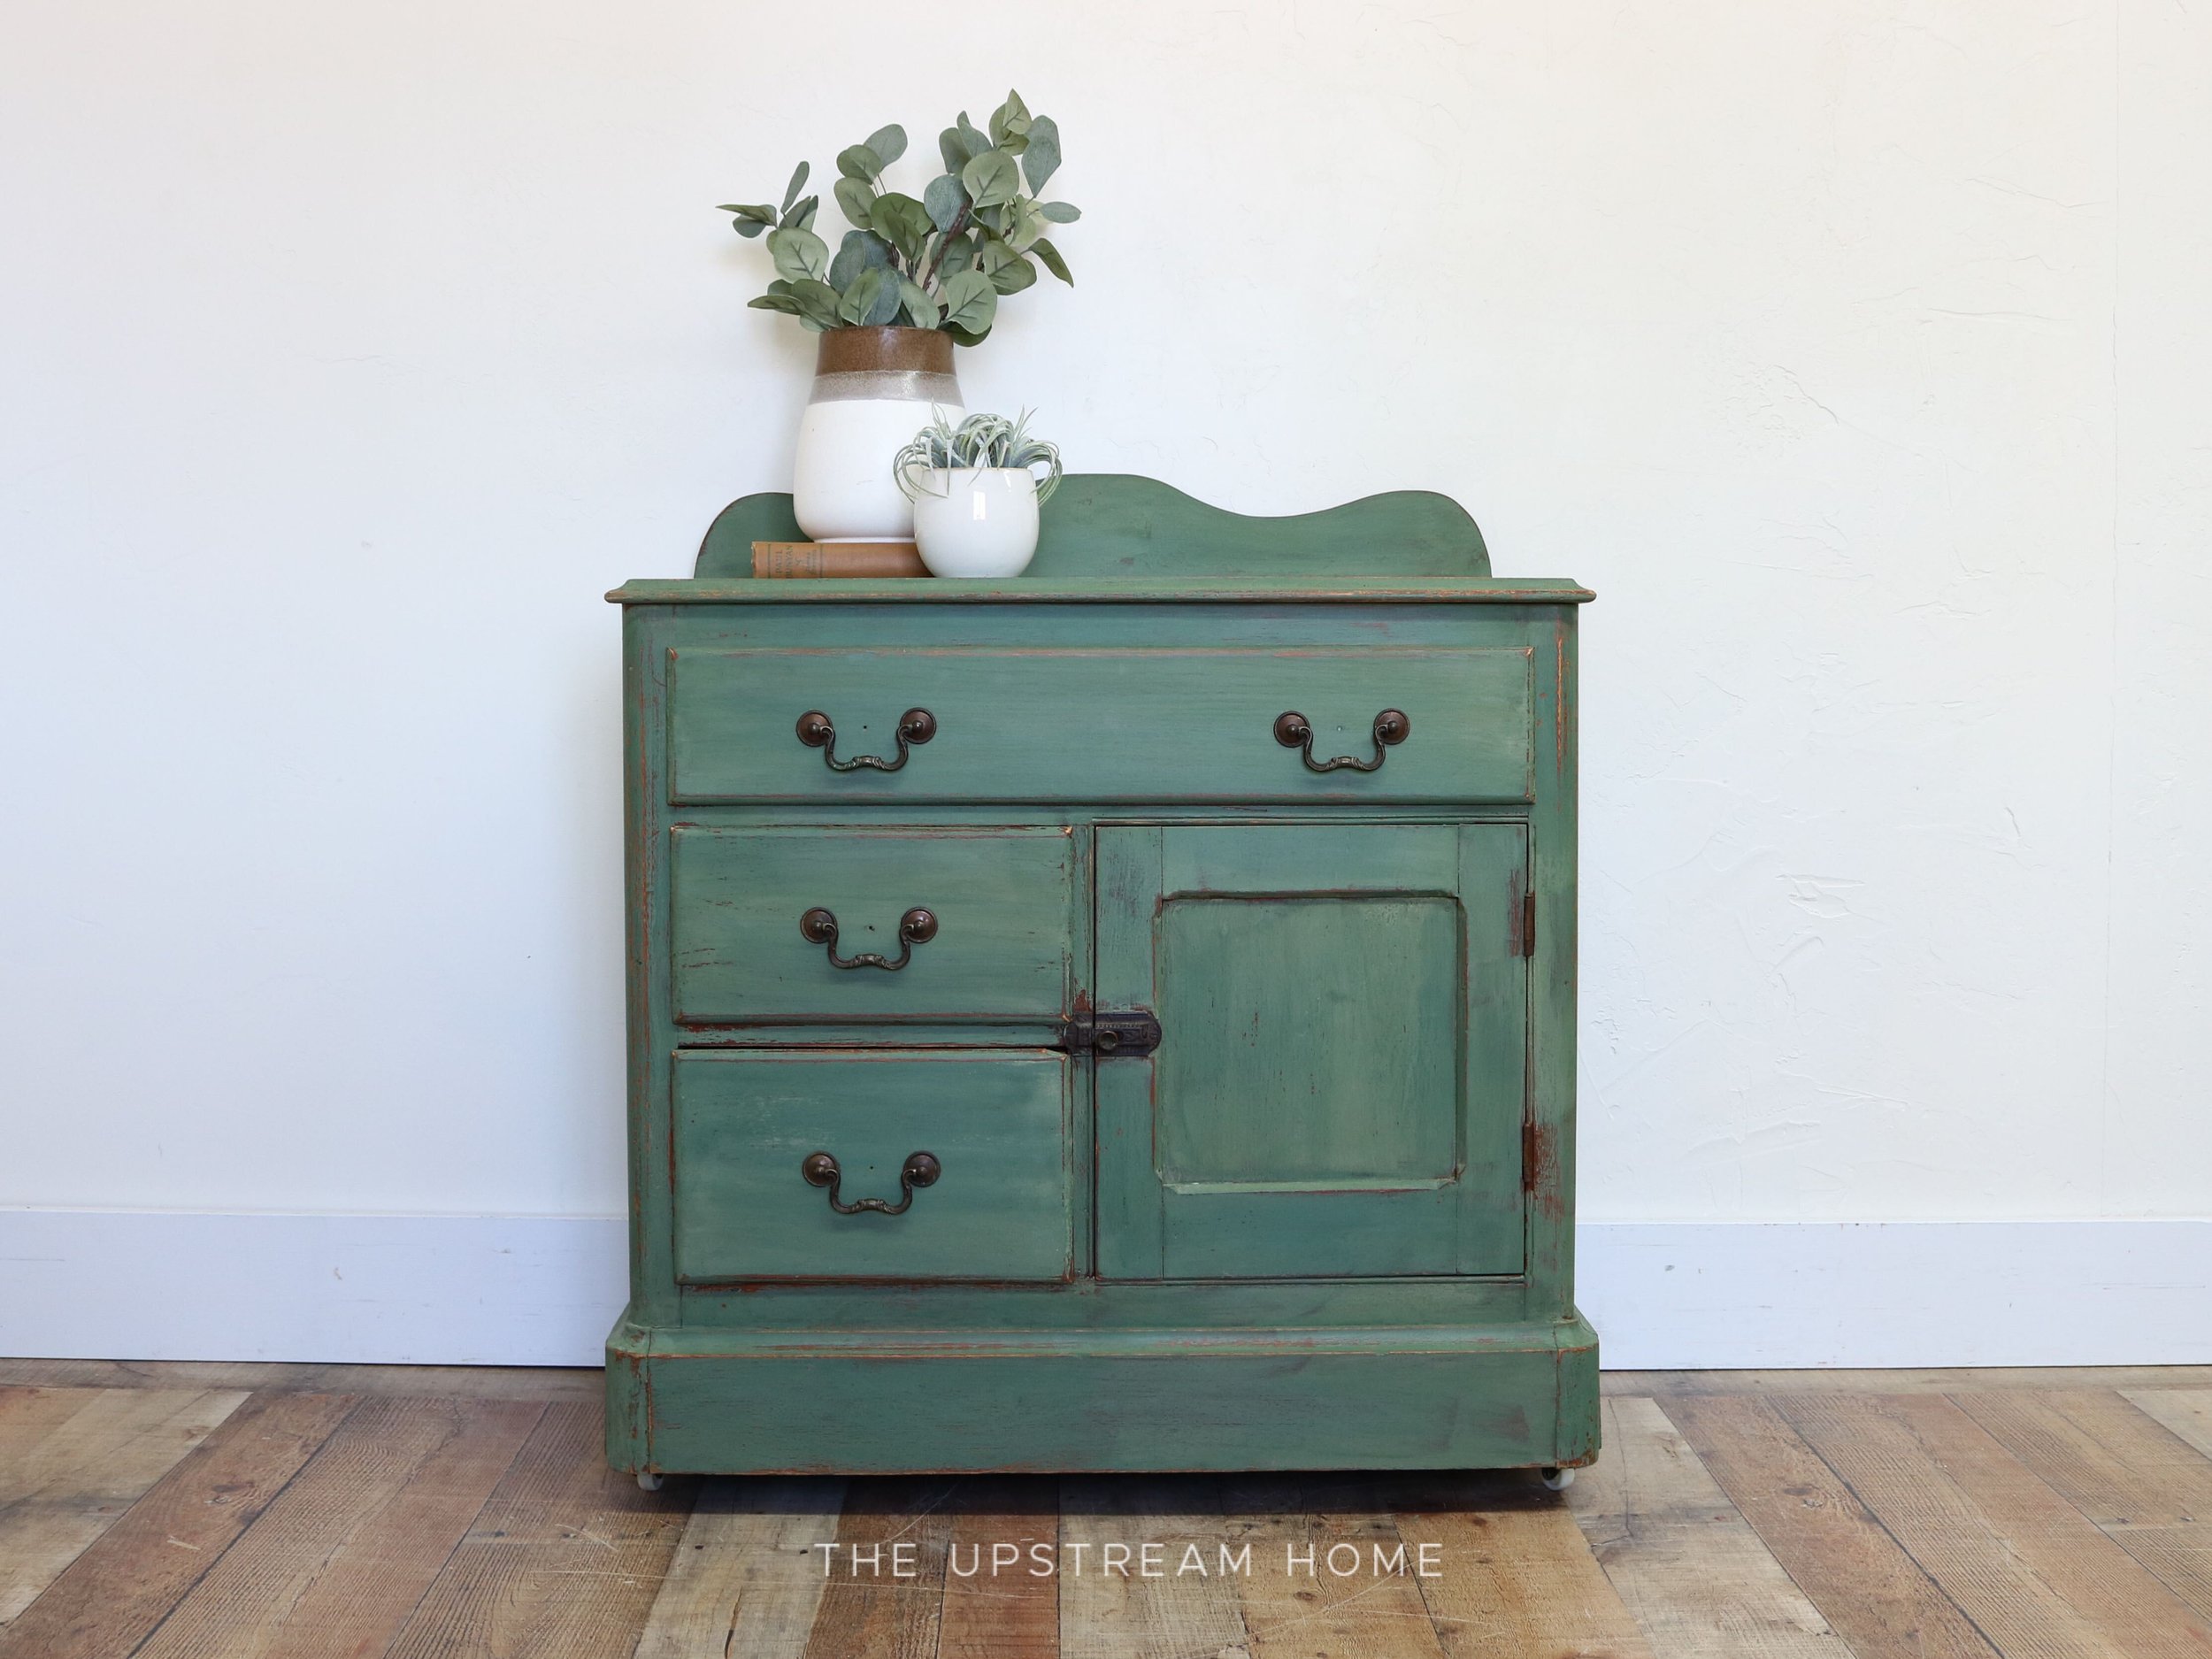
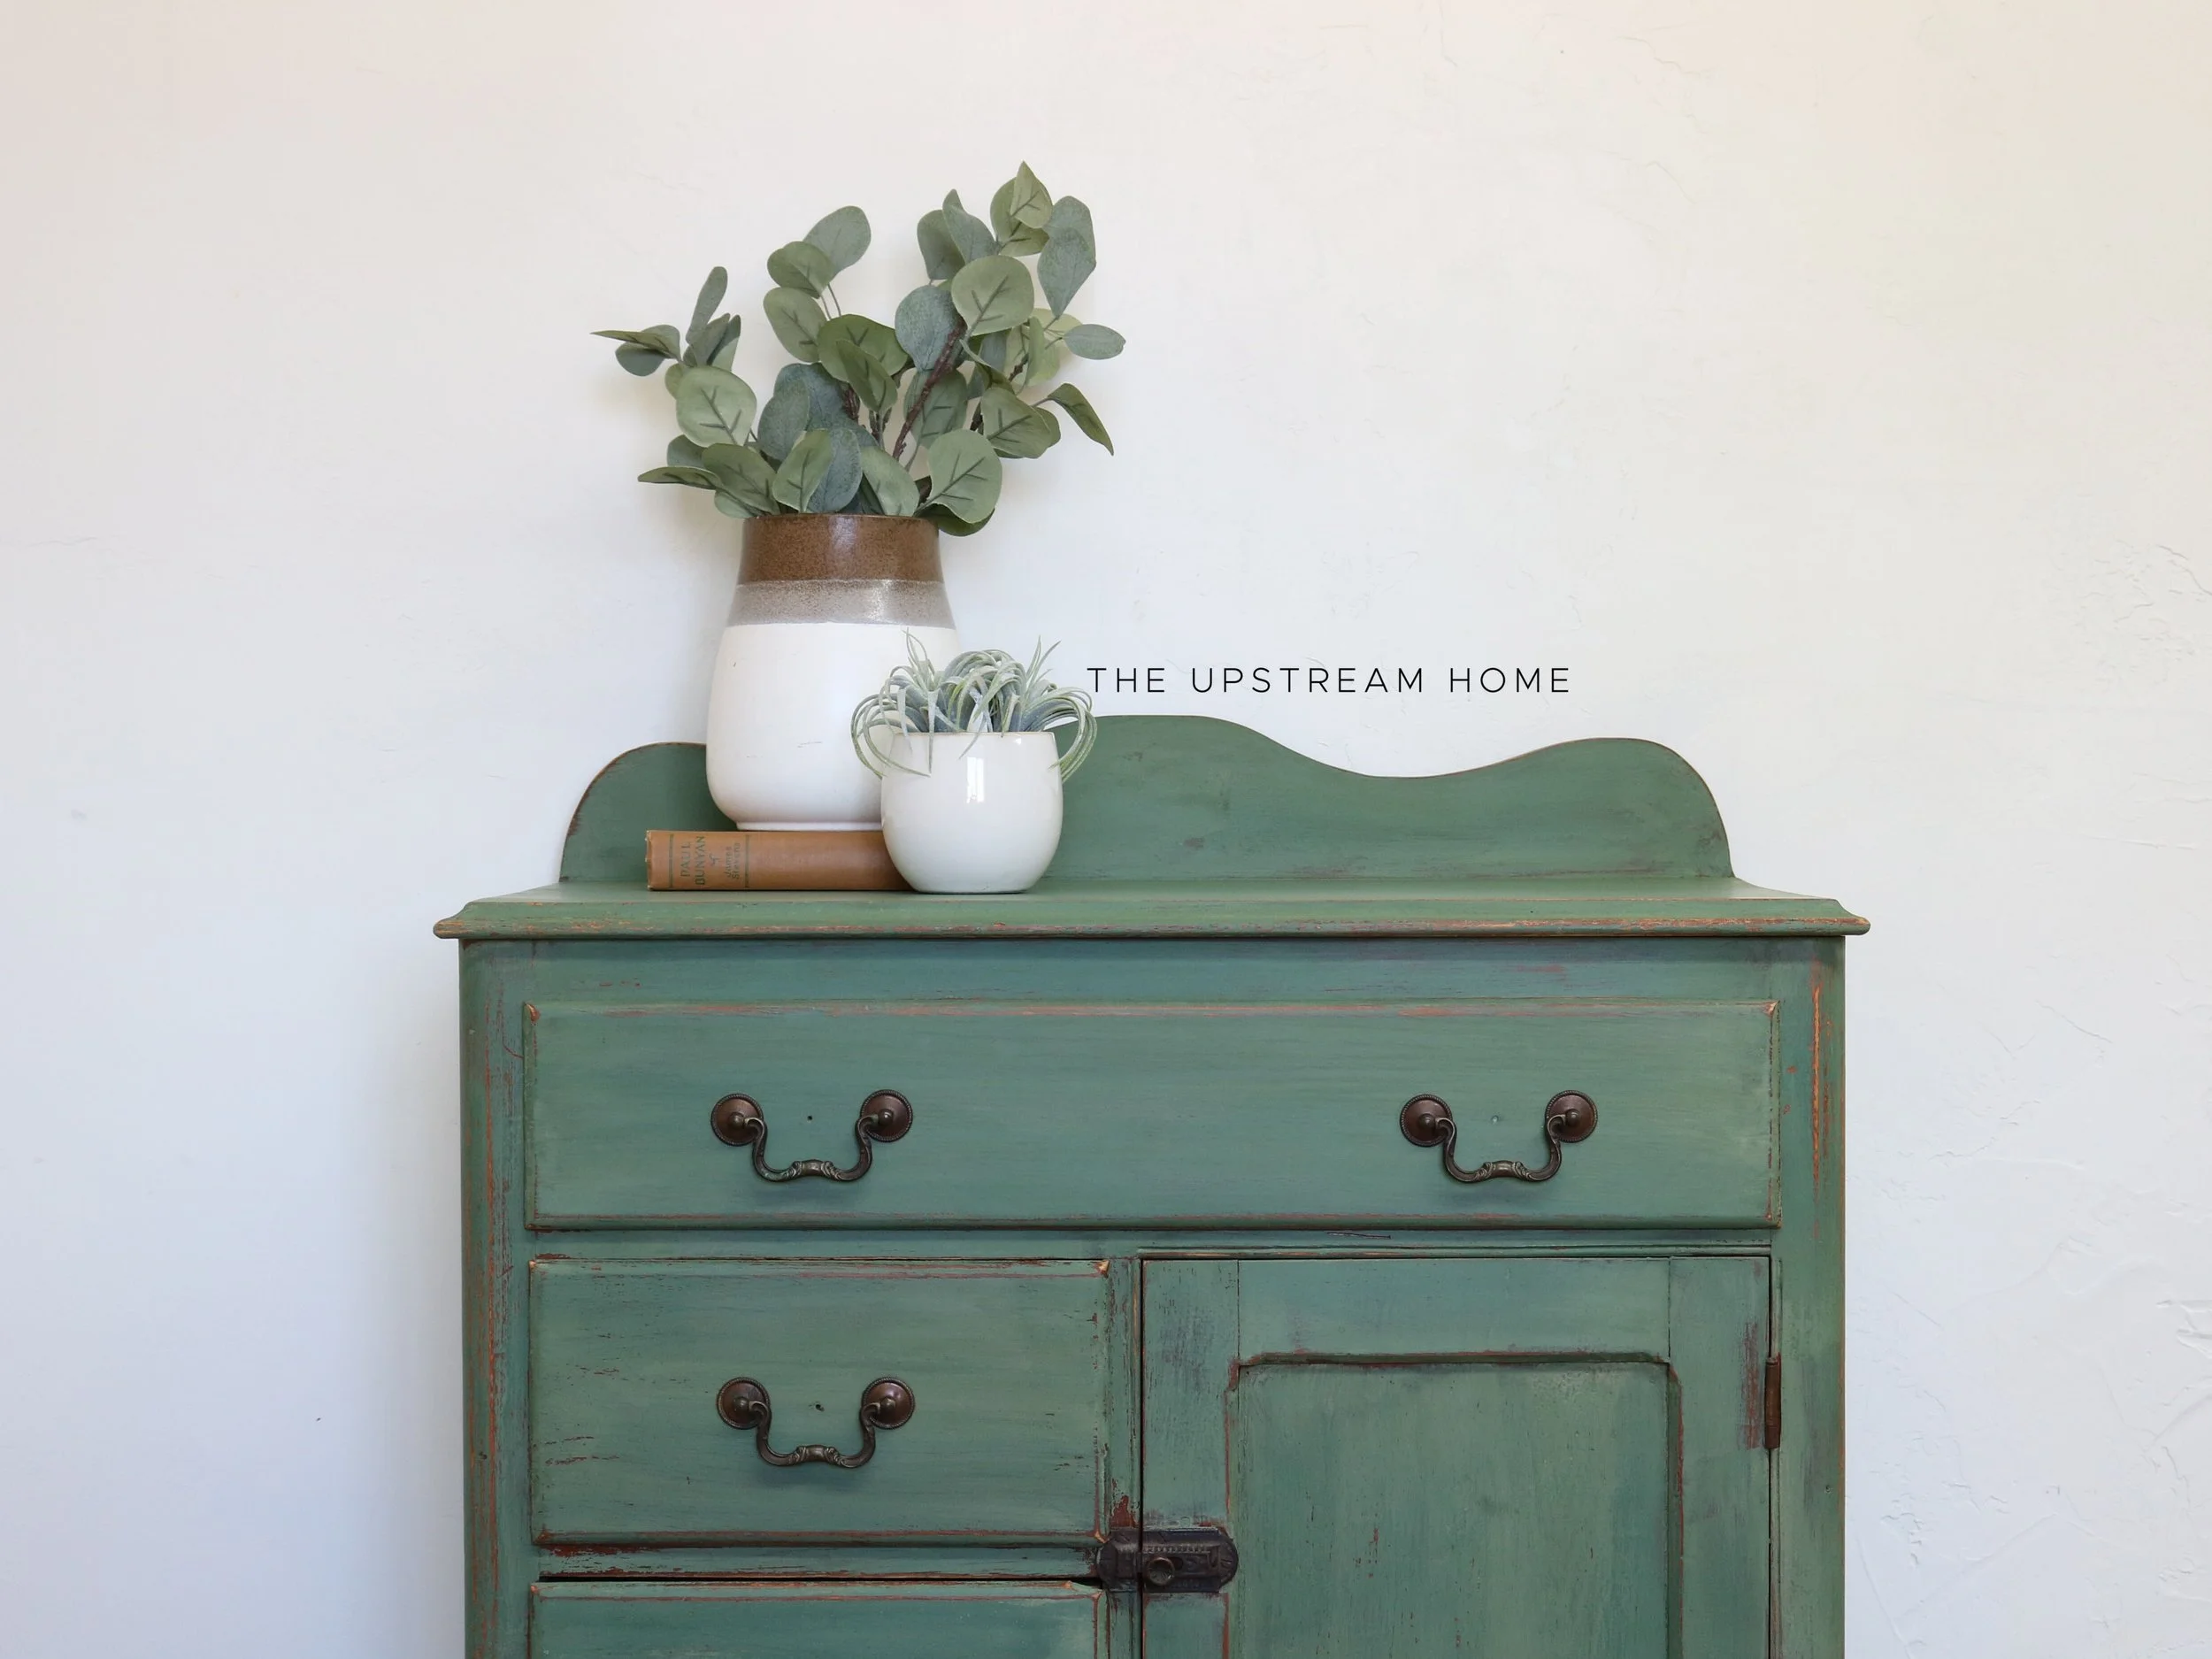
Love the look of this earthy cabinet? (Me too!) It reminds me of spring and all the blooming trees! Today we’ll walk through the steps needed to replicate this look using Miss Mustard Seed’s® MilkPaint™ in one of my favorite colors, Boxwood.
Materials Needed:
Disclosure: Some of these links are affiliate links. Should you decide to purchase these products using my affiliate link, I will receive a small commission for recommending it to you.
Spray bottle of water
Prepping To Paint
As with every painting project, cleaning is a vital step in prepping well! For years, Krud Kutter has been my go-to product for this, as it does a great job of cutting grease and removing grime! After cleaning with Krud Kutter, be sure to rinse well with water to remove any residual chemicals. I like to use blue shop towels when cleaning as they don’t leave behind the lint you’ll find when cleaning with traditional paper towels.

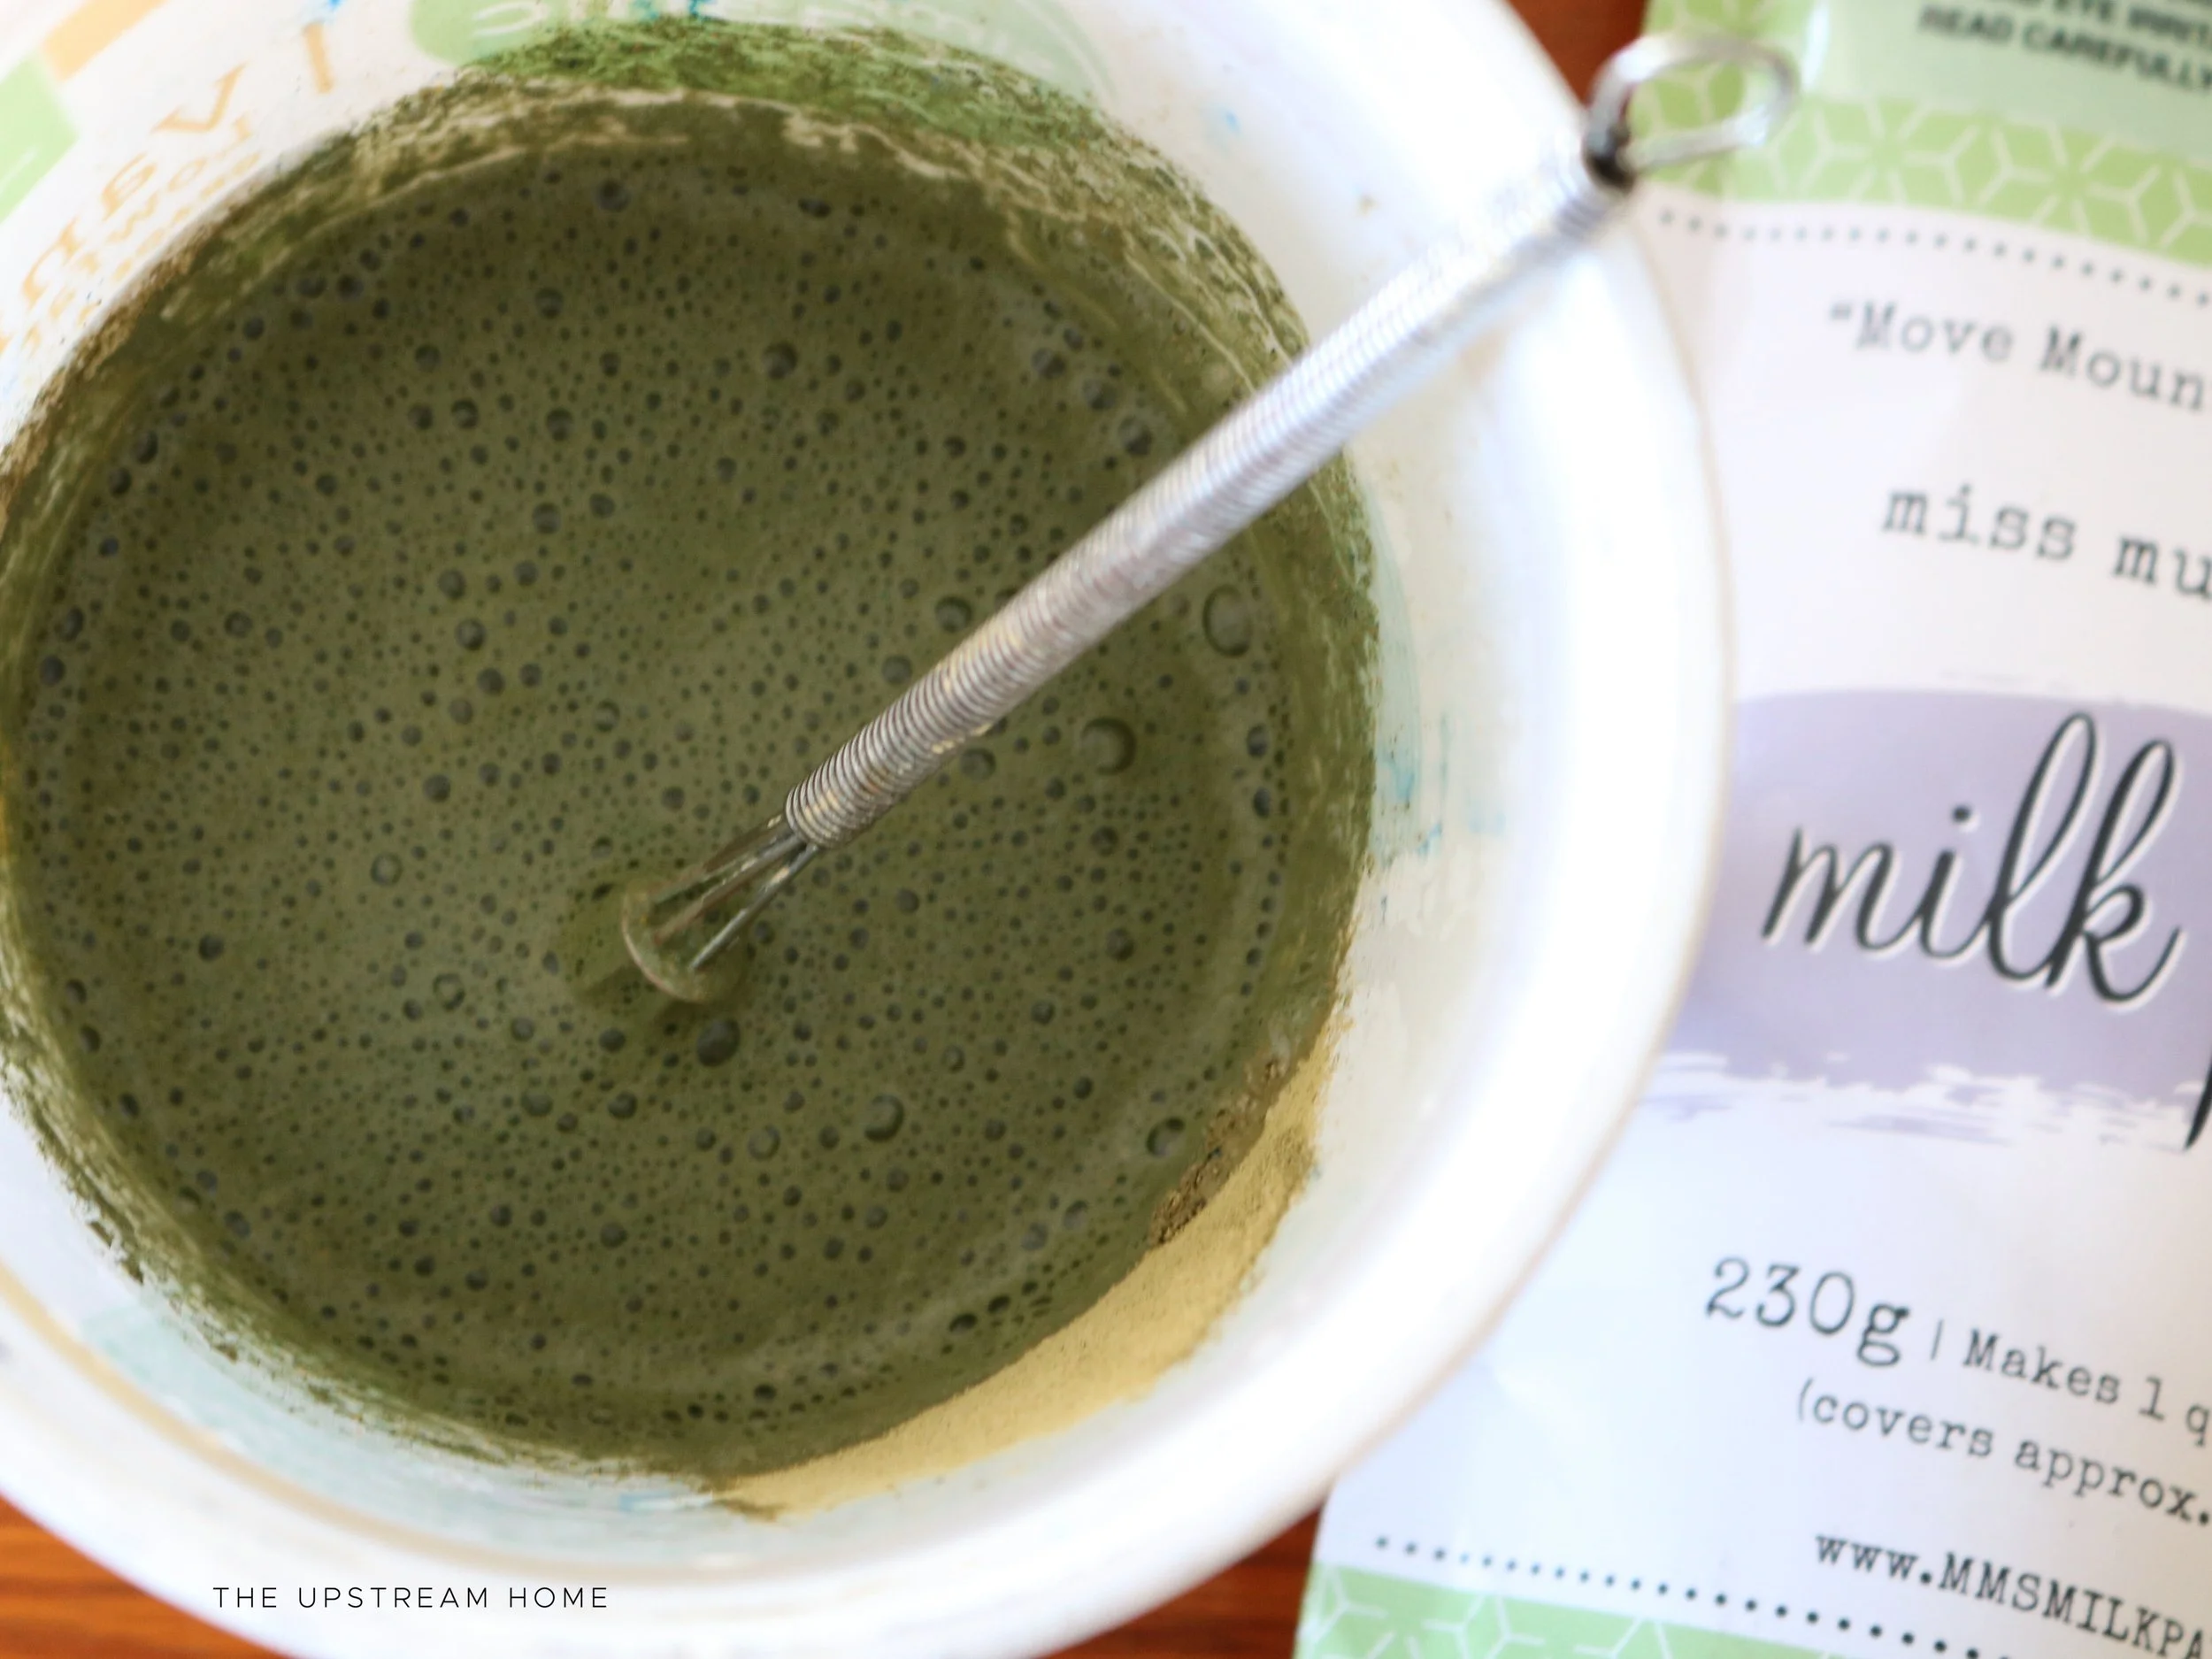
Mixing Miss Mustard Seed’s® MilkPaint™
The new Miss Mustard Seed’s® MilkPaint™ formula contains only four ingredients - all of which are 100% natural! Simply measure out the powder paint mix with water in a 1:1 ratio and add a few drops of MilkMix-EZ™.
For this cabinet, I was working with the original MMSMP formula and used one cup of Boxwood and 1 cup of water. If you are working with the new formula, the same amount of paint plus 3-4 drops of MilkMix-EZ™ will do the trick! Stir well with a small whisk, let sit for about 10 mins, stir again, and you should be good to go!
Start Small
Once your furniture piece is cleaned, rinsed, and dried, it’s time to paint! To apply MMSMP, I use an inexpensive chip brush. When learning to paint furniture, I always say, “Start small!” A simple footstool or end table is a great place to start! You will learn so much on your first project, and starting with a large armoire will likely leave you feeling overwhelmed. Start small, stick with it, and I assure you you will grow into tackling family heirlooms with confidence! Today we’ll be painting this dainty cabinet with Boxwood, just as the people voted!

Work With The Grain
When applying paint, always paint in the same direction as the wood grain. Before beginning, take a minute to look at how the piece was originally constructed. Observe where the grain is running horizontally and where it’s running vertically, and then follow suit as you begin to paint.

Applying The Paint
When the first coat is complete, allow about an hour or so for it to dry. I live at a high elevation in the Rocky Mountains, and we have little to no humidity here. If you live in a humid climate, it may take longer, but either way, MMSMP dries relatively quickly.
Once dry, go ahead and apply the second coat in the same way you applied the first. There’s no “messing up” milk paint! It’s organic in nature, leans itself towards chipping and distressing, and is quite forgiving. These are just a few of the reasons it’s my favorite paint to work with!

Distressing Milk Paint
As the second coat is drying, I start watching for chipping. This particular cabinet was not overly chippy, yet there was some distressing that occurred naturally. You can see above how the paint is beginning to lift away as it dries.
I waited an hour for the second coat of Boxwood to be fully dried and then grabbed 220 grit, wrapped it around a sanding block to make it more ergonomic, and began to sand. I went over the entire cabinet, paying close attention to where the paint was already chipping and applying extra pressure to any edges where I wanted to force distressing.

Once sanded, this cabinet was buttery smooth. I grabbed my shop vac and dusting attachment to vacuum any loose dust and then wiped the piece down with a dry shop towel to pick up any remaining paint particles that the shop vac left behind.
Applying MilkWax™
Next up is applying wax to seal the paint and help protect your furniture. I decided to use clear wax in the Lavender scent for this cabinet, but regular MilkWax™ Clear would work just as well! Although I love how MilkWax™ Saddle Brown looks over Boxwood, I wanted to showcase this beautiful, lush green and was not looking to add any aging to this particular piece. The clear wax deepened the color and accentuated the contrast between the leafy green paint and the original wood tones of this cabinet. See exactly how I applied it on this Instagram Live!
Video Tutorial
Last week, I went live on the MMSMP Facebook Page with this adorable Boxwood piece. You can catch the replay below!
Bringing Spring In!
Looking to spruce up your foyer? This cabinet is now available for purchase and can be shipped nationwide! It would look amazing in a stately entryway or hall table with an antique mirror hung above it!

How great is it that spring is here?! Usher in an extra dose of greenery by using Boxwood to revitalize a piece of furniture in your home.
Be sure to share your projects on social media and tag Miss Mustard Seed’s® Milk Paint when you do. We love seeing your projects and creativity!