
Organ Stool Makeover
Get Light Wood Tones Without Chemicals!
Light-colored wood tones are so popular right now, but you might be concerned about the harsh chemicals needed to get this look on vintage furniture. Today, I will show you how to get the light wood tone look without harsh chemicals.
We’ll be using this antique organ stool to show you how to do this easy method! As a bonus, I will also show you how to reupholster this organ stool seat!

Video Tutorial
For those of you who are visual learners, enjoy this video tutorial! You can follow the written tutorial below as you follow along.
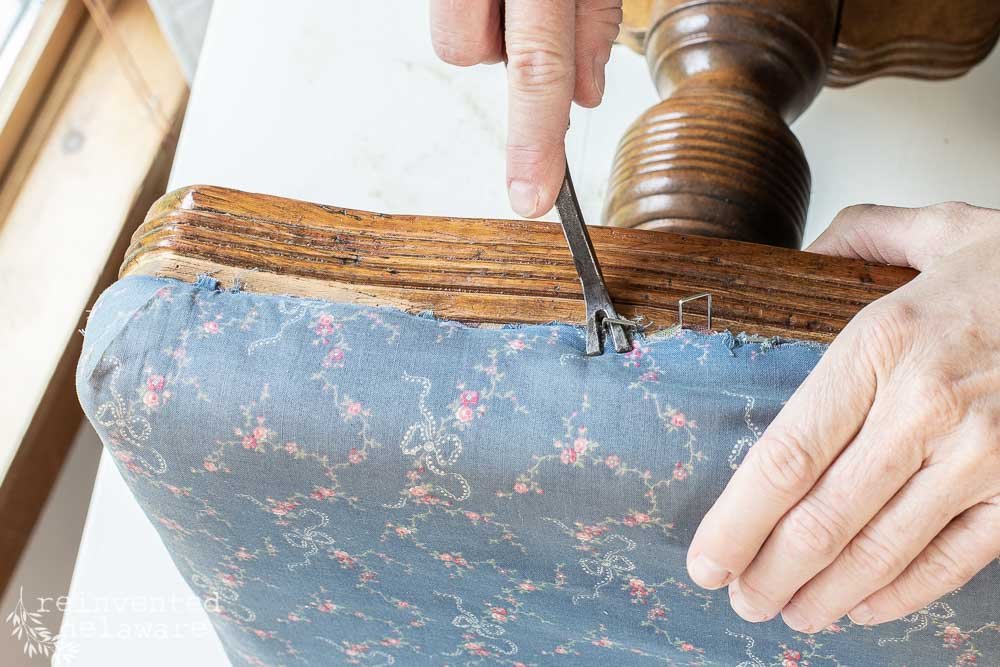
Remove Outdated Fabric
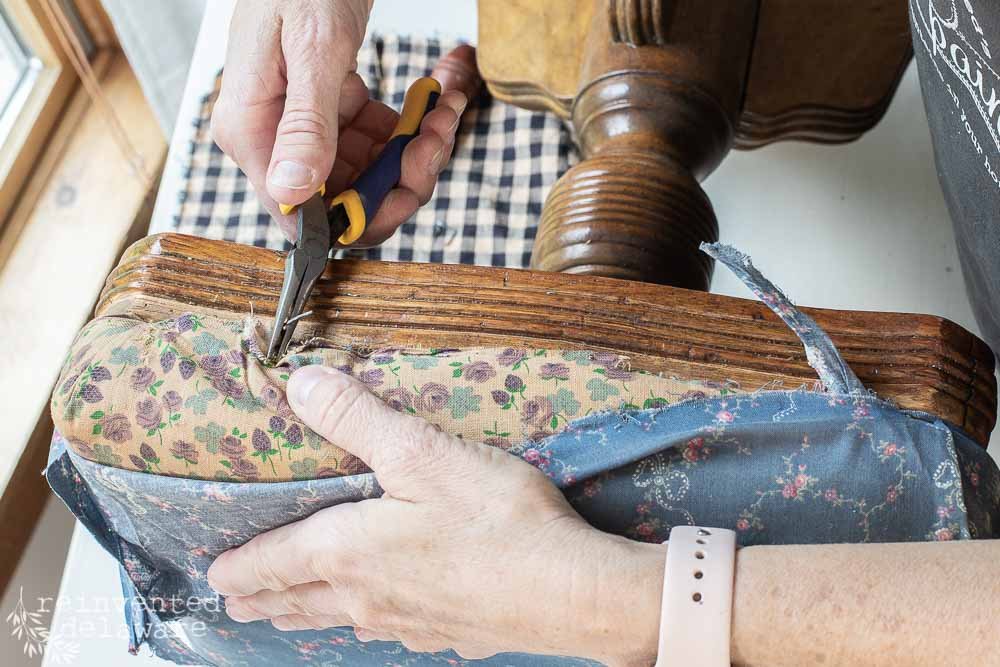
Before tackling the dark wood on this organ stool, let’s remove the old and outdated fabric. An upholstery tack & staple remove,r along with needle-nose pliers, make this task easy. Listening to an audiobook helps to pass the time! ;)
When all of the staples have been removed, discard the old fabric. If the upholstery batting is in decent shape, save it and reuse it. Spraying the batting down with Febreeze and allowing it to dry in the sun helps to get rid of any musty smells.
Sand The Stool
After cleaning the wood with hot soapy water (rinse after cleaning!), it’s time to sand. I used a thin, flexible sanding pad in medium grit along with a sanding sponge and folded sandpaper to give the wood a good sanding.
It’s not necessary to get down to bare wood, but it is a good idea to sand past the existing shine of the original finish. You’ll see more about sanding in the video above!

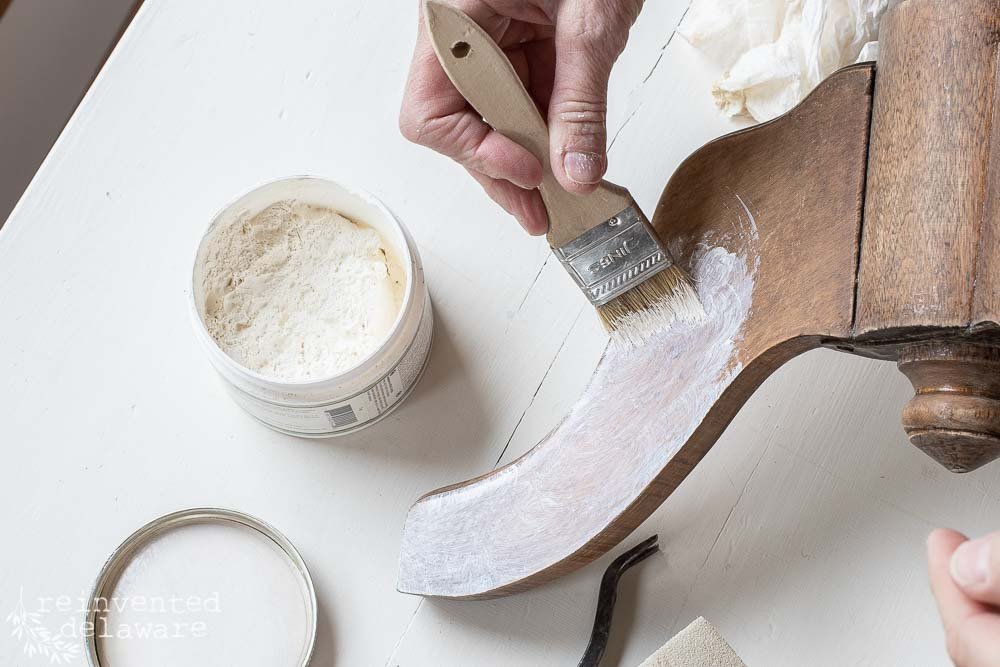
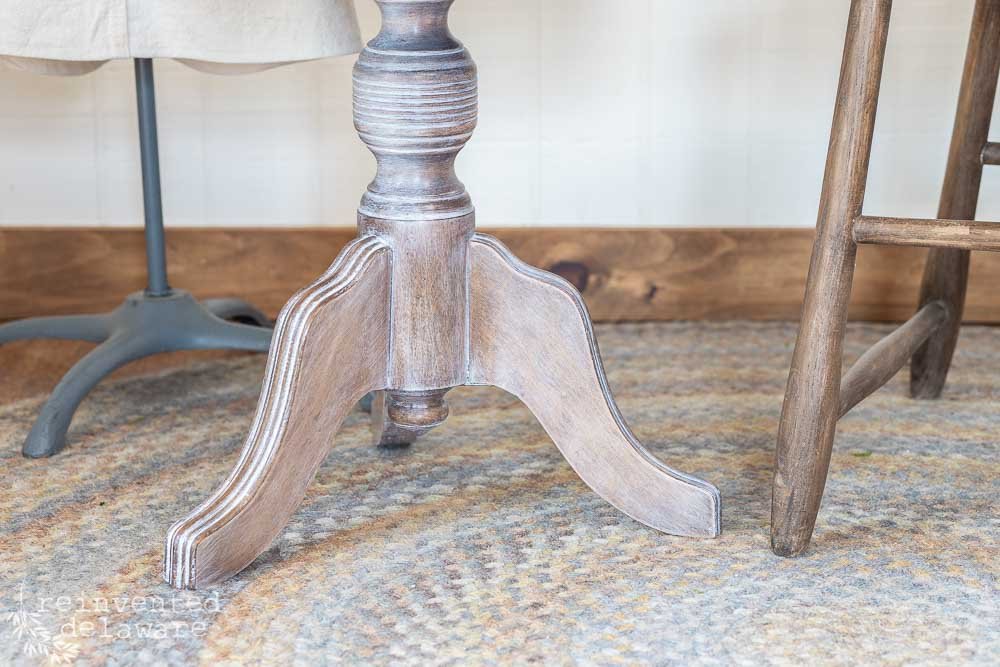
Lighten The Wood Using MilkWax™ White
Now let’s lighten the wood color on this organ stool! Miss Mustard Seed’s® MilkWax™ White is the easiest way to lighten wood on antique furniture. Plus, it is easy to apply, has low VOCs, and is safe to use. Not to mention it’s good for wood furniture!
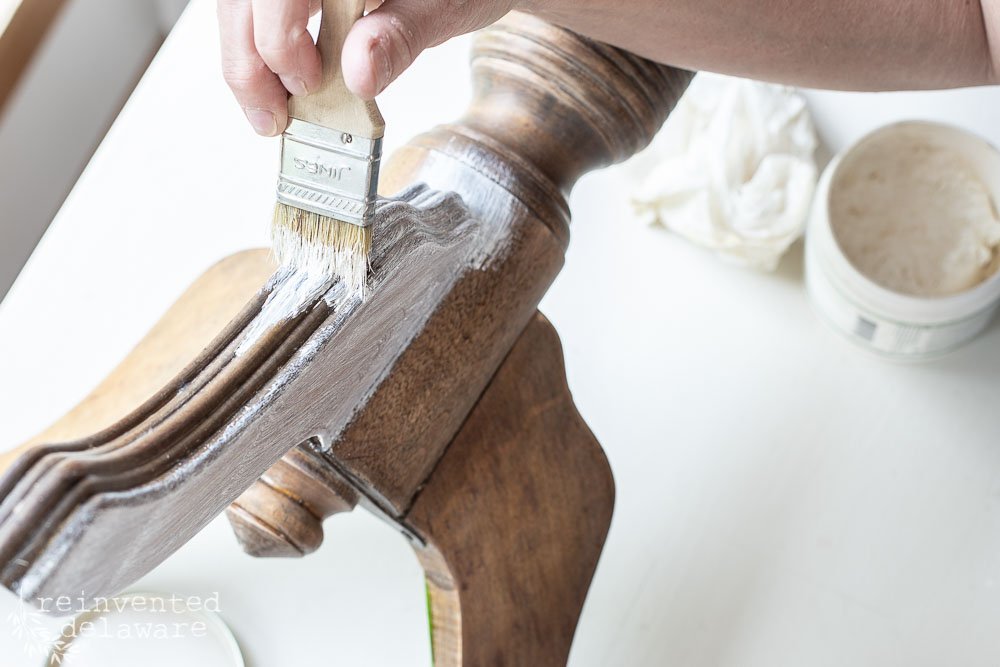
Using a chip brush (watch the video for a fun tip about the brush I use to apply furniture wax!), apply small amounts of wax in a circular motion to all the areas of the wood on the organ stool. The bristles of the chip brush make it easy to get into all the nooks and crannies.
Use a #0000 steel wool pad to buff the wax to your desired look. The more you buff, the more of the white wax you will remove. Create the look you want for your piece of furniture! Watch the video for more ways to achieve a different look with white wax!

Add Fabric To The Organ Stool
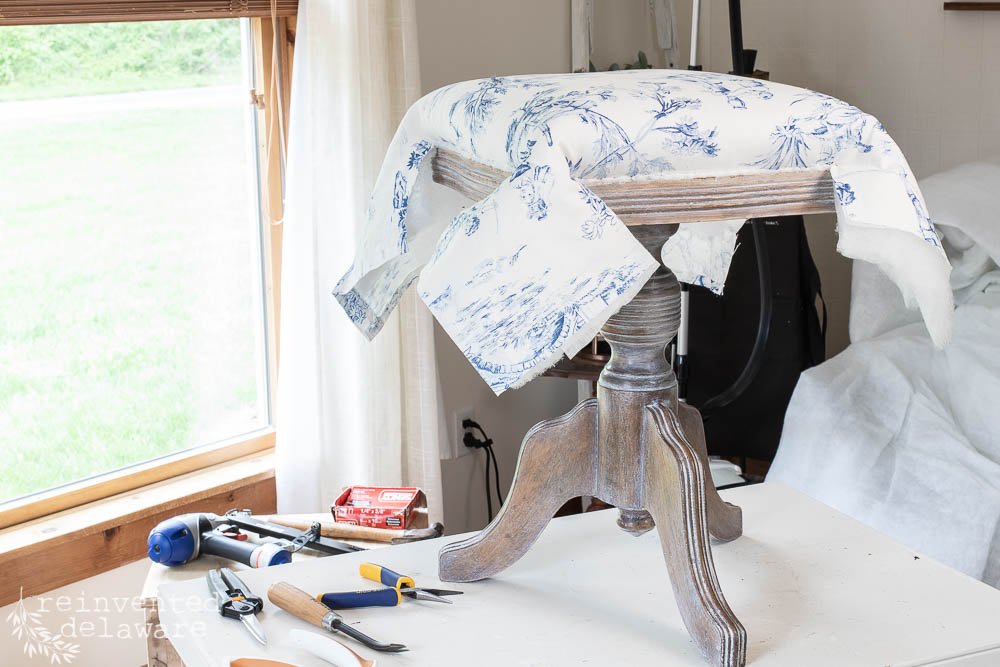
Now it’s time to add some beautiful fabric to this organ stool! The french toile fabric I found at my local thrift store is actually a curtain panel. The fabric is upholstery weight, and the design is so pretty!
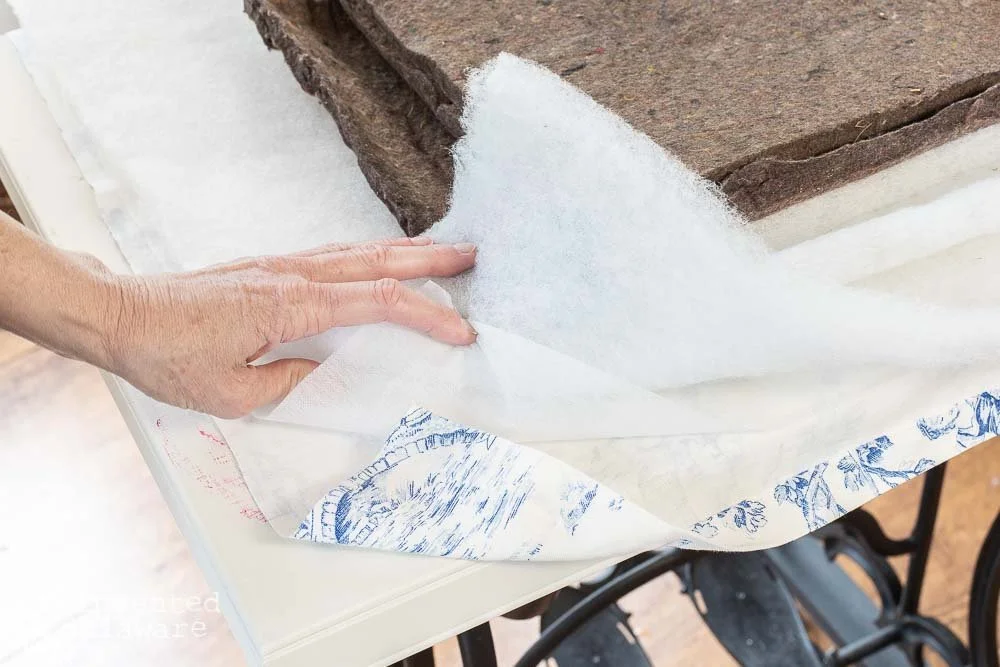
Using the original batting (it was in amazing condition!), a layer of new batting, a solid white piece of fabric, and the toile, I created the layers necessary for upholstering a little organ stool like the one used in this tutorial.
Also, notice all of the layers allow for plenty of room to cover the stool with leftovers. Don’t cut yourself short by not allowing enough fabric and batting!
Be sure to know where to attach these layers to your stool. You should be able to see where the original staples had been. This organ stool had a recessed channel for the staples.

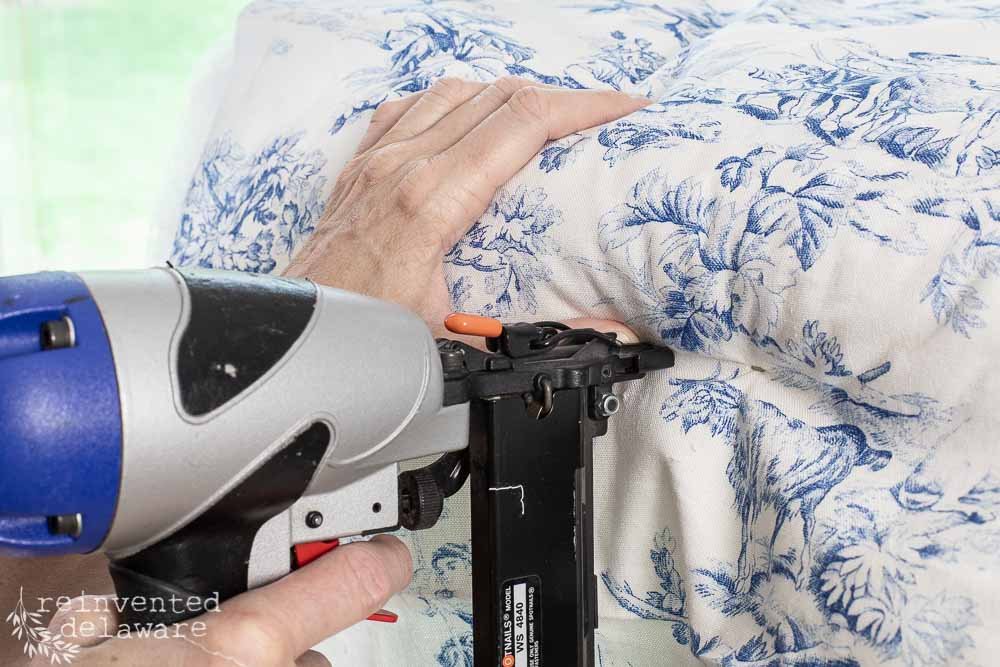
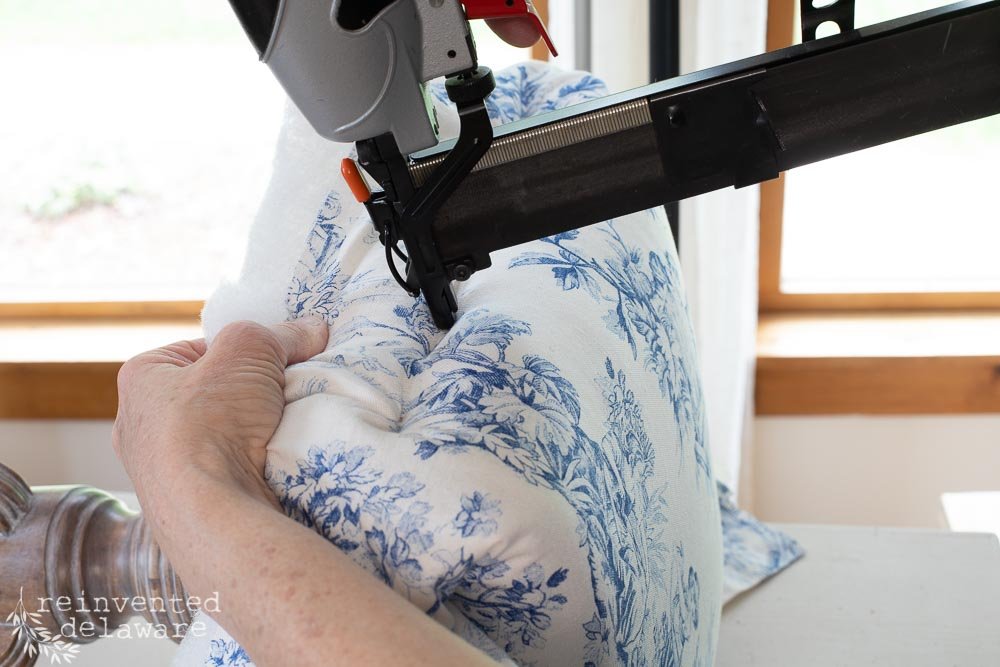
Using a pneumatic staple gun, attach the layers directly to the channel. Double-check yourself to make sure you are not stapling the exposed wood areas. I’ve done that before, and it’s no fun to pull out new staples!
Start at the center and work outwards on one side. Then flip the stool to the opposite side, pull the layers snug and attach the layers in the same way. Always attach the first staple at the center and work outwards, keeping the fabric taut.
Flip the stool to the next side and repeat! BTW, save the corners for last!
Once you are finished with all four sides, trim the excess fabric away, leaving the fabric on the corners.
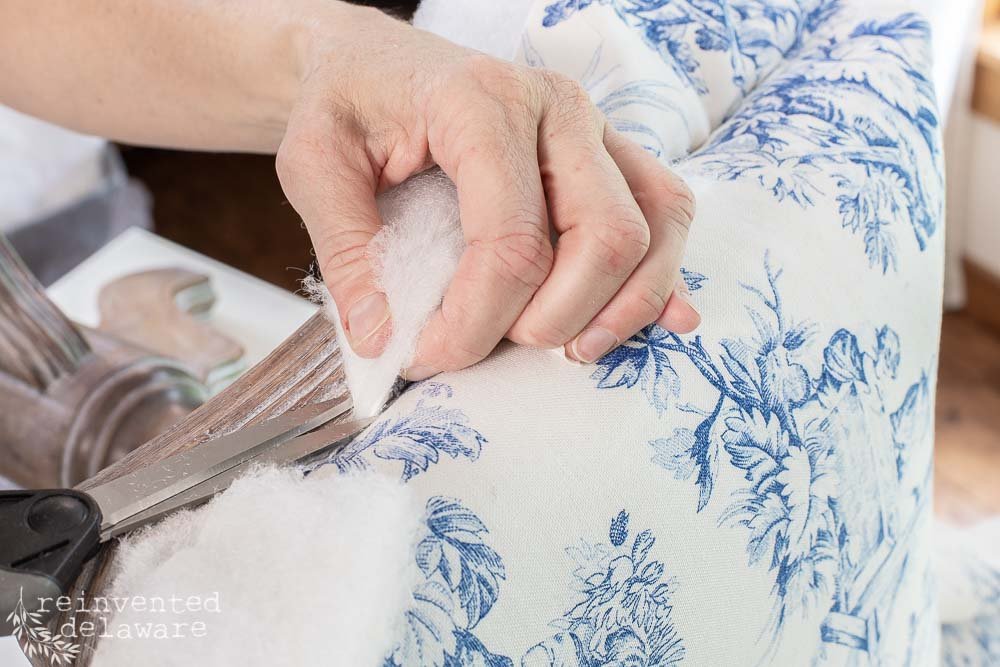
Fold the corners by pulling the fabric out and then folding it back on itself, creating a miter of sorts, as you see in the image below. Staple the corners down and then trim away the excess fabric.

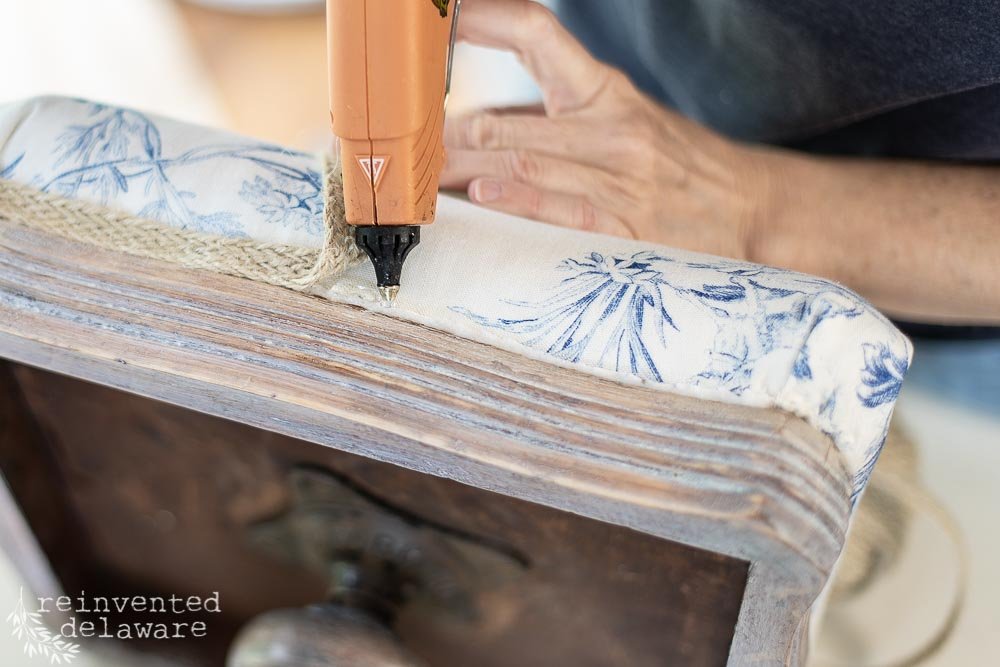
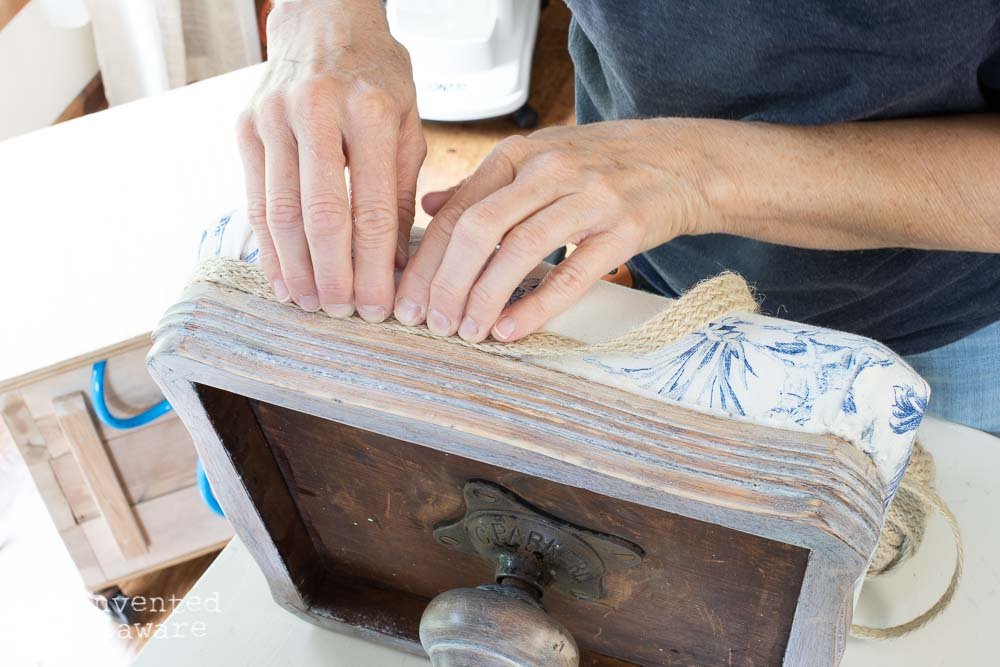
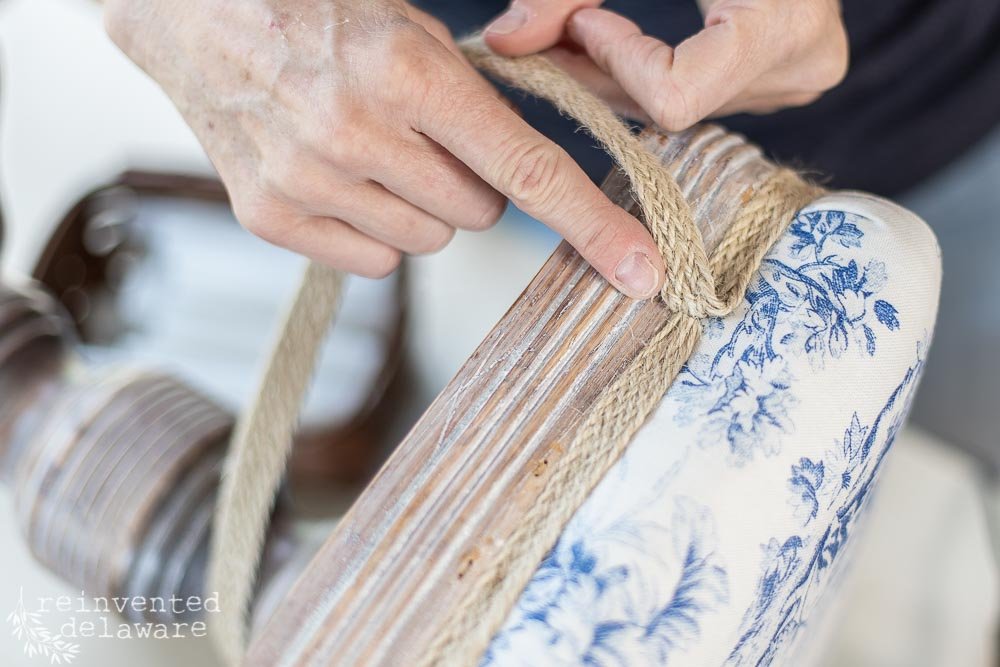
Attach Braided Jute Trim
Attaching the braided jute trim, which I love to use on my upholstery projects, is easy. Use a quality hot glue and glue gun to attach the trim to cover the staple line in the channel. When you come to the end, just glue it down so that it is neat and tidy!
And here she is! What do you think of this easy method to lighten wood tones on antique furniture? Easy, isn’t it?
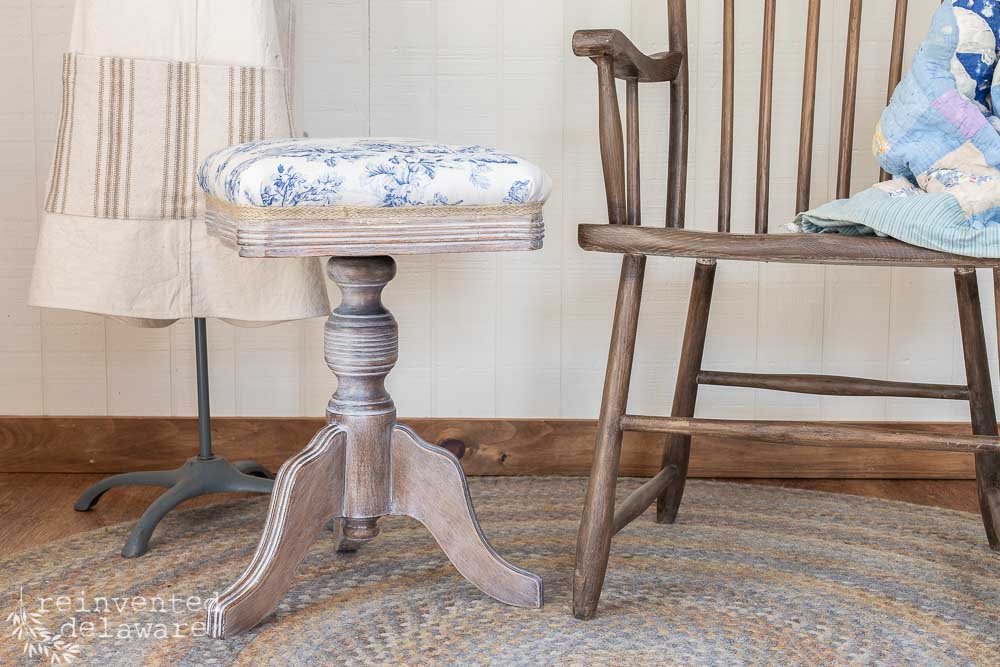

Let me know your thoughts about this method down in the comments! I would love to hear from you!
Do you have a piece of antique or vintage furniture that you want to try this technique on? Tell me about it!
Thanks for joining me today!
