
Spring Floral Wreath with Egg Cartons and Miss Mustard Seed’s® MilkPaint™
Spring Floral Wreath with Egg Cartons and Miss Mustard Seed’s MilkPaint™

Do you have a lot of empty cardboard egg cartons left over from Easter egg decorating this time of the year? Well, today, I am so excited to share that I have a beautiful craft that is not only simple and inexpensive but it provides a great use for all of the leftover cardboard Easter egg cartons. With the help of Spring colors from Miss Mustard Seed’s® MilkPaint™ ,we will create a charming Spring floral wreath using egg cartons and MilkPaint™.
I love this DIY because you can use items that you already have in your home, like leftover egg cartons, a wreath form from an old cardboard box, and the remaining MilkPaint™ from larger projects. I love using MilkPaint™ for craft projects because I normally have a little bit of paint leftover from larger painting projects, and this is the perfect use for it.
Another plus about this project is that it is so simple; you can even get your children involved!

Simple Materials Make A Cheerful Statement
I love how this project turned out! It showcases that MilkPaint™ can make the simplest of materials more upscale and give pieces such a rich story. The texture that the cardboard provides and the added beauty of the MilkPaint™ is the perfect touch for these charming, custom egg carton flowers turned cheerful wreath.
Spring Egg Carton Wreath Video Tutorial
Last week, I went LIVE on Miss Mustard Seed’s® MilkPaint™’s Facebook page to demonstrate how to make this charming wreath. You can watch the re-broadcast here and follow along with the written tutorial below.
Now, let’s get painting!
Materials Needed:
To create your own DIY Spring Floral Wreath with Egg Cartons and MilkPaint™, you will need:
● Miss Mustard Seed’s MilkPaint™. For this project, I used Arabesque, Aqua Sky, Sunkissed, Mustard Seed Yellow, and Lucketts Green because I loved how they played with the sunny Spring theme. You can use whatever colors your heart desires.
● Craft Paintbrush
● Cardboard Egg Cartons
● Cardboard Box for the Wreath Form
● Hot Glue Gun with Hot Glue or Craft Glue
● Scissors
● String for the Wreath Hanger
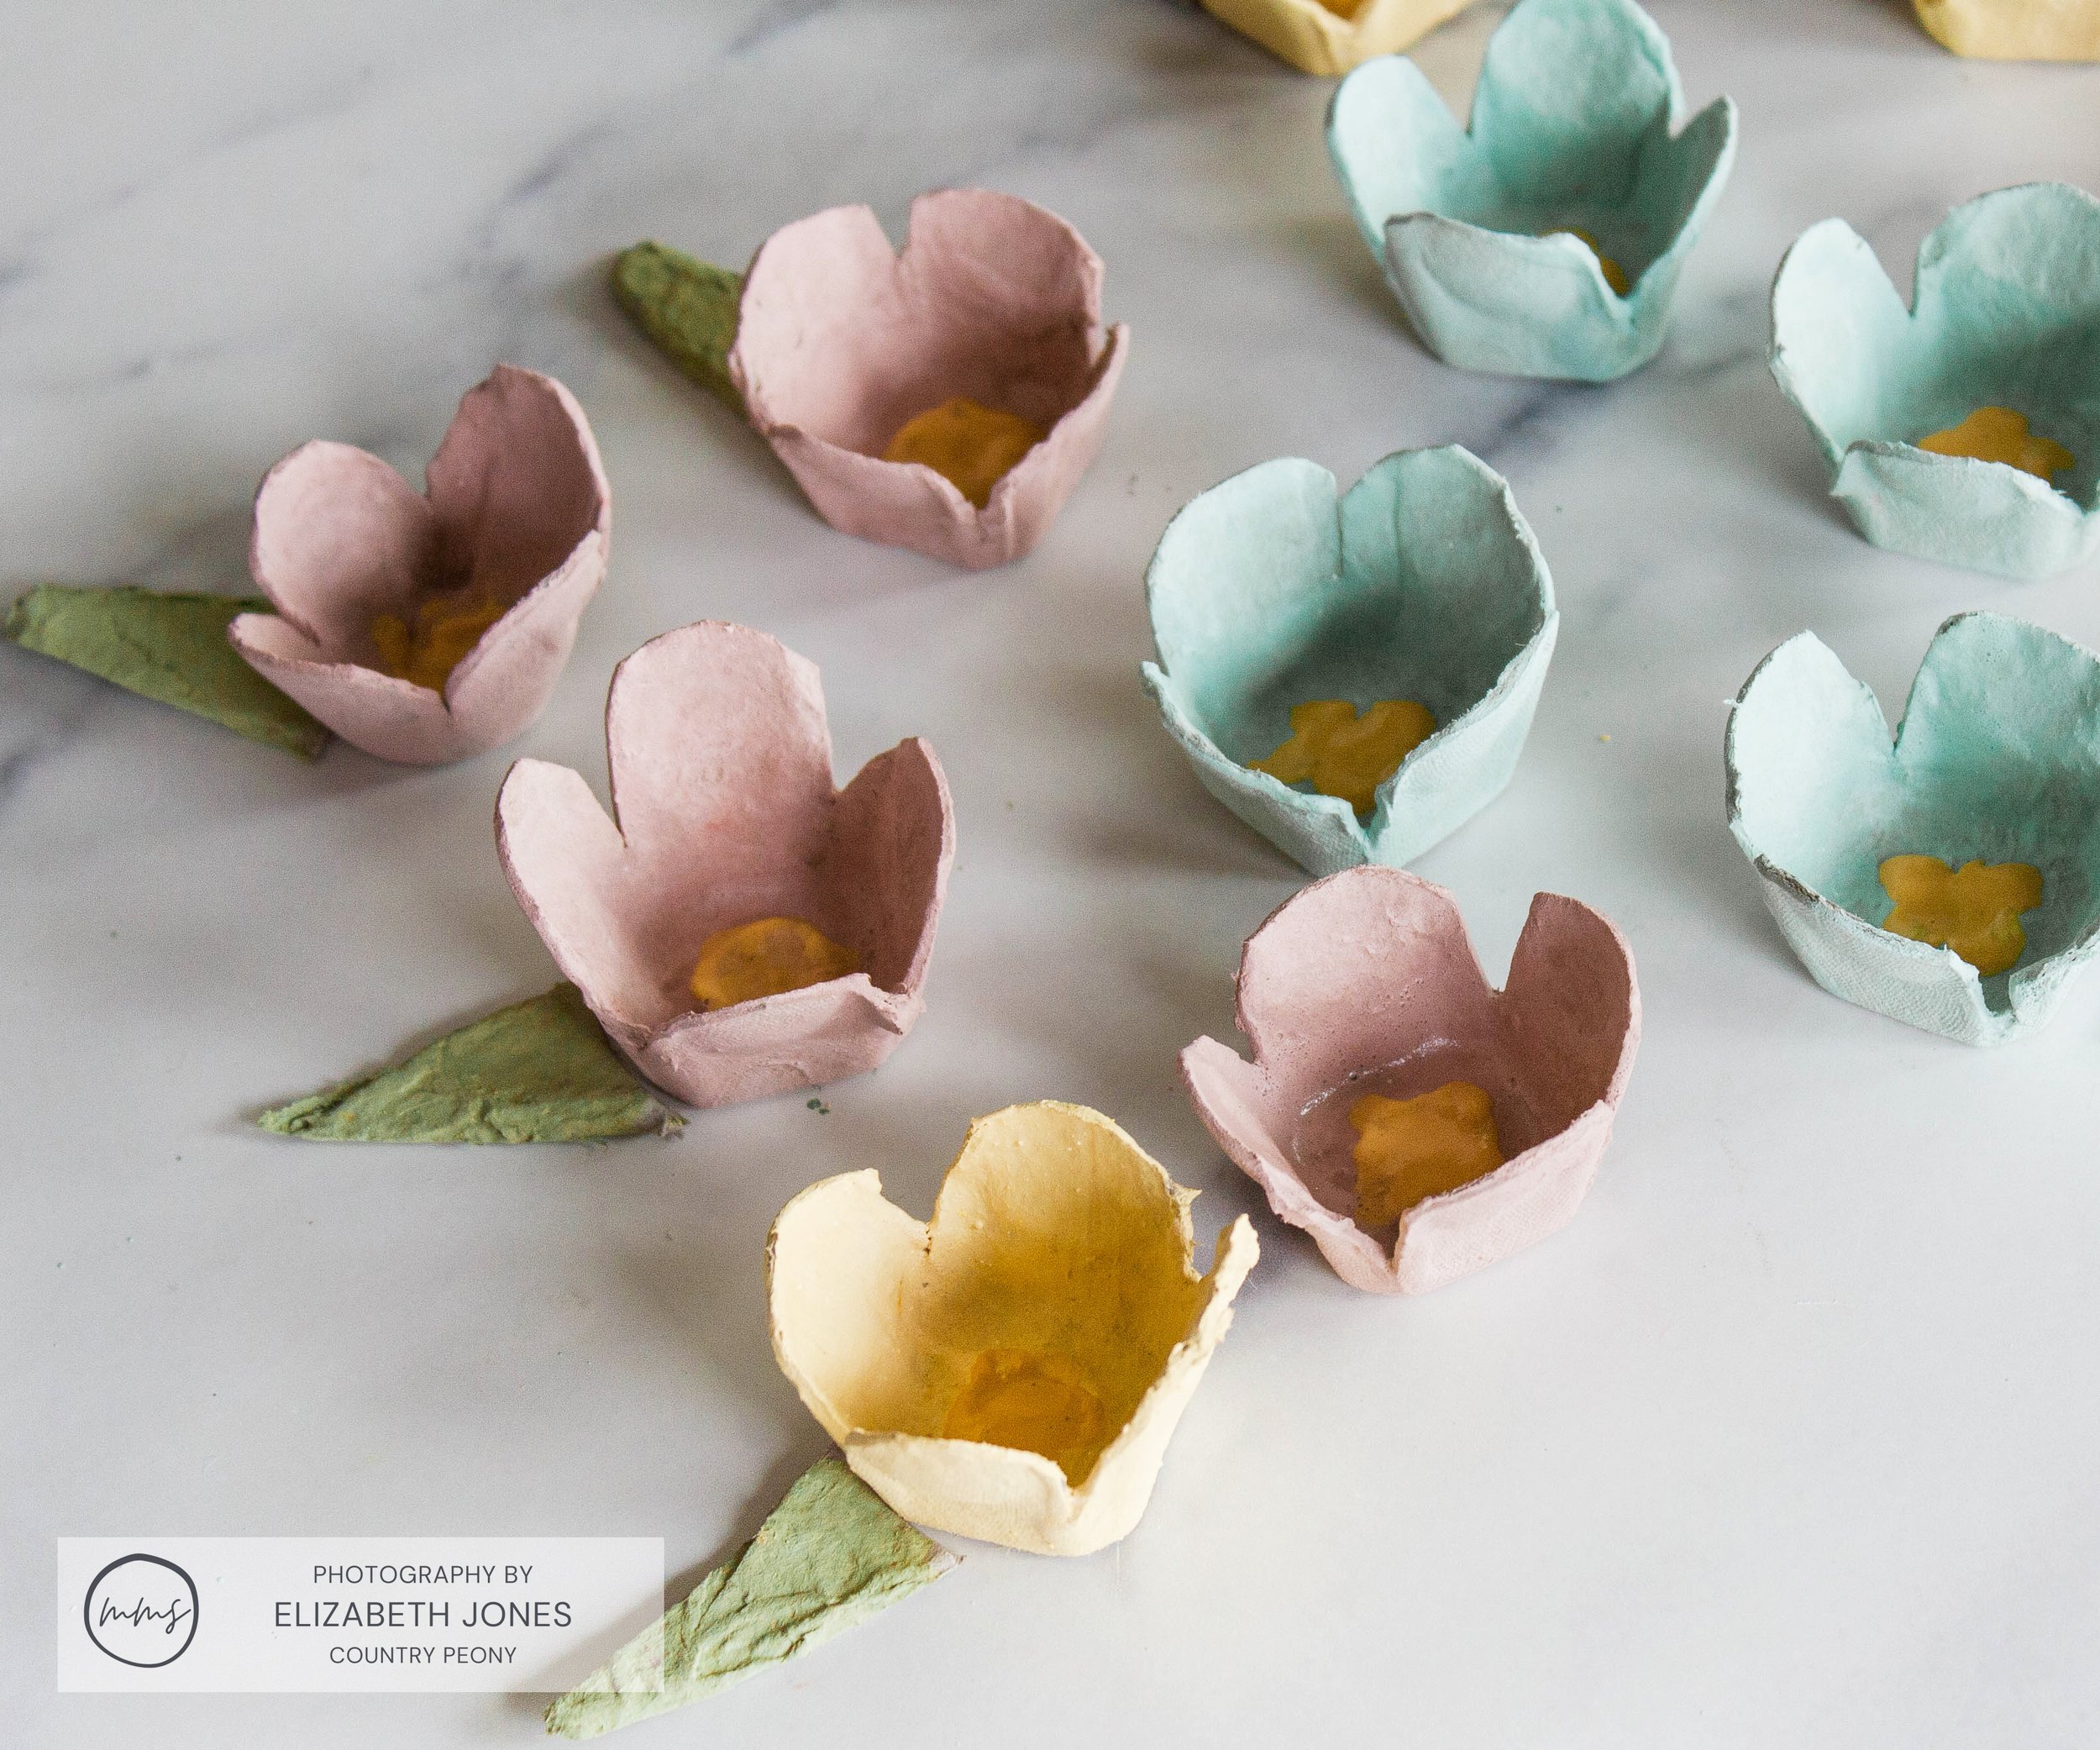
Step 1: Create the Flowers from the Egg Cartons
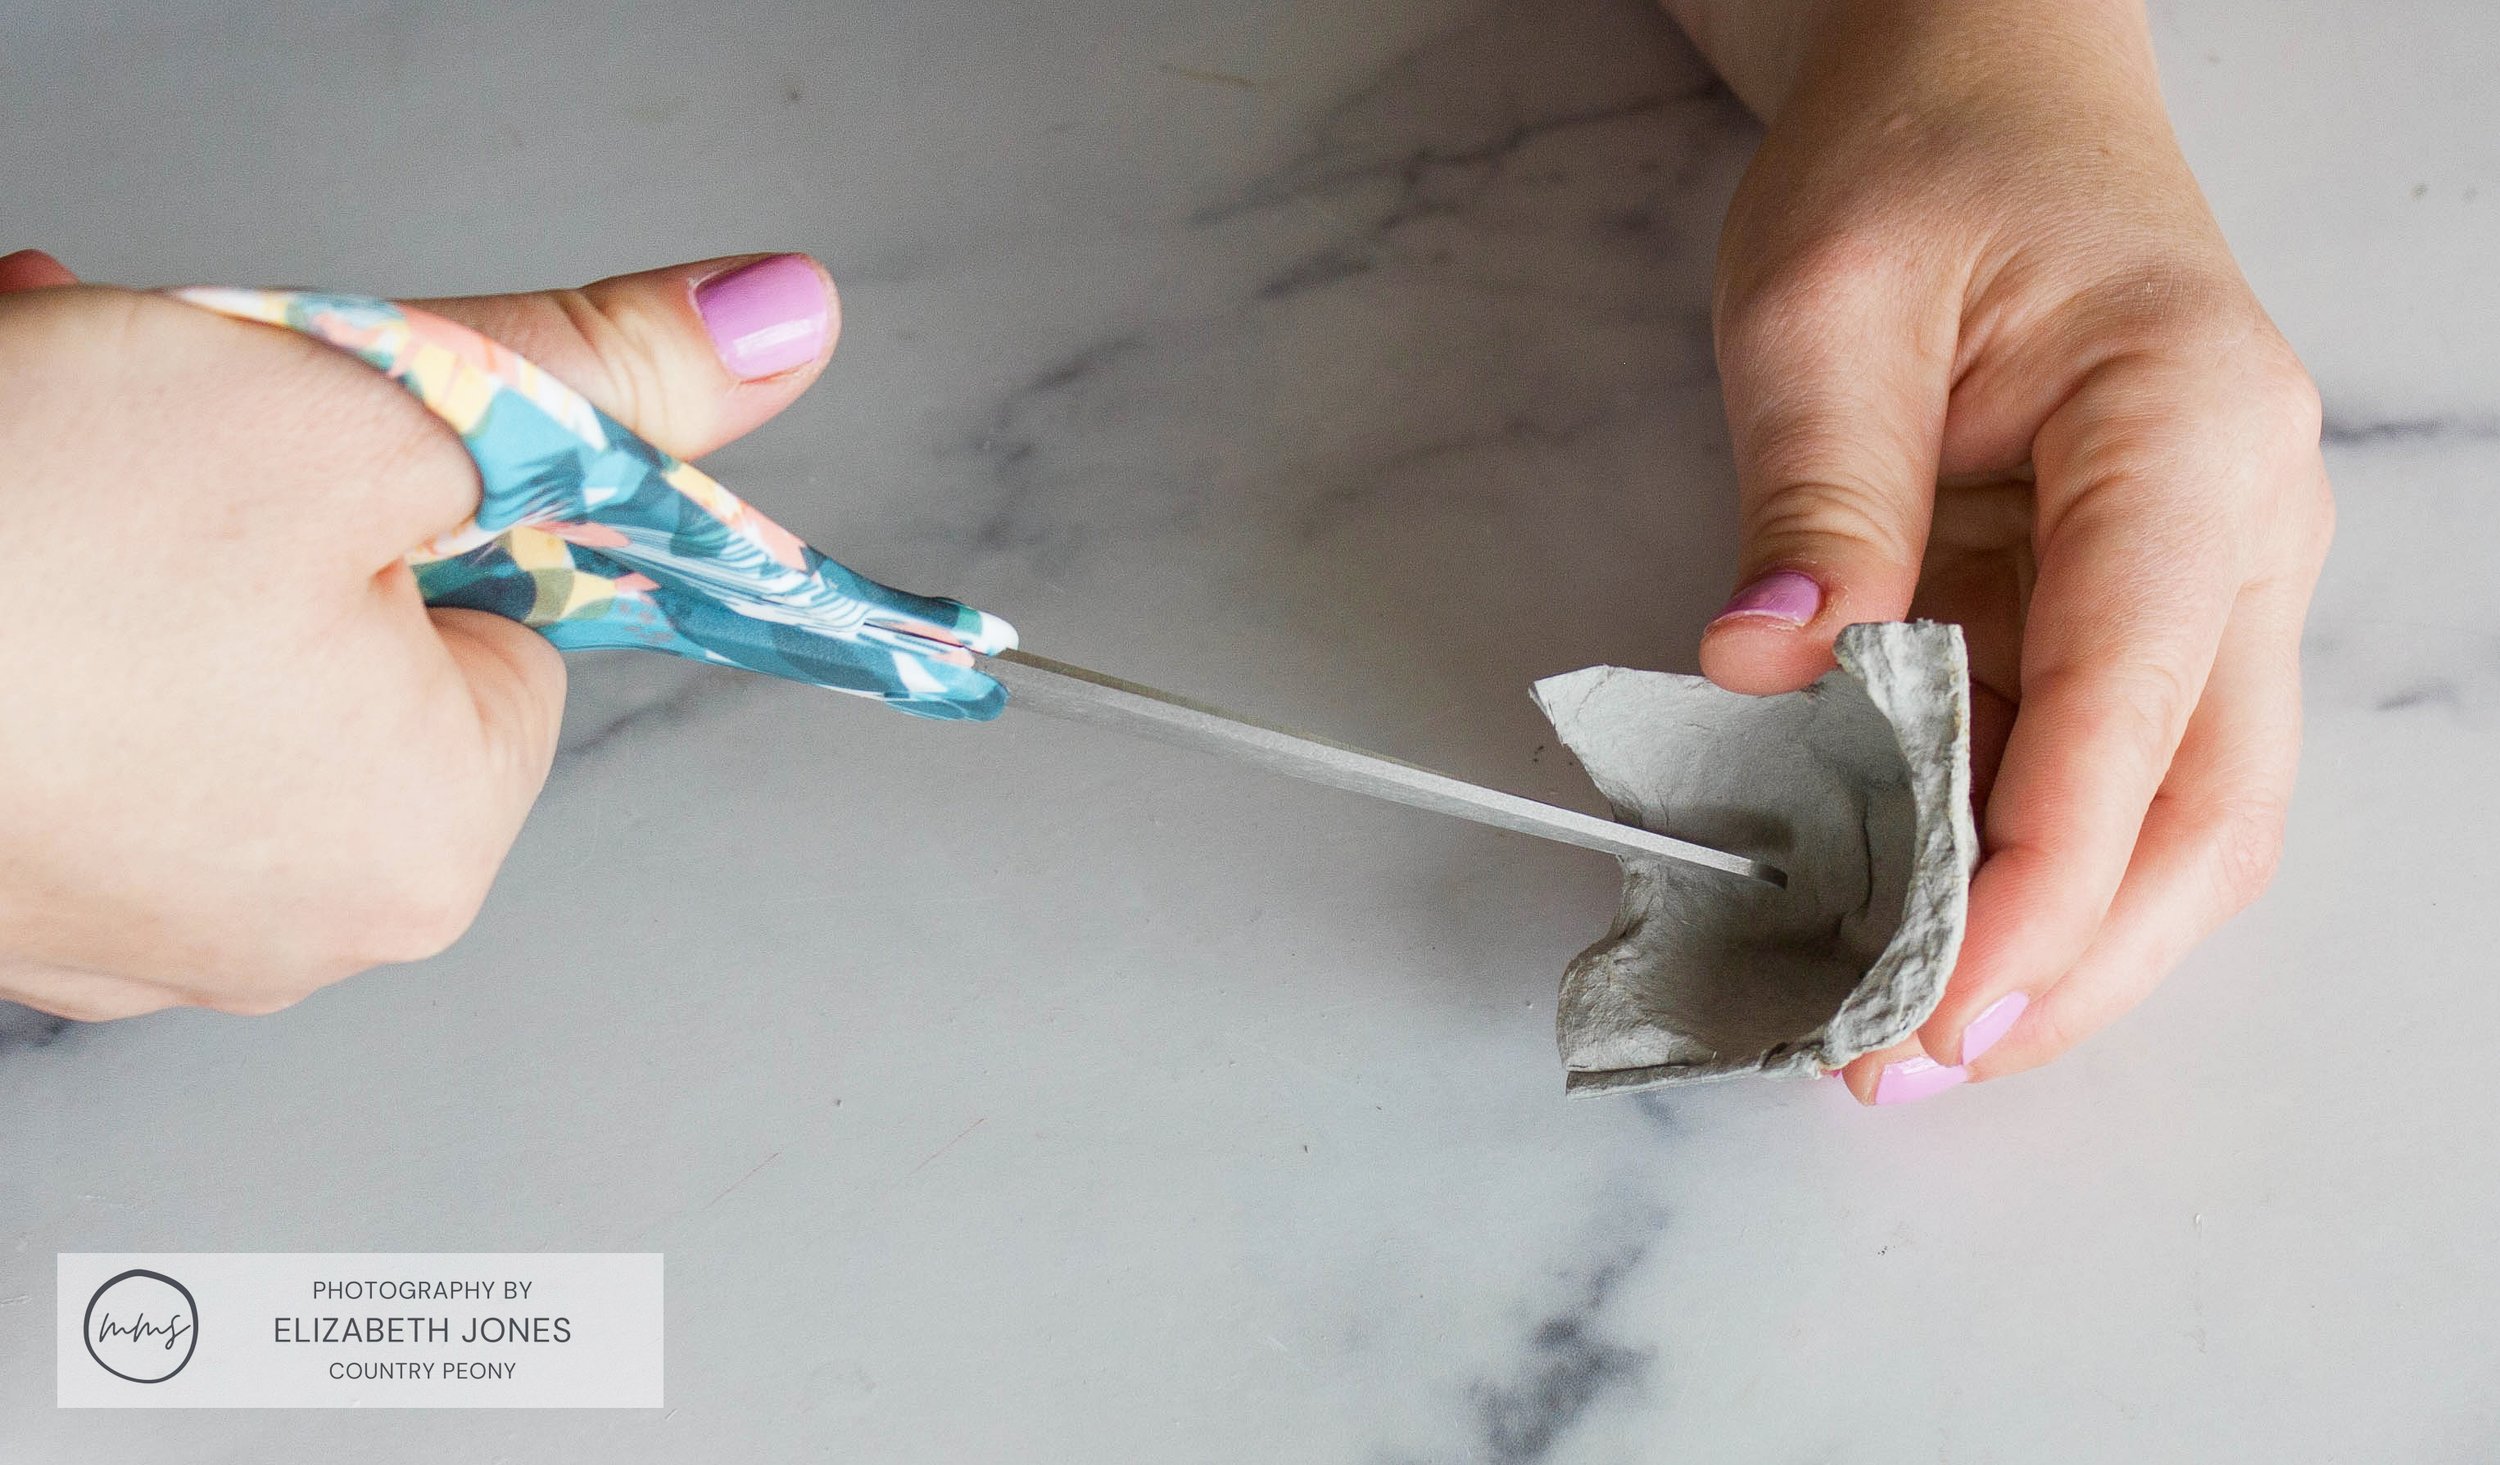
Cut out each egg holder.

Then, trim away any excess bits of the carton to create a flower from each egg holder.

Cutting out each egg cup

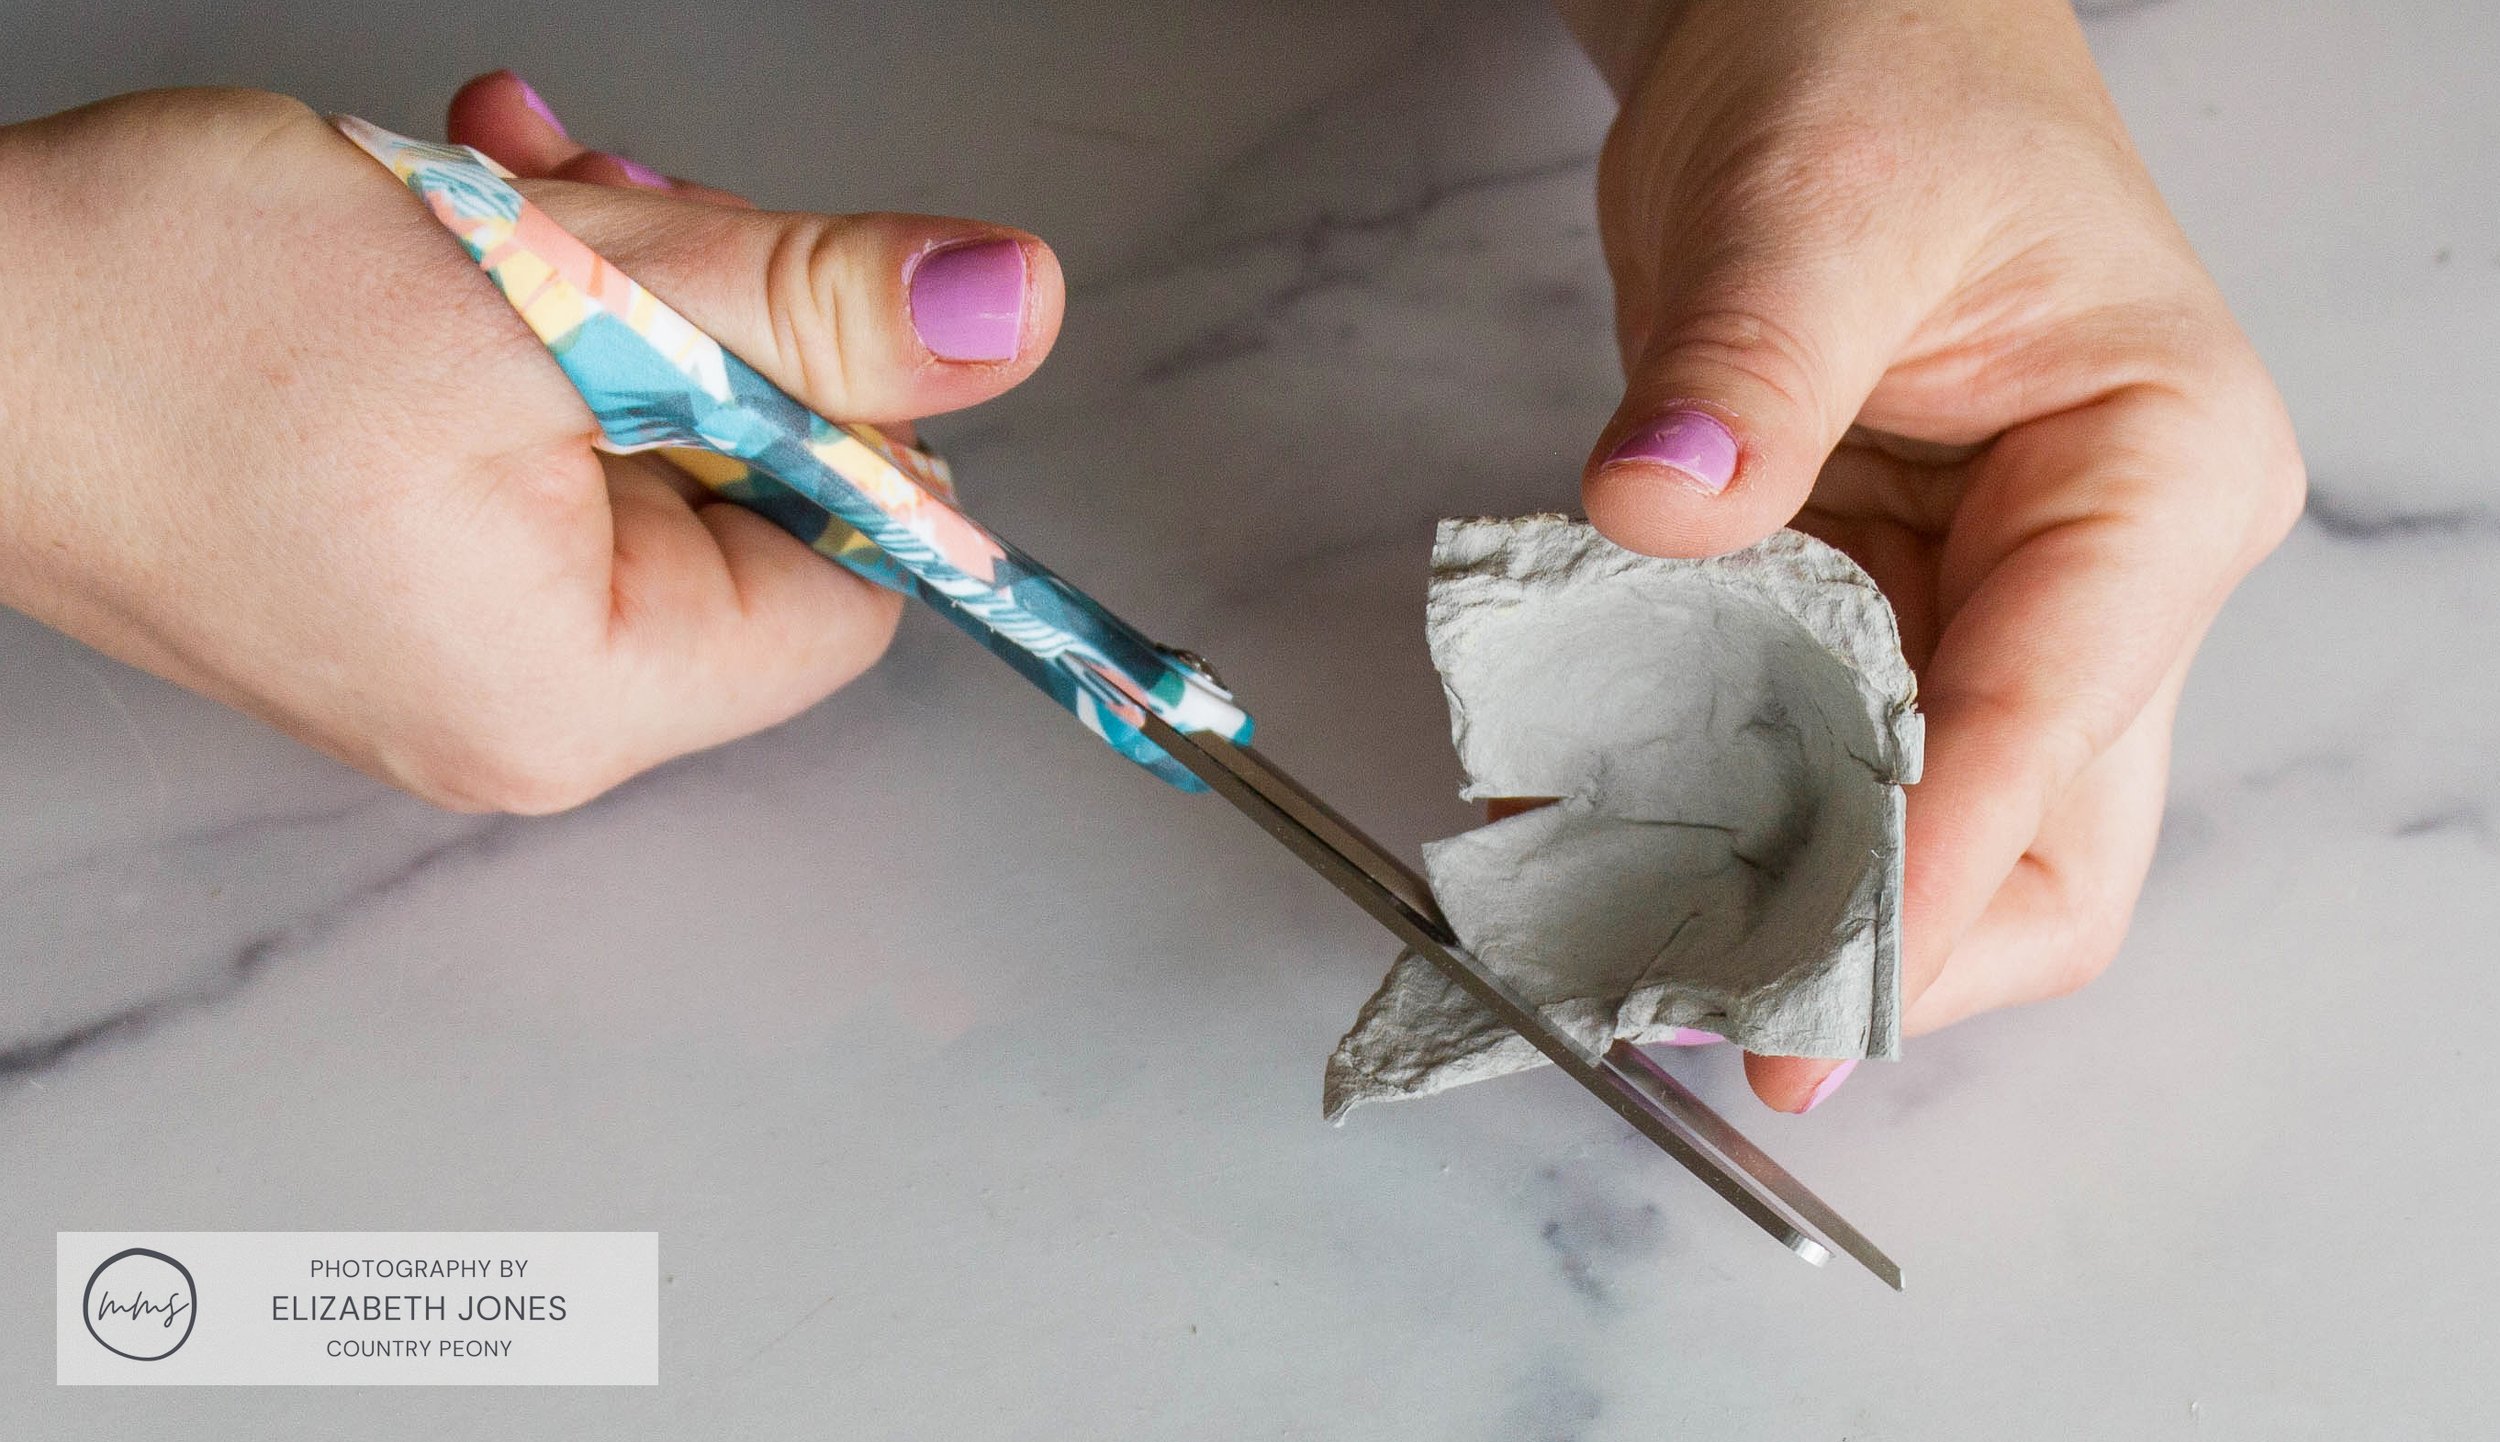
Trimming excess carton
Cut the corners from top to bottom.
Then, trim the tops of the egg holders to create the petals.
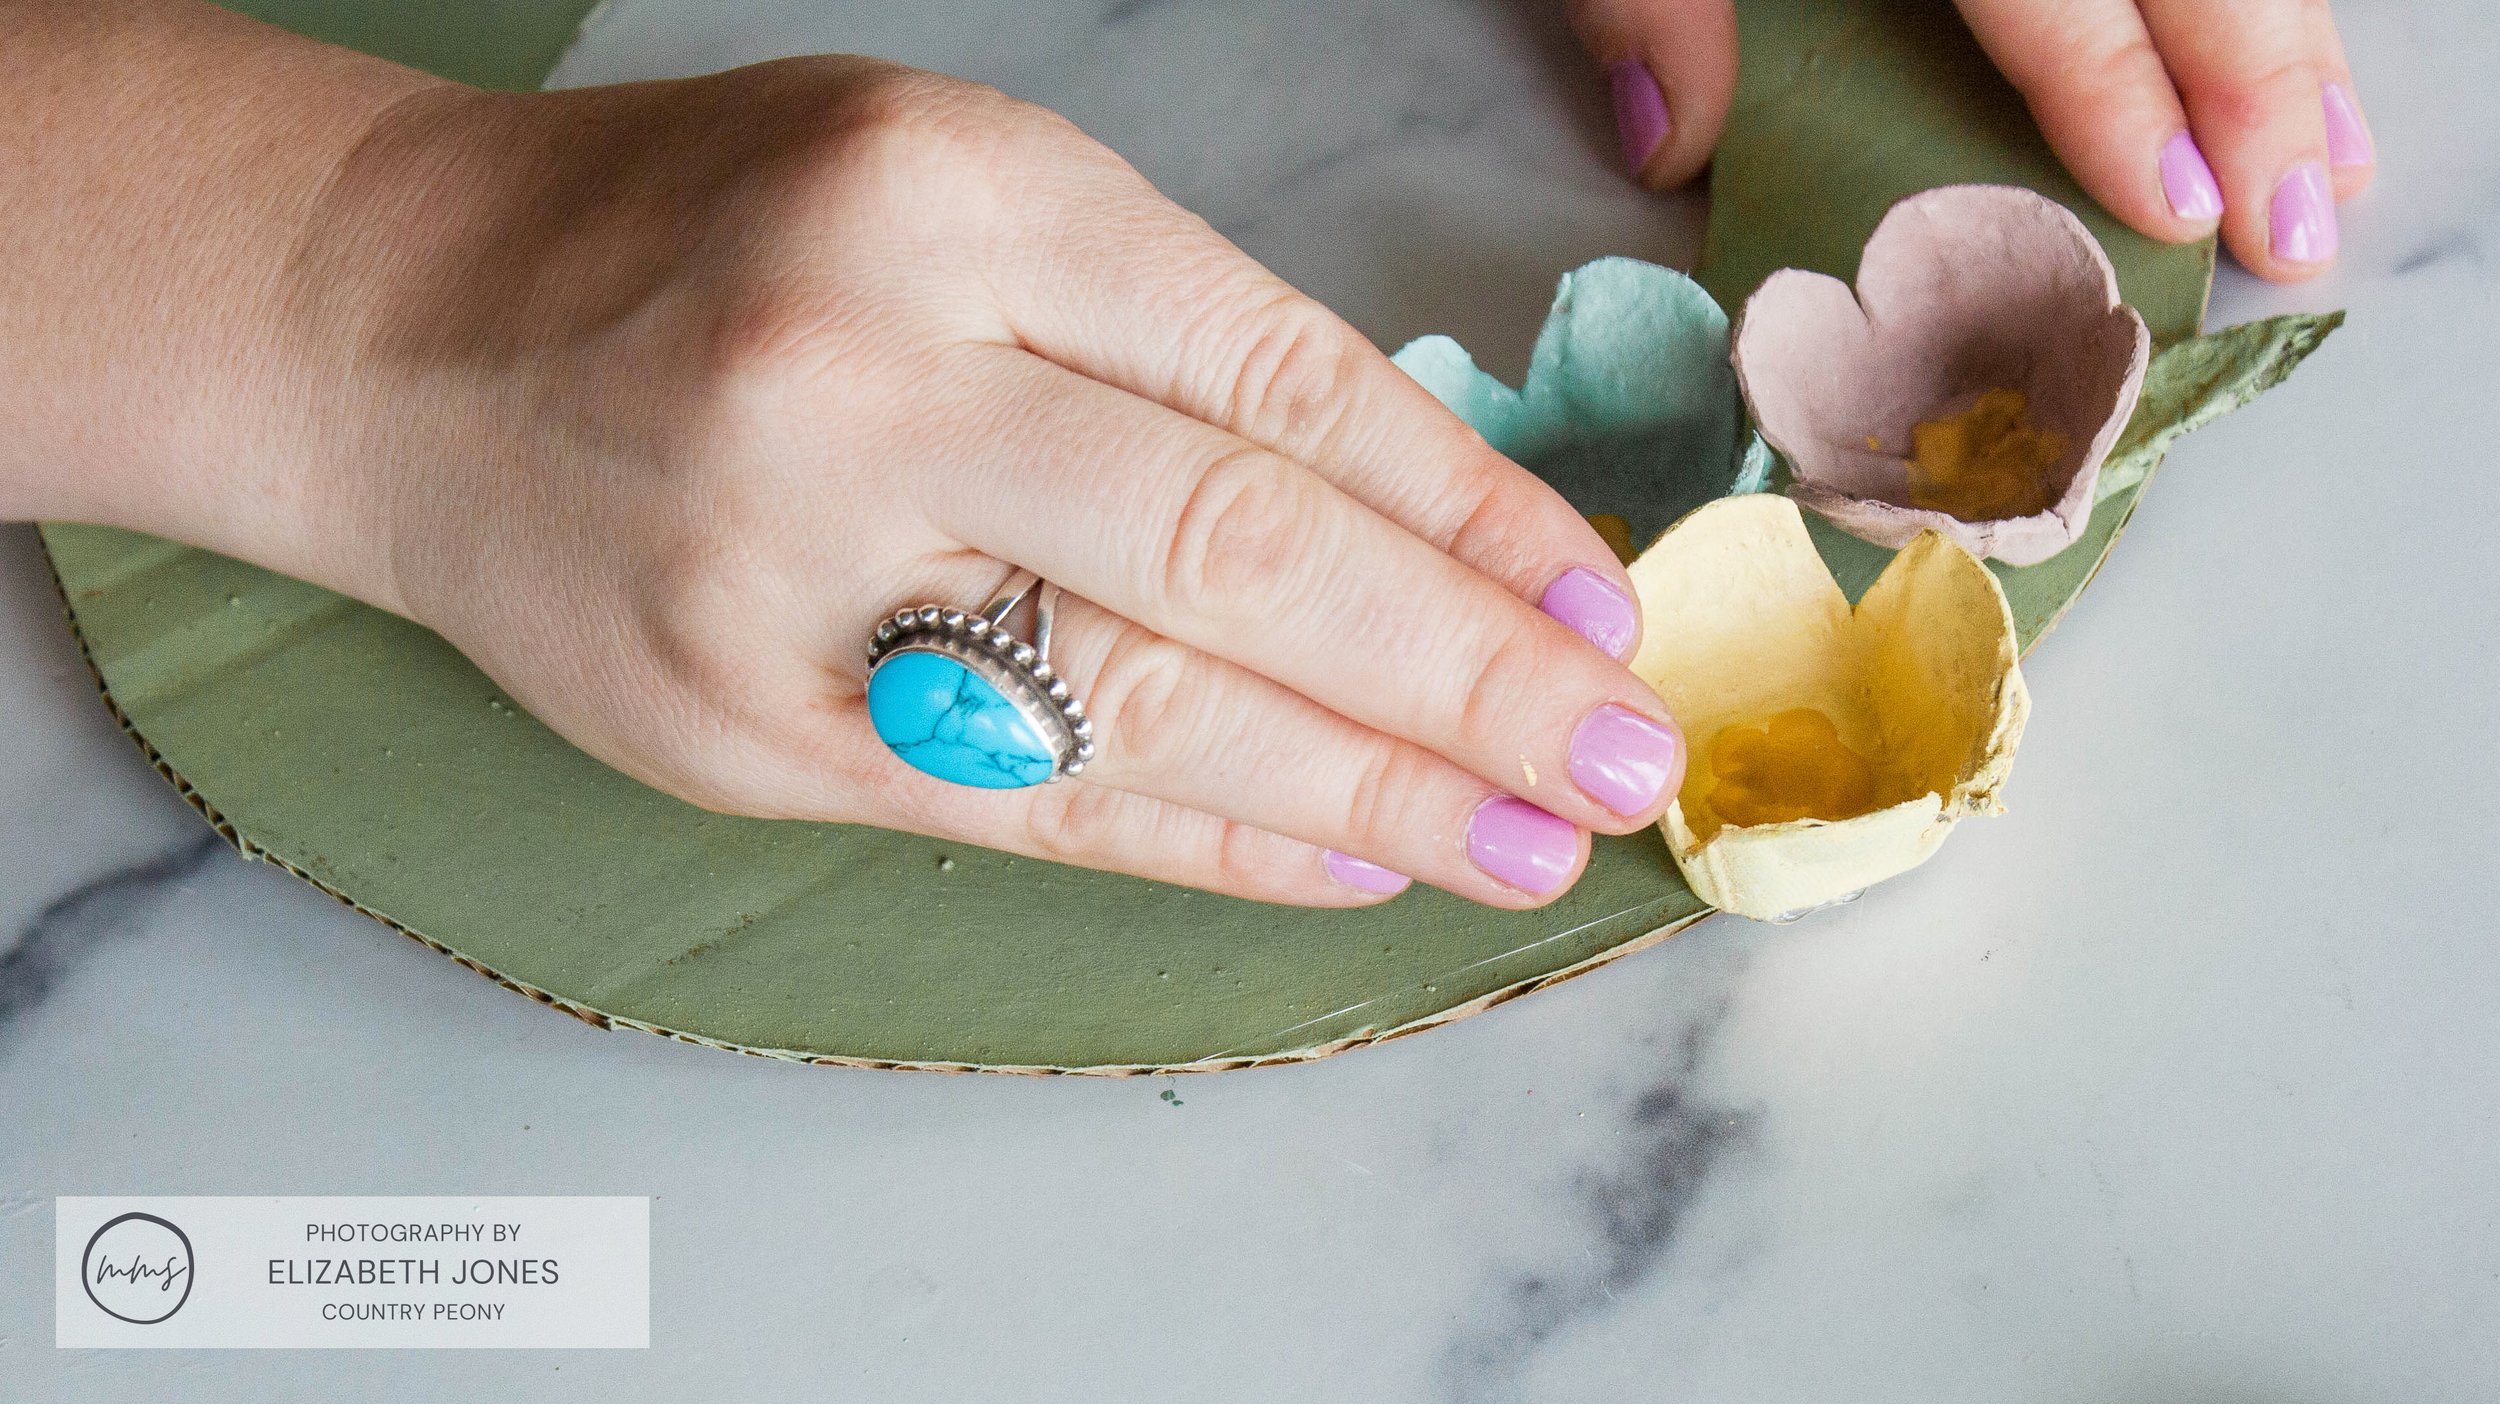
Gently pull the egg holder sides apart to create an open flower.

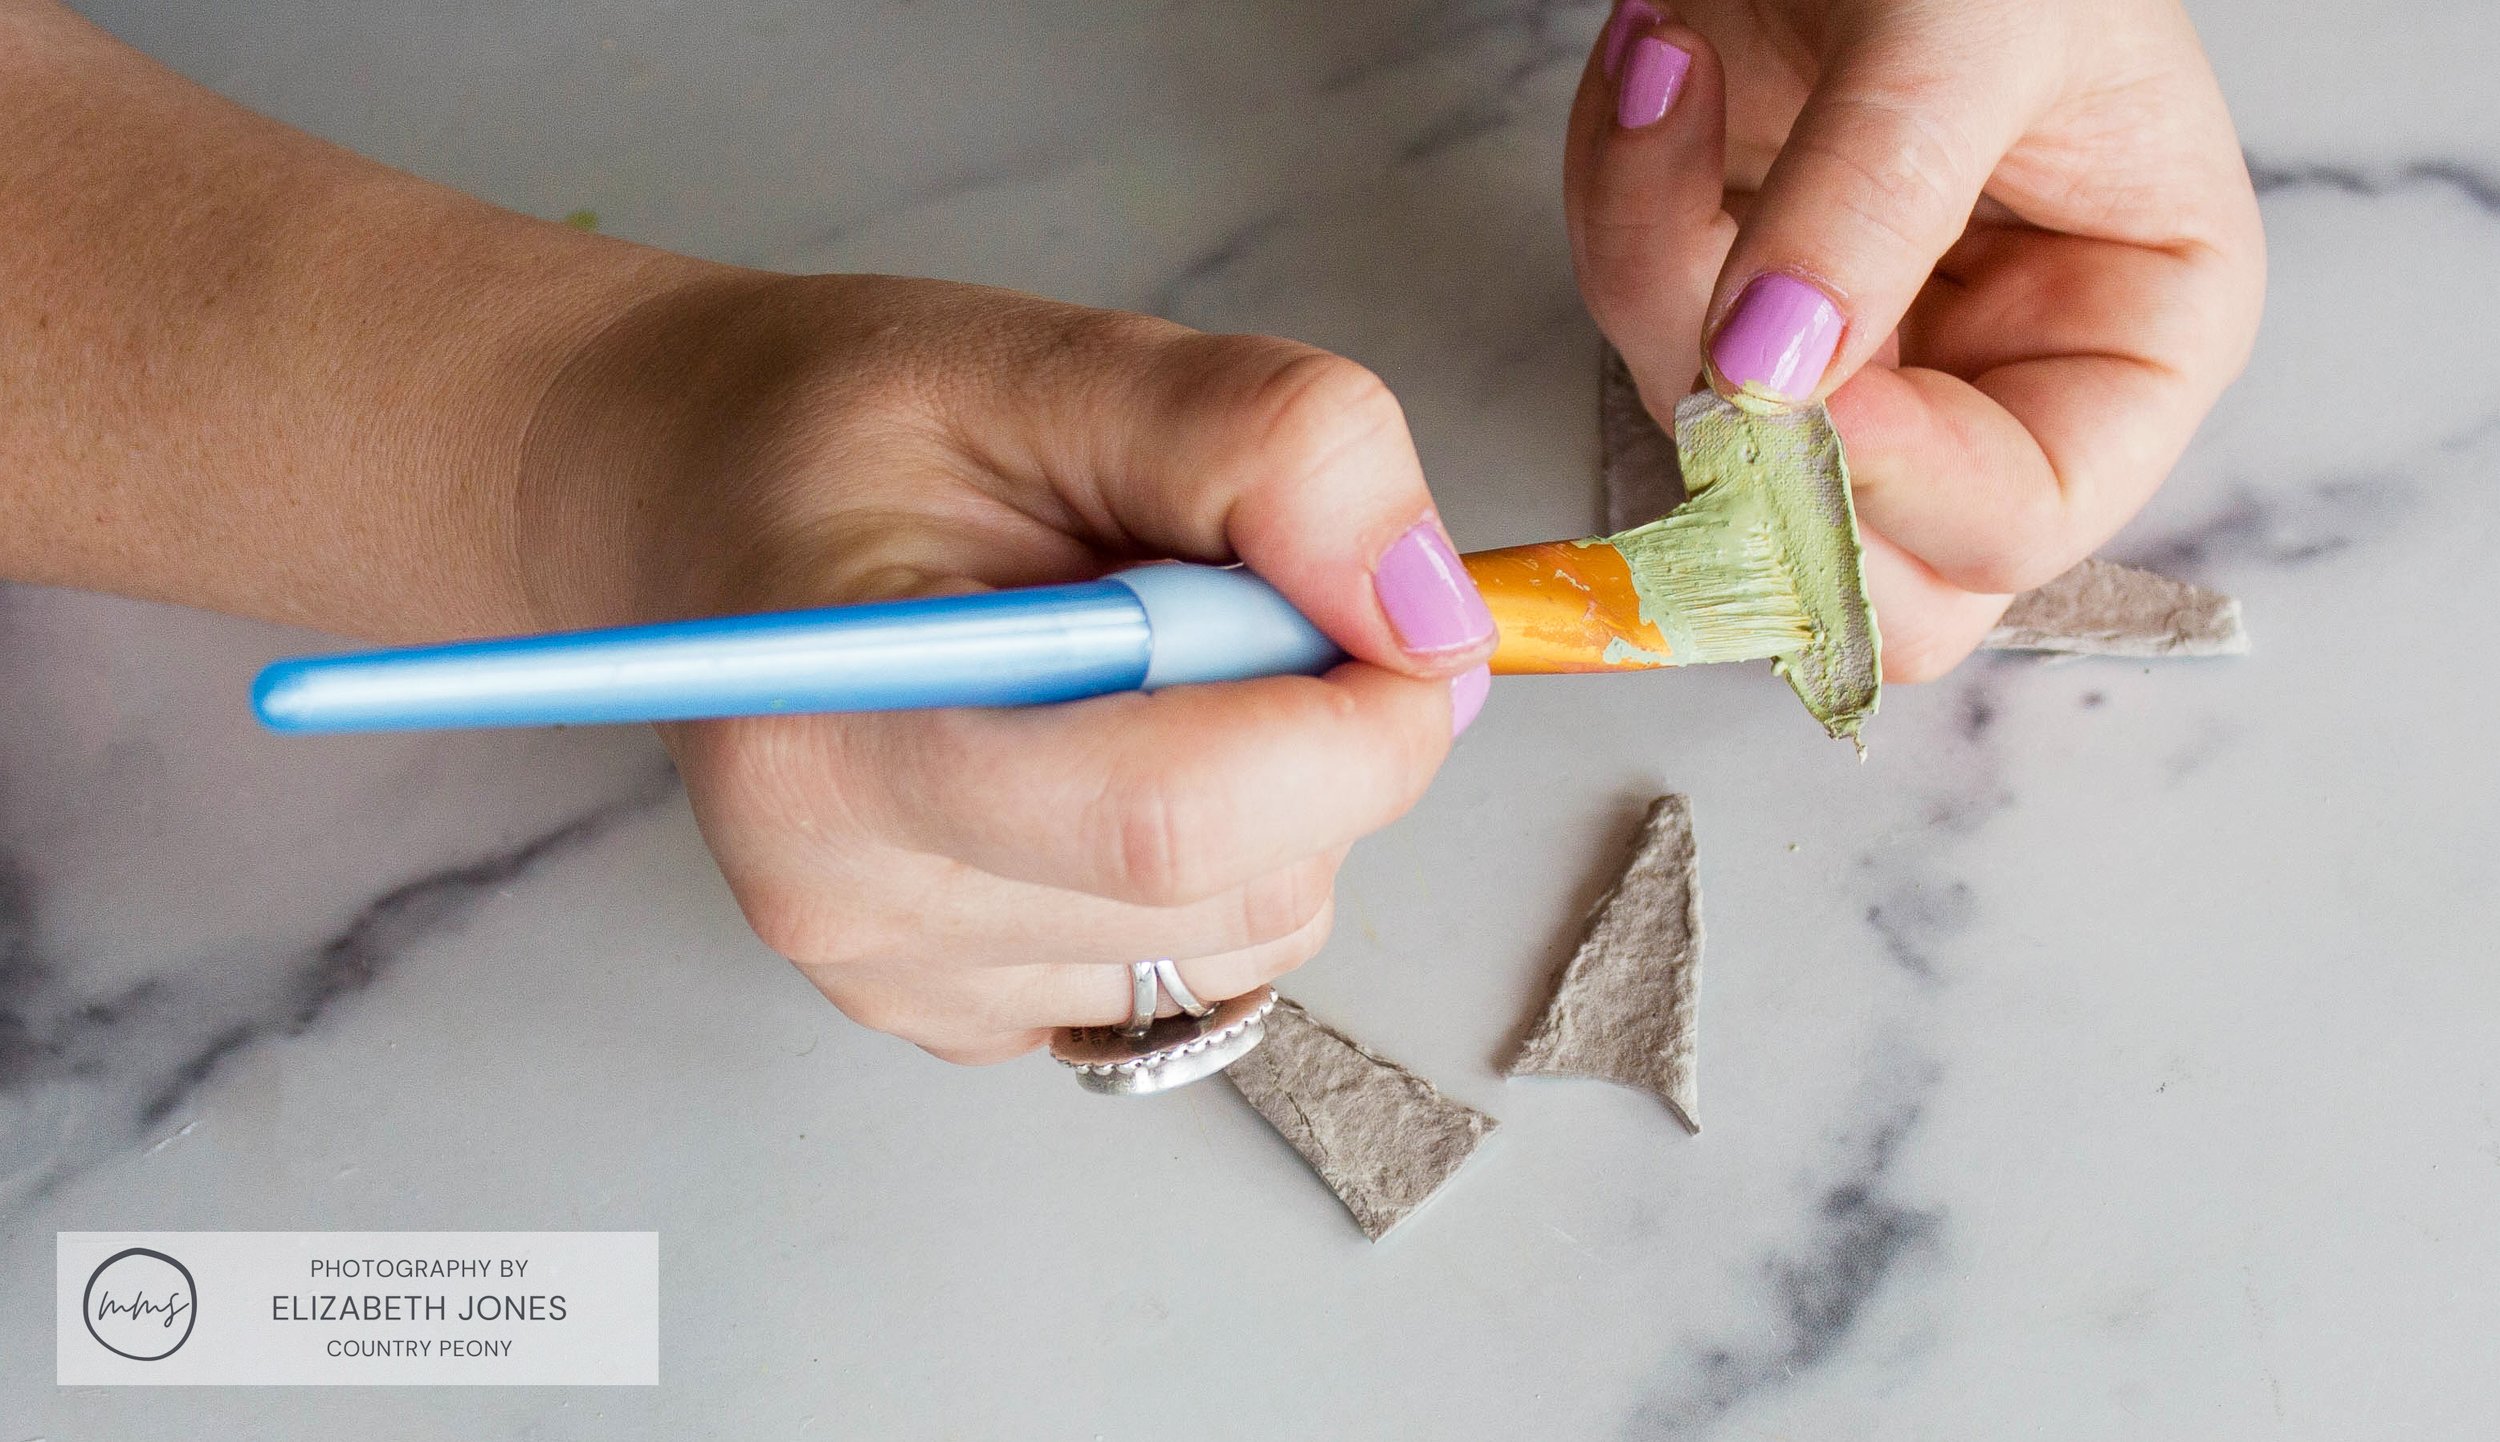
Use the extra pieces from the egg carton to create the leaves.

Create enough flowers and leaves for the wreath. For my 11-inch wreath form, I created 30 flowers and about 17 leaves.
Step 3: Create the Wreath Form
Flatten an old cardboard box, and use an 11-inch plate to trace the outer edge of a wreath form onto the cardboard. Then use a smaller plate to trace the inside edge of the wreath form.


With a craft knife, cut along the traced lines to create the wreath form.

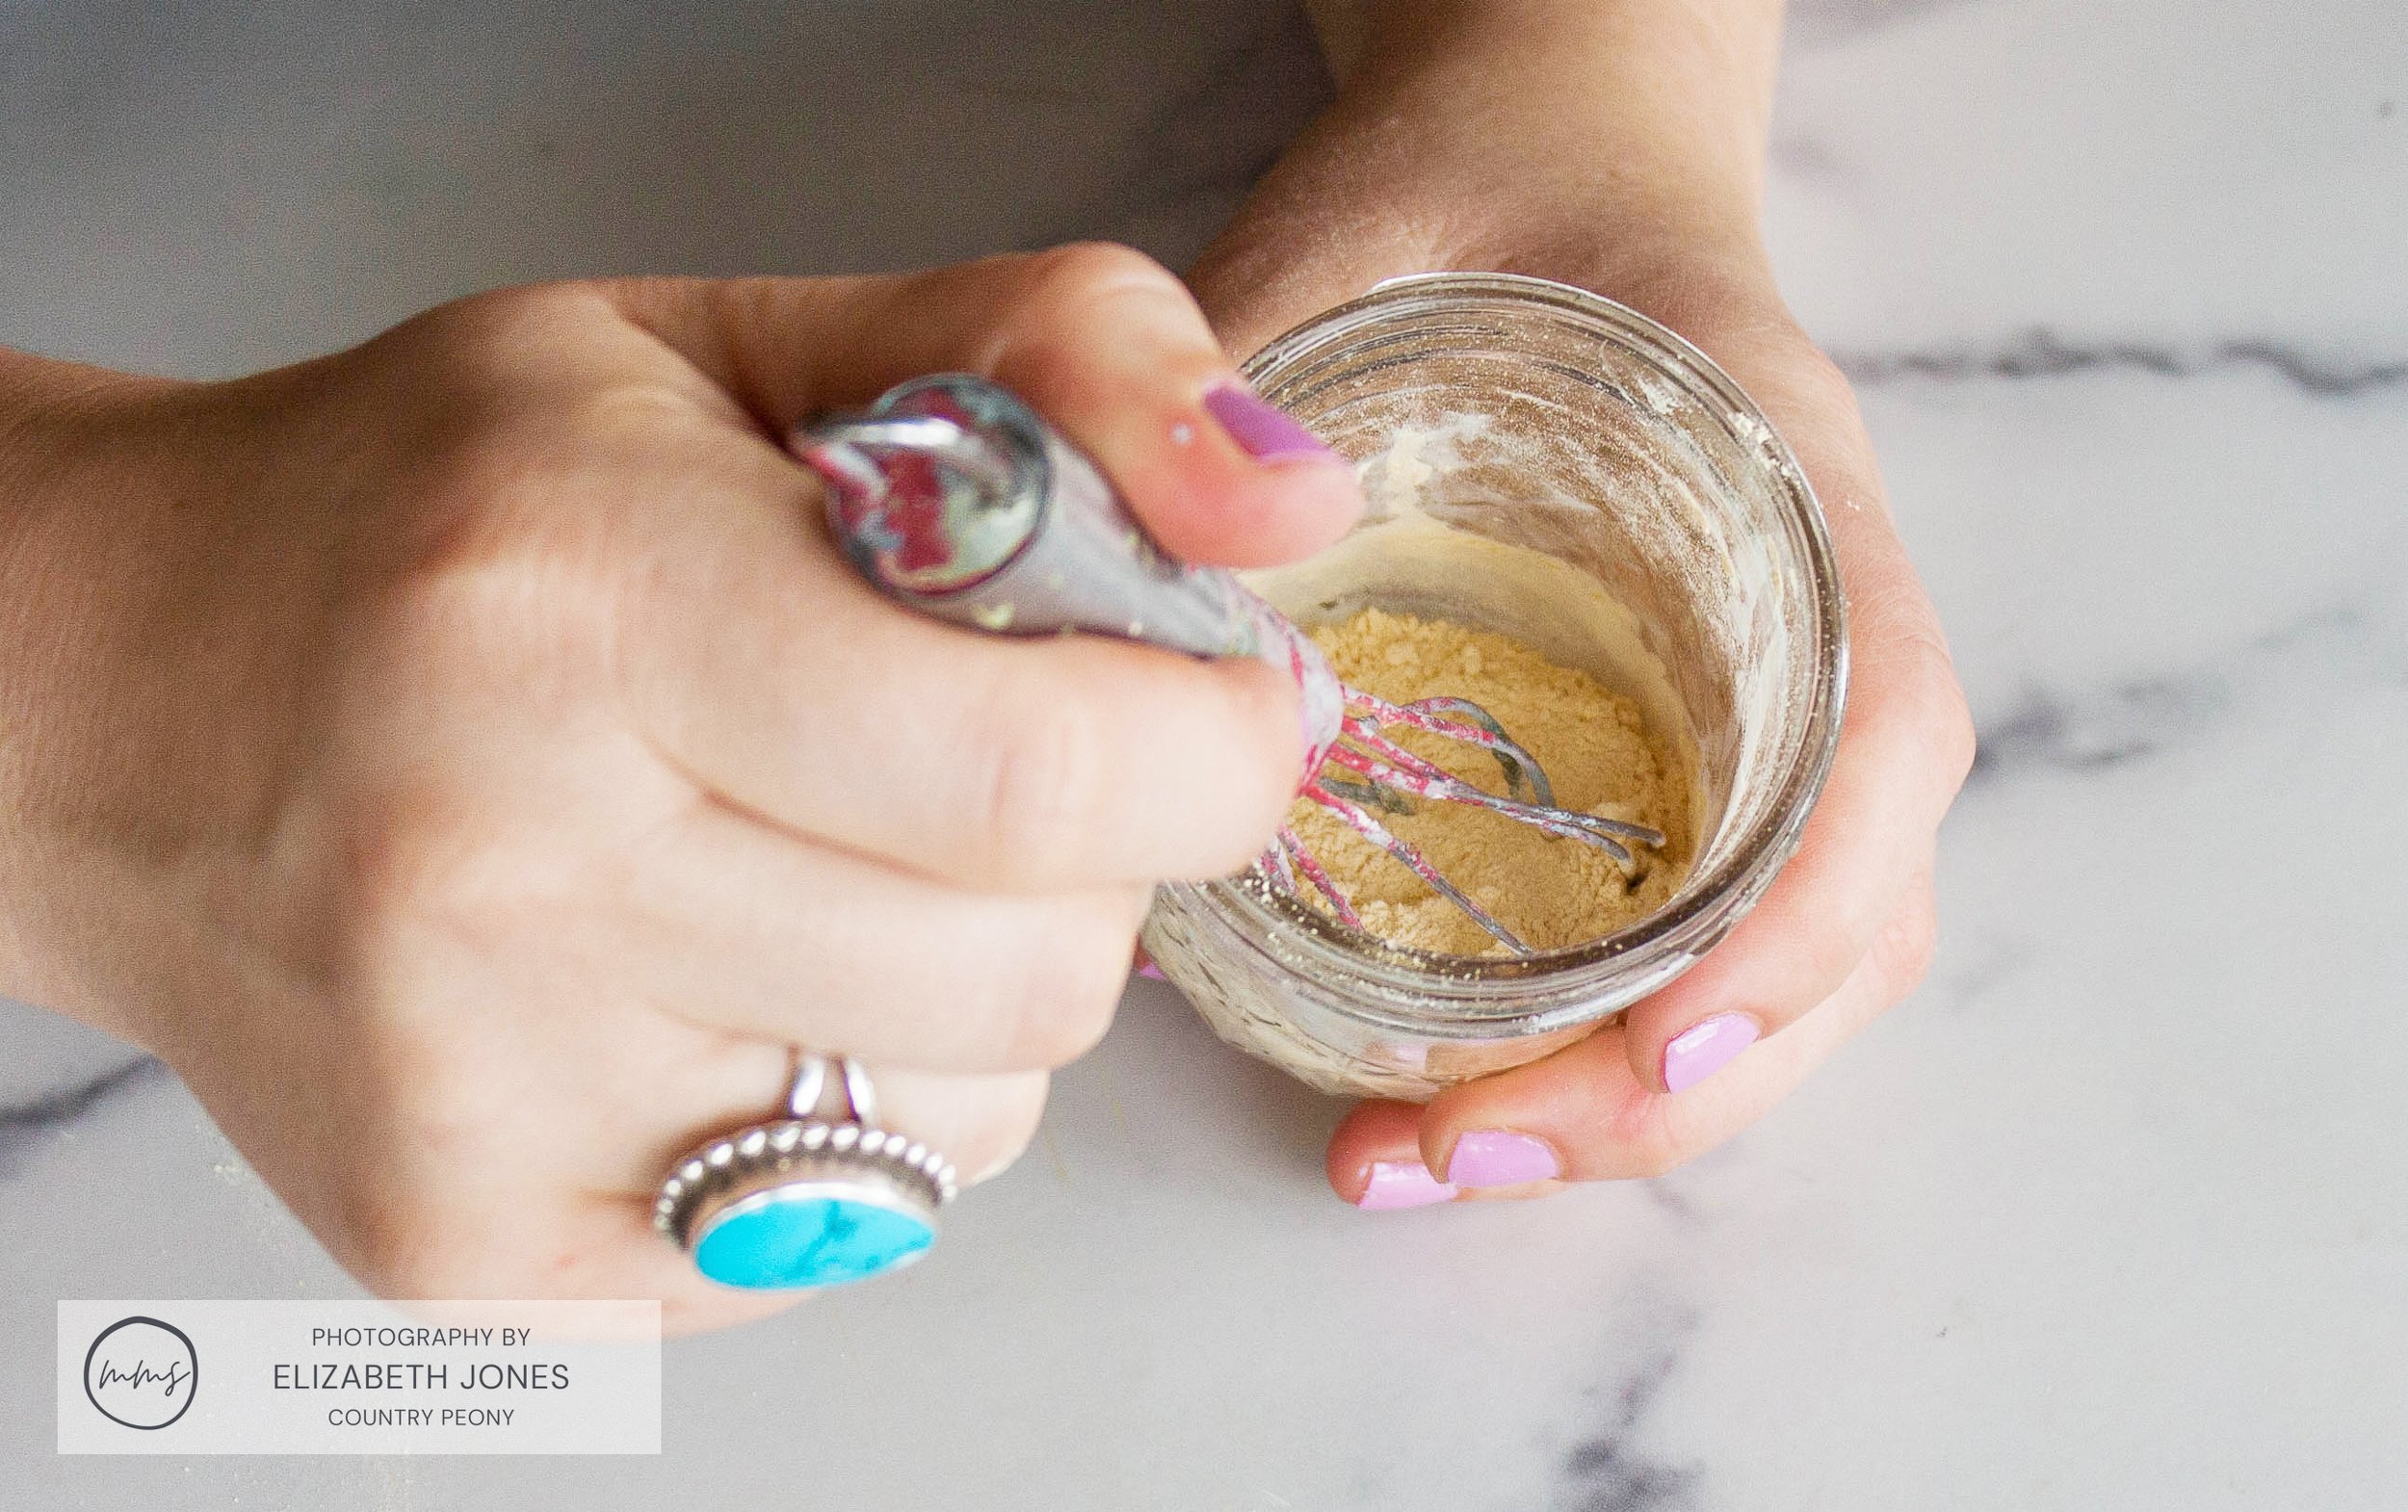
Step 3: Mix the MilkPaint™
Mix 1 part MilkPaint™ to 1 part water. A “part” can be any unit of measurement you wish. I used a tablespoon.
For this project, I used one tablespoon of MilkPaint™ to 1 tablespoon of water for each color.

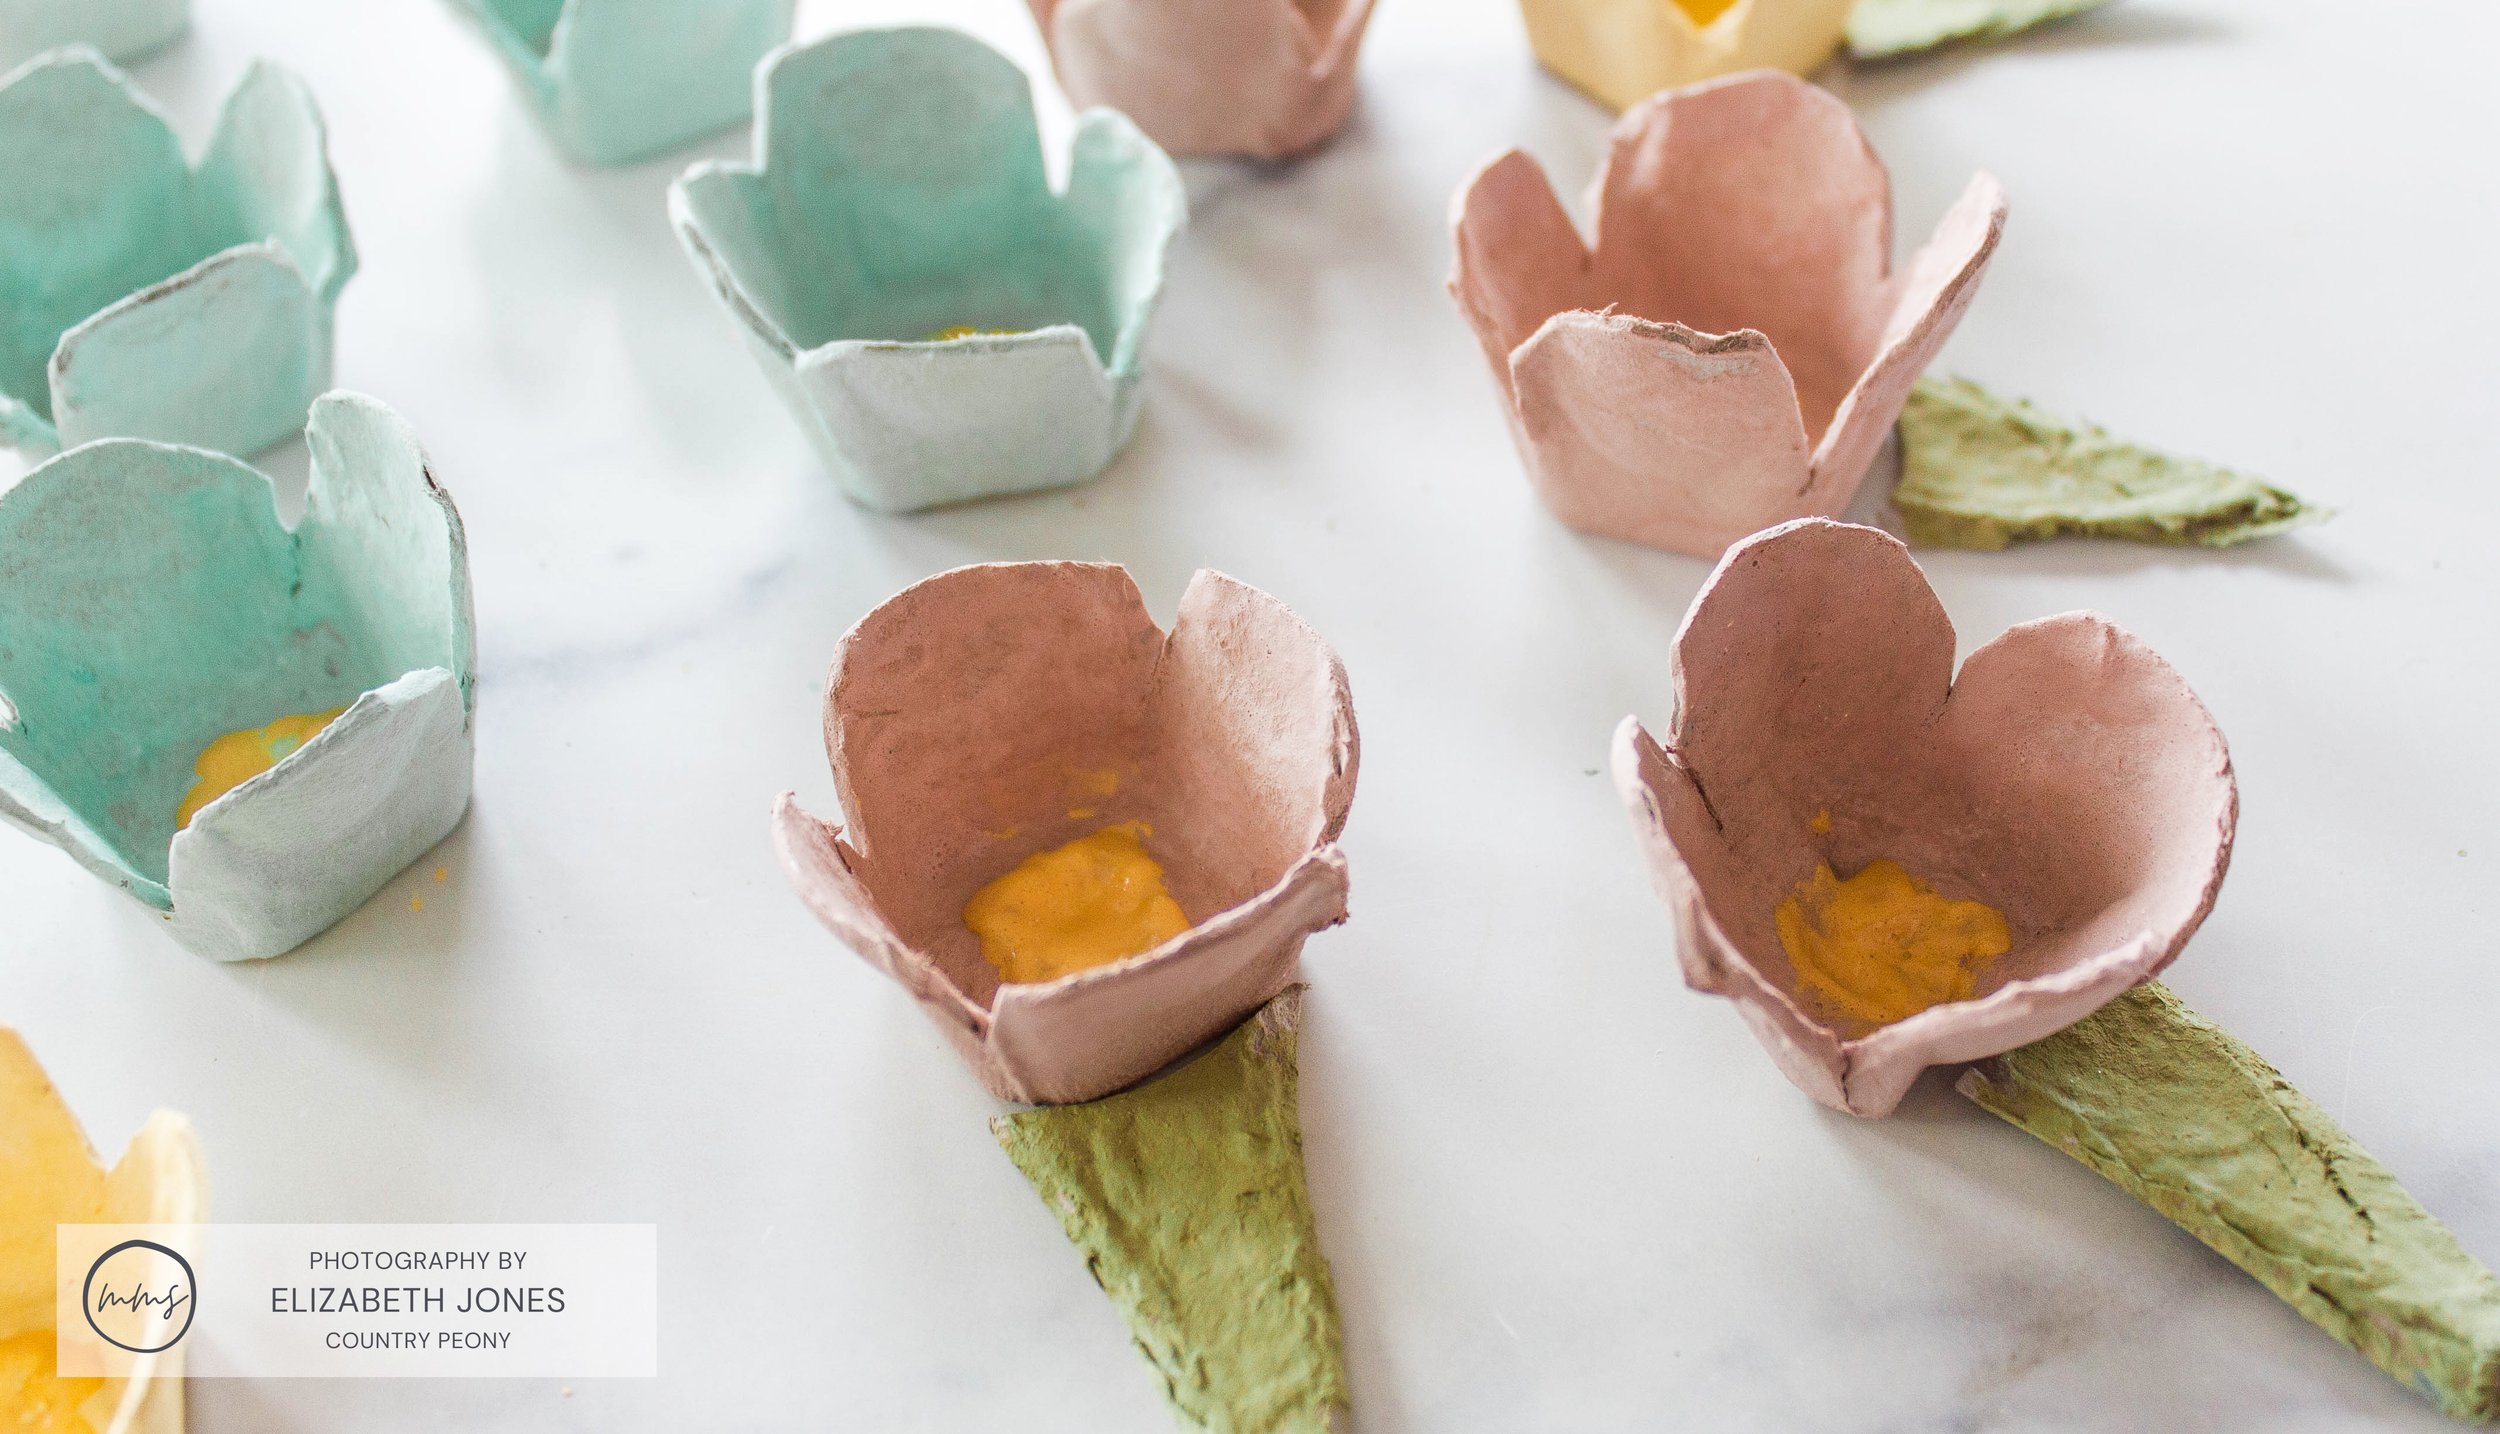
For this project, I was inspired by the lovely colors of Spring, and so I used Arabesque, Aqua Sky, and Sunkissed for the flowers. I used Mustard Seed Yellow for the stamens and Lucketts Green for the leaves and wreath form.
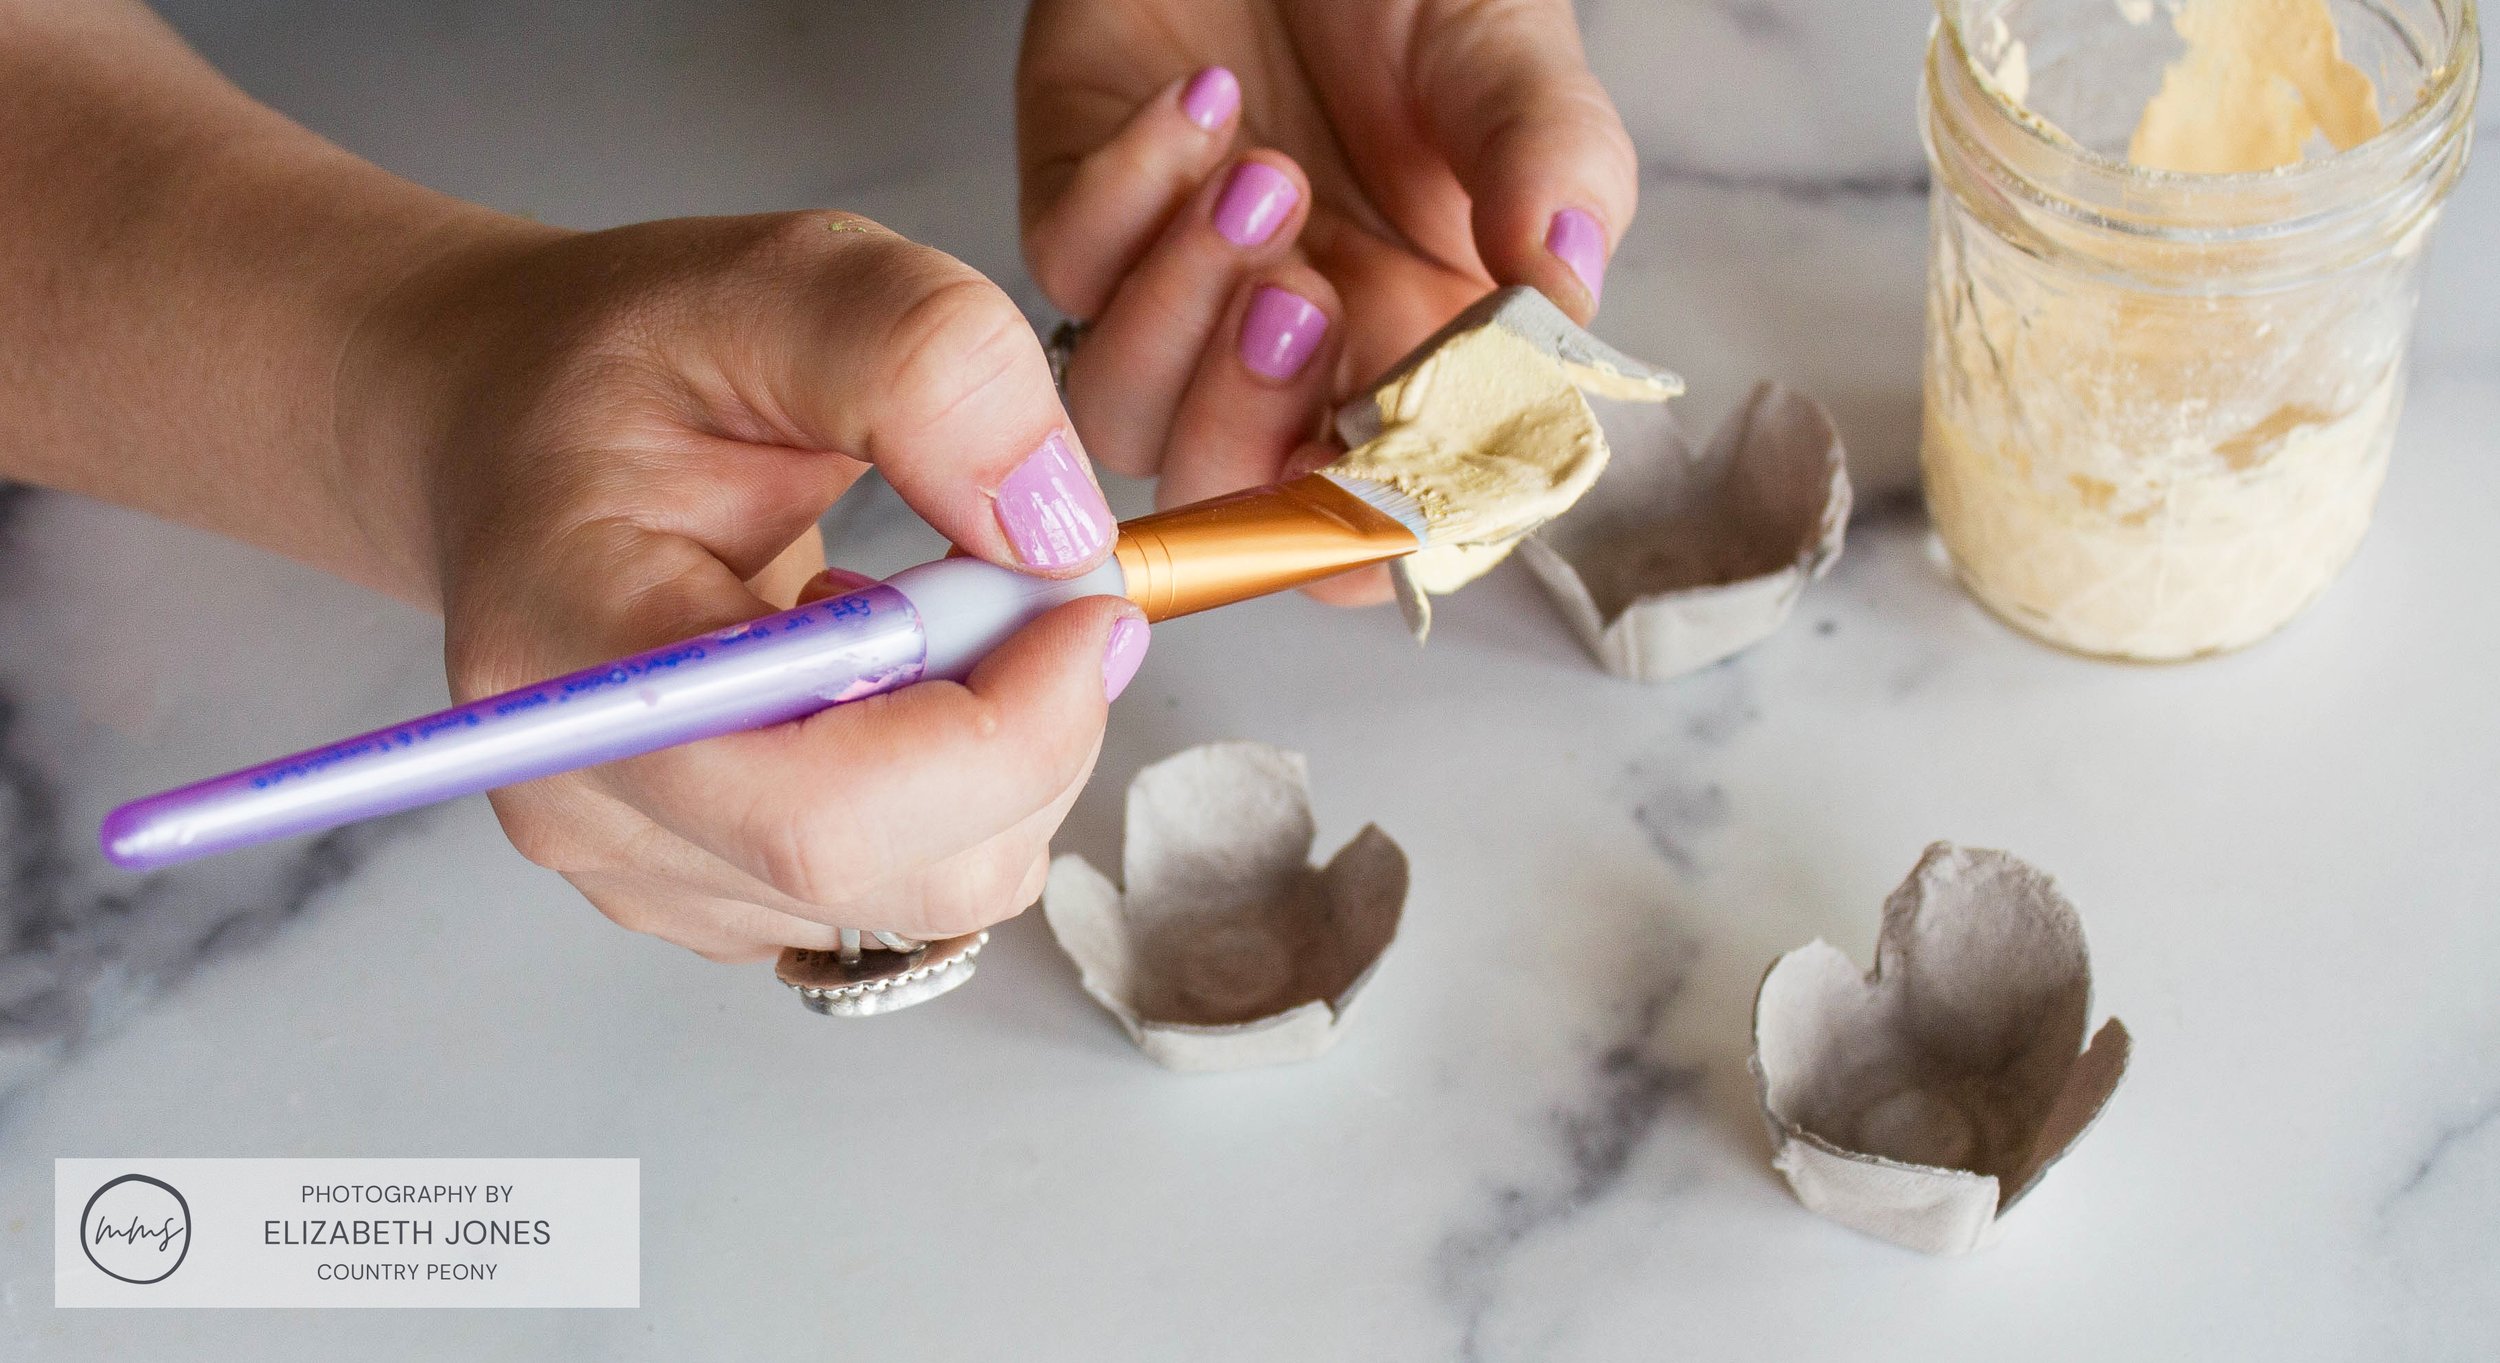
Step 4: Paint the Egg Carton Flowers with MilkPaint™
With a craft paintbrush, apply one coat of the MilkPaint™ to the middle of the flower and both sides of the petals. Do not paint the bottom of the flower.
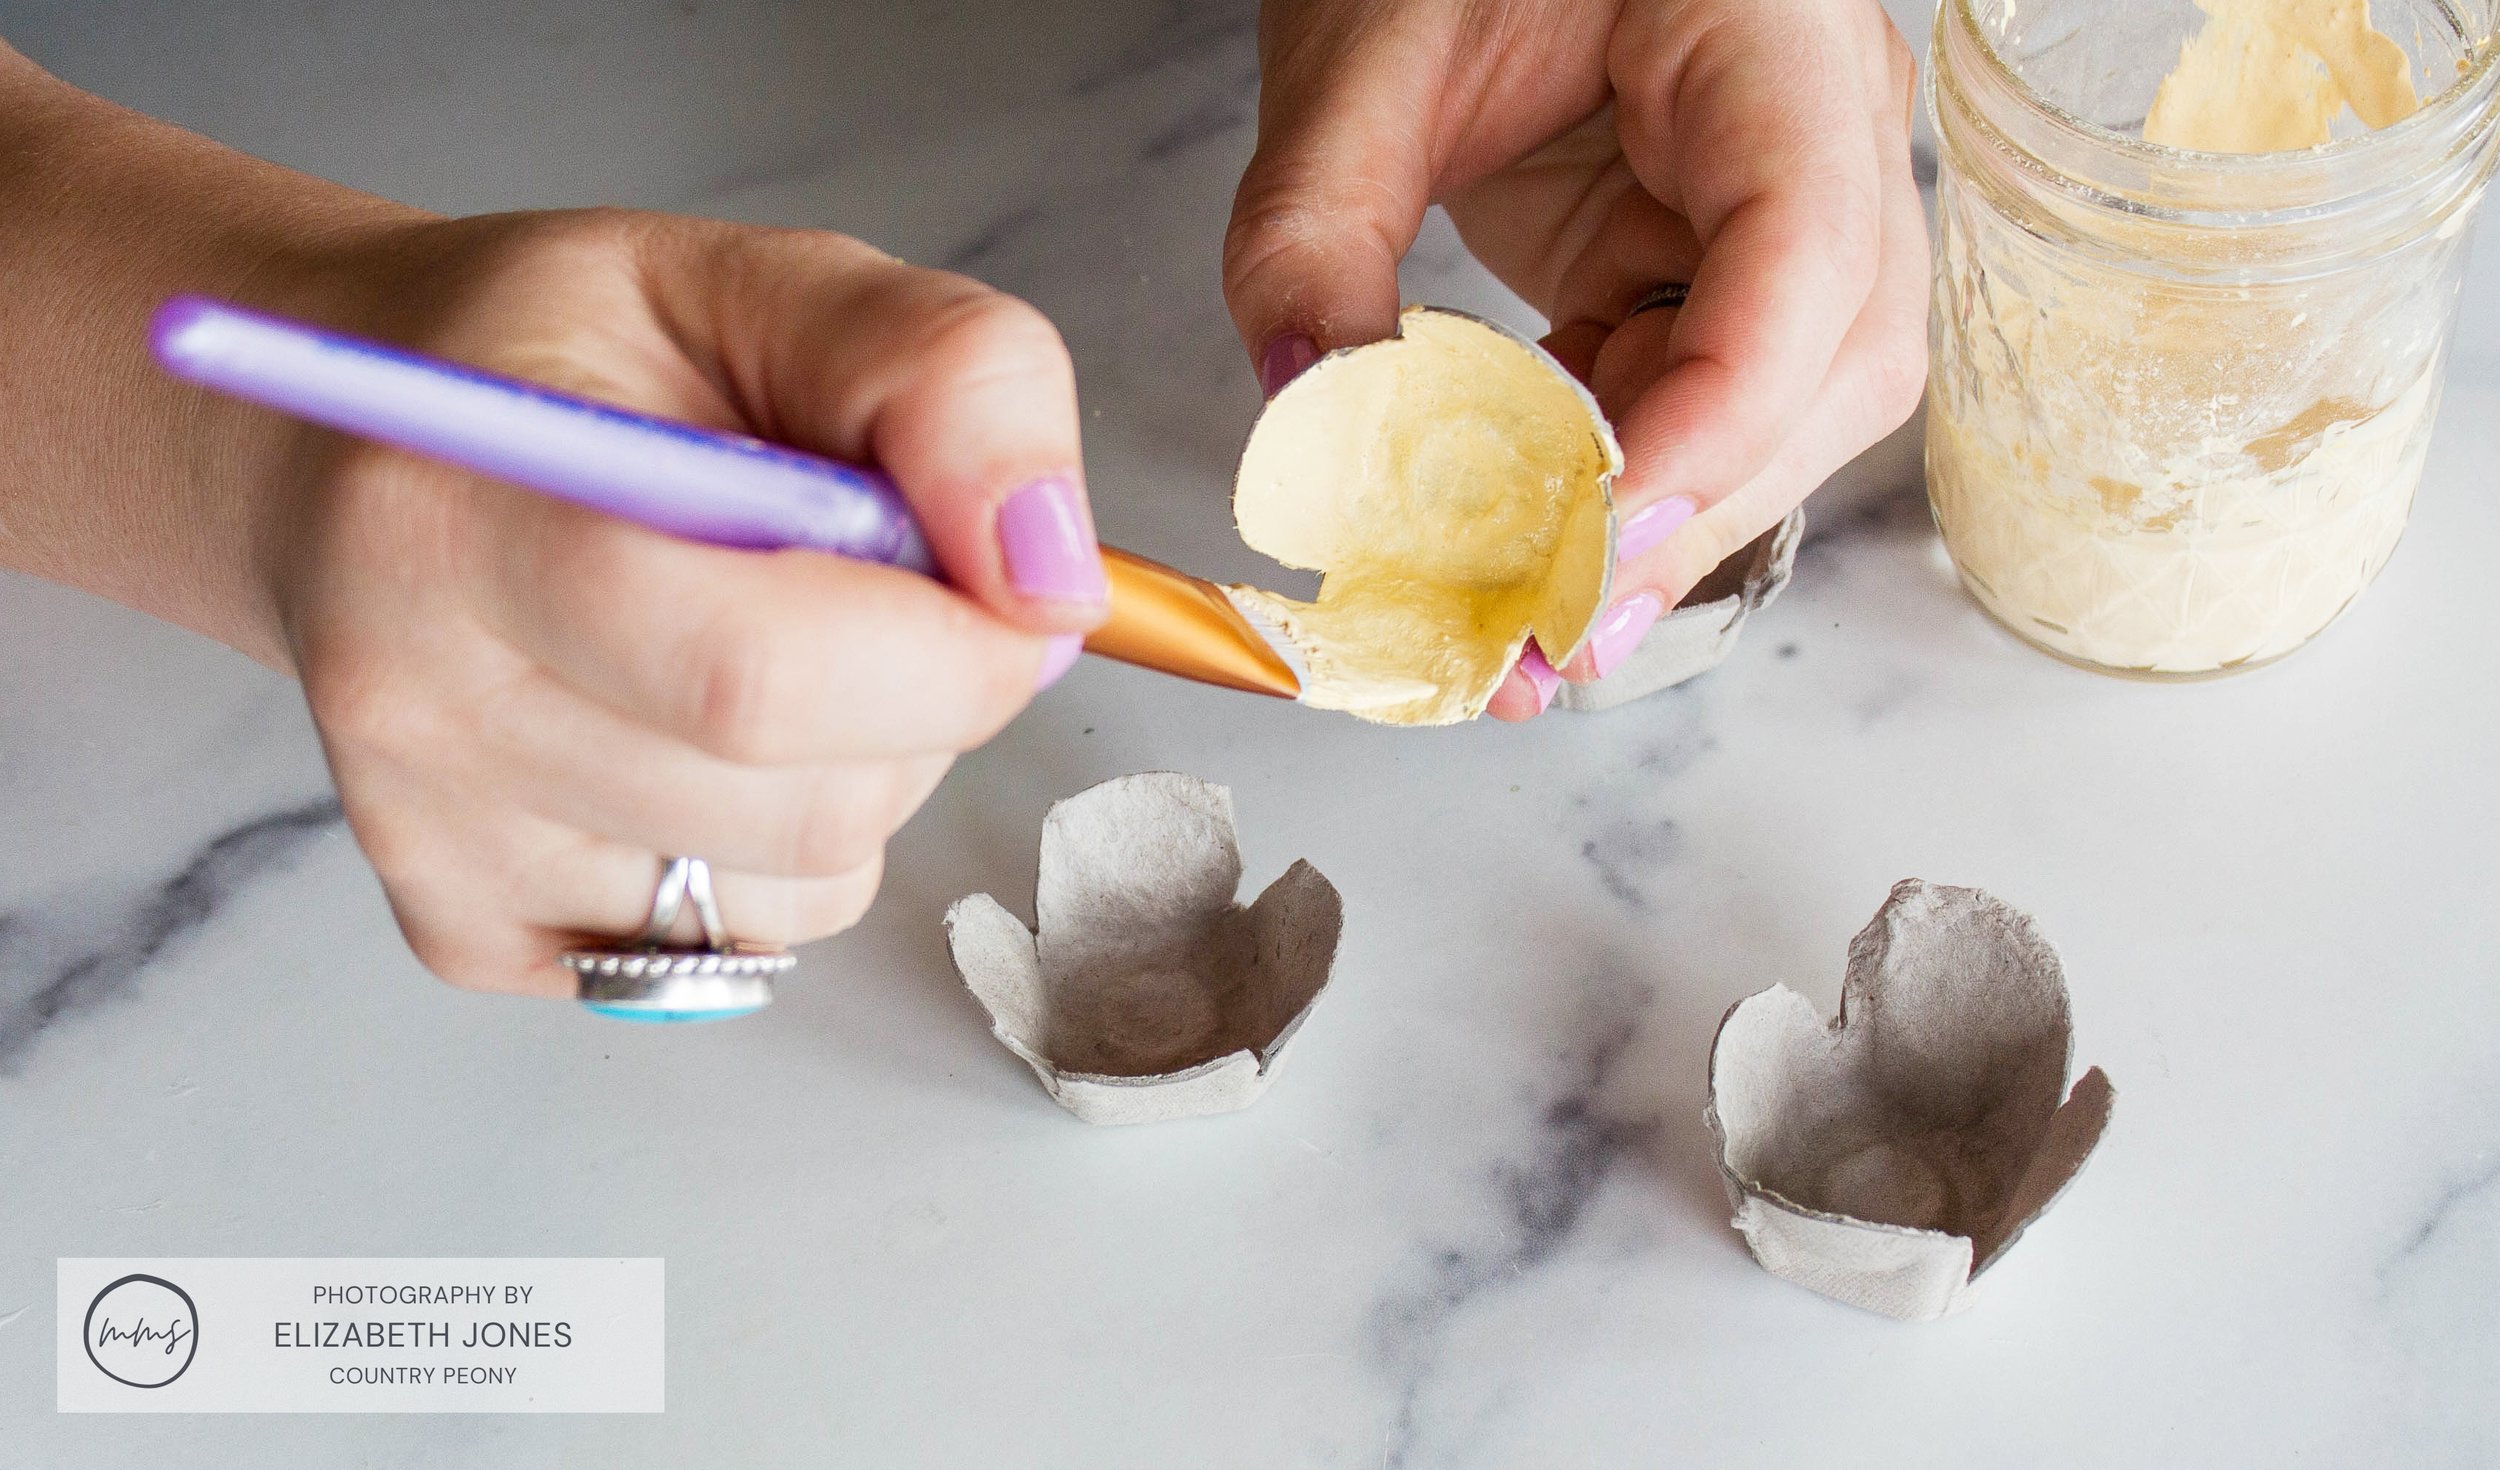

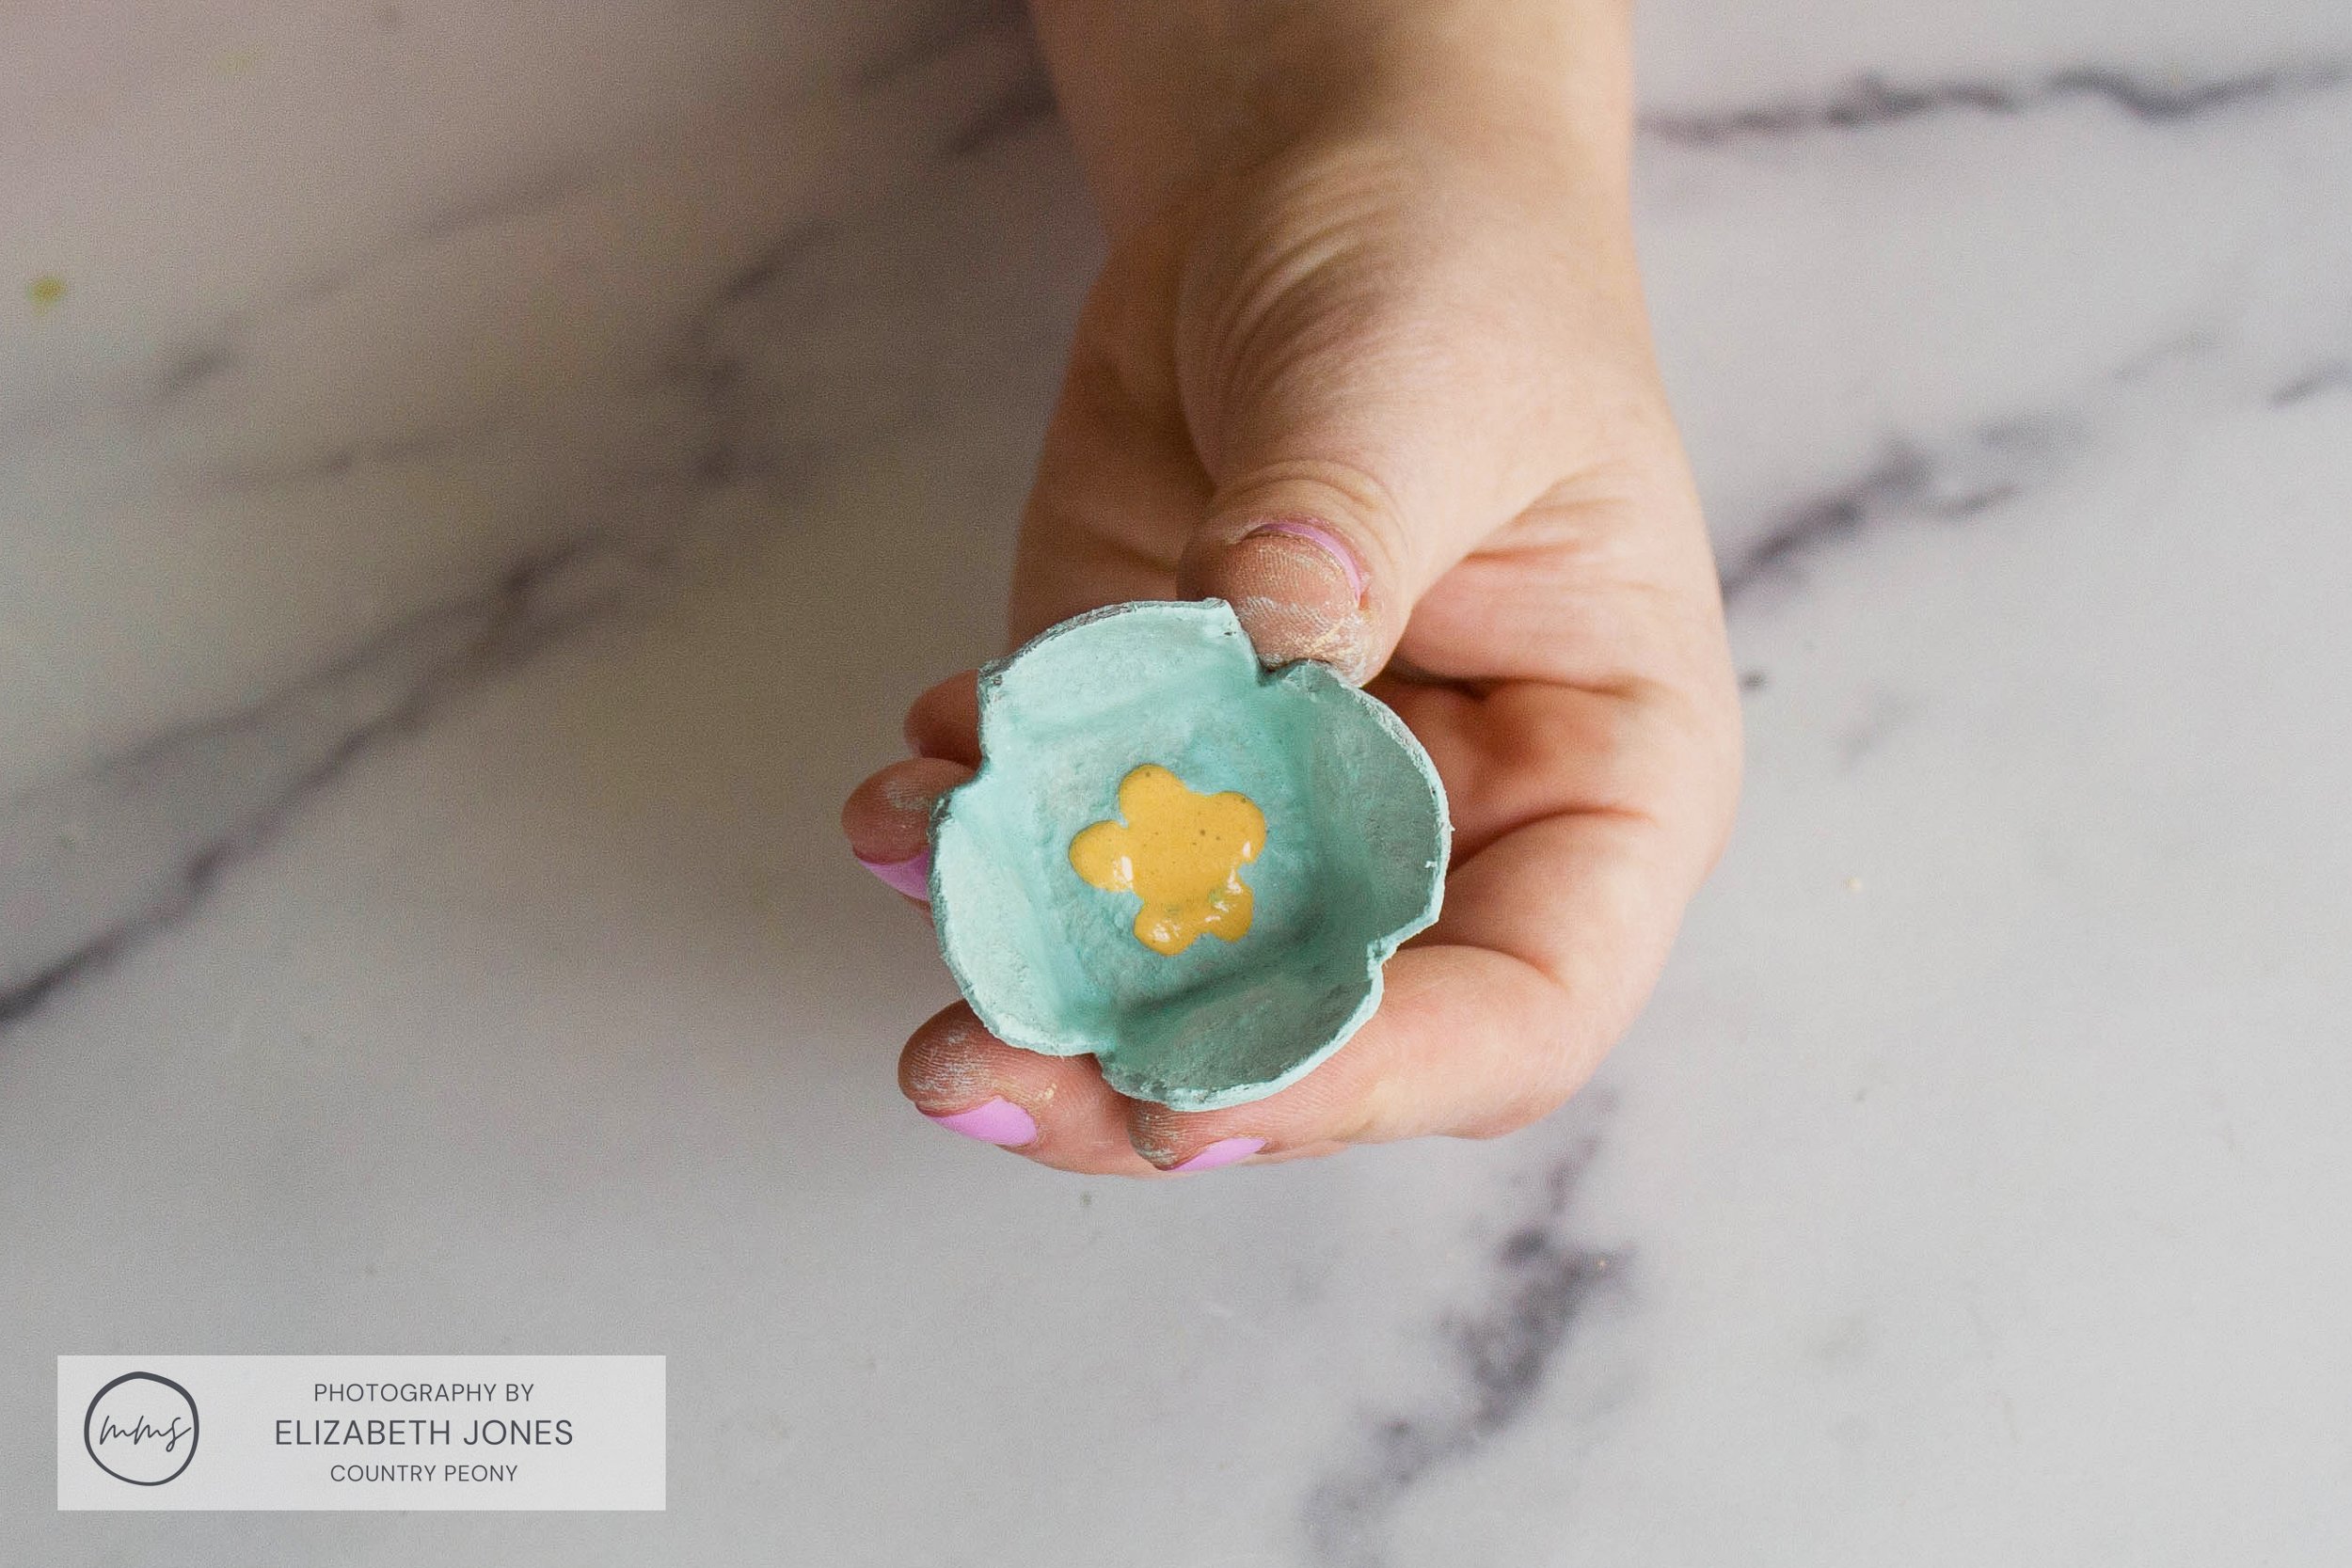
Let the flower dry, then use a small craft paintbrush to paint a small stamen/flower on the inside of the flower.
Set the flower aside to dry.
Paint 1 coat of the MilkPaint™ to both sides of the flower leaves.
Set them aside to dry.

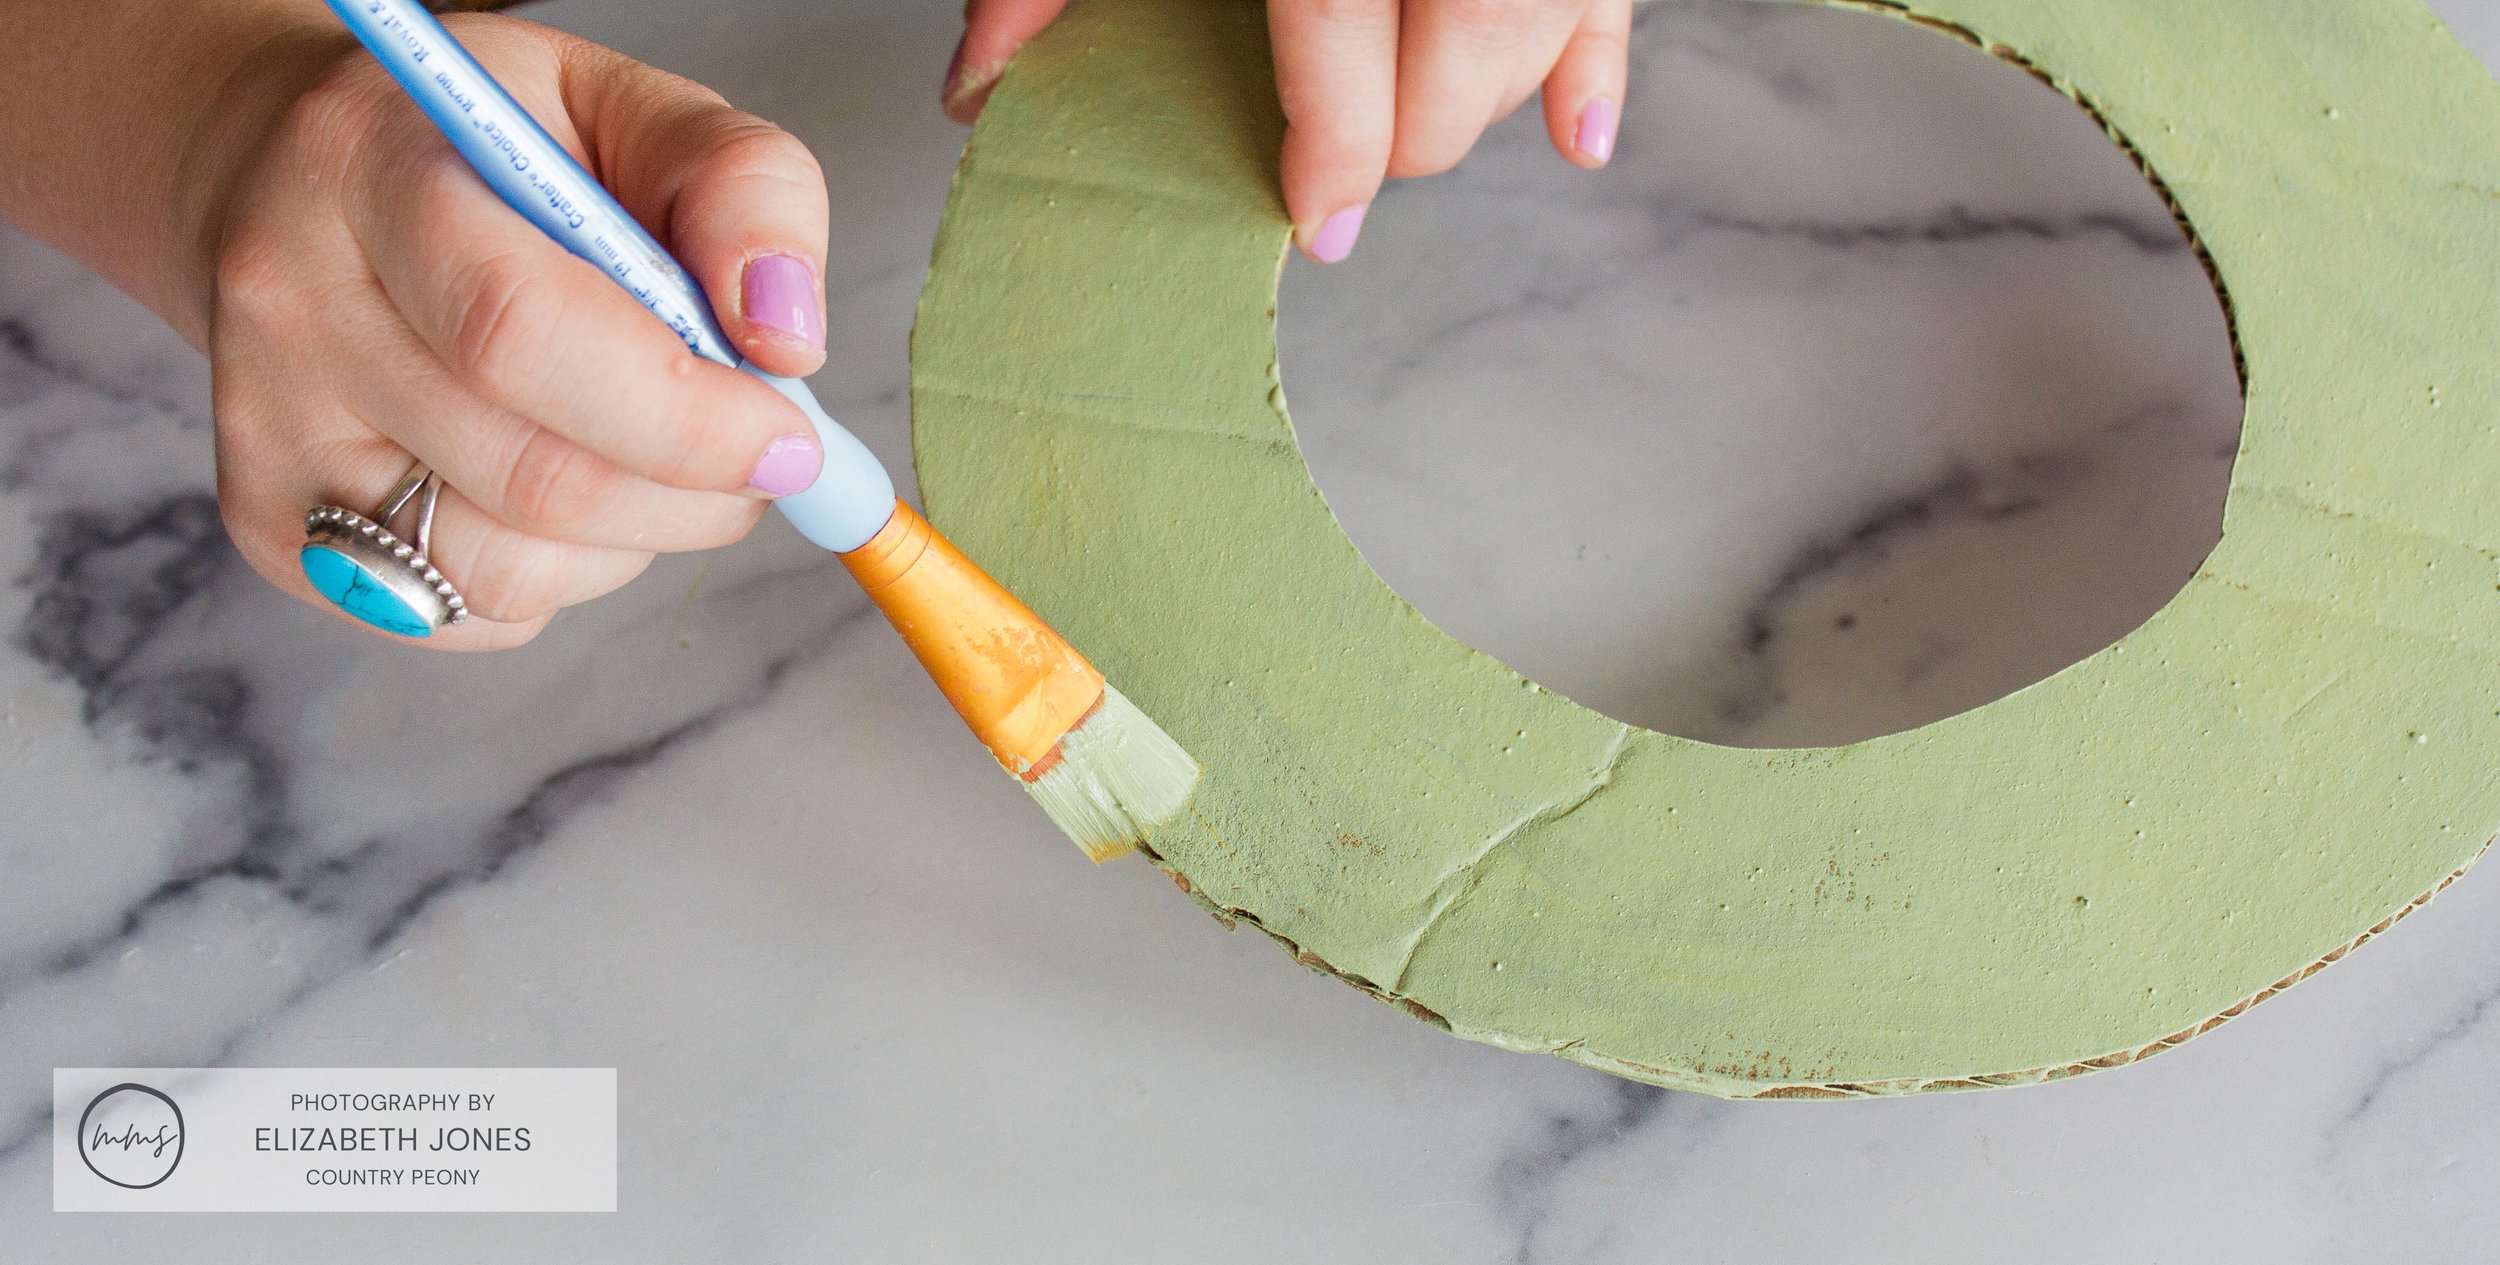
Step 5: Apply the MilkPaint™ to the Wreath Form
Apply 1 even coat of MilkPaint™ to the front of the wreath form. Then set it aside to dry.
Step 6: Attach the Egg Carton Flowers to the Wreath Form to Create the Wreath
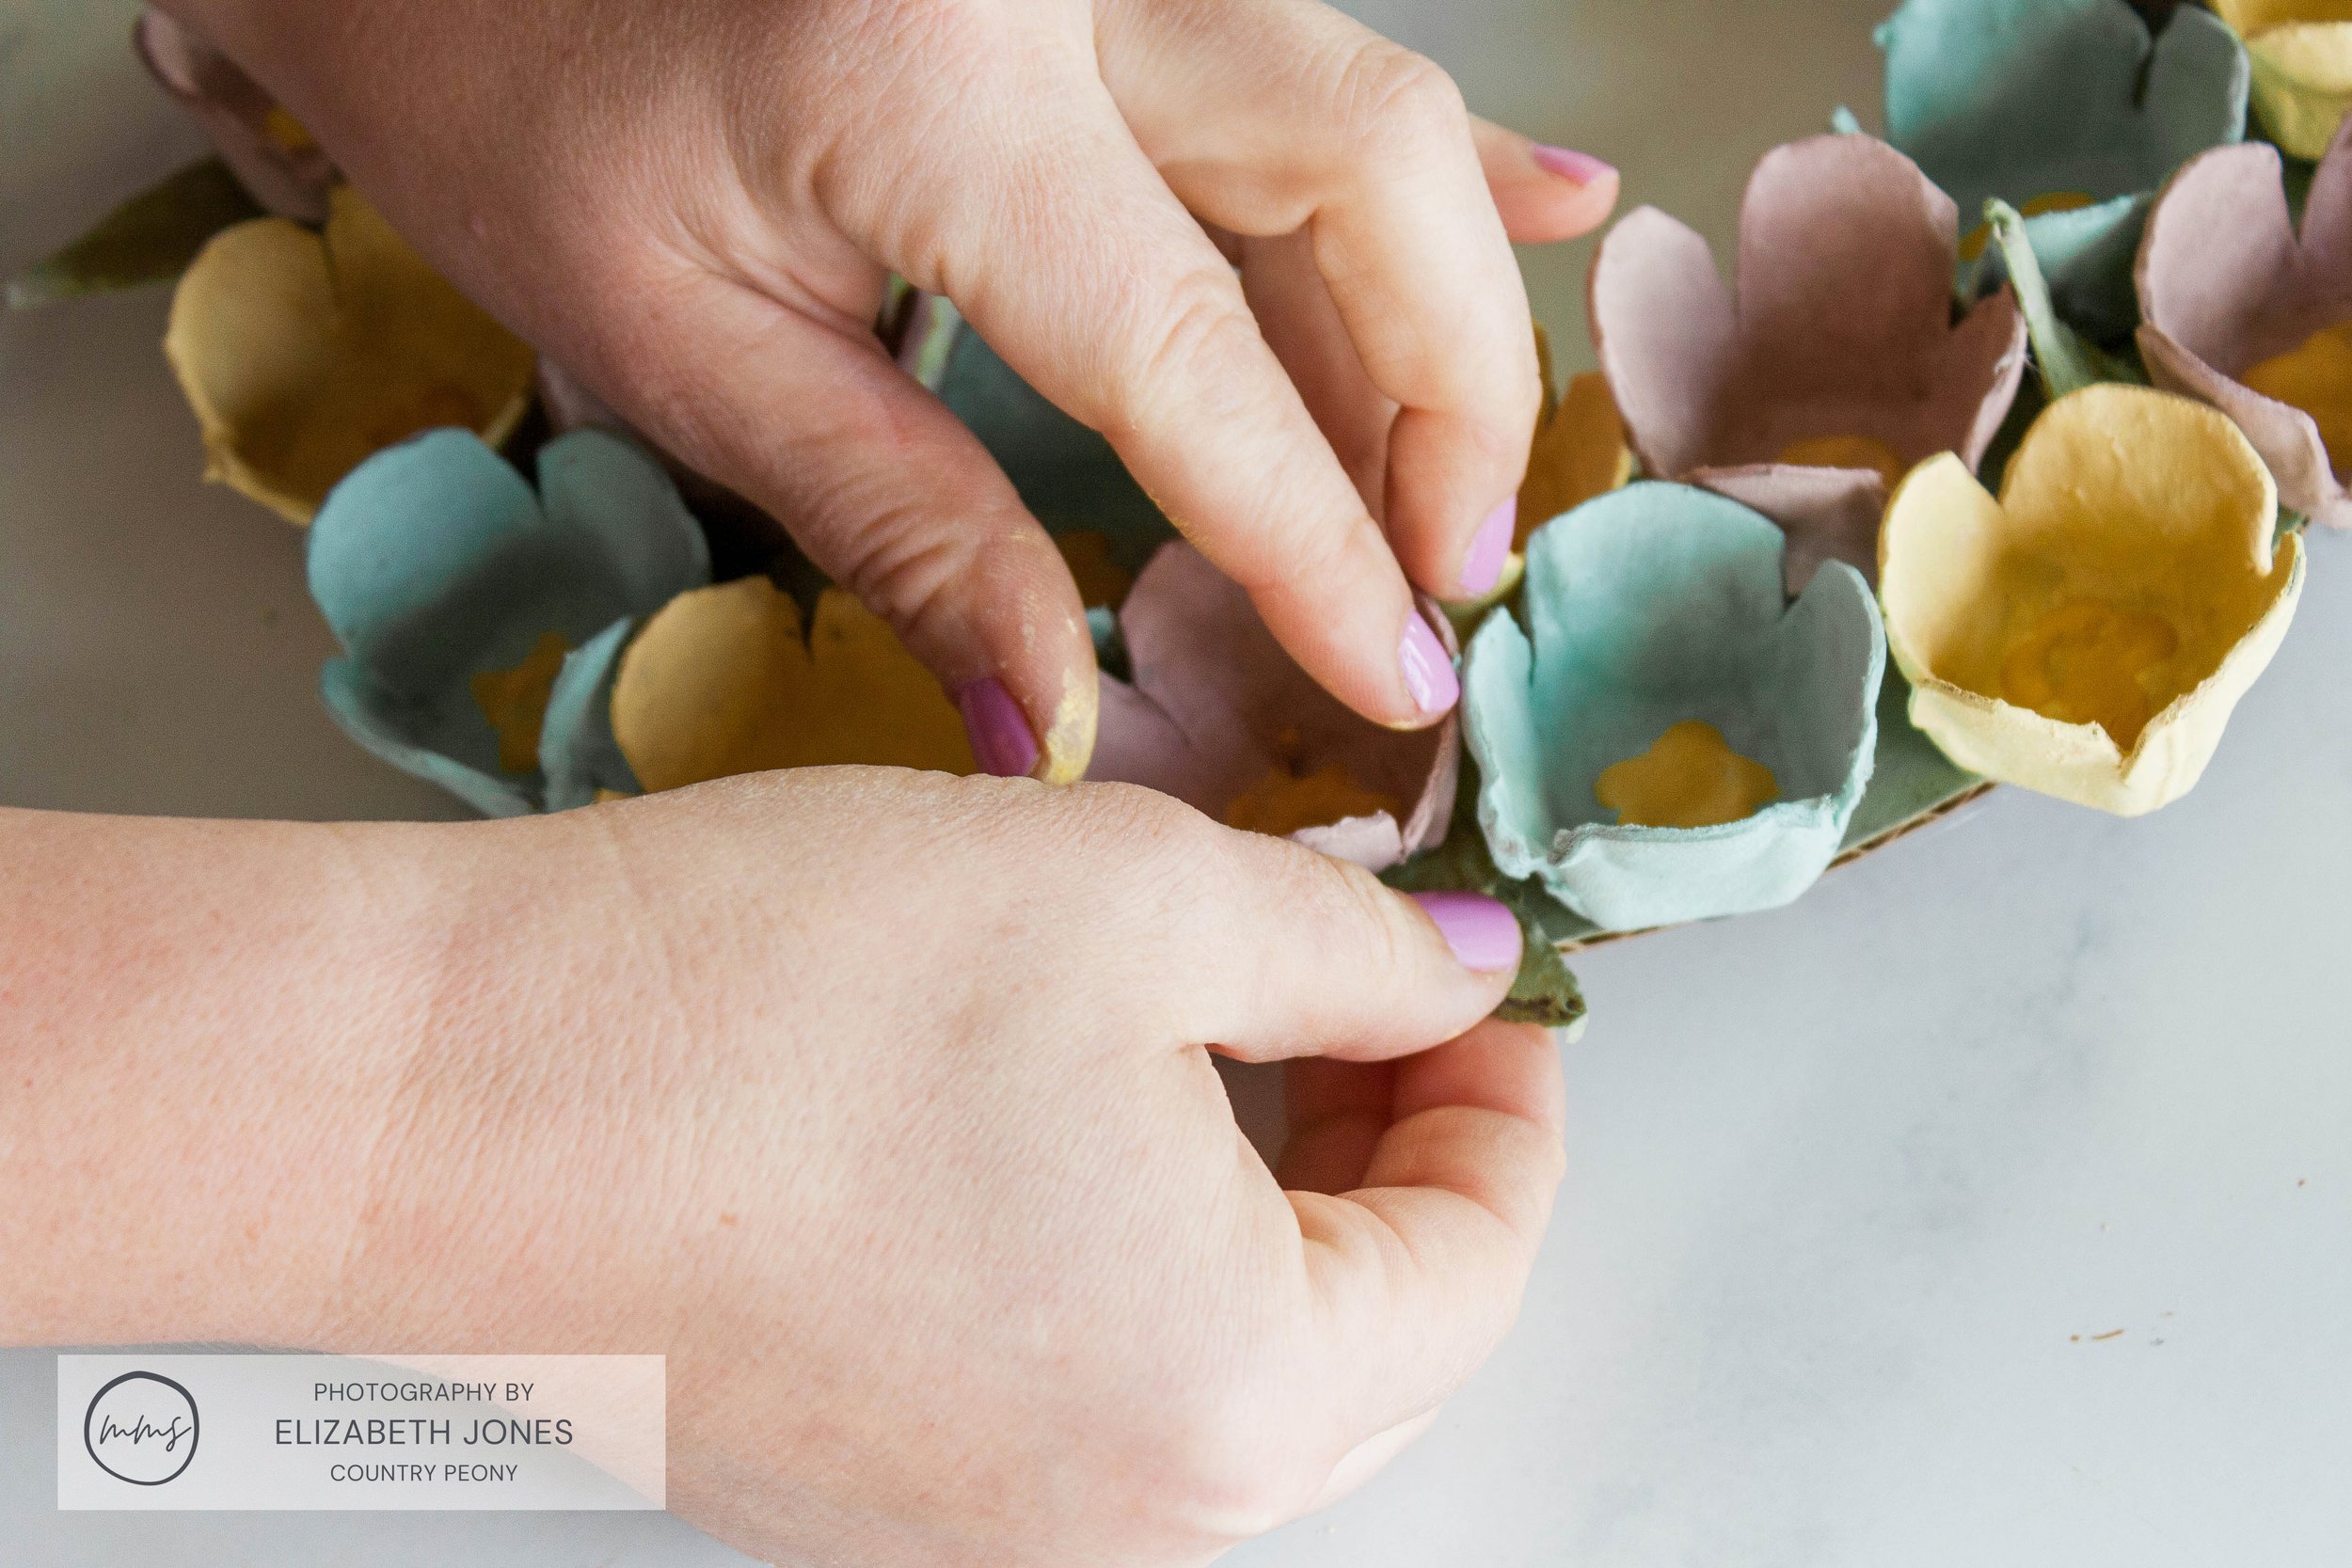
Once the flowers and wreath form are dry, determine your floral pattern. Then, with hot glue or craft glue, attach the flowers and leaves to the wreath form one at a time.

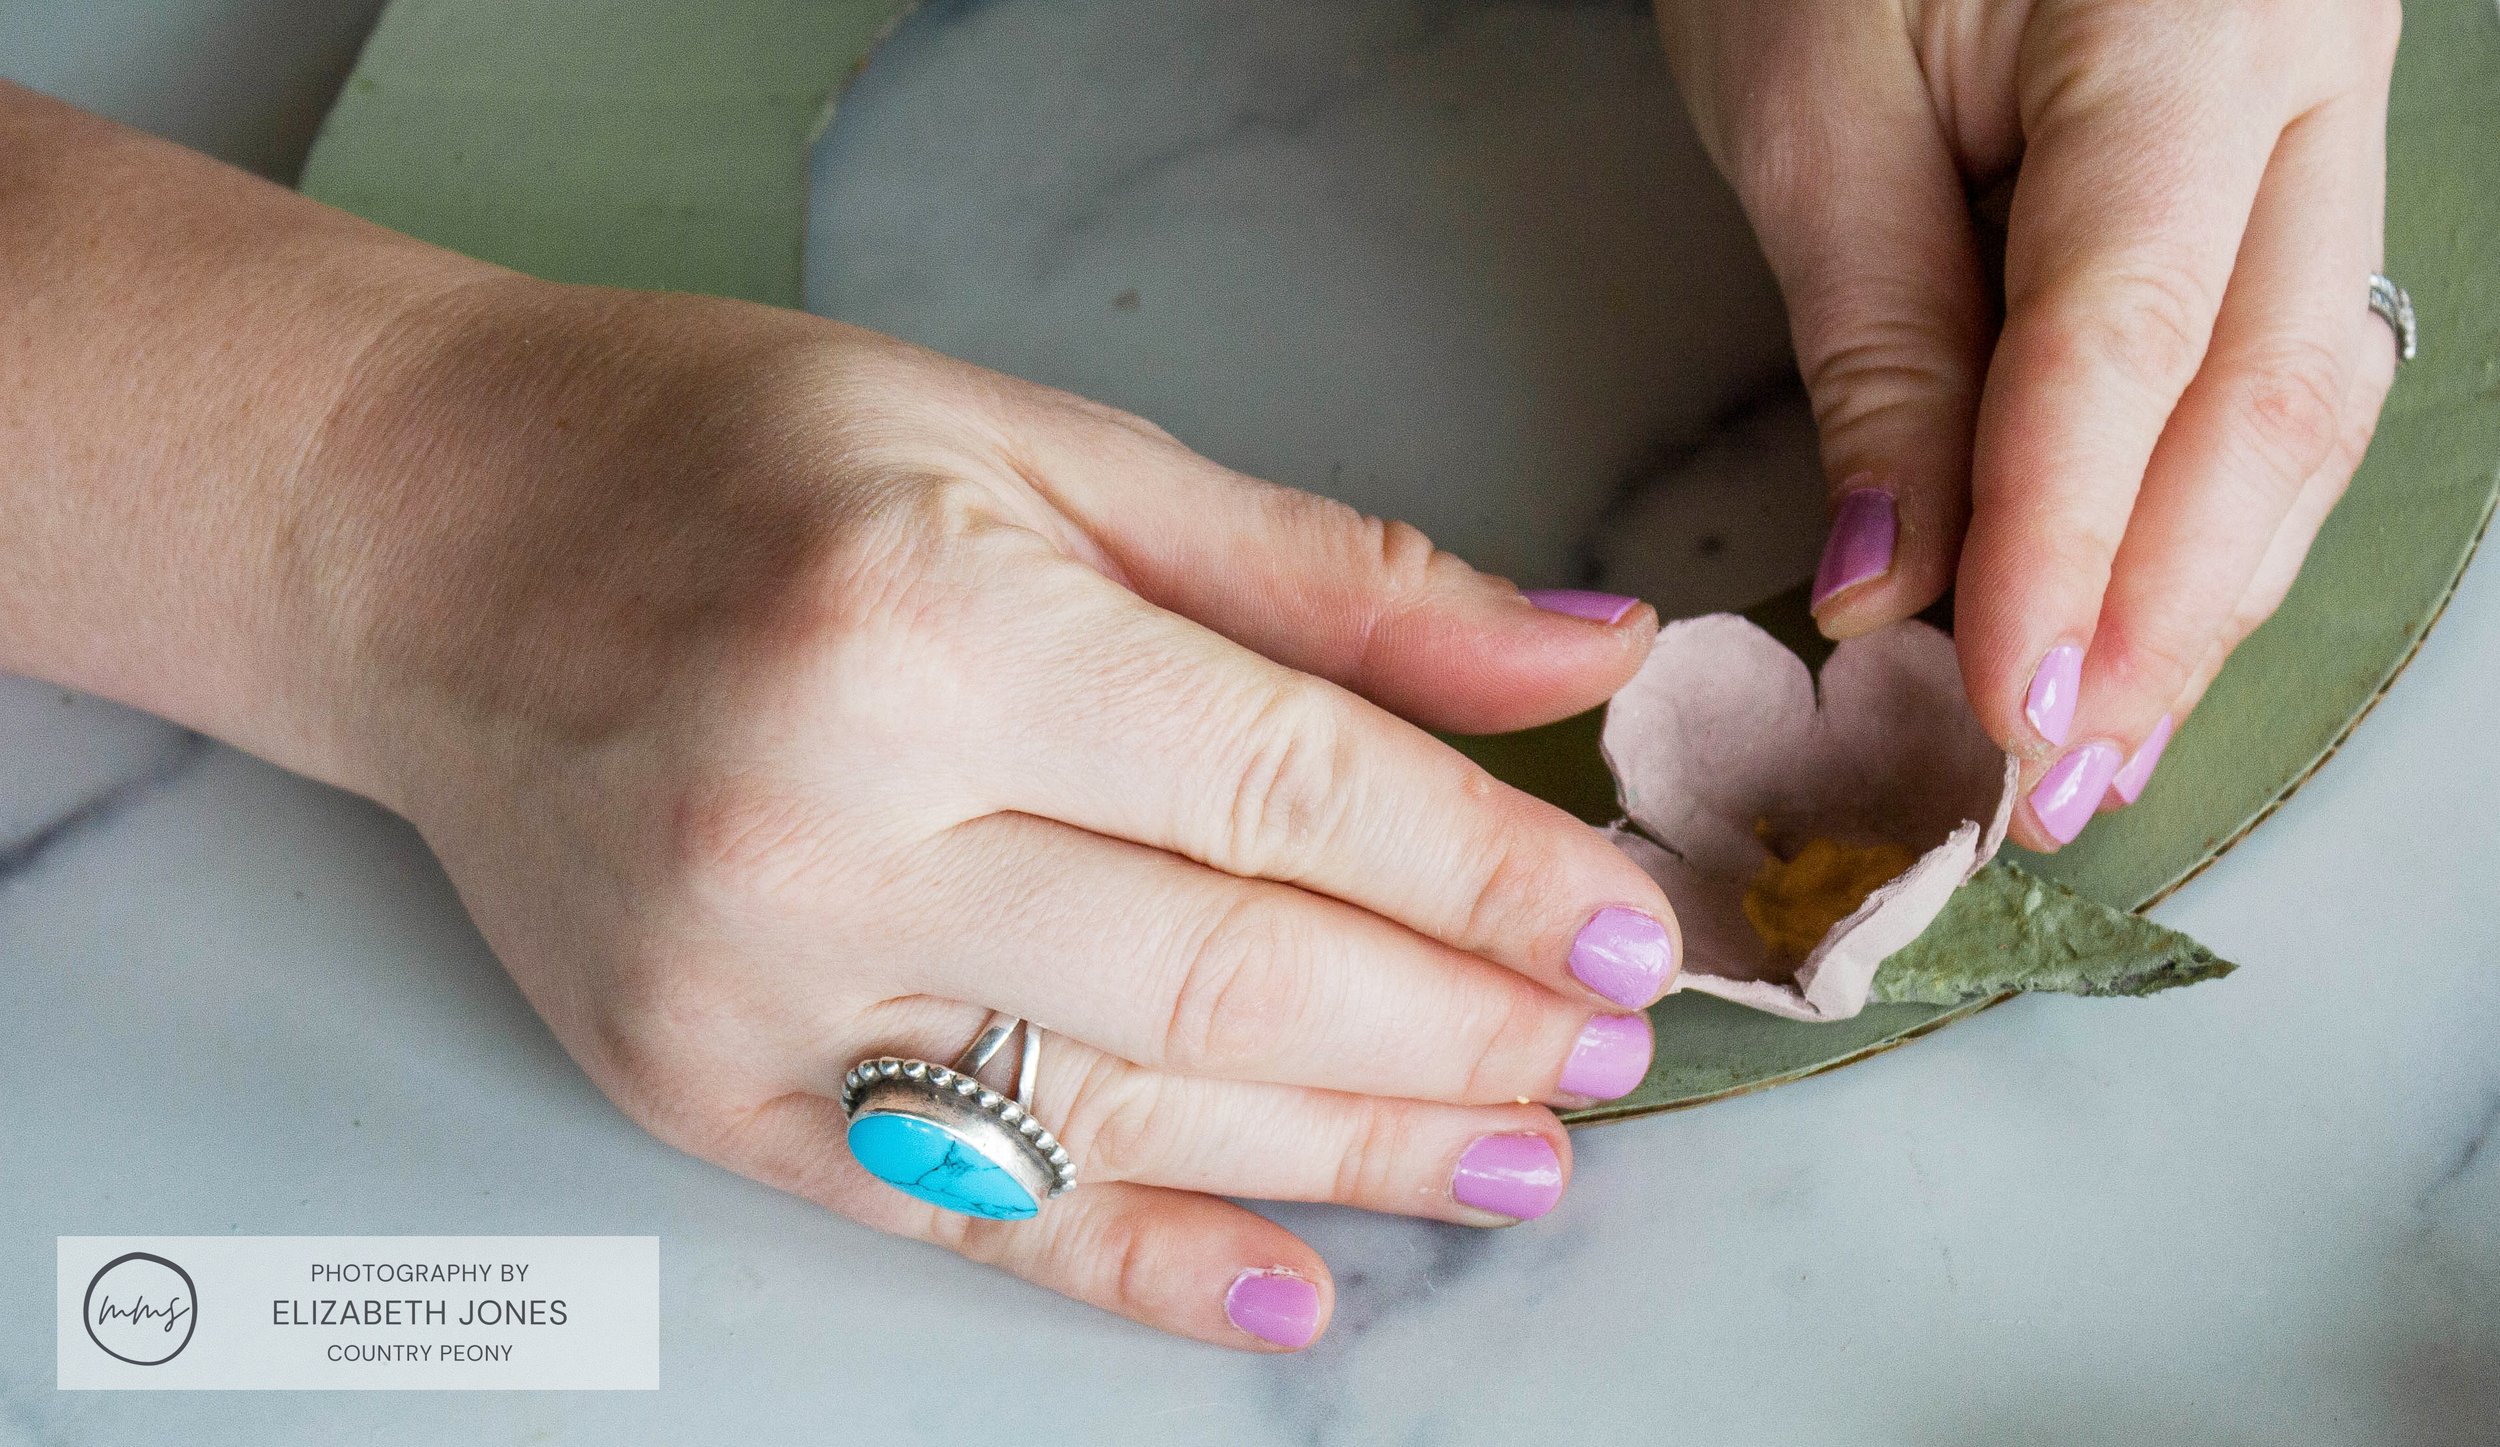
Attach the flowers right next to each other. For added stability, glue some of the flowers to each other.
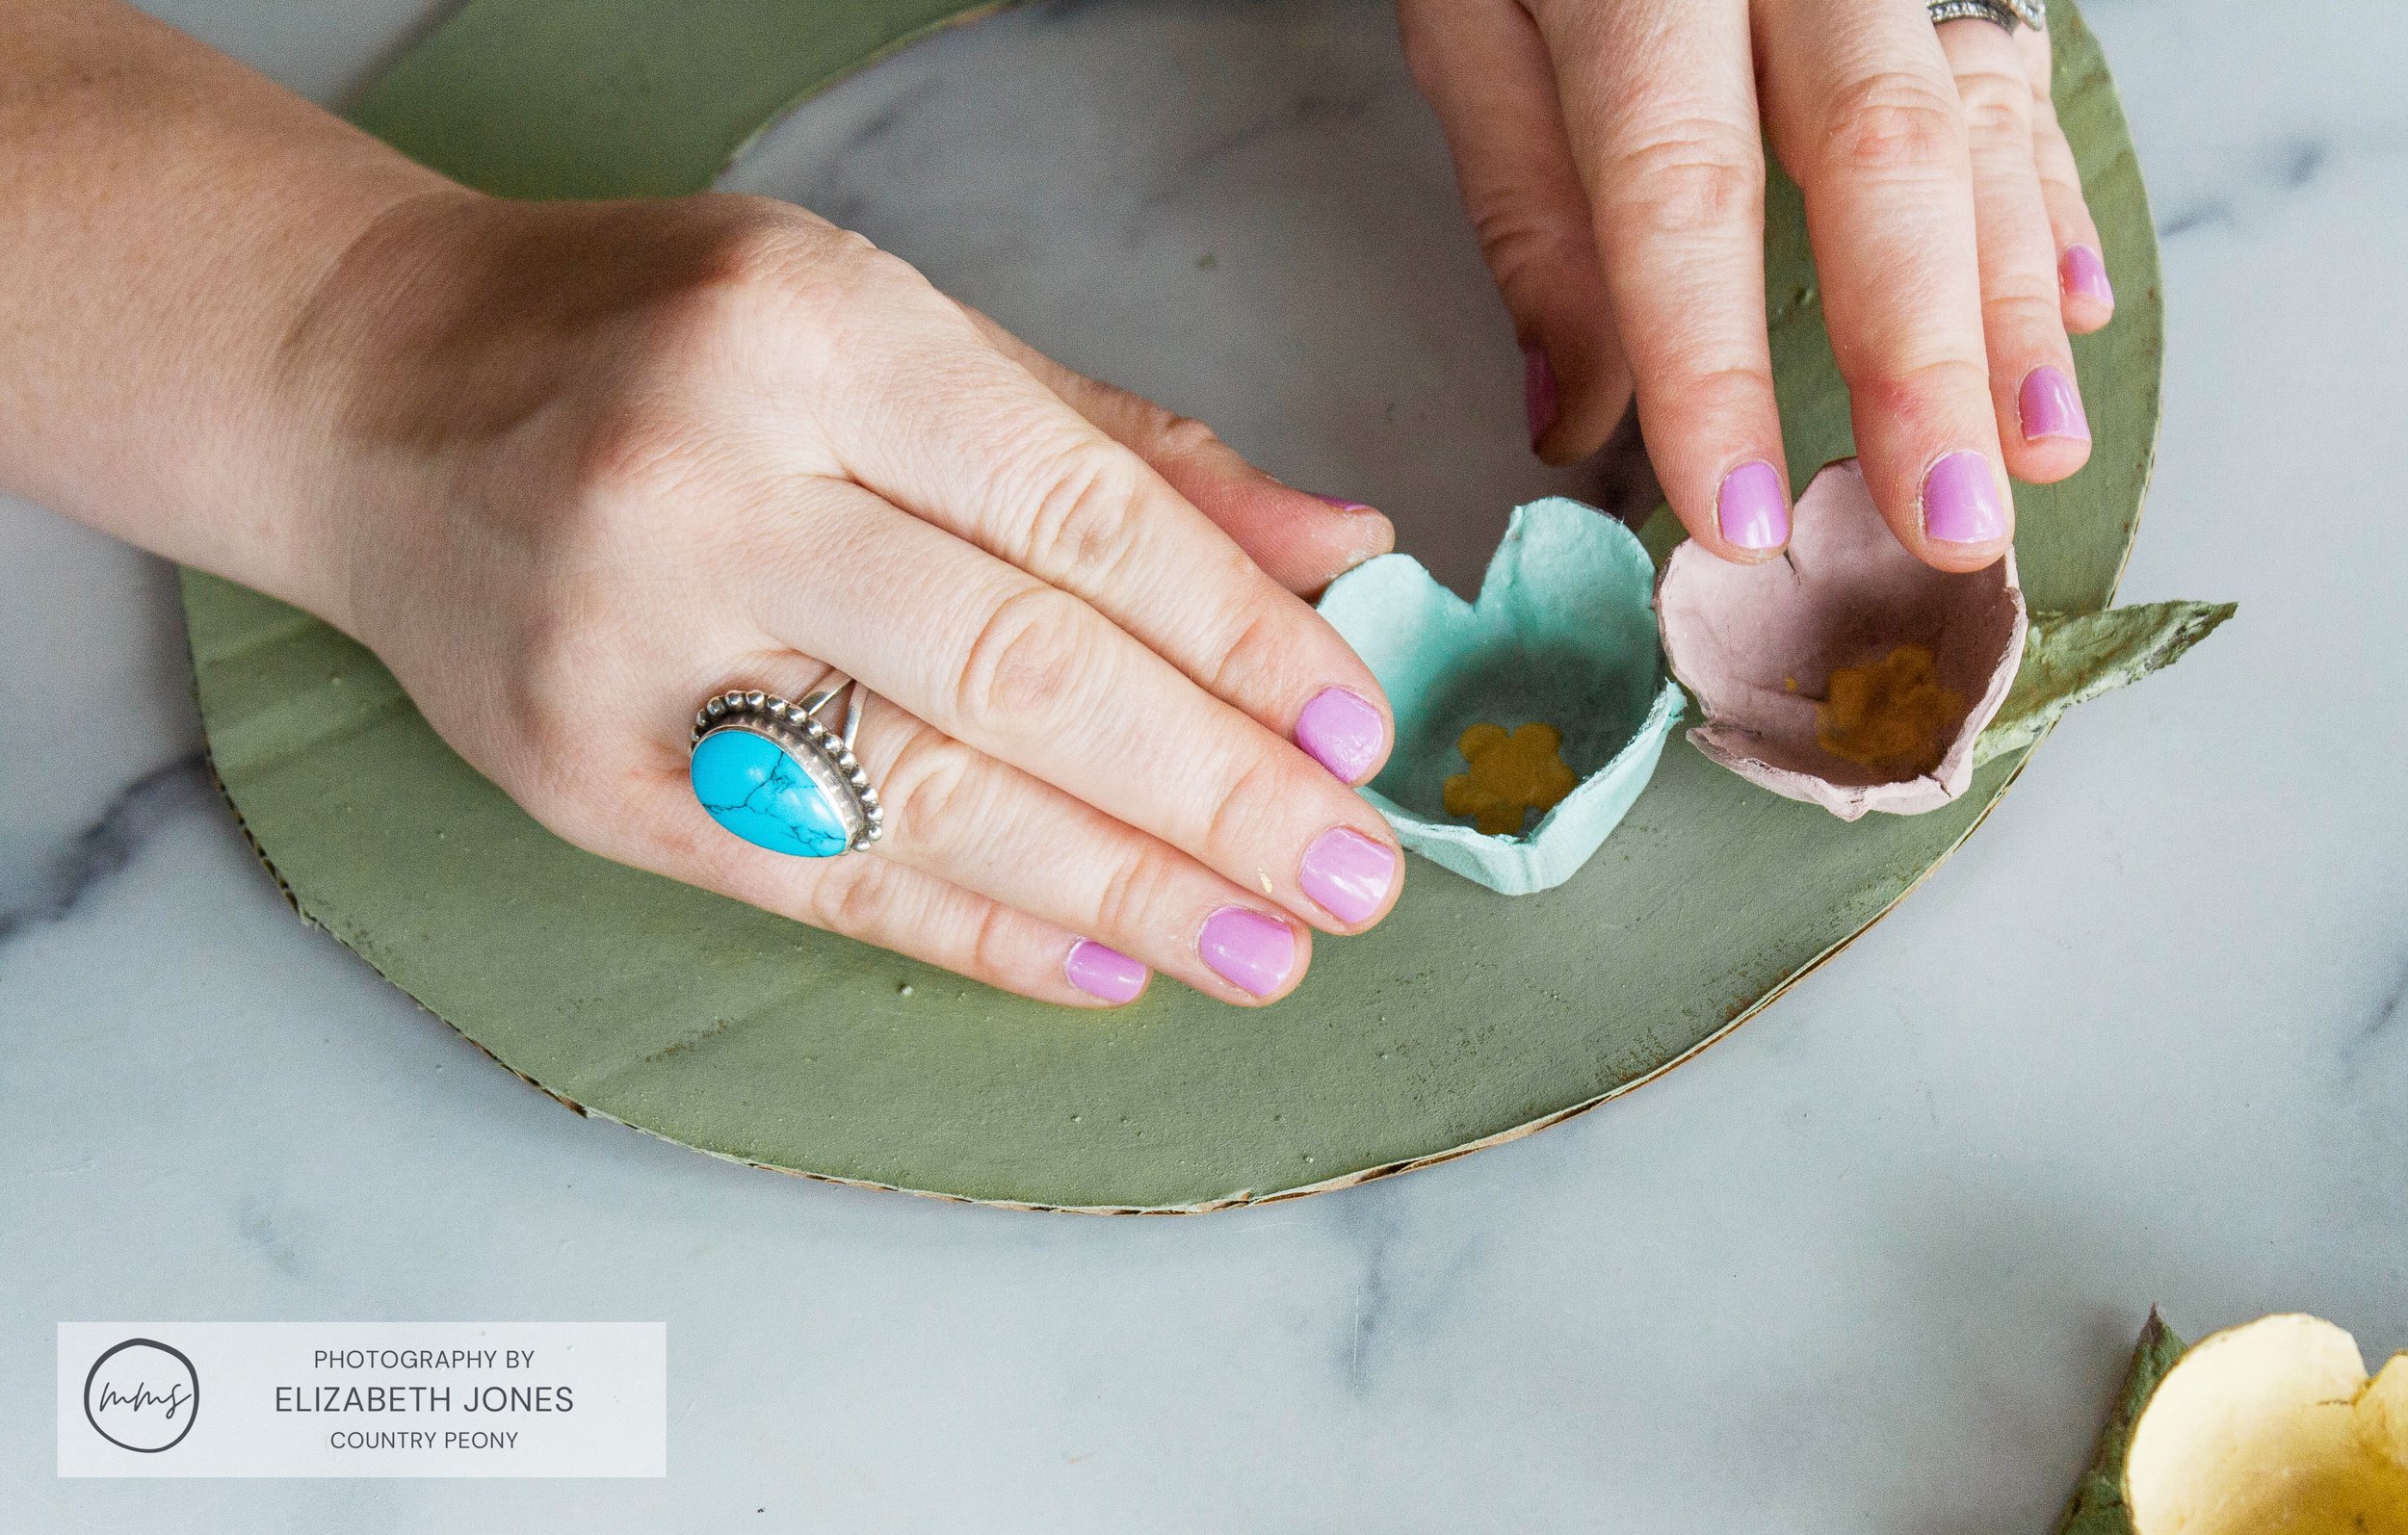
*Ensure the flowers are right next to each other so that there are minimal gaps.

*You don’t have to add a leaf to every flower. The leaves help fill in the gaps and add interest to the outside of the wreath.
Continue to glue flowers and leaves until the entire wreath form is covered.
Step 7: Attach Wreath Hanger
Glue a piece of string in a loop to the top, back part of the wreath to act as the wreath hanger.

Step 8: Display and Enjoy Your Custom Spring Wreath
Find your favorite wall or interior door and hang this wreath for all to enjoy this season!

This project proves that Miss Mustard Seed’s MilkPaint™ elevates and adds the sweetest charm to any material! I love how this project turns out.

I hope you enjoy making yours just as much as I did mine!

Thank you so much to Miss Mustard Seed’s® MilkPaint™ for having me, and thank you so much for following along today. I hope you enjoy experimenting with MMMS MilkPaint™ as much as I do!
