How To Force The Chippy Look On Raw Wood
One of the best features of MMS MilkPaint™ is how it soaks into raw wood like an opaque stain. It gives you color and coverage without sacrificing the texture and character of your project. It soaks in SO well that it’s very difficult to remove.
This can be a great thing if you’re going for full coverage, but what if you want the chippy look? How do you get MilkPaint™ to chip on raw wood and keep it from soaking in?
I’m going to show you the process with this salvaged barn vent from my dining room wall.
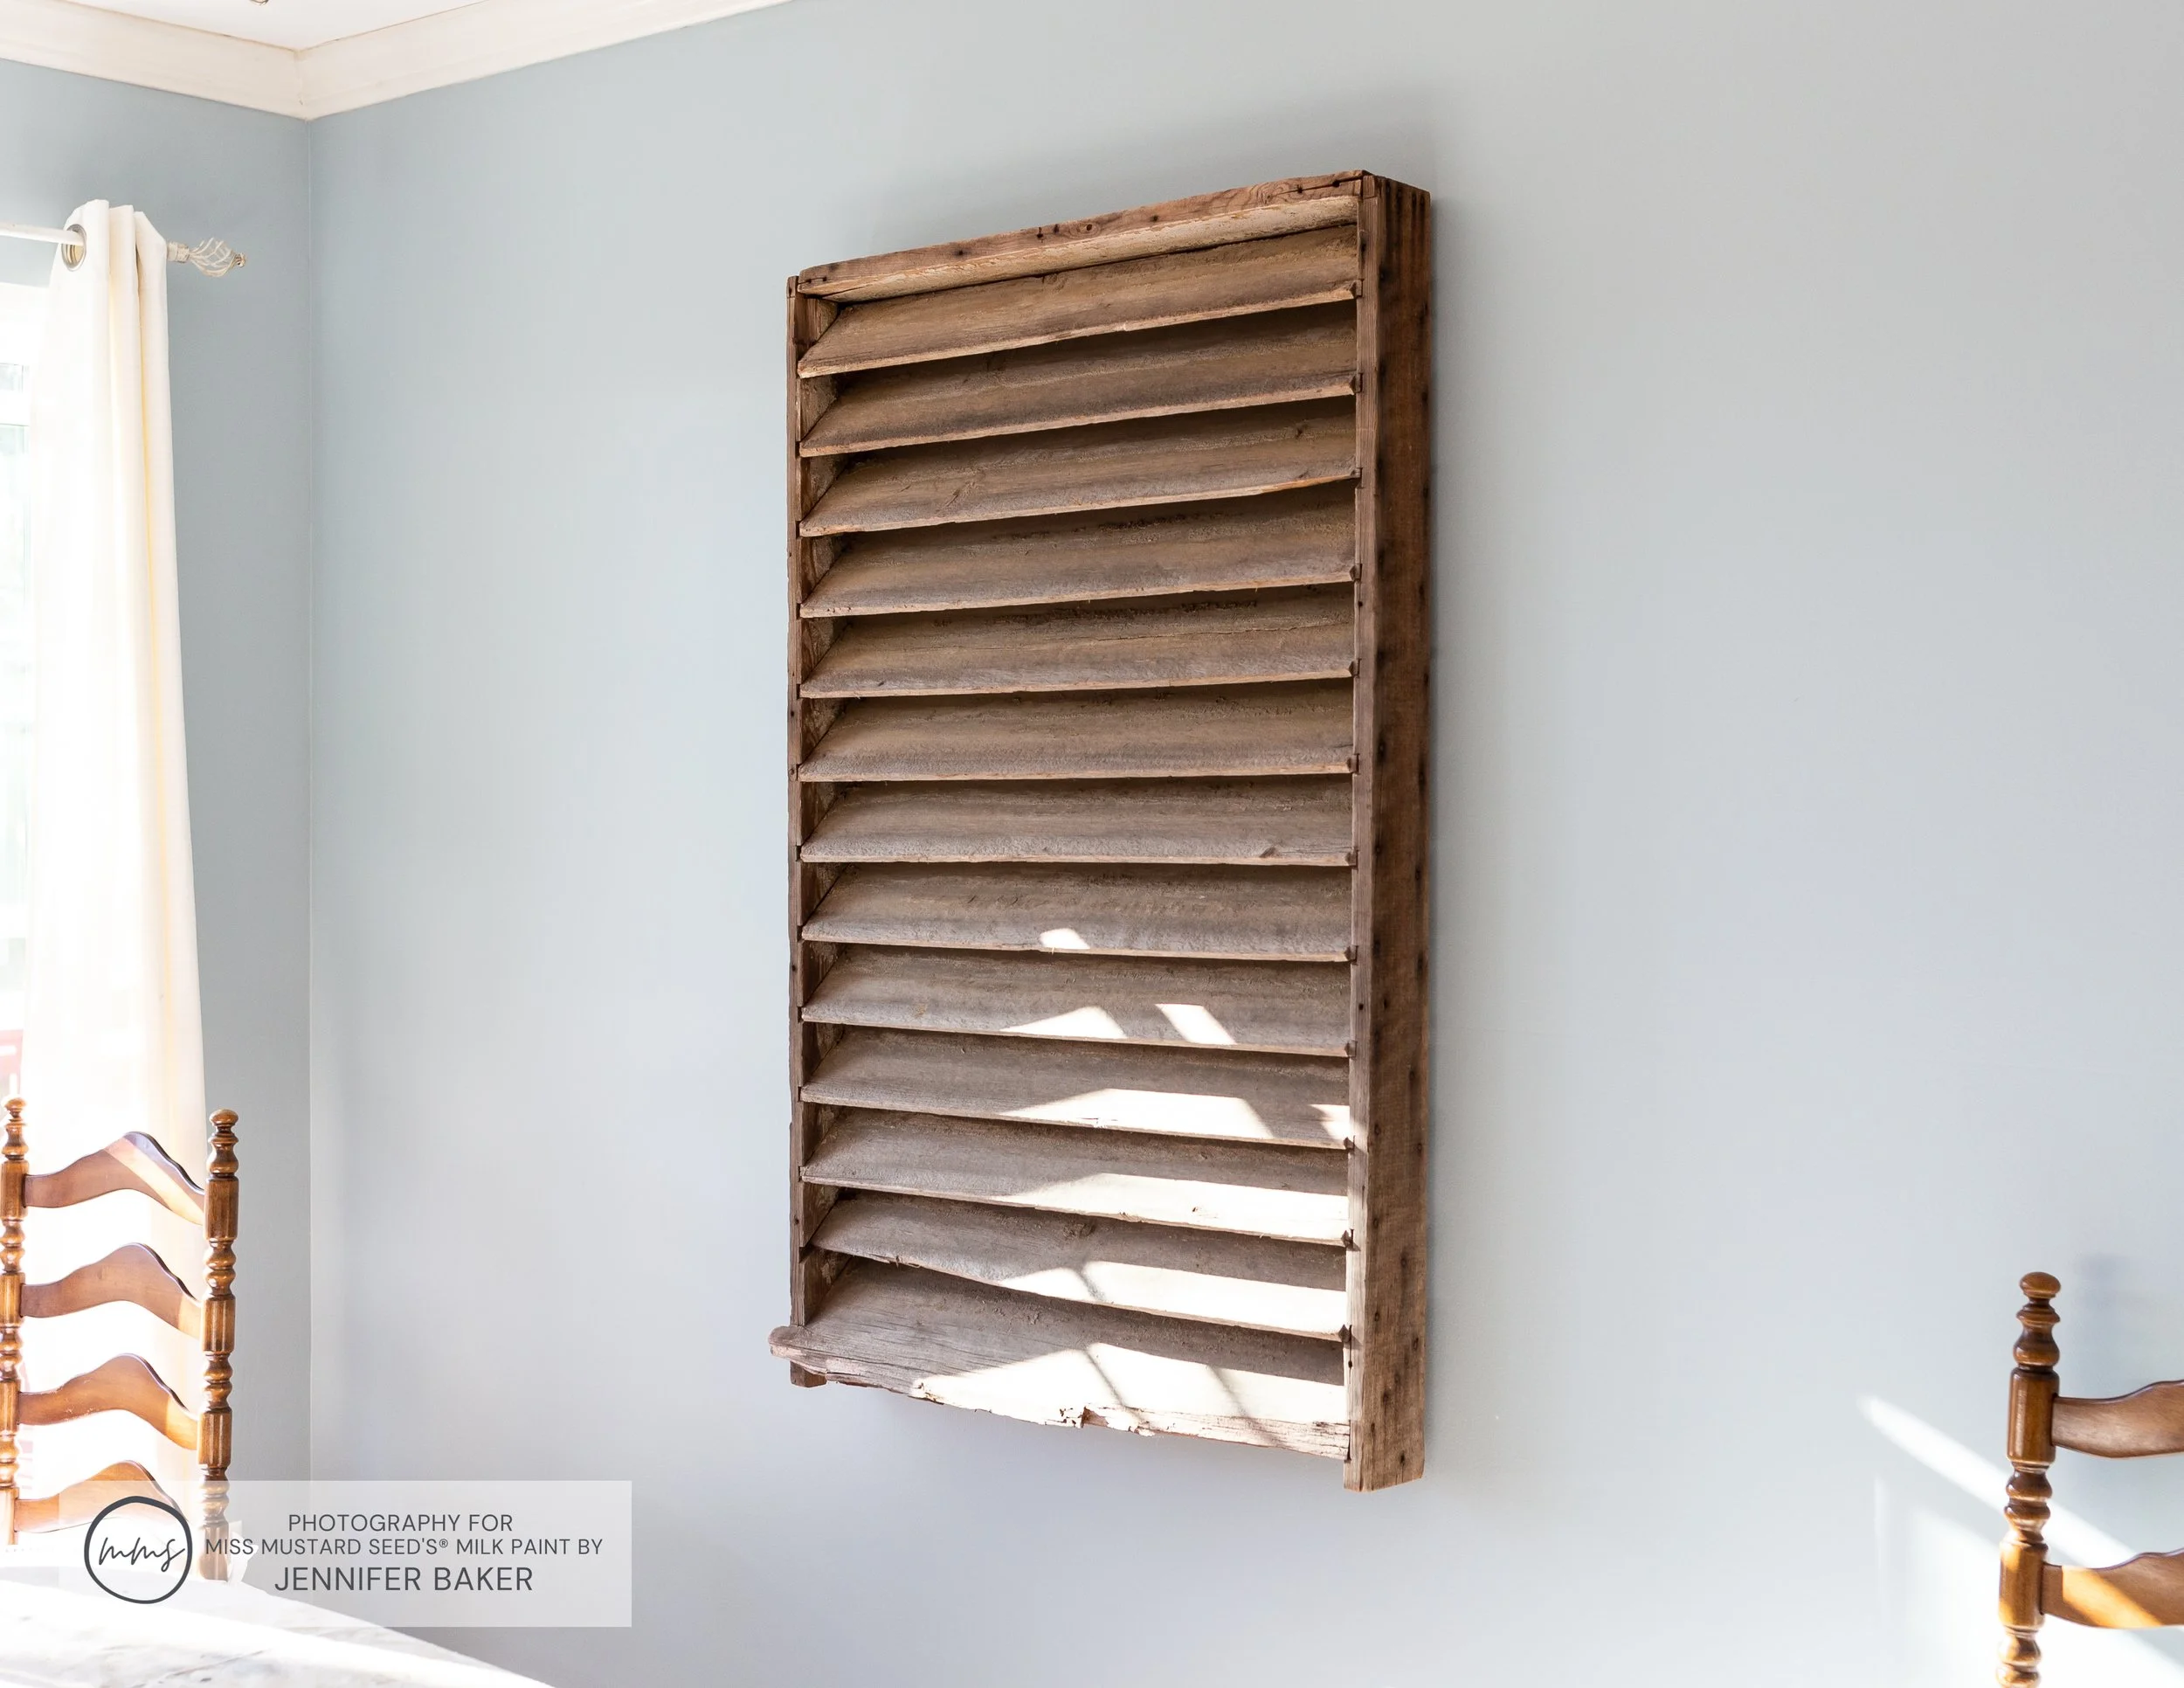
My goal was to give this rustic barn vent a chippy white MilkPaint™ makeover. All I needed was some Ironstone MilkPaint™, a good brush and some MilkWax™ - Clear.
Prepping To Paint The Barn Vent
In preparation for my barn vent makeover, I cleared off my dining room table and laid a drop cloth down.

Then, I laid the vent down on the table and propped it up on a few pieces of scrap wood. This would help prevent the paint from sticking to the drop cloth, making a fuzzy mess. (Trust me.)
Using my household vacuum, I sucked up all of the cobwebs, dirt and loose debris that was on the vent. I didn’t scuff sand it because the wood was very dry and weathered. It wasn’t necessary.
I didn’t do any sort of cleaning because the wood was a bit splintery and it would have torn a paper towel or rag apart. Plus, I was going for a really weathered this-just-came-out-of-a-barn look. Any grunge was going to help! Now if you get a shutter or barn vent that is REALLY dirty, I definitely recommend squirting it off with a hose and letting it dry outside in the sun. Some of them are pretty, but really disgusting at the same time!
Mixing Ironstone MilkPaint™
Next, I mixed up a batch of Ironstone MilkPaint™. I used the old formula because I had quite a bit left in my stash. I mixed up 1 cup of powder and water. (Throughout the project, I used about 3 cups of paint total.)

Creating A Wax Resist
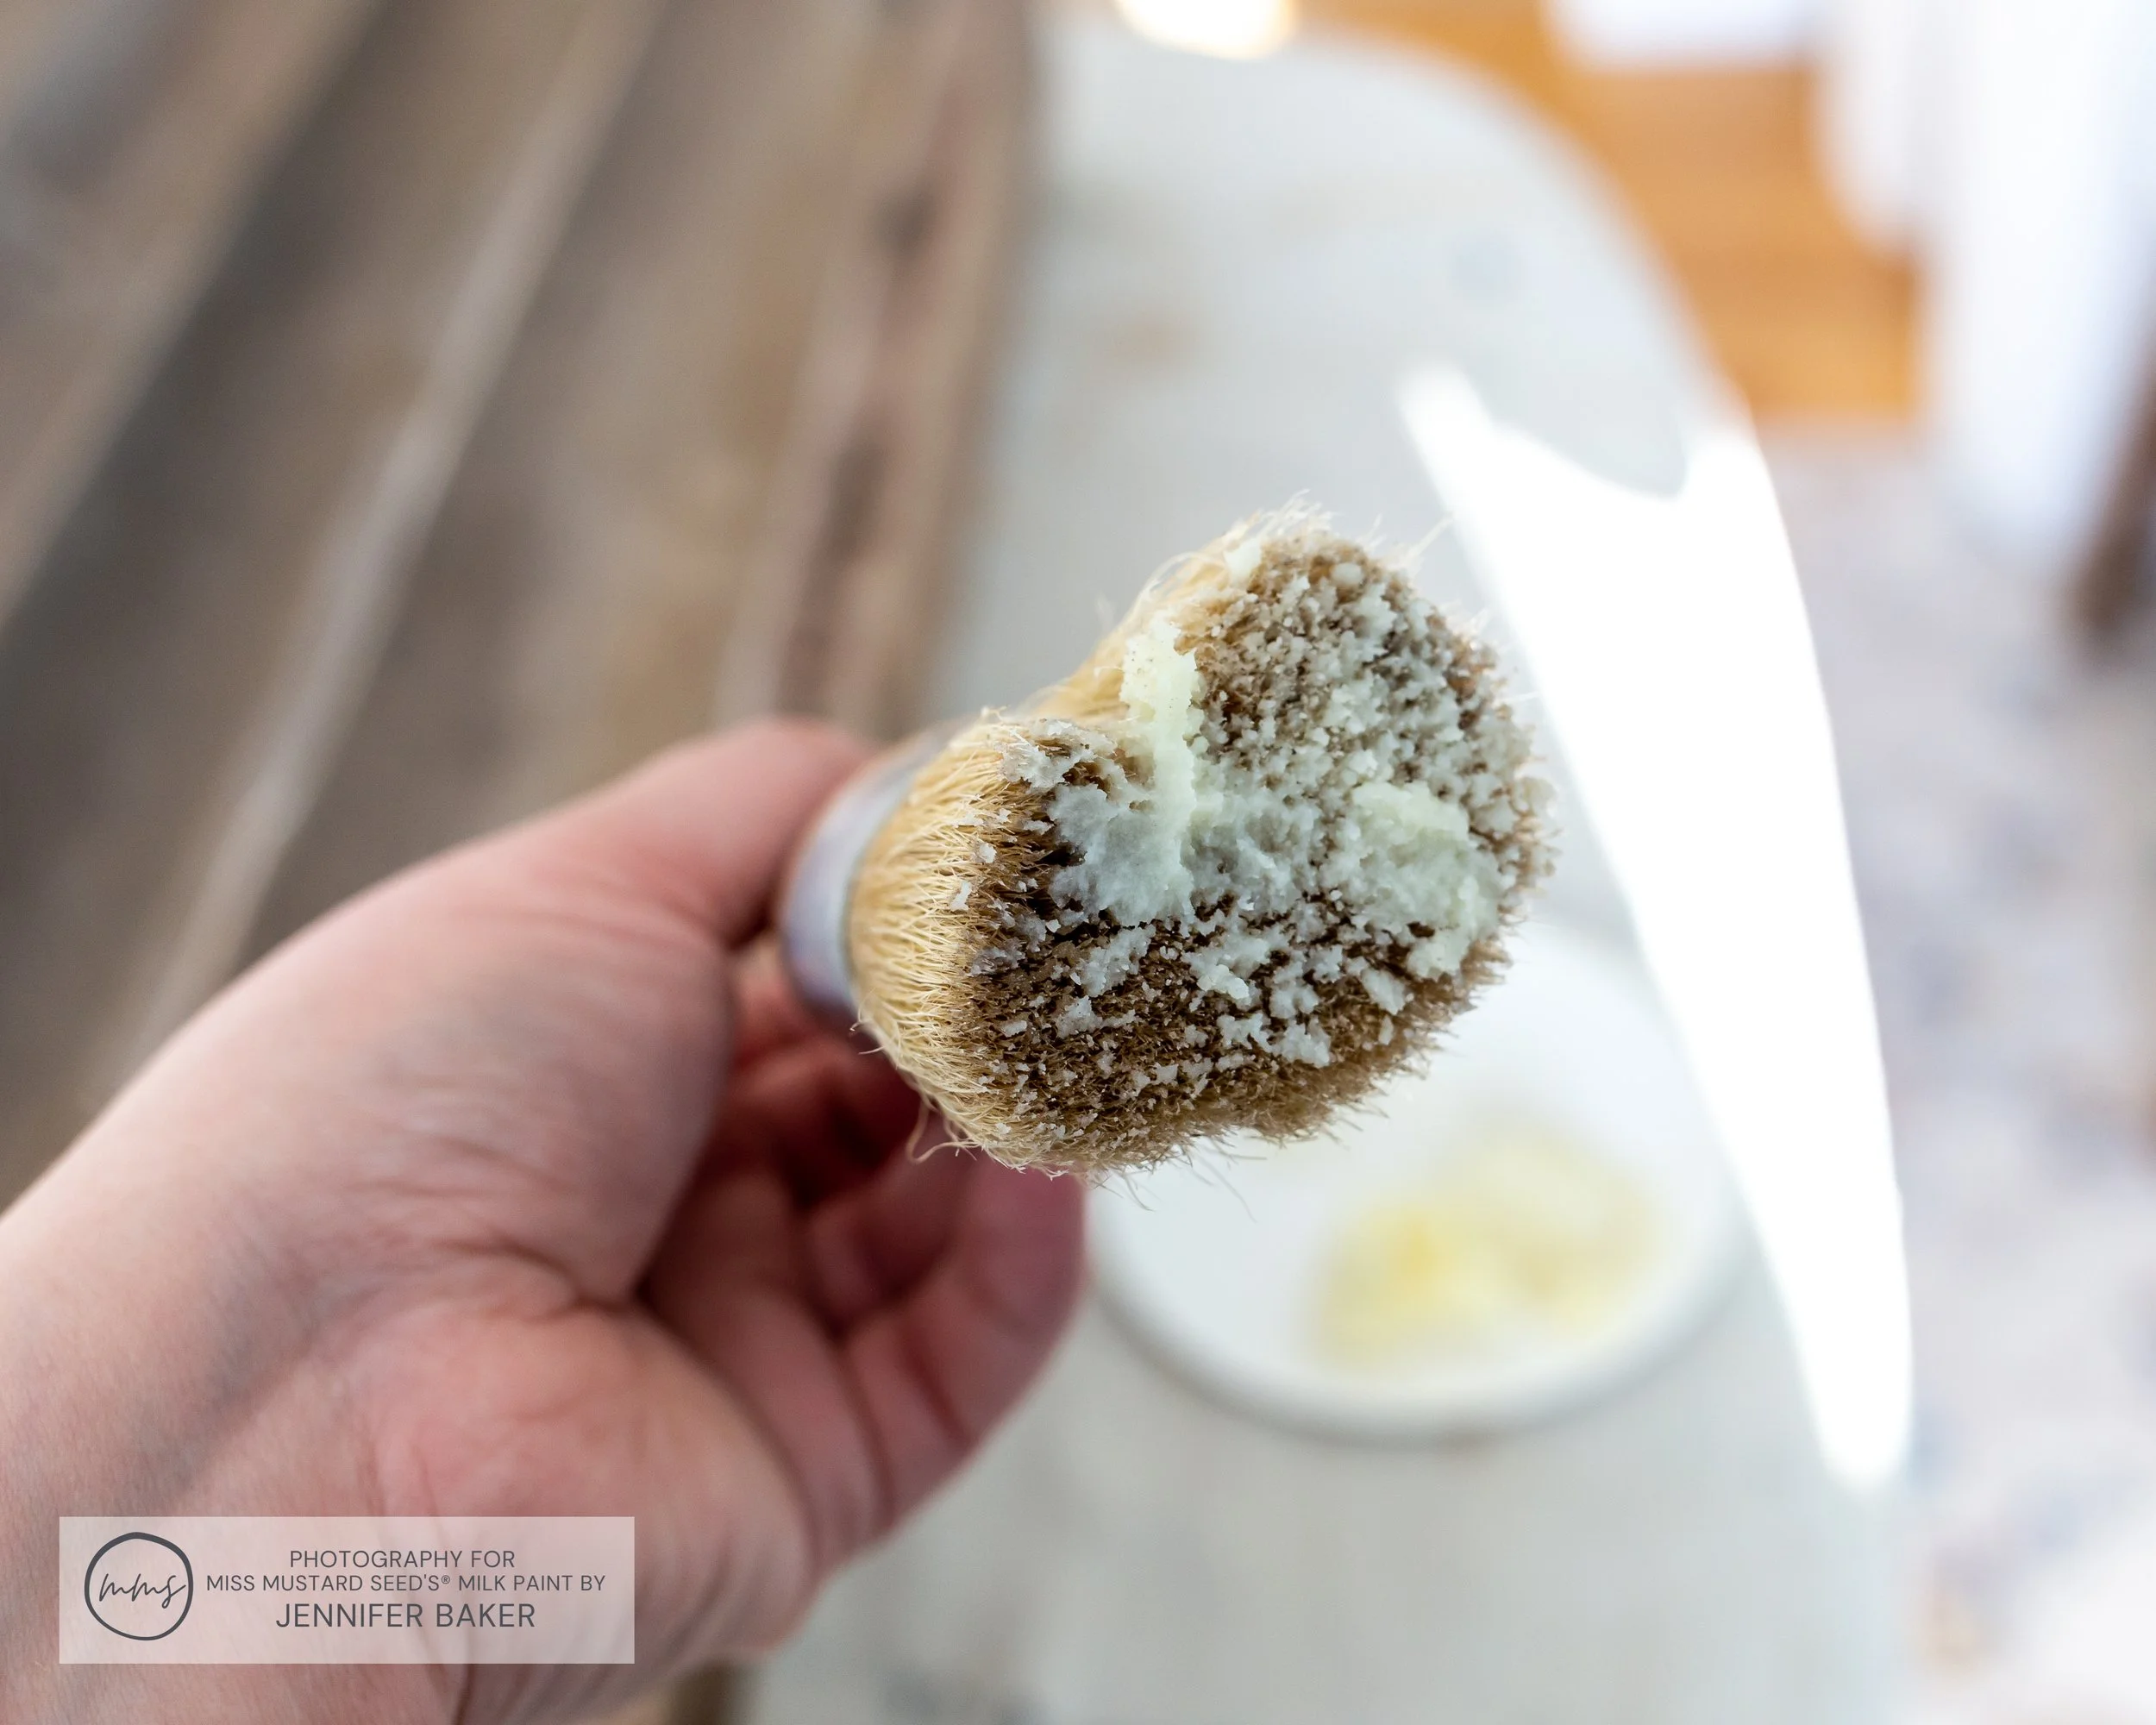
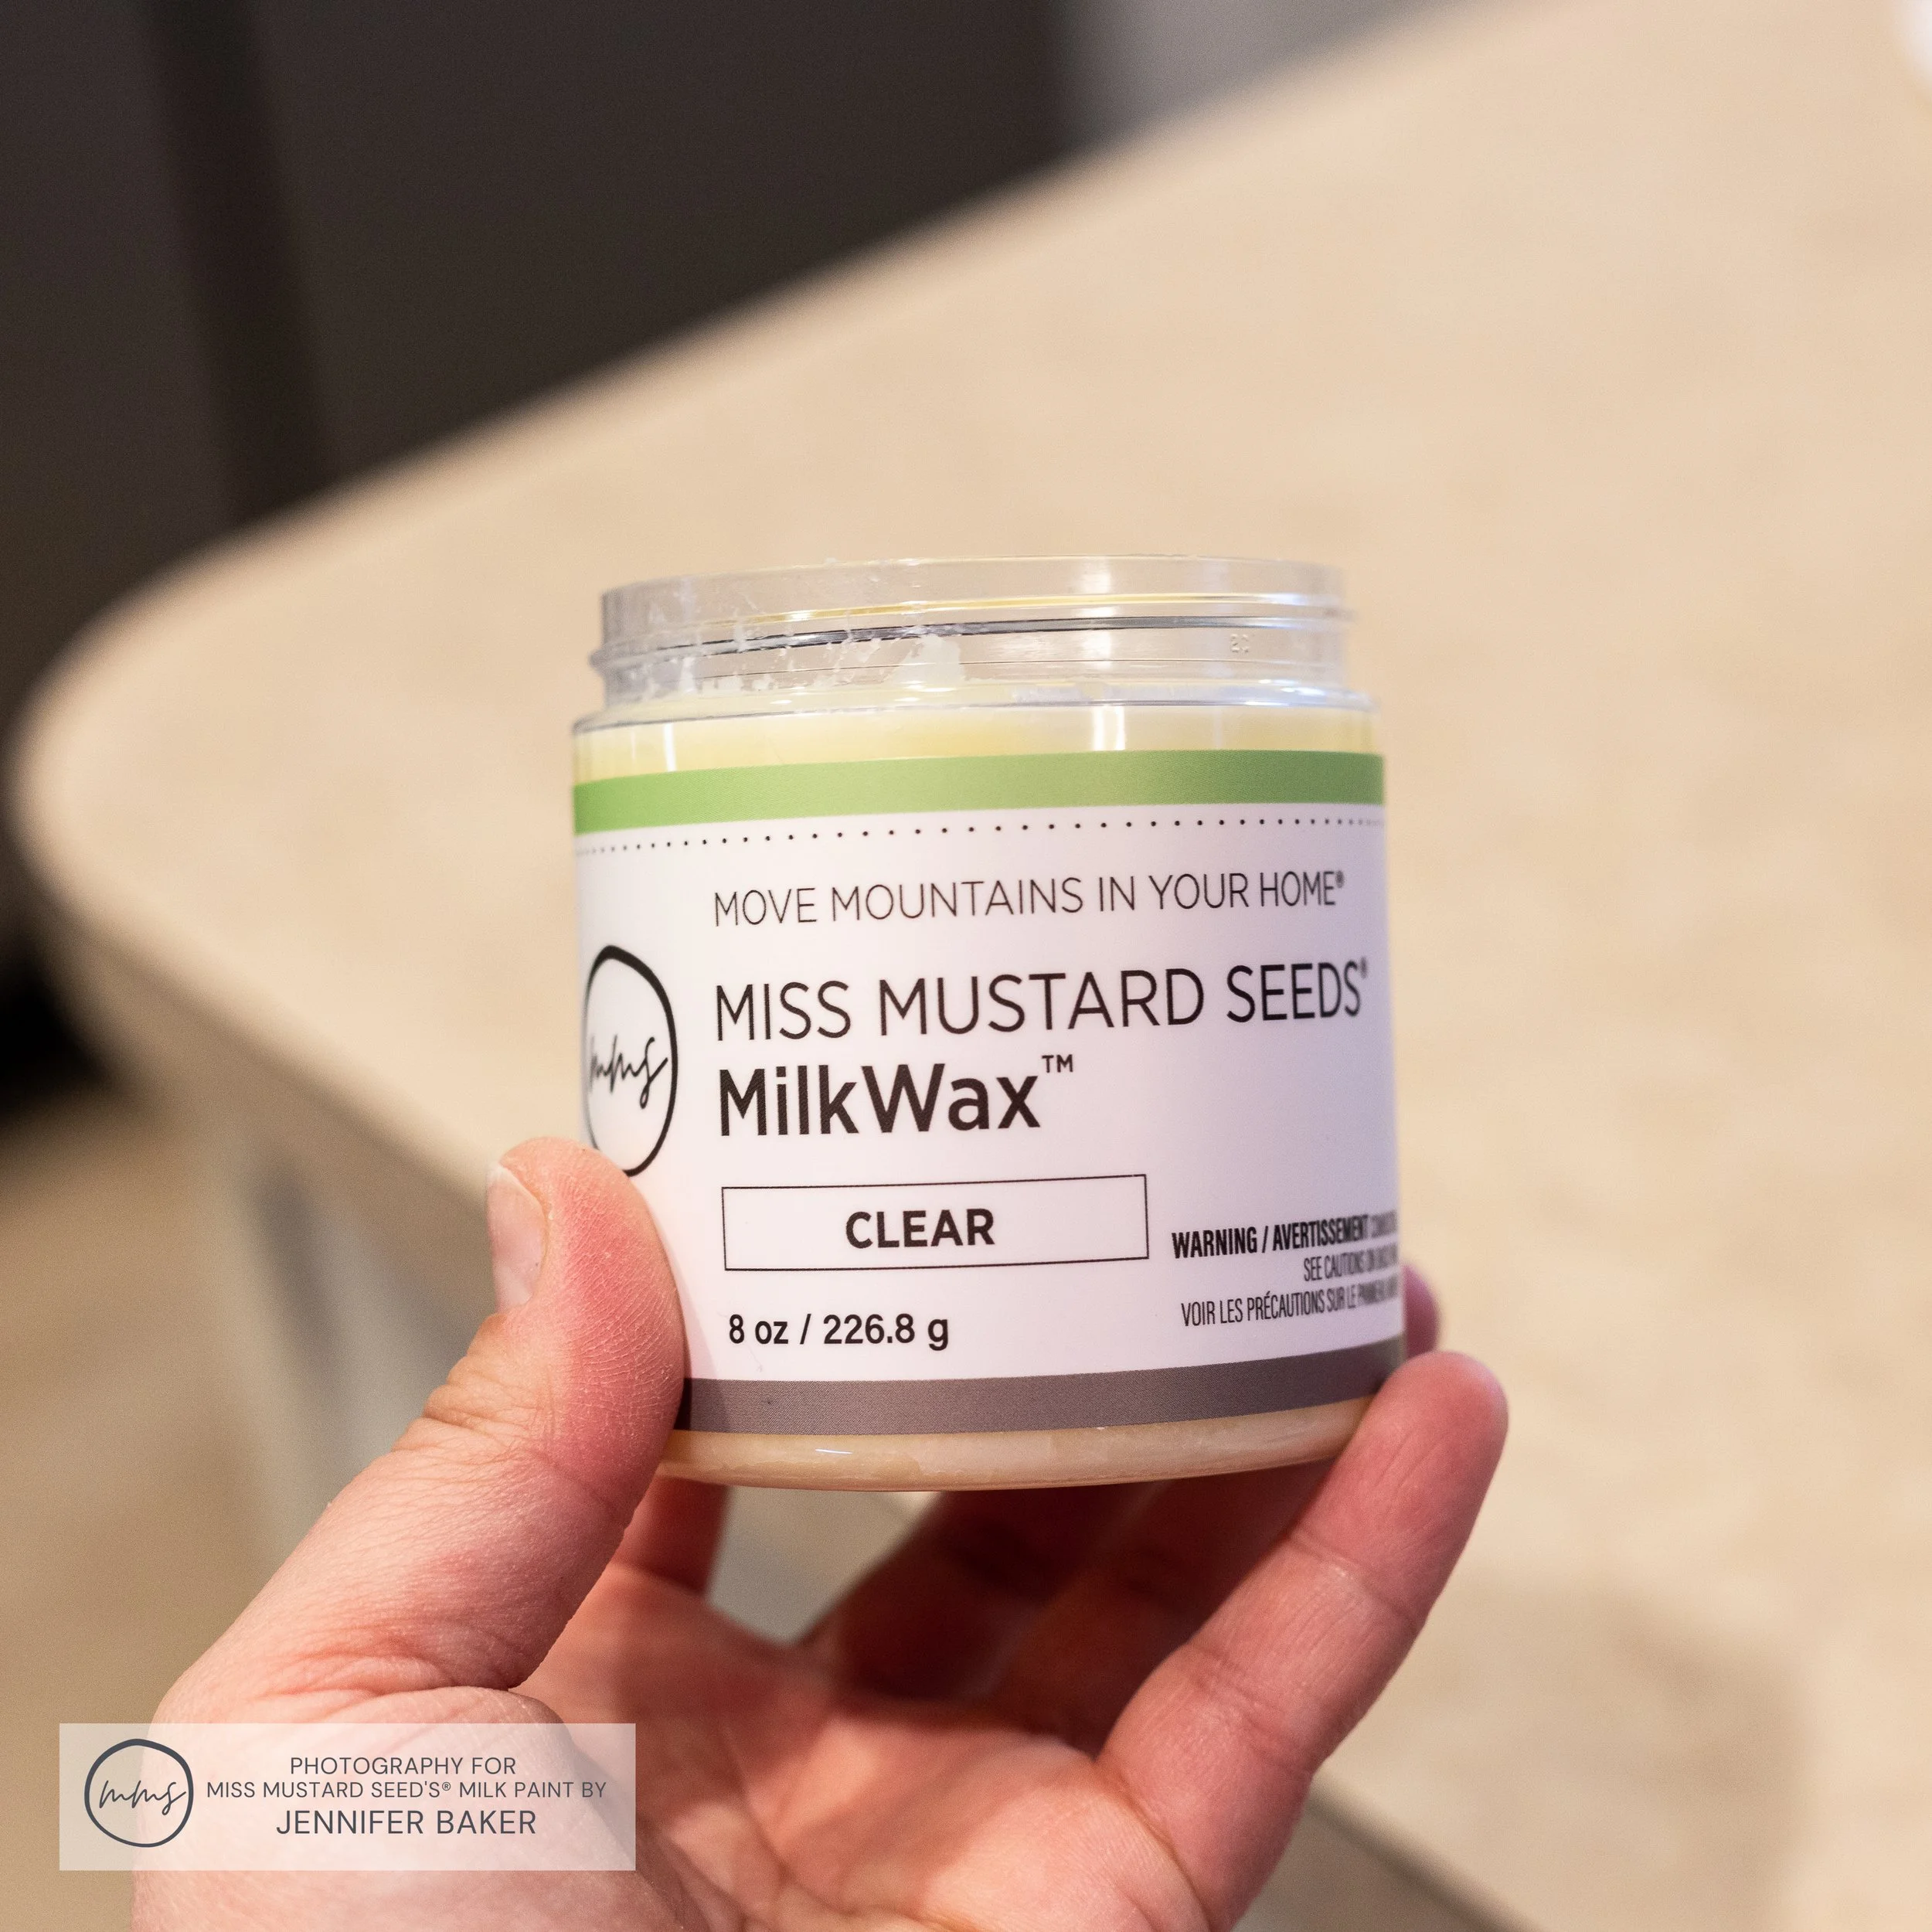
As the paint rested to thicken up, I opened my jar of MilkWax™ - Clear and scooped out a bit onto a paper plate. I don’t recommend working straight out of the jar because you can contaminate your “good” supply of wax. For this job, I would DEFINITELY have gotten my main jar of wax very dirty!

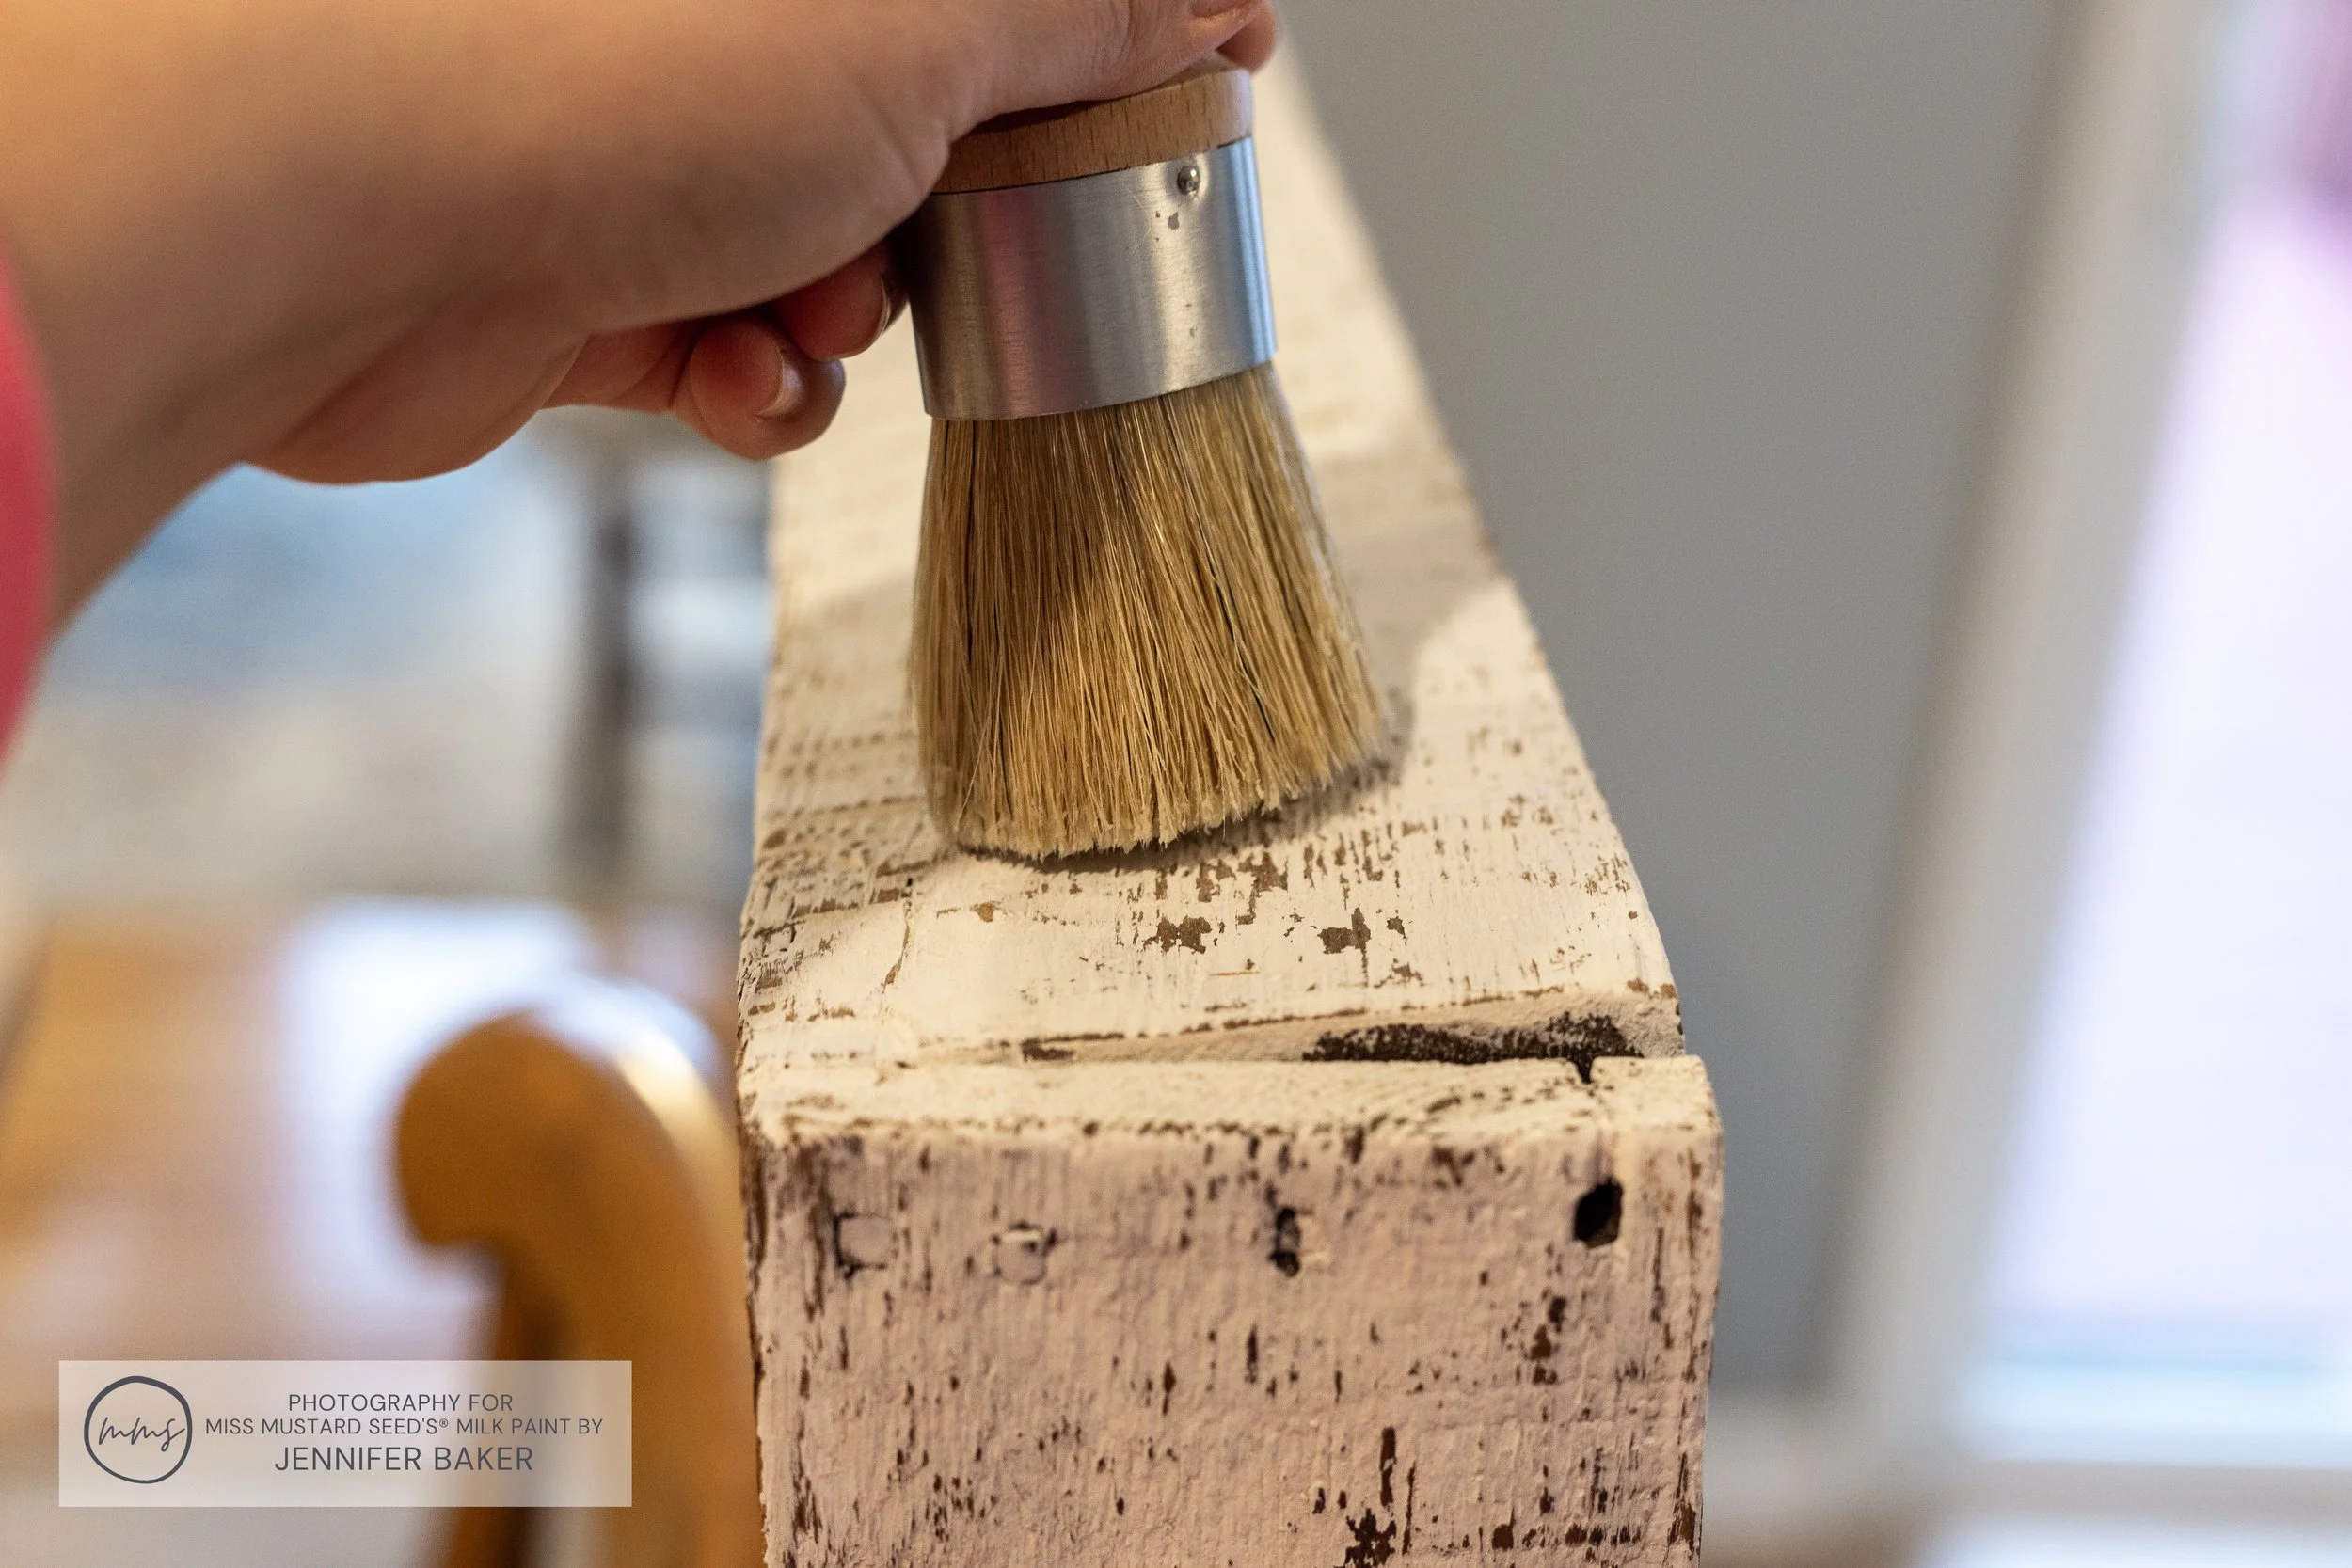
Using a wax brush, I dabbed MilkWax™ - Clear here and there across my piece. I put it along the edges, in streaks across the vents, and stippled down the sides. The more random, the better!
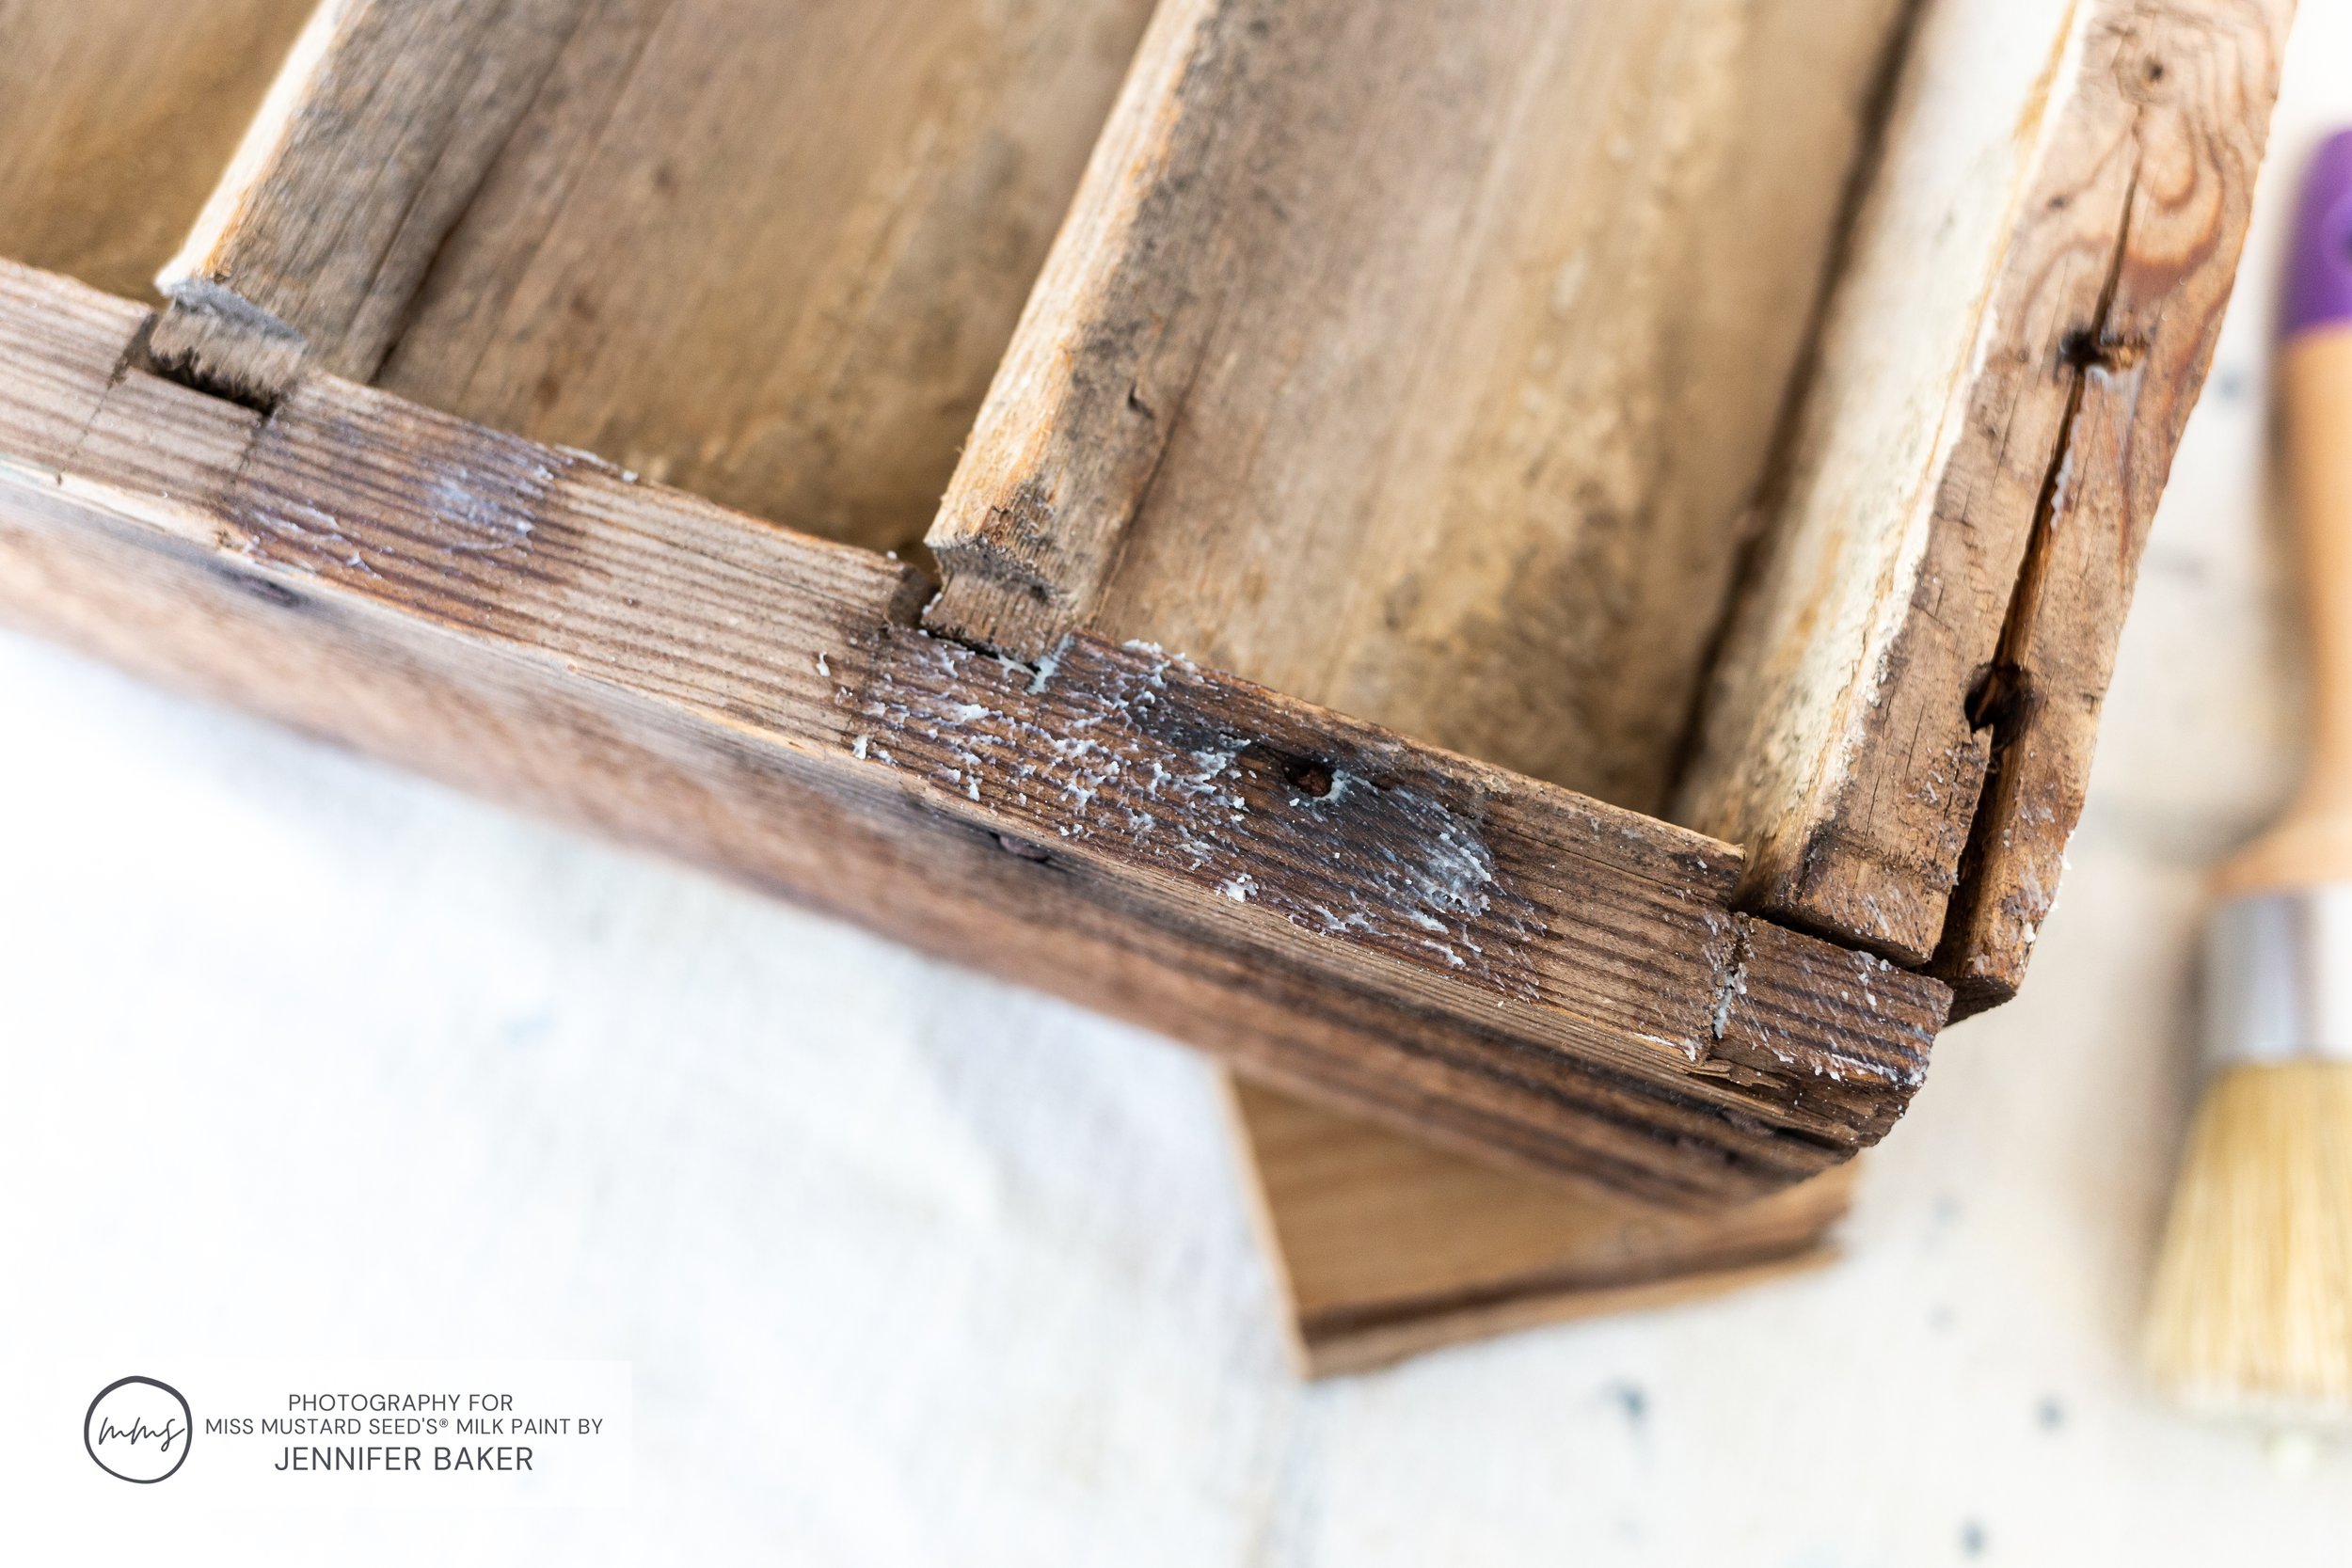
The wax will prevent the MilkPaint™ from sticking to the barn vent. I will essentially get chips and flakes everywhere I put the wax. You don’t need to gob it on either. A little dab’ll do ya!
This is how you get the chippy look on raw wood. You need to put some kind of product in between the raw wood and your paint that will cause your MilkPaint™ to resist adhering. That’s why we call it a “resist”!
Examples of products you can use are MilkWax™ - Clear, MilkWax™ ECO - Natural and MilkOil™. I personally prefer the waxes over the oil, but experiment with each one and see what you prefer!
Oh, and b.t.dubs, this is why you don’t want to work out of the jar:

Painting The Barn Vent In Ironstone
Once the vent was all waxed up, I started painting it with Ironstone. The goal was to make the barn vent look chippy and weathered, so I sort of glopped it on, swirled it around and dabbed it into place. I wanted to create texture as well as chips and flakes.
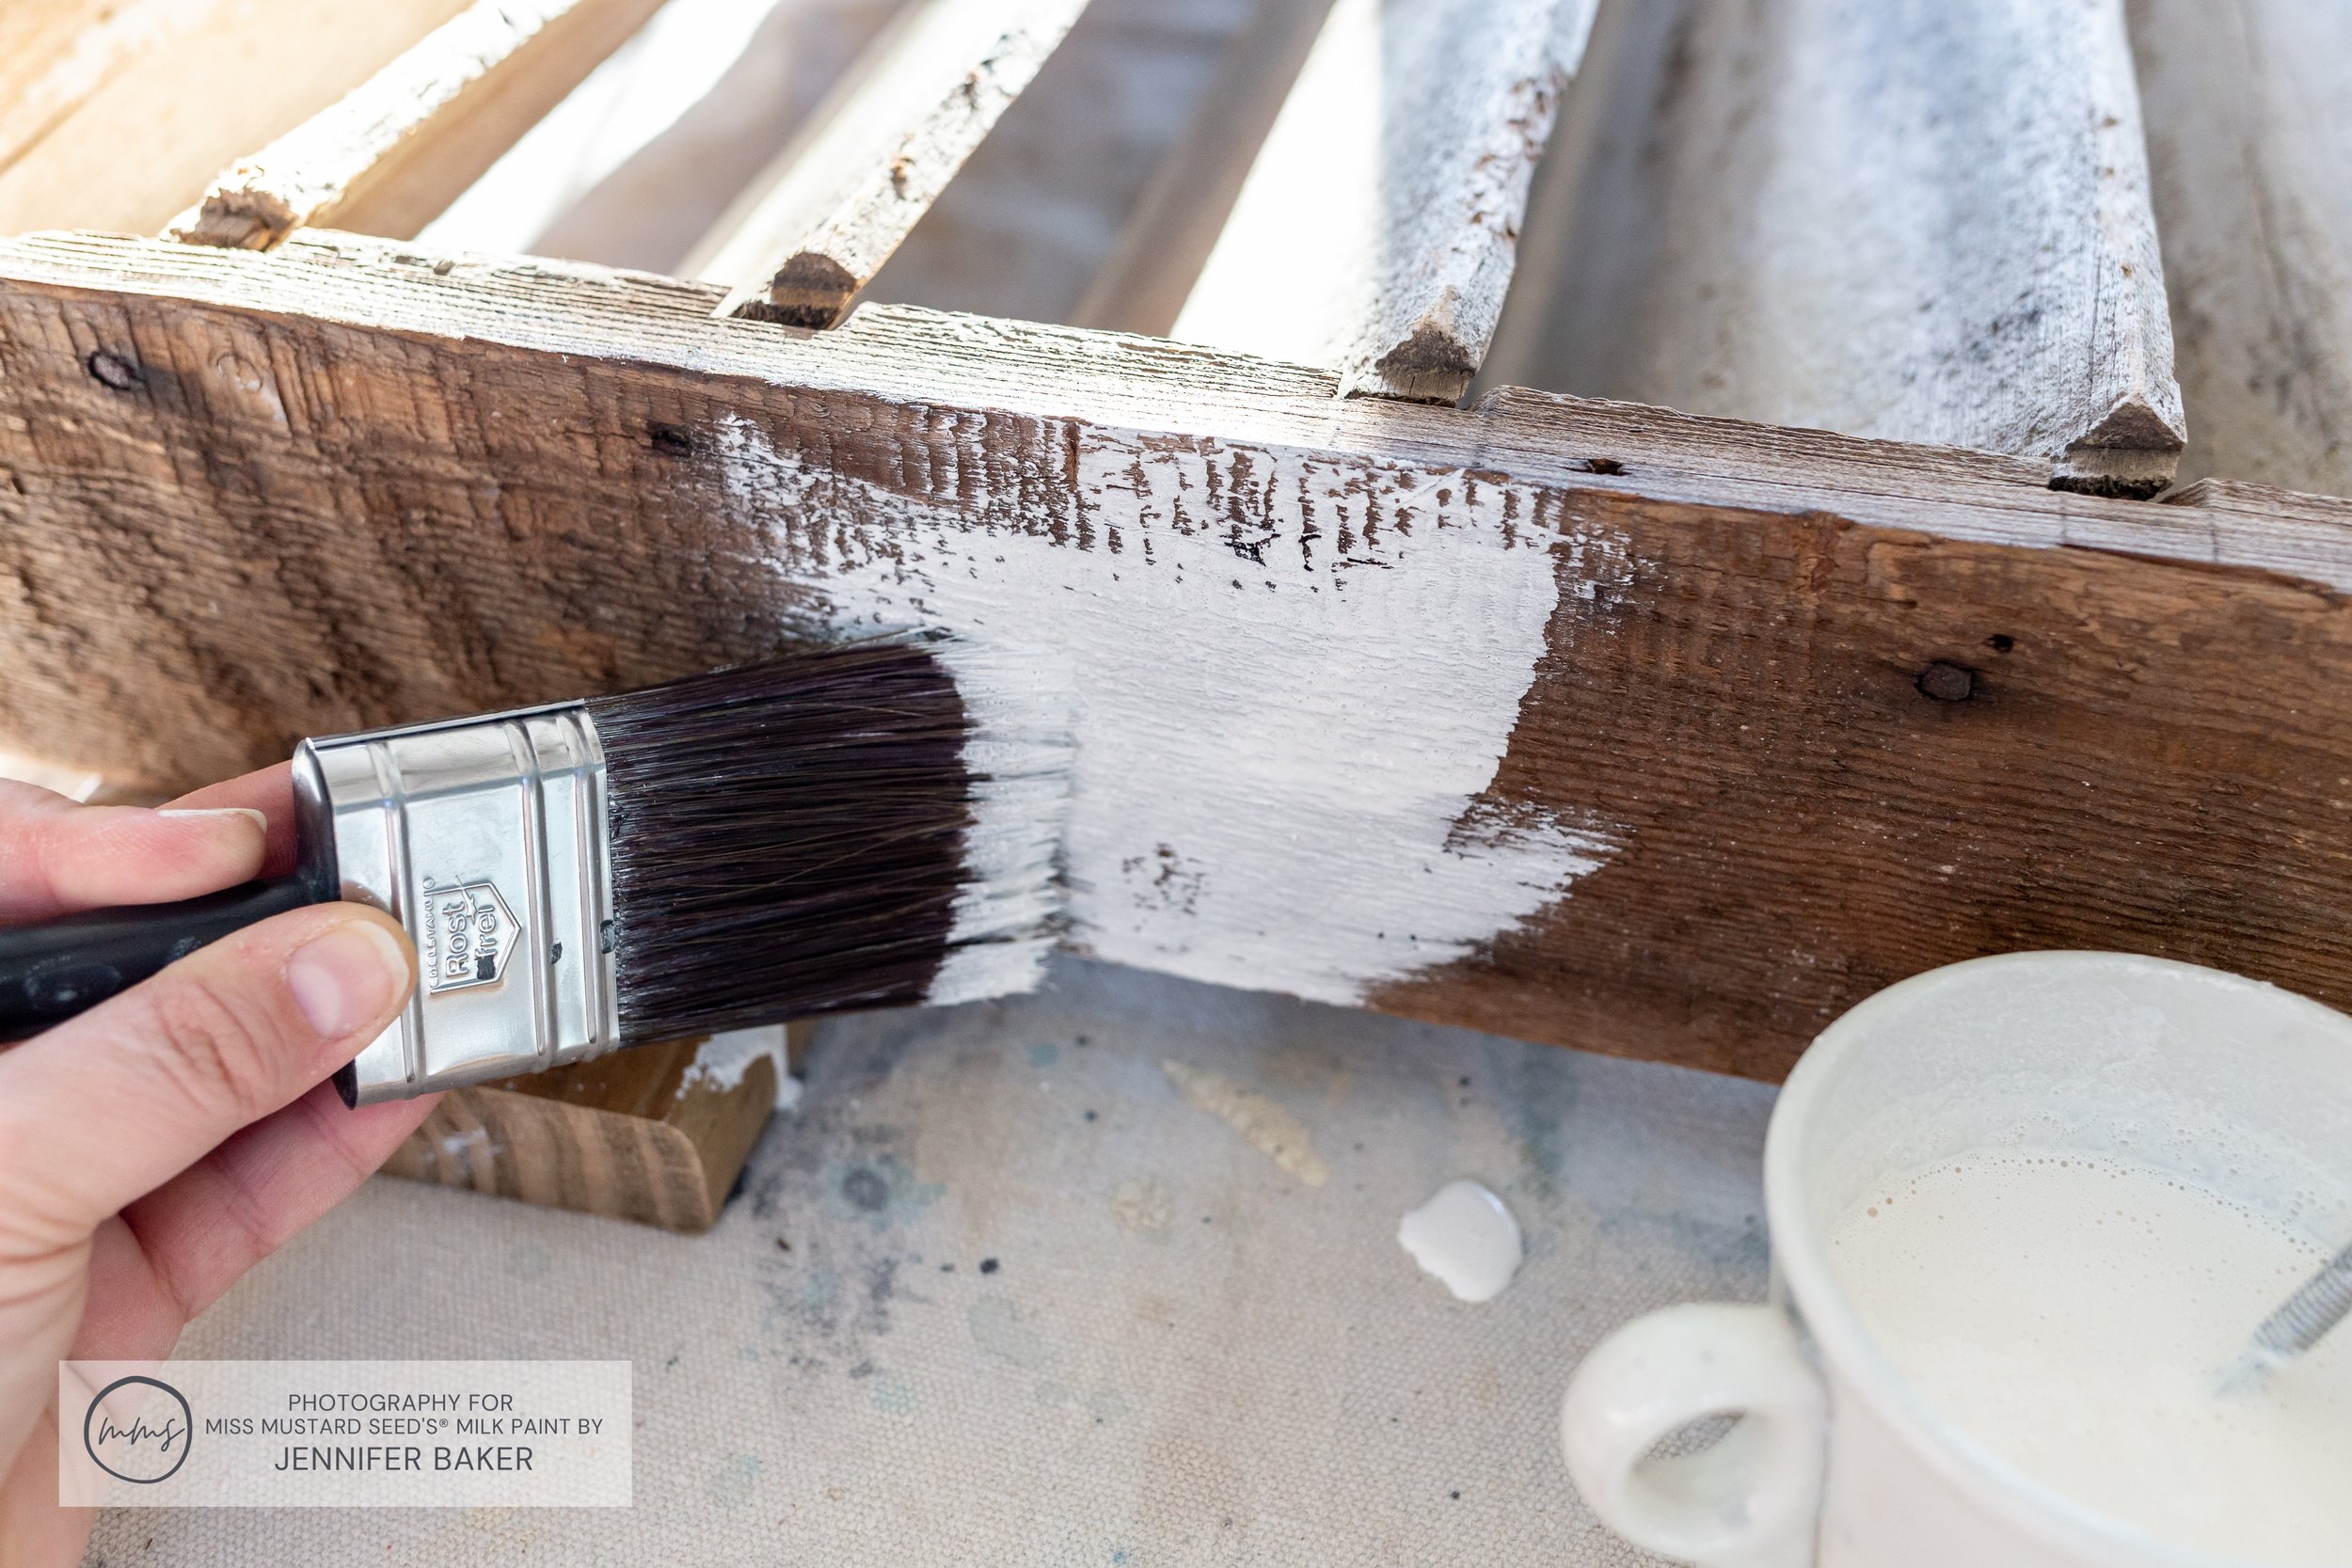
I even mixed my MilkPaint™ a little on the thick side to get gritty texture! When I got to the bottom of my cup, I had some sediment left (because I was using the old formula) and I smeared that all over as well.
That’s the beauty of MilkPaint™ - you can make it whatever you need it to be!

It took 2 full coats and about 3 cups of MilkPaint™ to cover my vent. I didn’t mind if there were places here and there that were a bit translucent. I was going to give the vent a very heavy distressing, so it wouldn’t matter in the end.
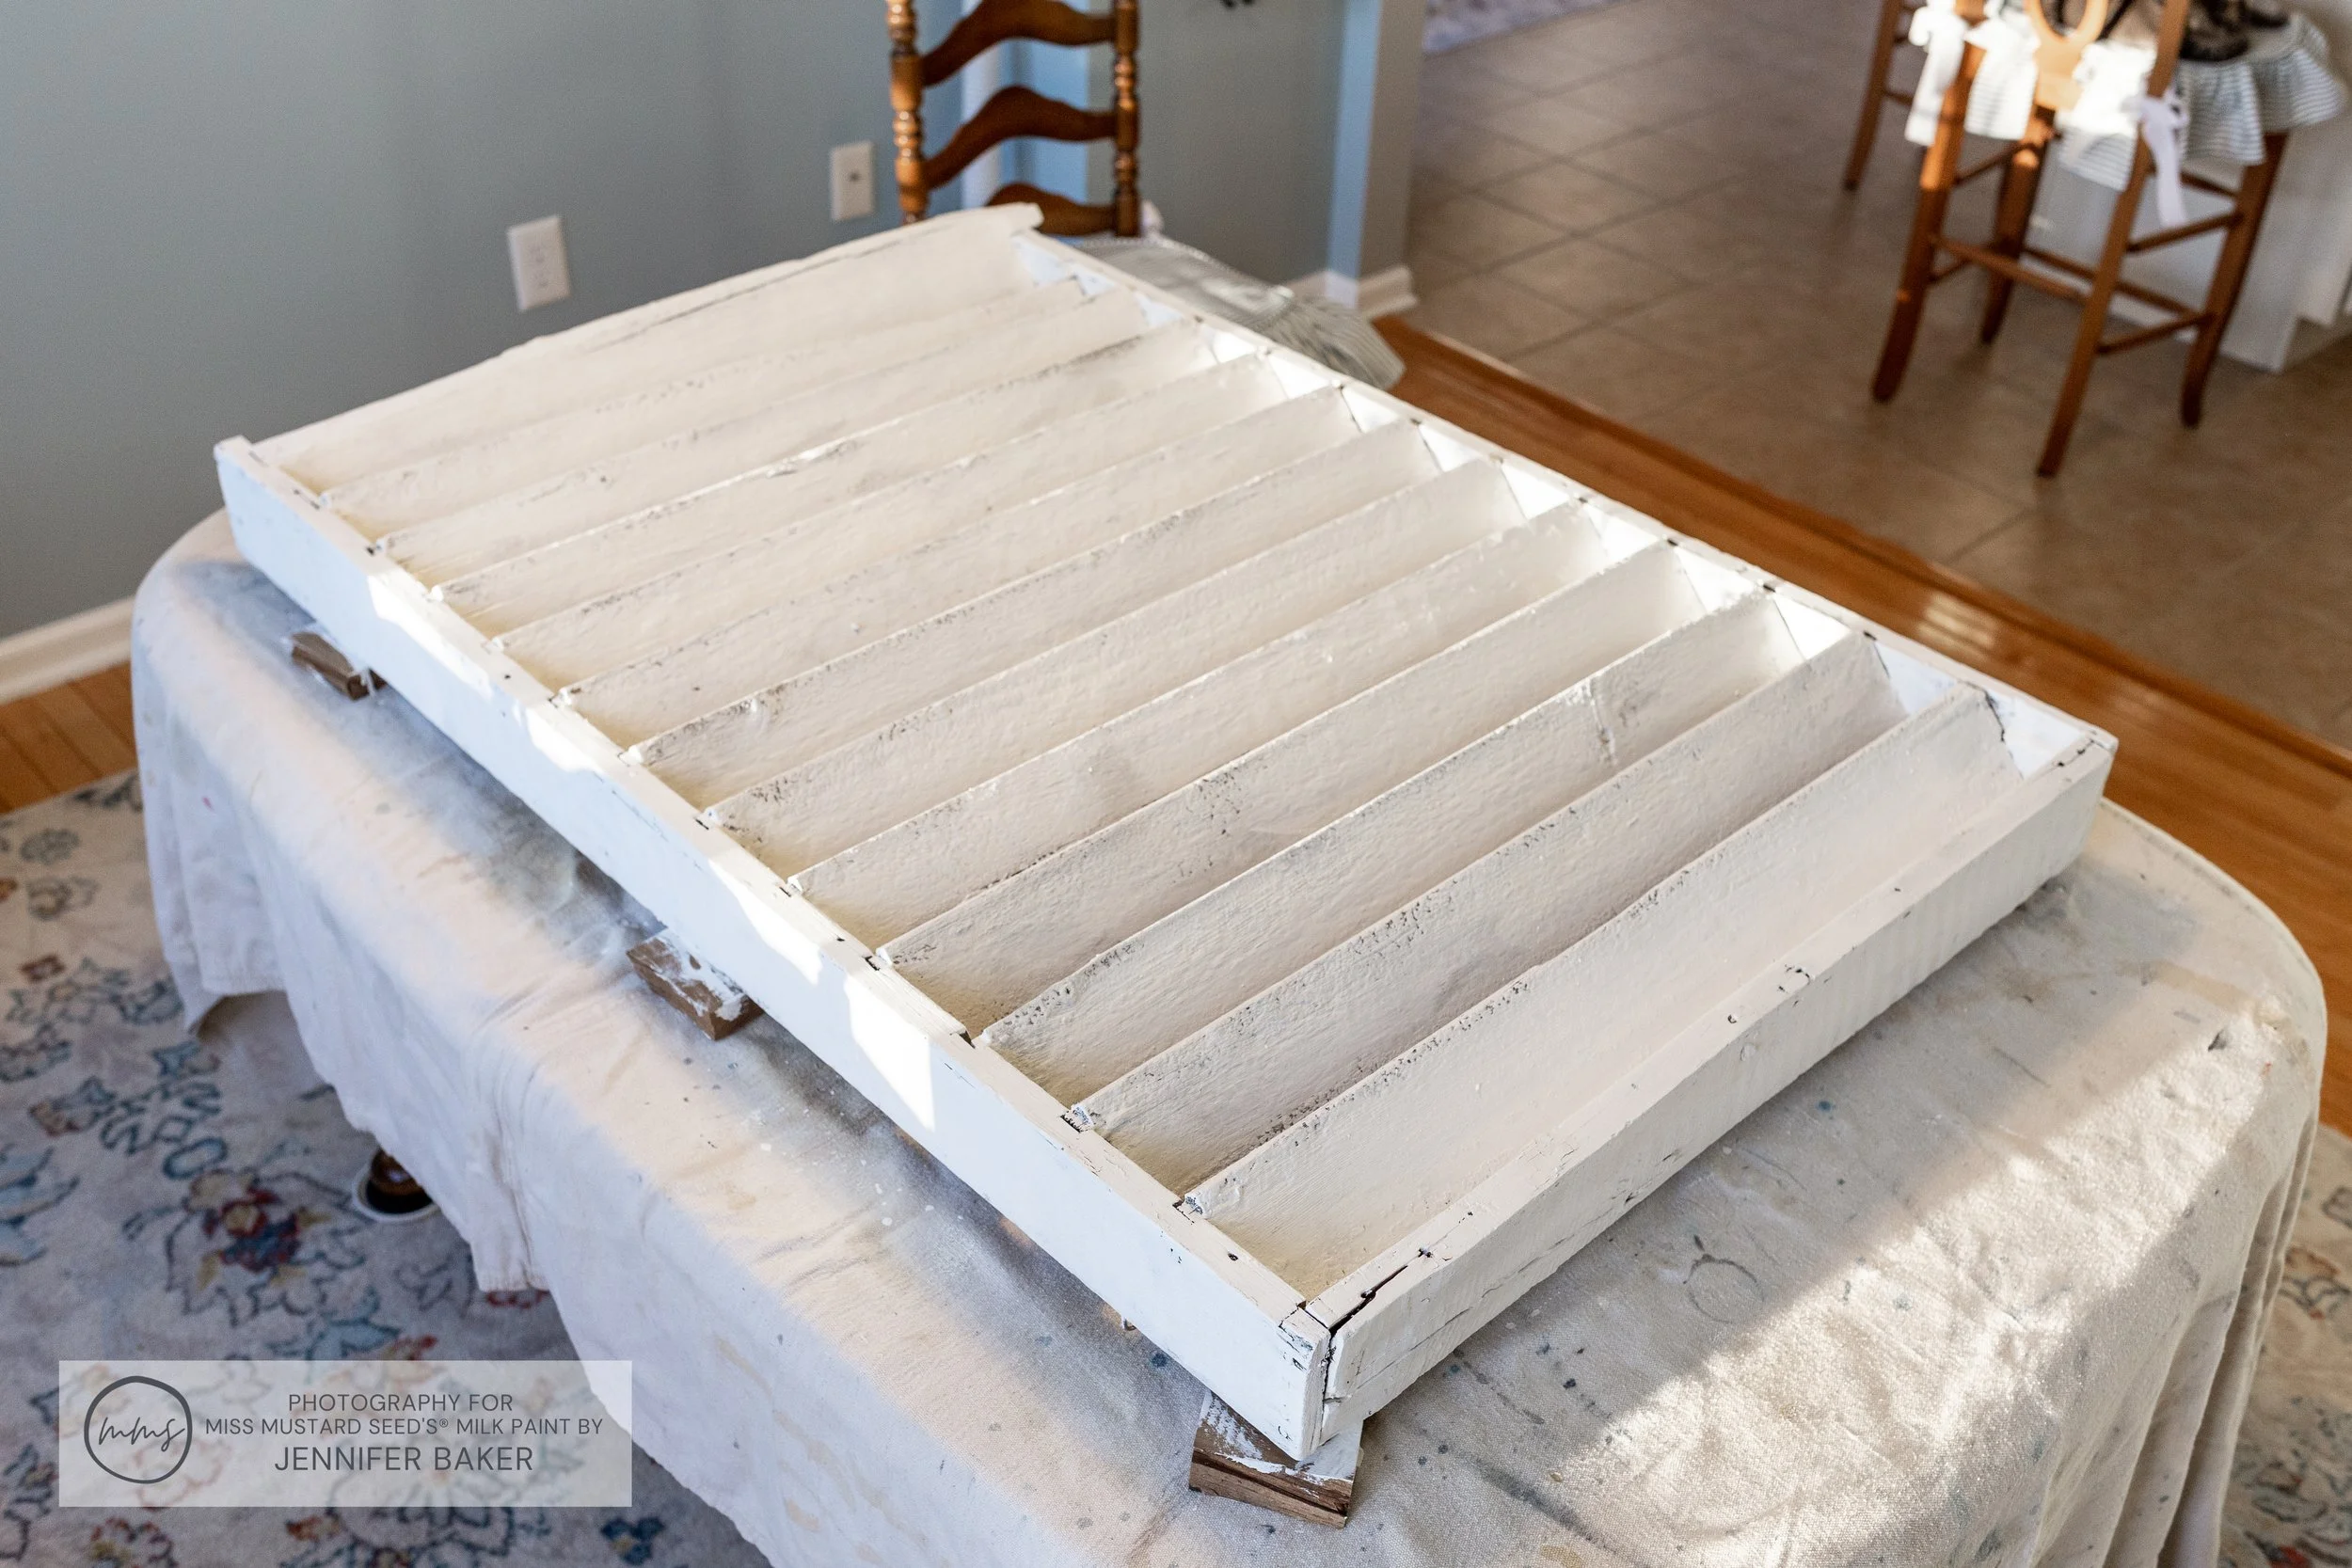
You could tell where I had placed the wax resist too. There were patches here and there that were crackled and the paint was buckling.

These were the places where magic was about to happen!

Distressing The Barn Vent
Once my barn vent was dry (which didn’t take long at all), I took it outside on our deck to be sanded.

Since the wood was so rough, and I wanted a very aggressive distressing pattern, I used 80 grit sandpaper.

I ran the sandpaper all over the surface of the vent. The MilkPaint™ chipped and flaked away beautifully from the areas where I applied the MilkWax™ - Clear.
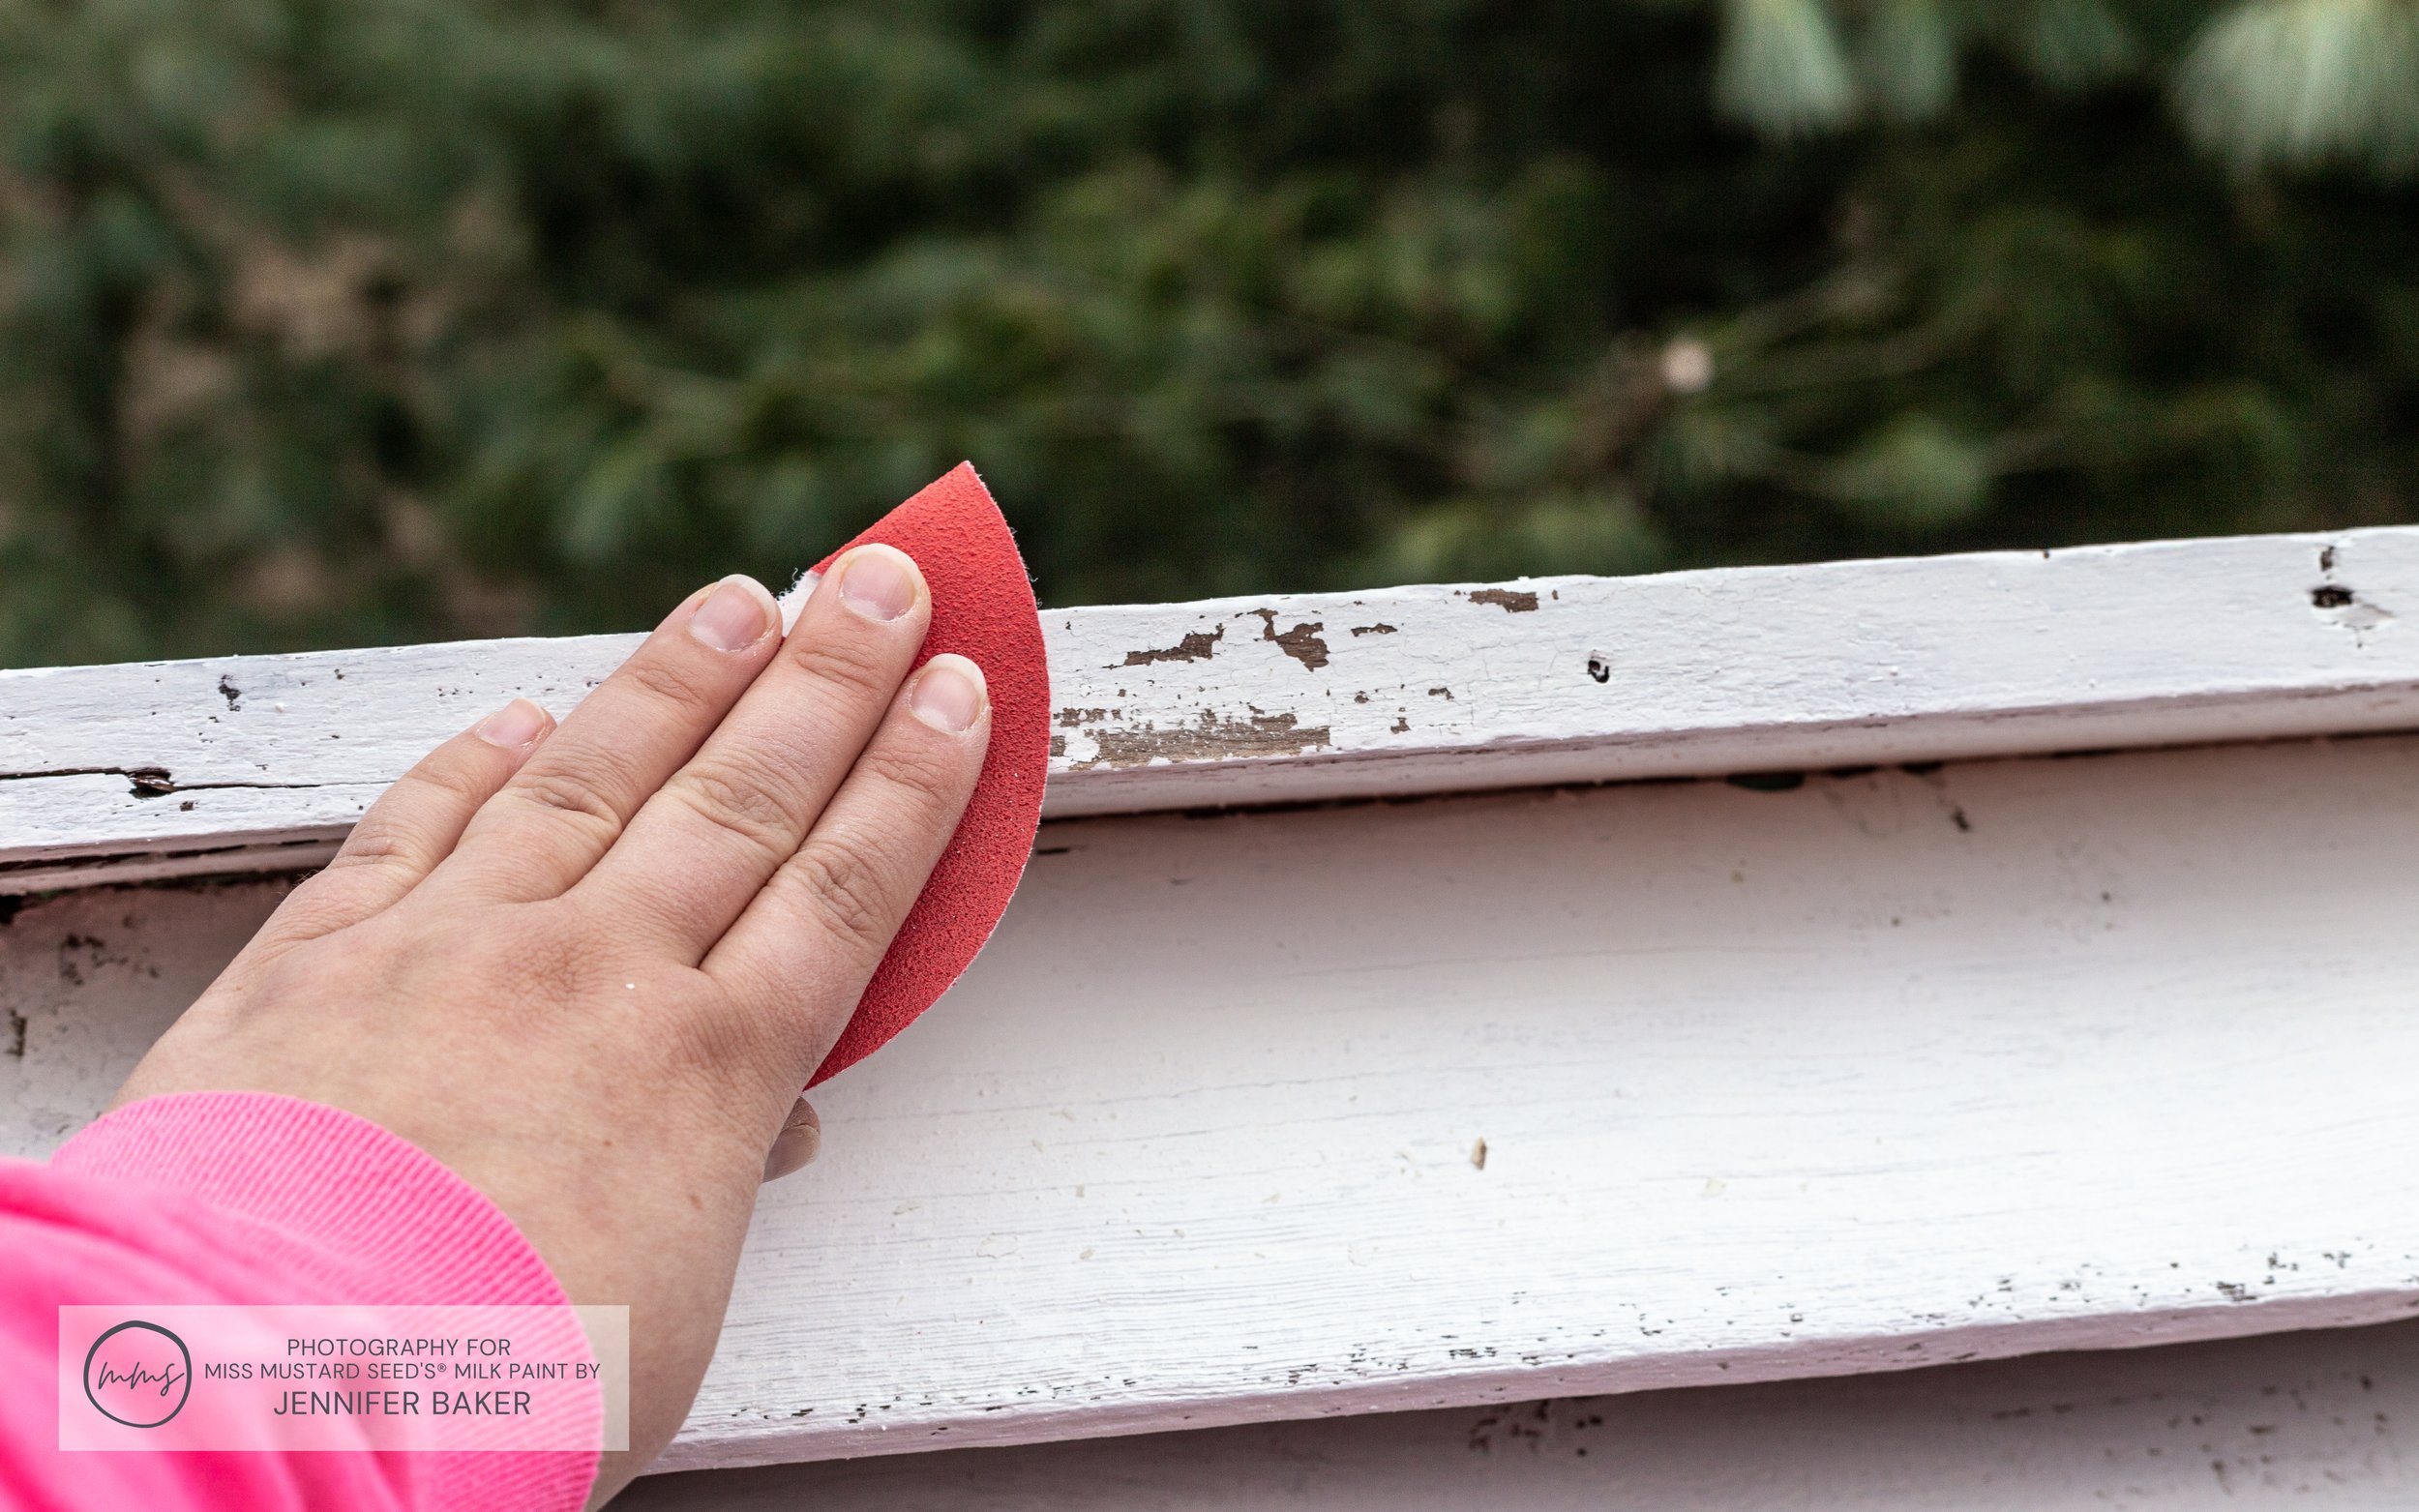
Even if you didn’t want a chippy look like this, placing a little bit of wax along the edges of your piece will make sanding SOOOO much easier!
Sealing The Barn Vent With MilkWax™ - Clear
After I had distressed and roughed-up the barn vent to my liking, I used a dust brush, broom and my vacuum to suck up all of the dust and loose debris.
Now at this stage, I could have skipped a topcoat. The barn vent was just going to hang on the wall, so it didn’t need any protection.
The reason why I decided to add one is because I wanted the wood underneath the paint to be darker and create more contrast. I wanted it to stand out and be noticeable. Using MilkWax™ - Clear would give me the contrast I wanted without darkening the color of the Ironstone MilkPaint™ too much.
I put a very light coat on the barn vent - just enough to make the wood darker, you know? I let it sit for about an hour or so, and then I wrangled my husband to help me hang it back on the wall!
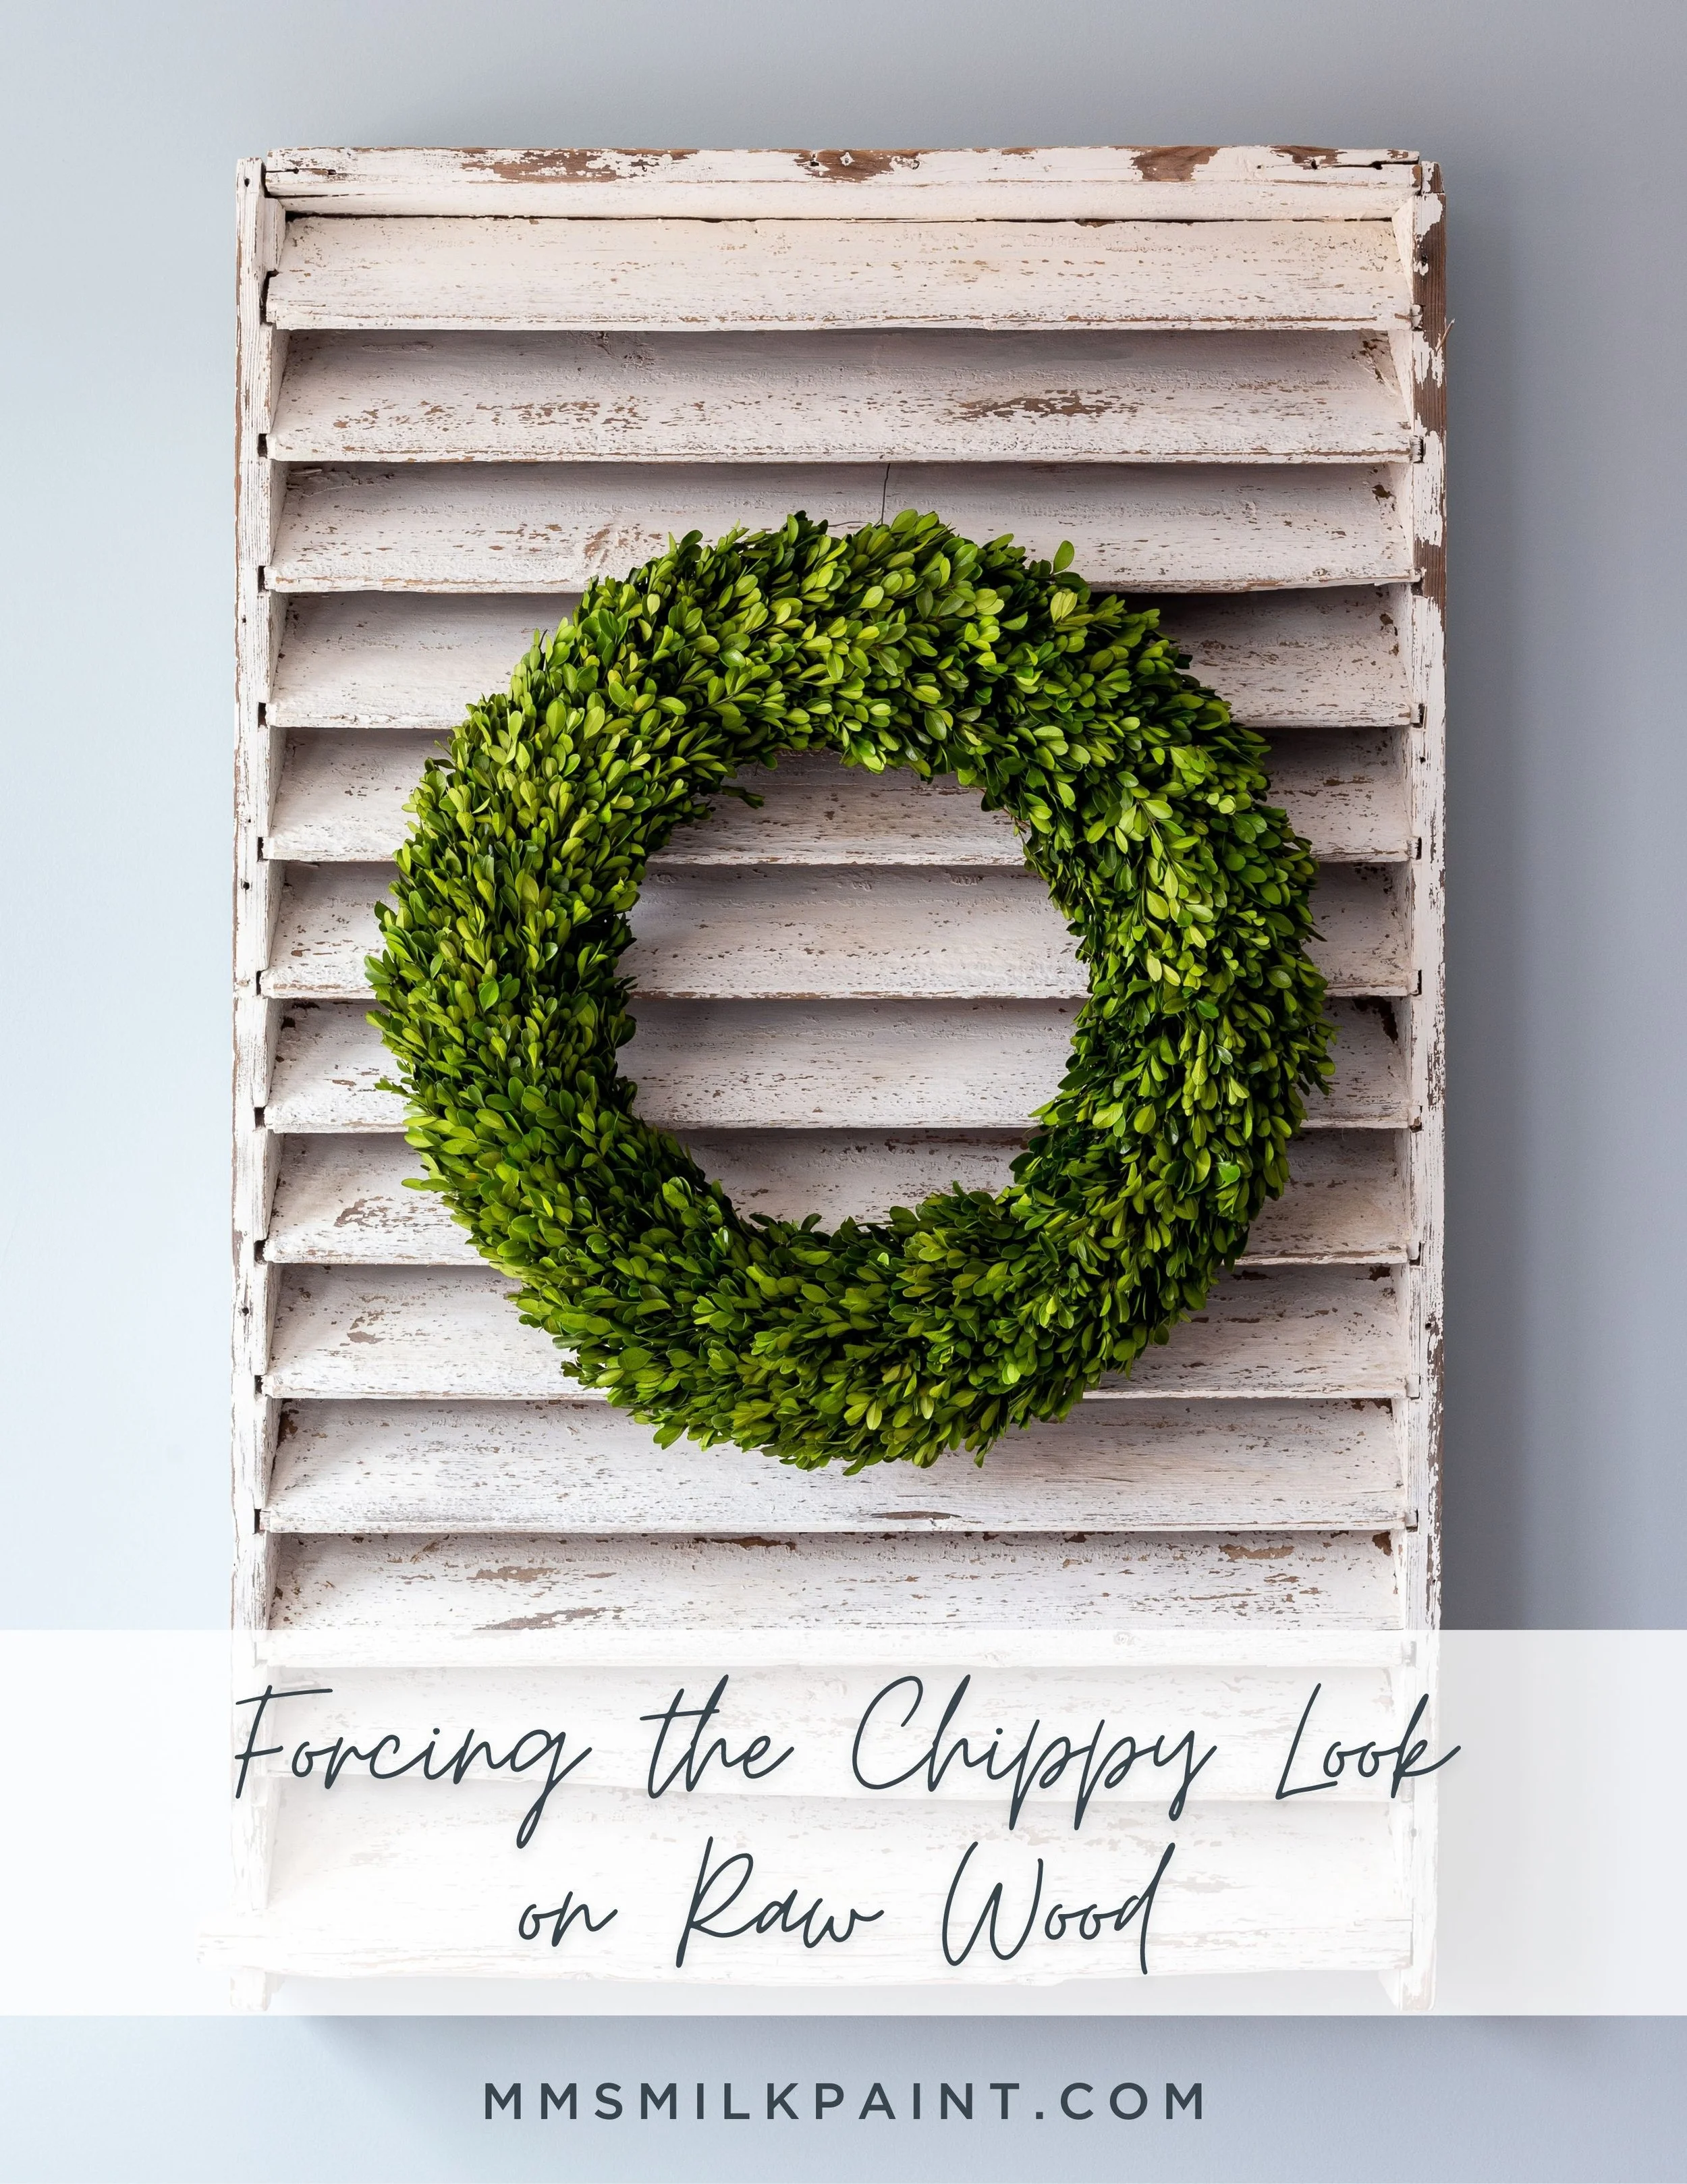
A Chippy White Salvaged Barn Vent
The barn vent signals the end of my dining room makeover. It was the last item on my to-do list, and it was super quick and easy. From start to finish, it took me about 2.5 hours including dry time.
Didn’t it turn out SOOO good?!

I love everything about it from its imperfect shape to its rustic and weathered texture.

On the wall opposite the barn vent, I have a faux fireplace mantle flanked by 2 shutters with preserved boxwood wreaths.

To keep things consistent, I added a large preserved boxwood wreath on the barn vent. The fresh and bright grassy green pops so nicely against the crisp white of the Ironstone MilkPaint™.

Between the natural texture of the weathered wood, and the forced chipping with the wax, this barn vent has so much character and farm-charm!

My dining room is such a happy, fresh and bright place to be now. I’m so proud of this space because I did a LOT of the work in here myself. I found all of the salvaged pieces (shutters, mantle top, barn vent), sewed the custom chair skirts and matching table runner and painted the wall accents.
That’s one of the best feelings as a DIY’er, isn’t it? The pride you get from your projects makes it all worth while!

This technique can be used on ANY raw wood project! Let your mind run wild with ideas.
Is there anything wooden in your home that could use a chippy makeover?
Give this a try and let us know how it goes!