
How to Make Your Own Heart Pillows for Valentine’s Day with MilkPaint™
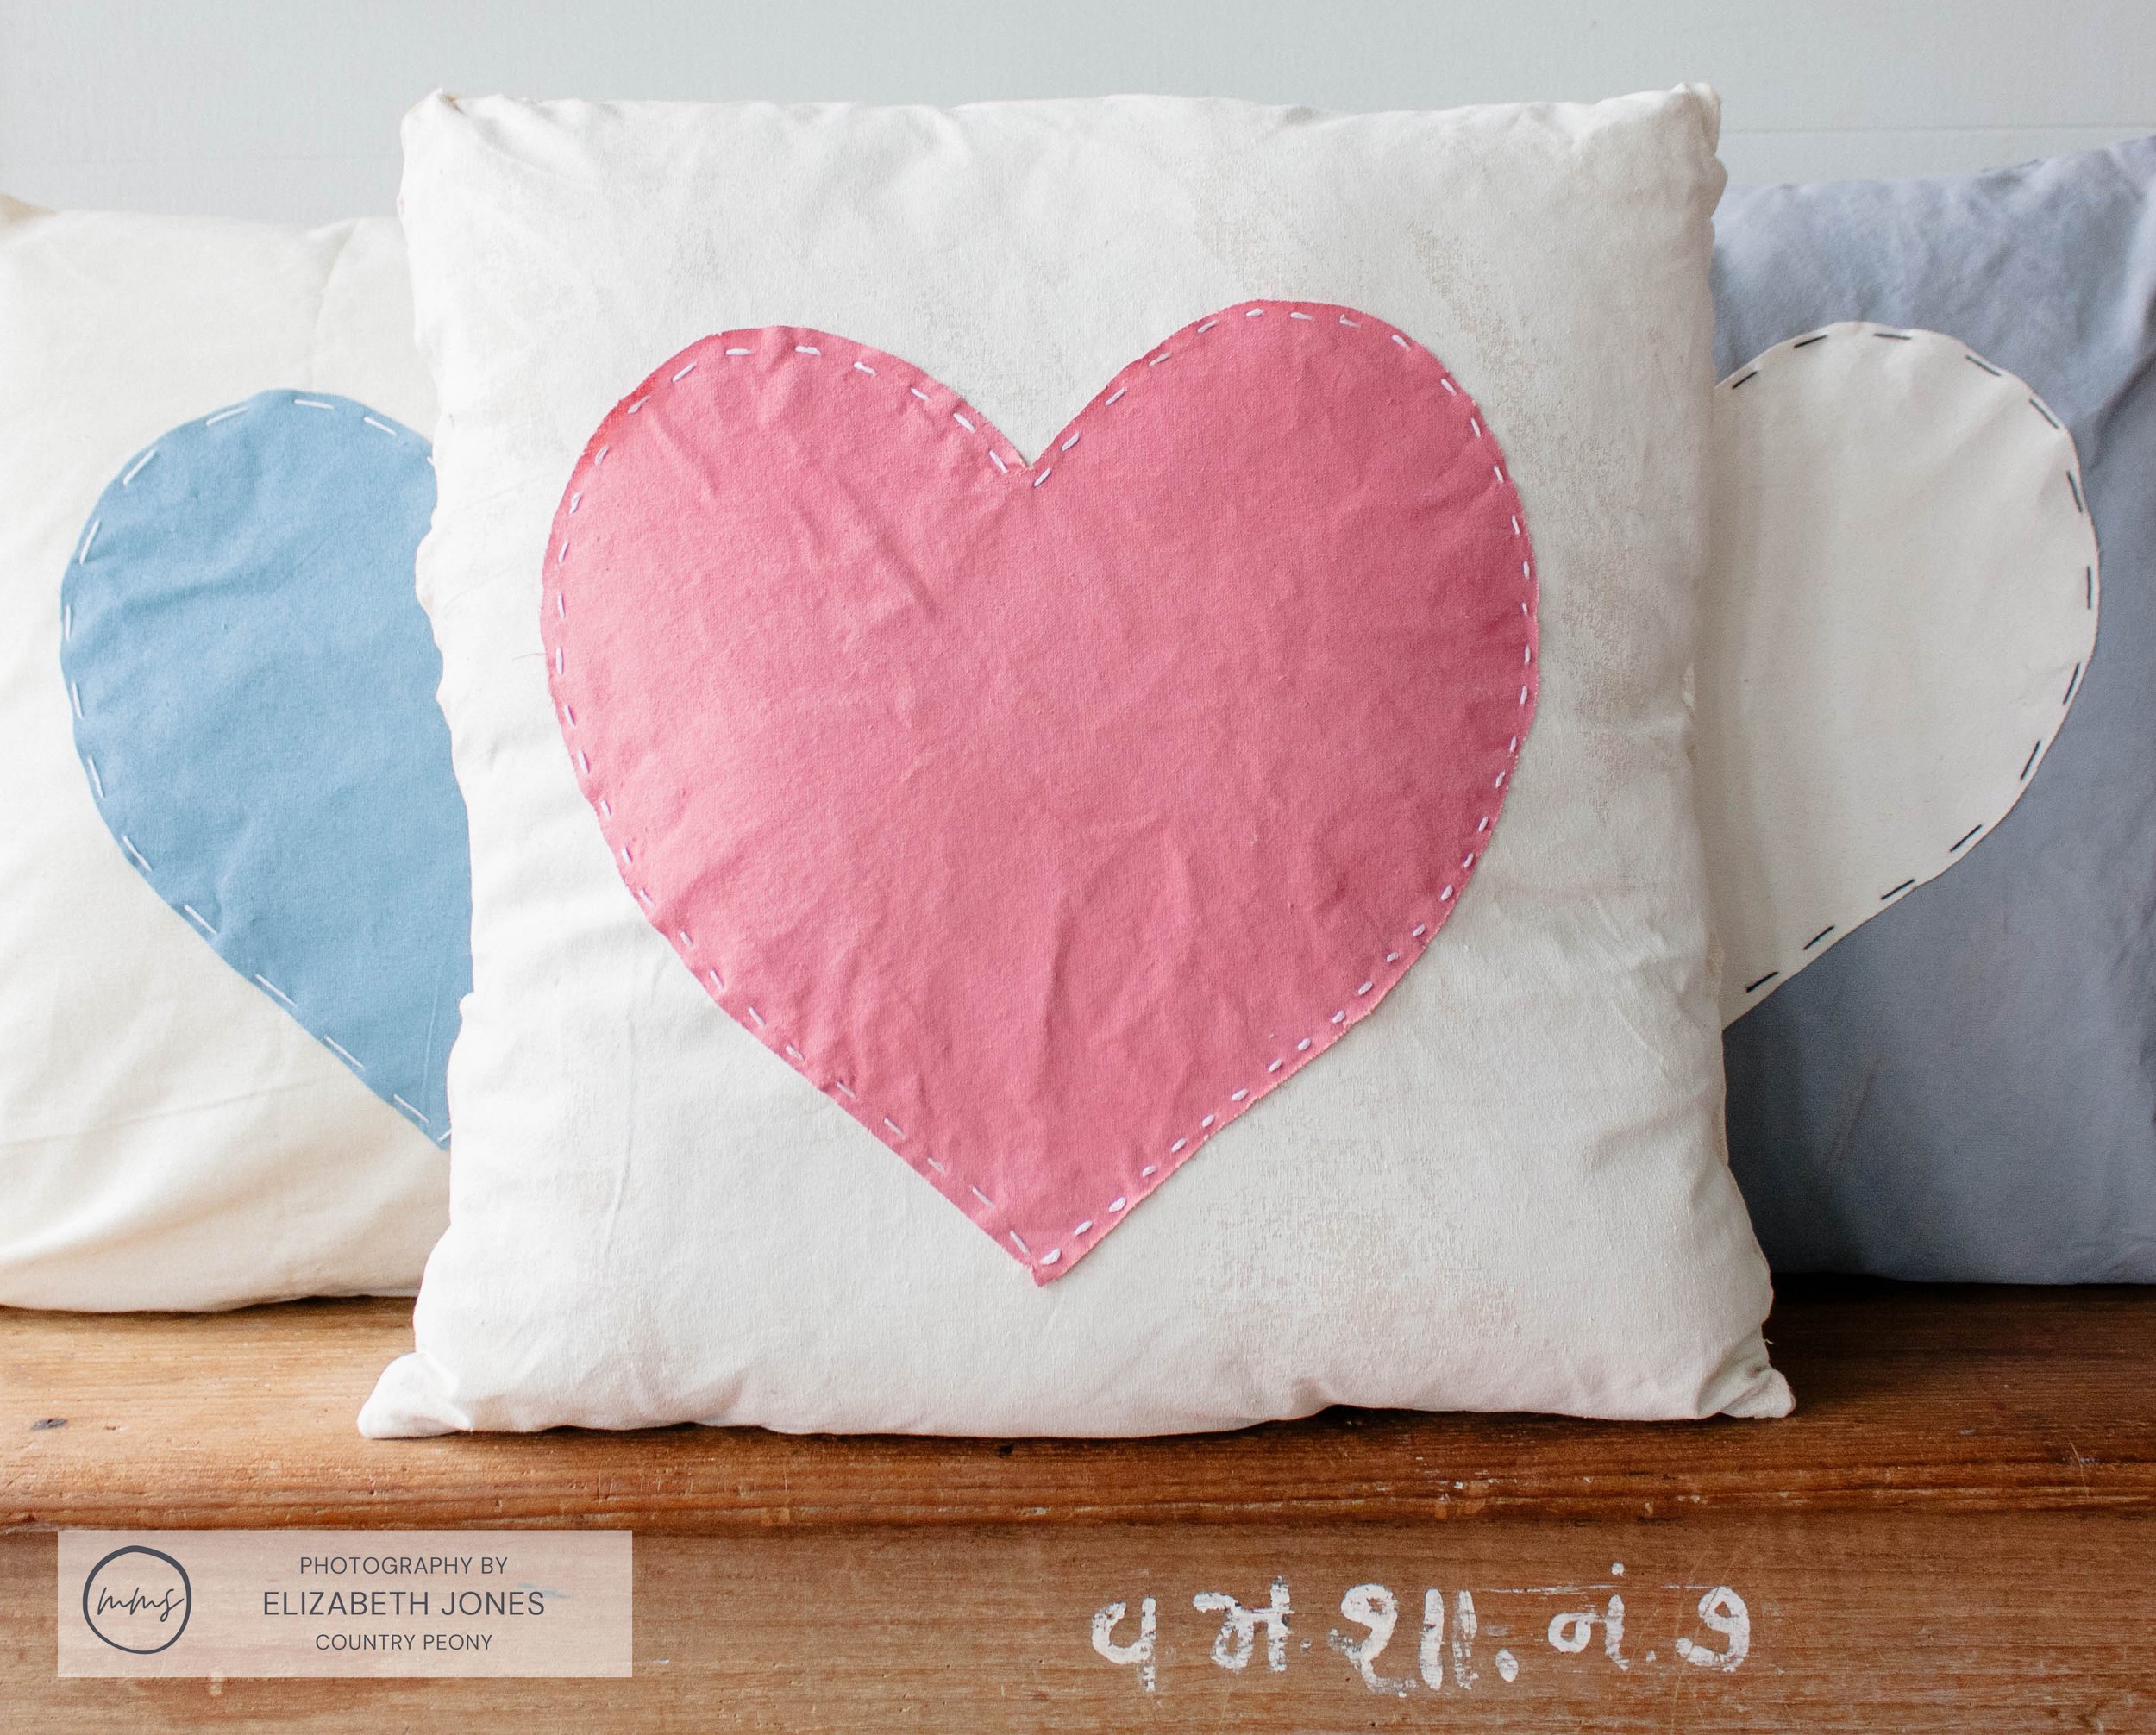
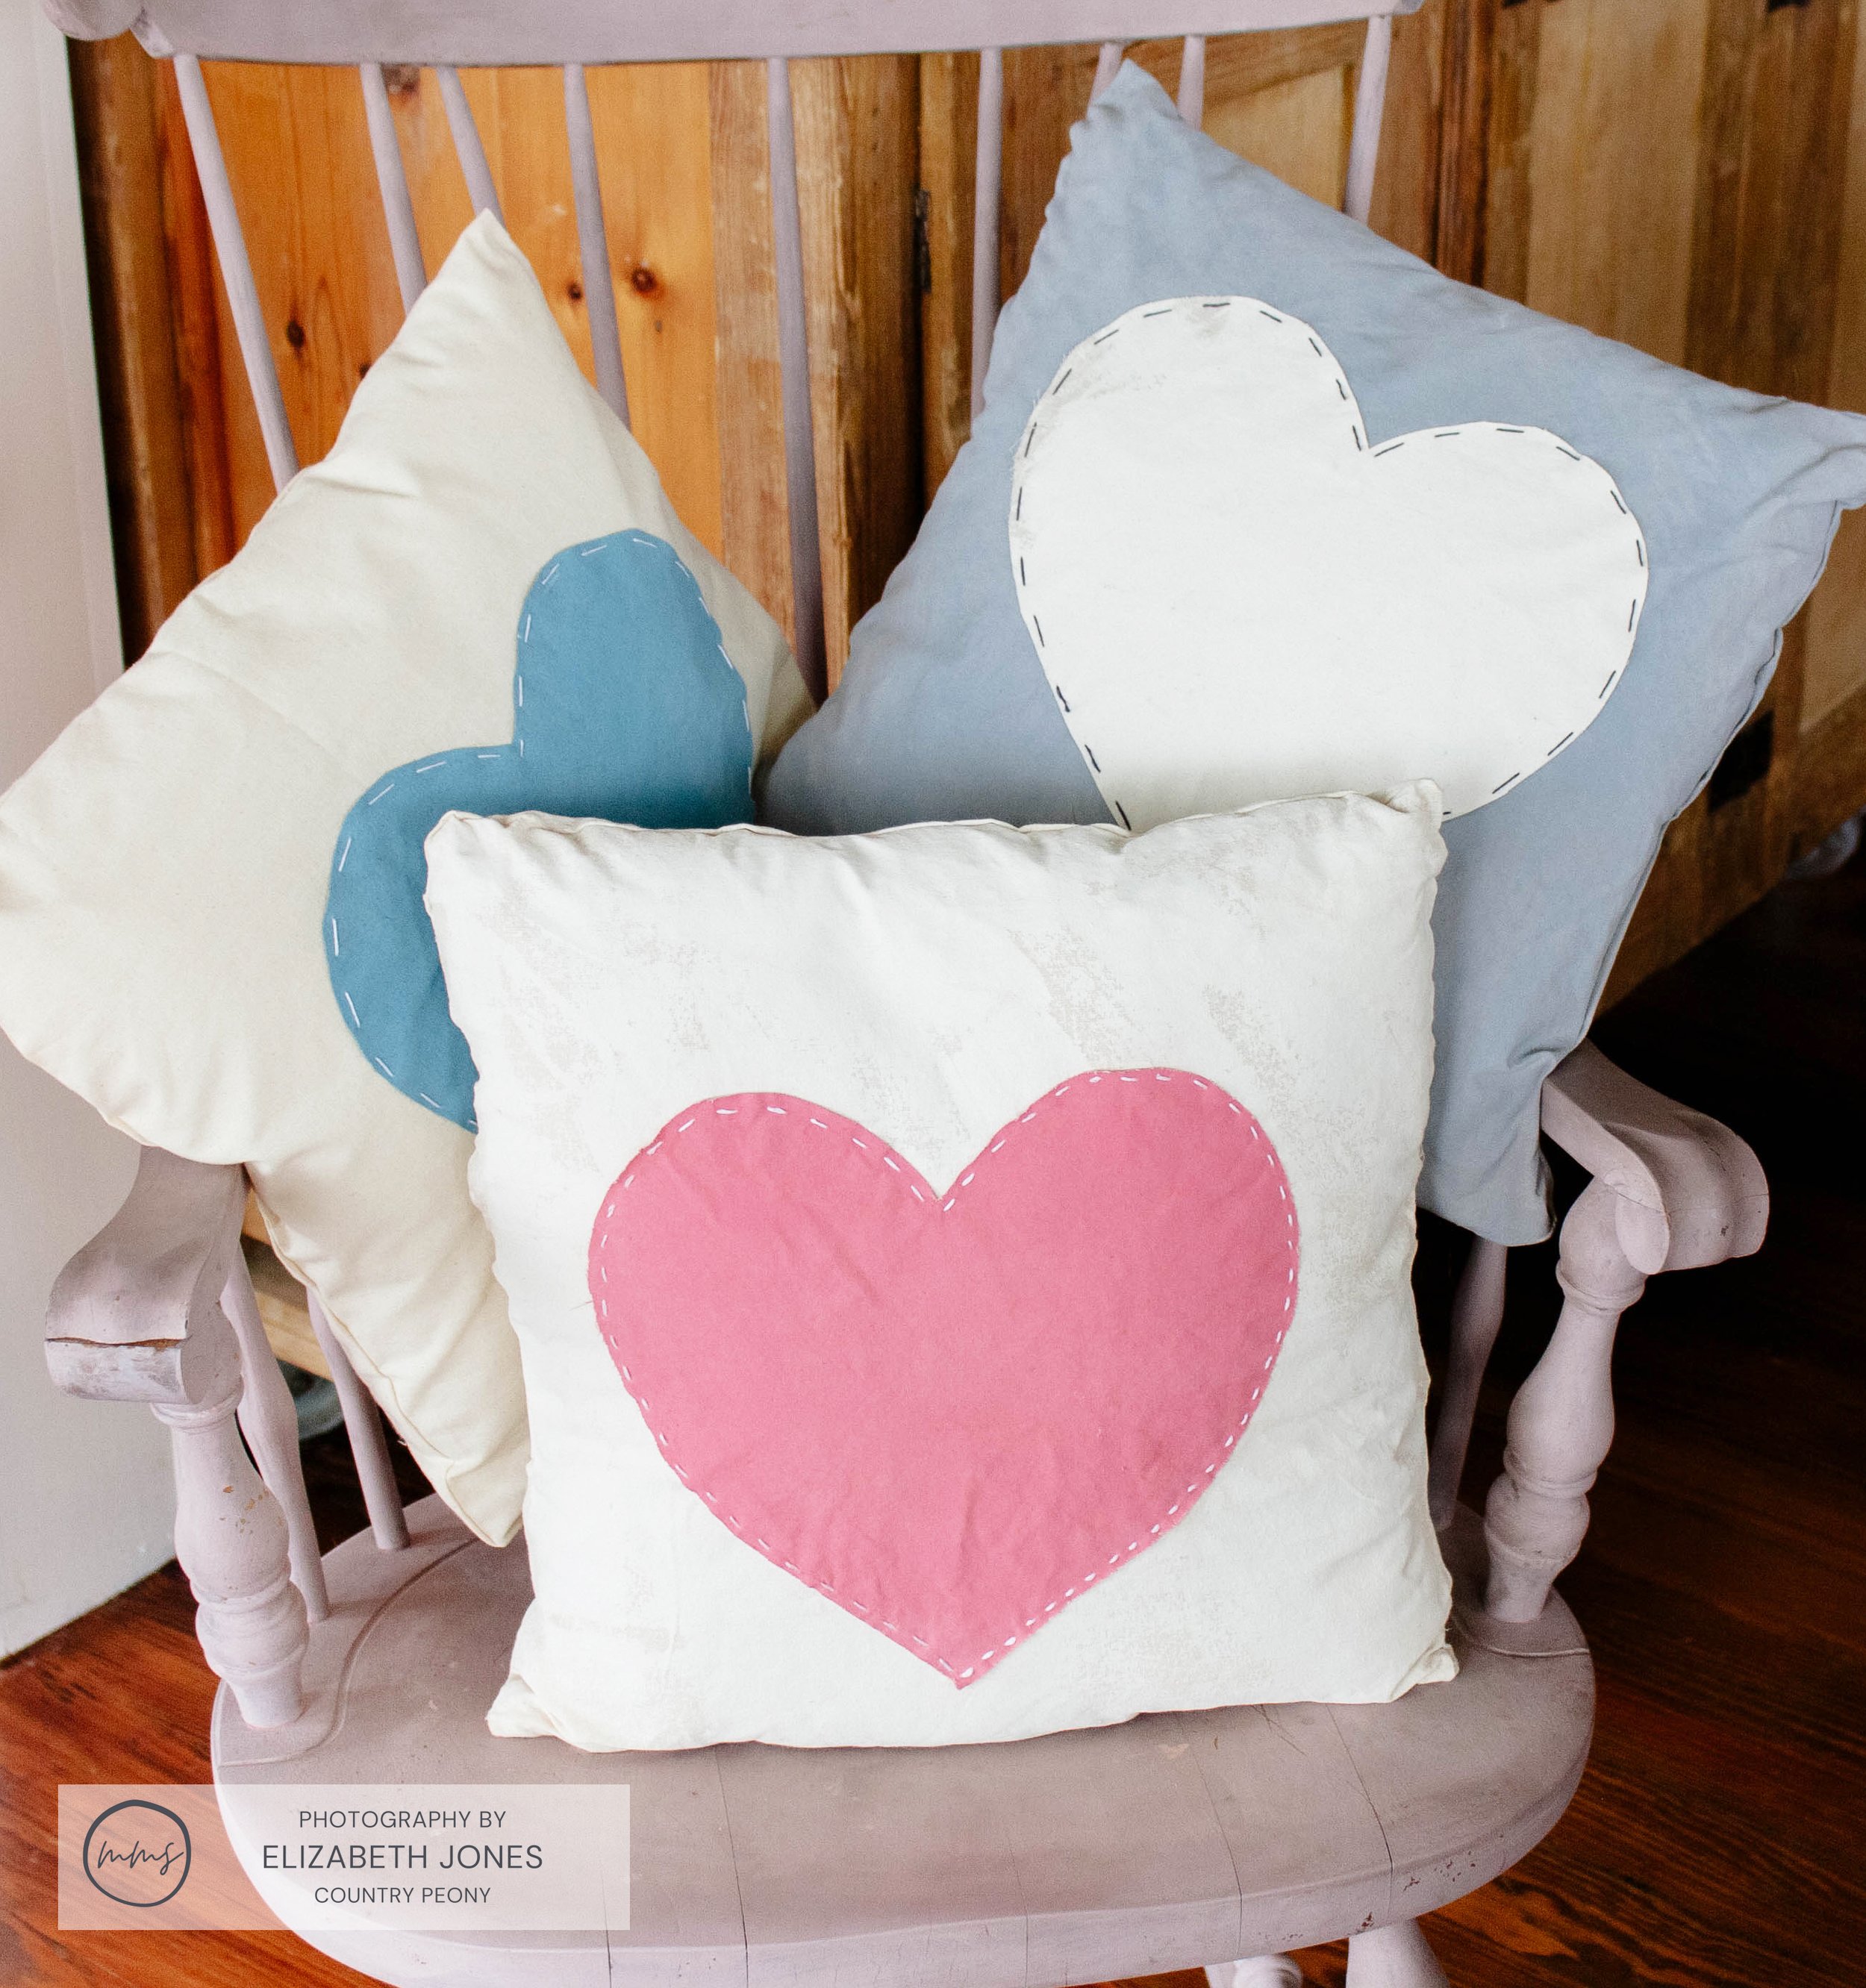
Happy February, and Happy Valentine’s Day! As a fan of red and pink, I love crafting for Valentine’s Day and decorating my home just the same! In honor of Valentine’s Day, I thought it would be so fun to use Miss Mustard Seed’s® MilkPaint™ on a different medium that would be perfect for Valentine’s Day and also charming on display year-round. Today I am going to show you that you can use Miss Mustard Seed’s® MilkPaint™ on fabric to create your own graphic and whimsical heart pillows.

I like this project because it showcases the versatility of MilkPaint™. I love using Miss Mustard Seed’s® MilkPaint™ in my crafting projects because (like furniture) MilkPaint™ adds such a gorgeous texture, lovely warmth, and beautiful dimension to any piece.
I really love how this project turned out, and I am so excited to experiment with more fabric projects; think fabric pennant banner for a children’s room, painted curtains, decorative rug, and so many more fun possibilities.
Now, let’s get painting!
DIY Heart Pillow Video Tutorial
Last week, I went LIVE on Miss Mustard Seed’s® MilkPaint™’s Facebook page to demonstrate how to make these charming pillows. You can watch the re-broadcast here and follow along with the written tutorial below.
Supplies Needed
To create your own heart pillows, you will need:
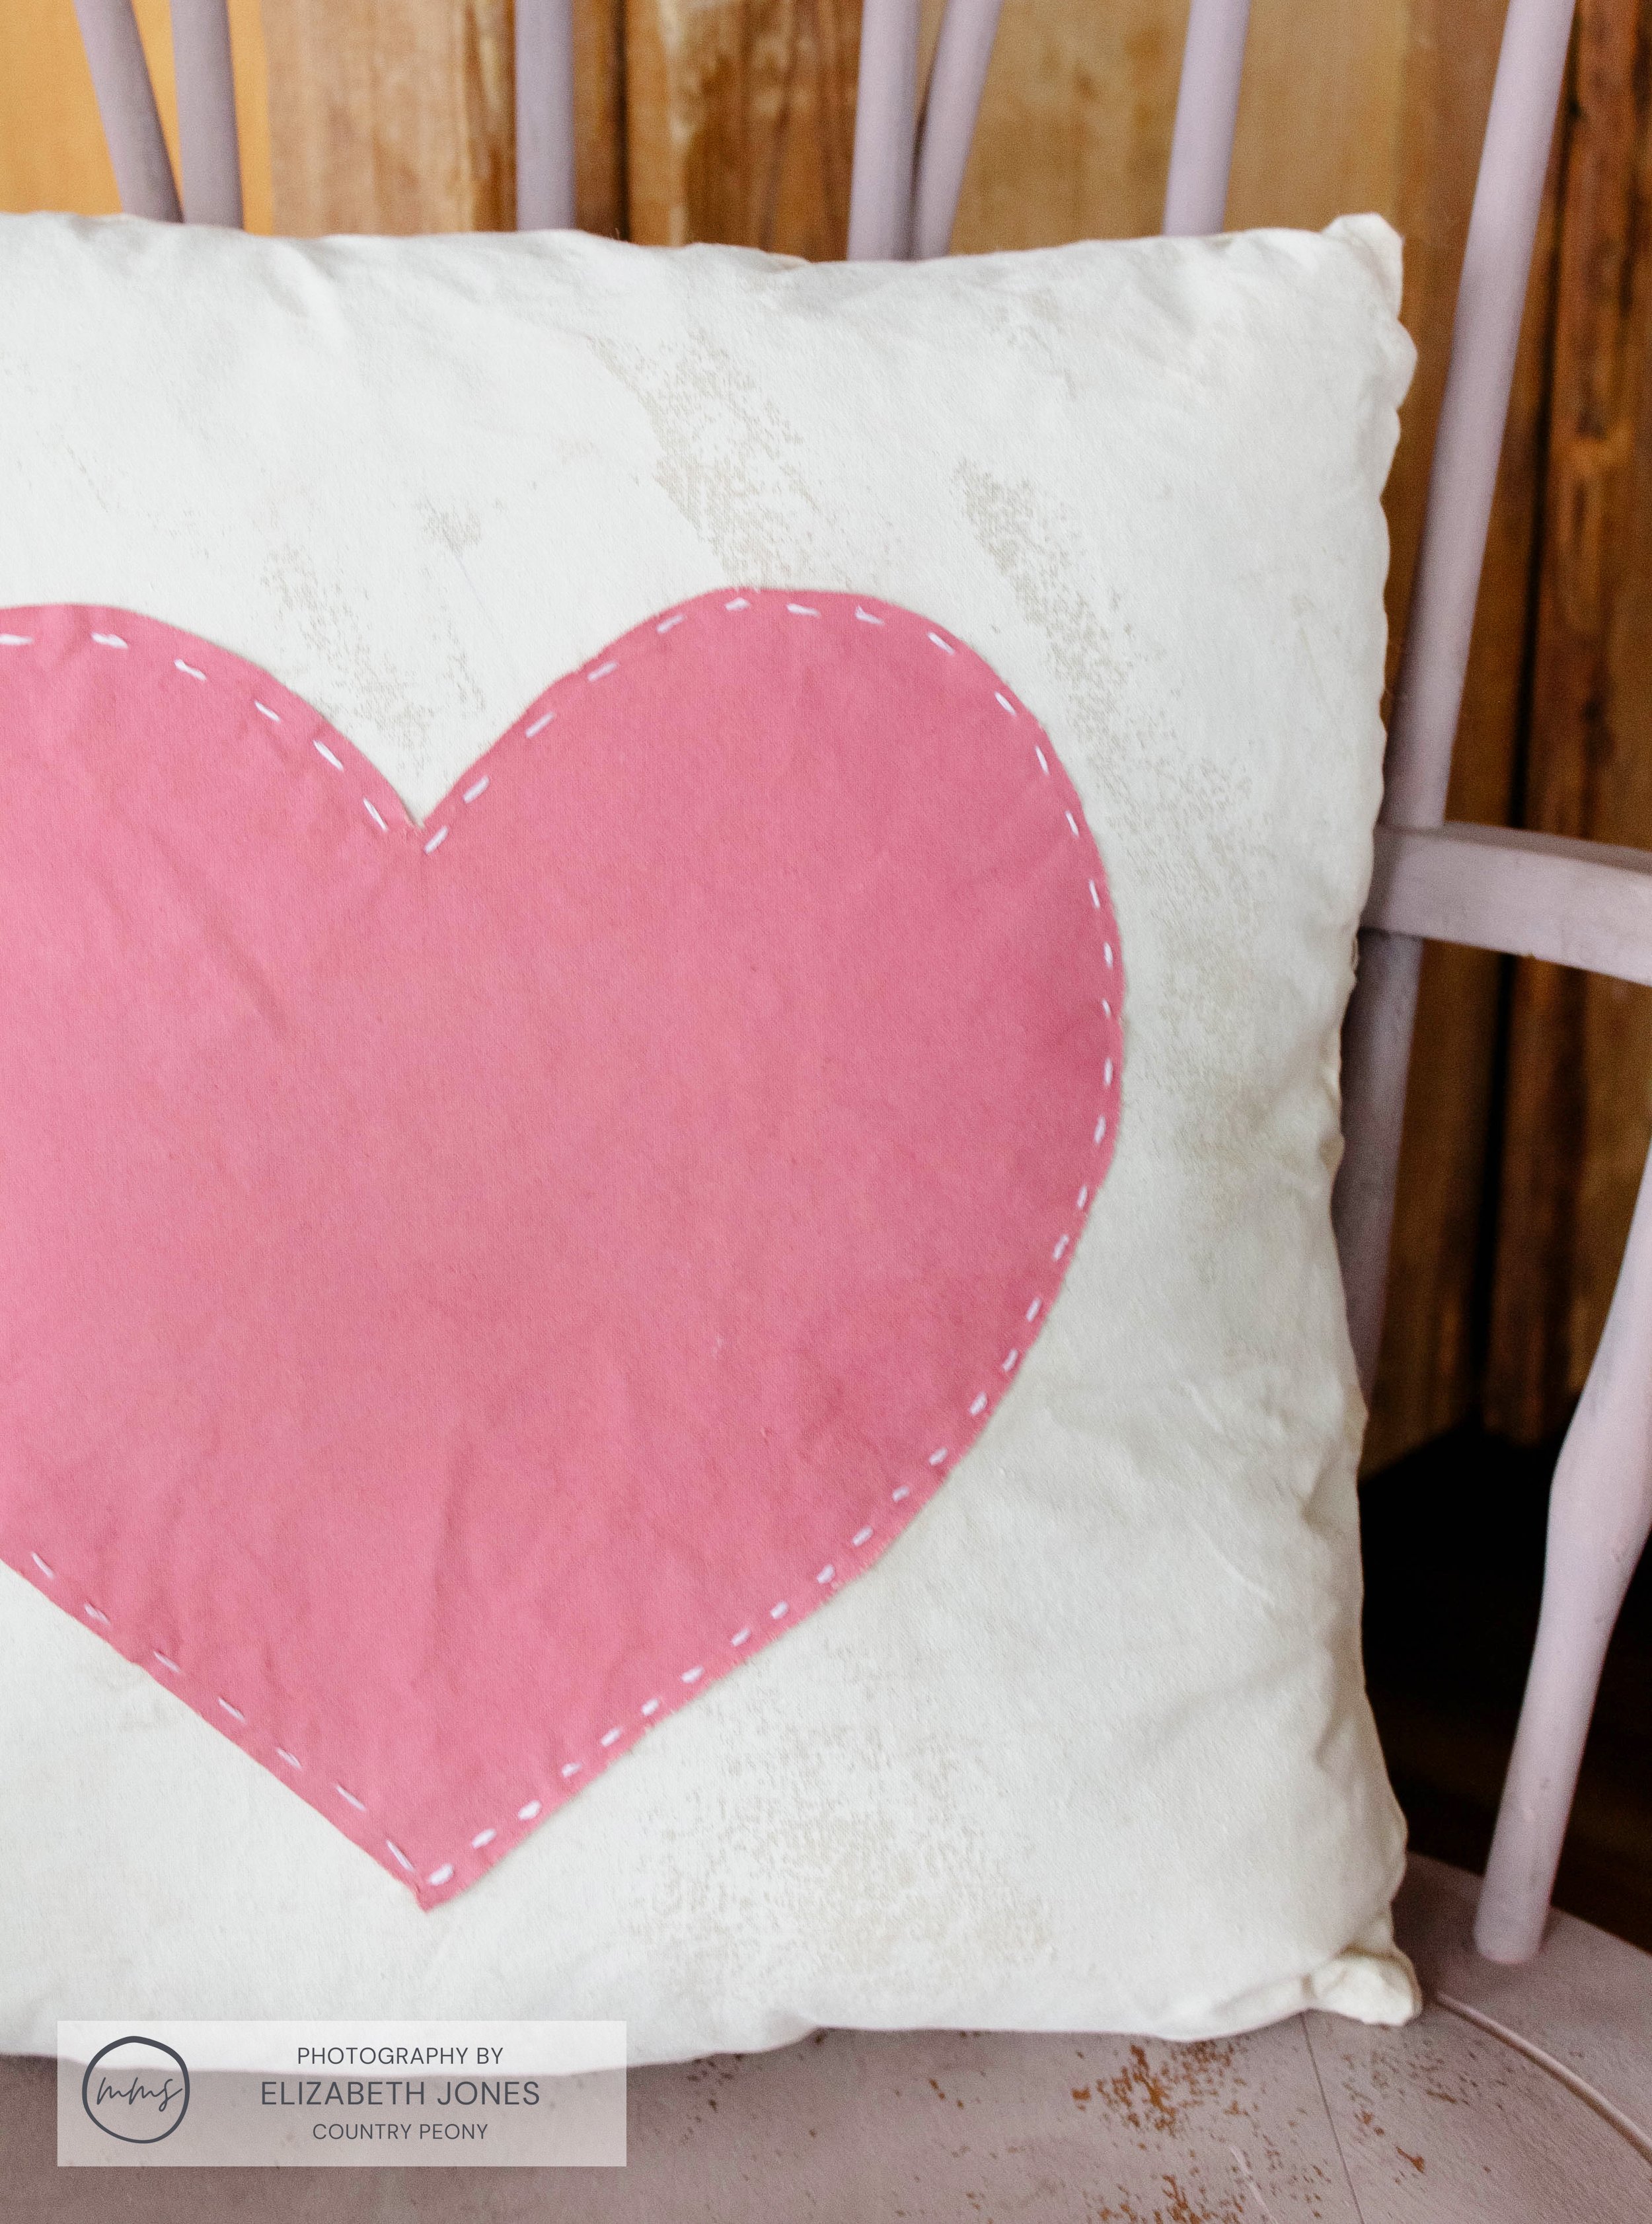
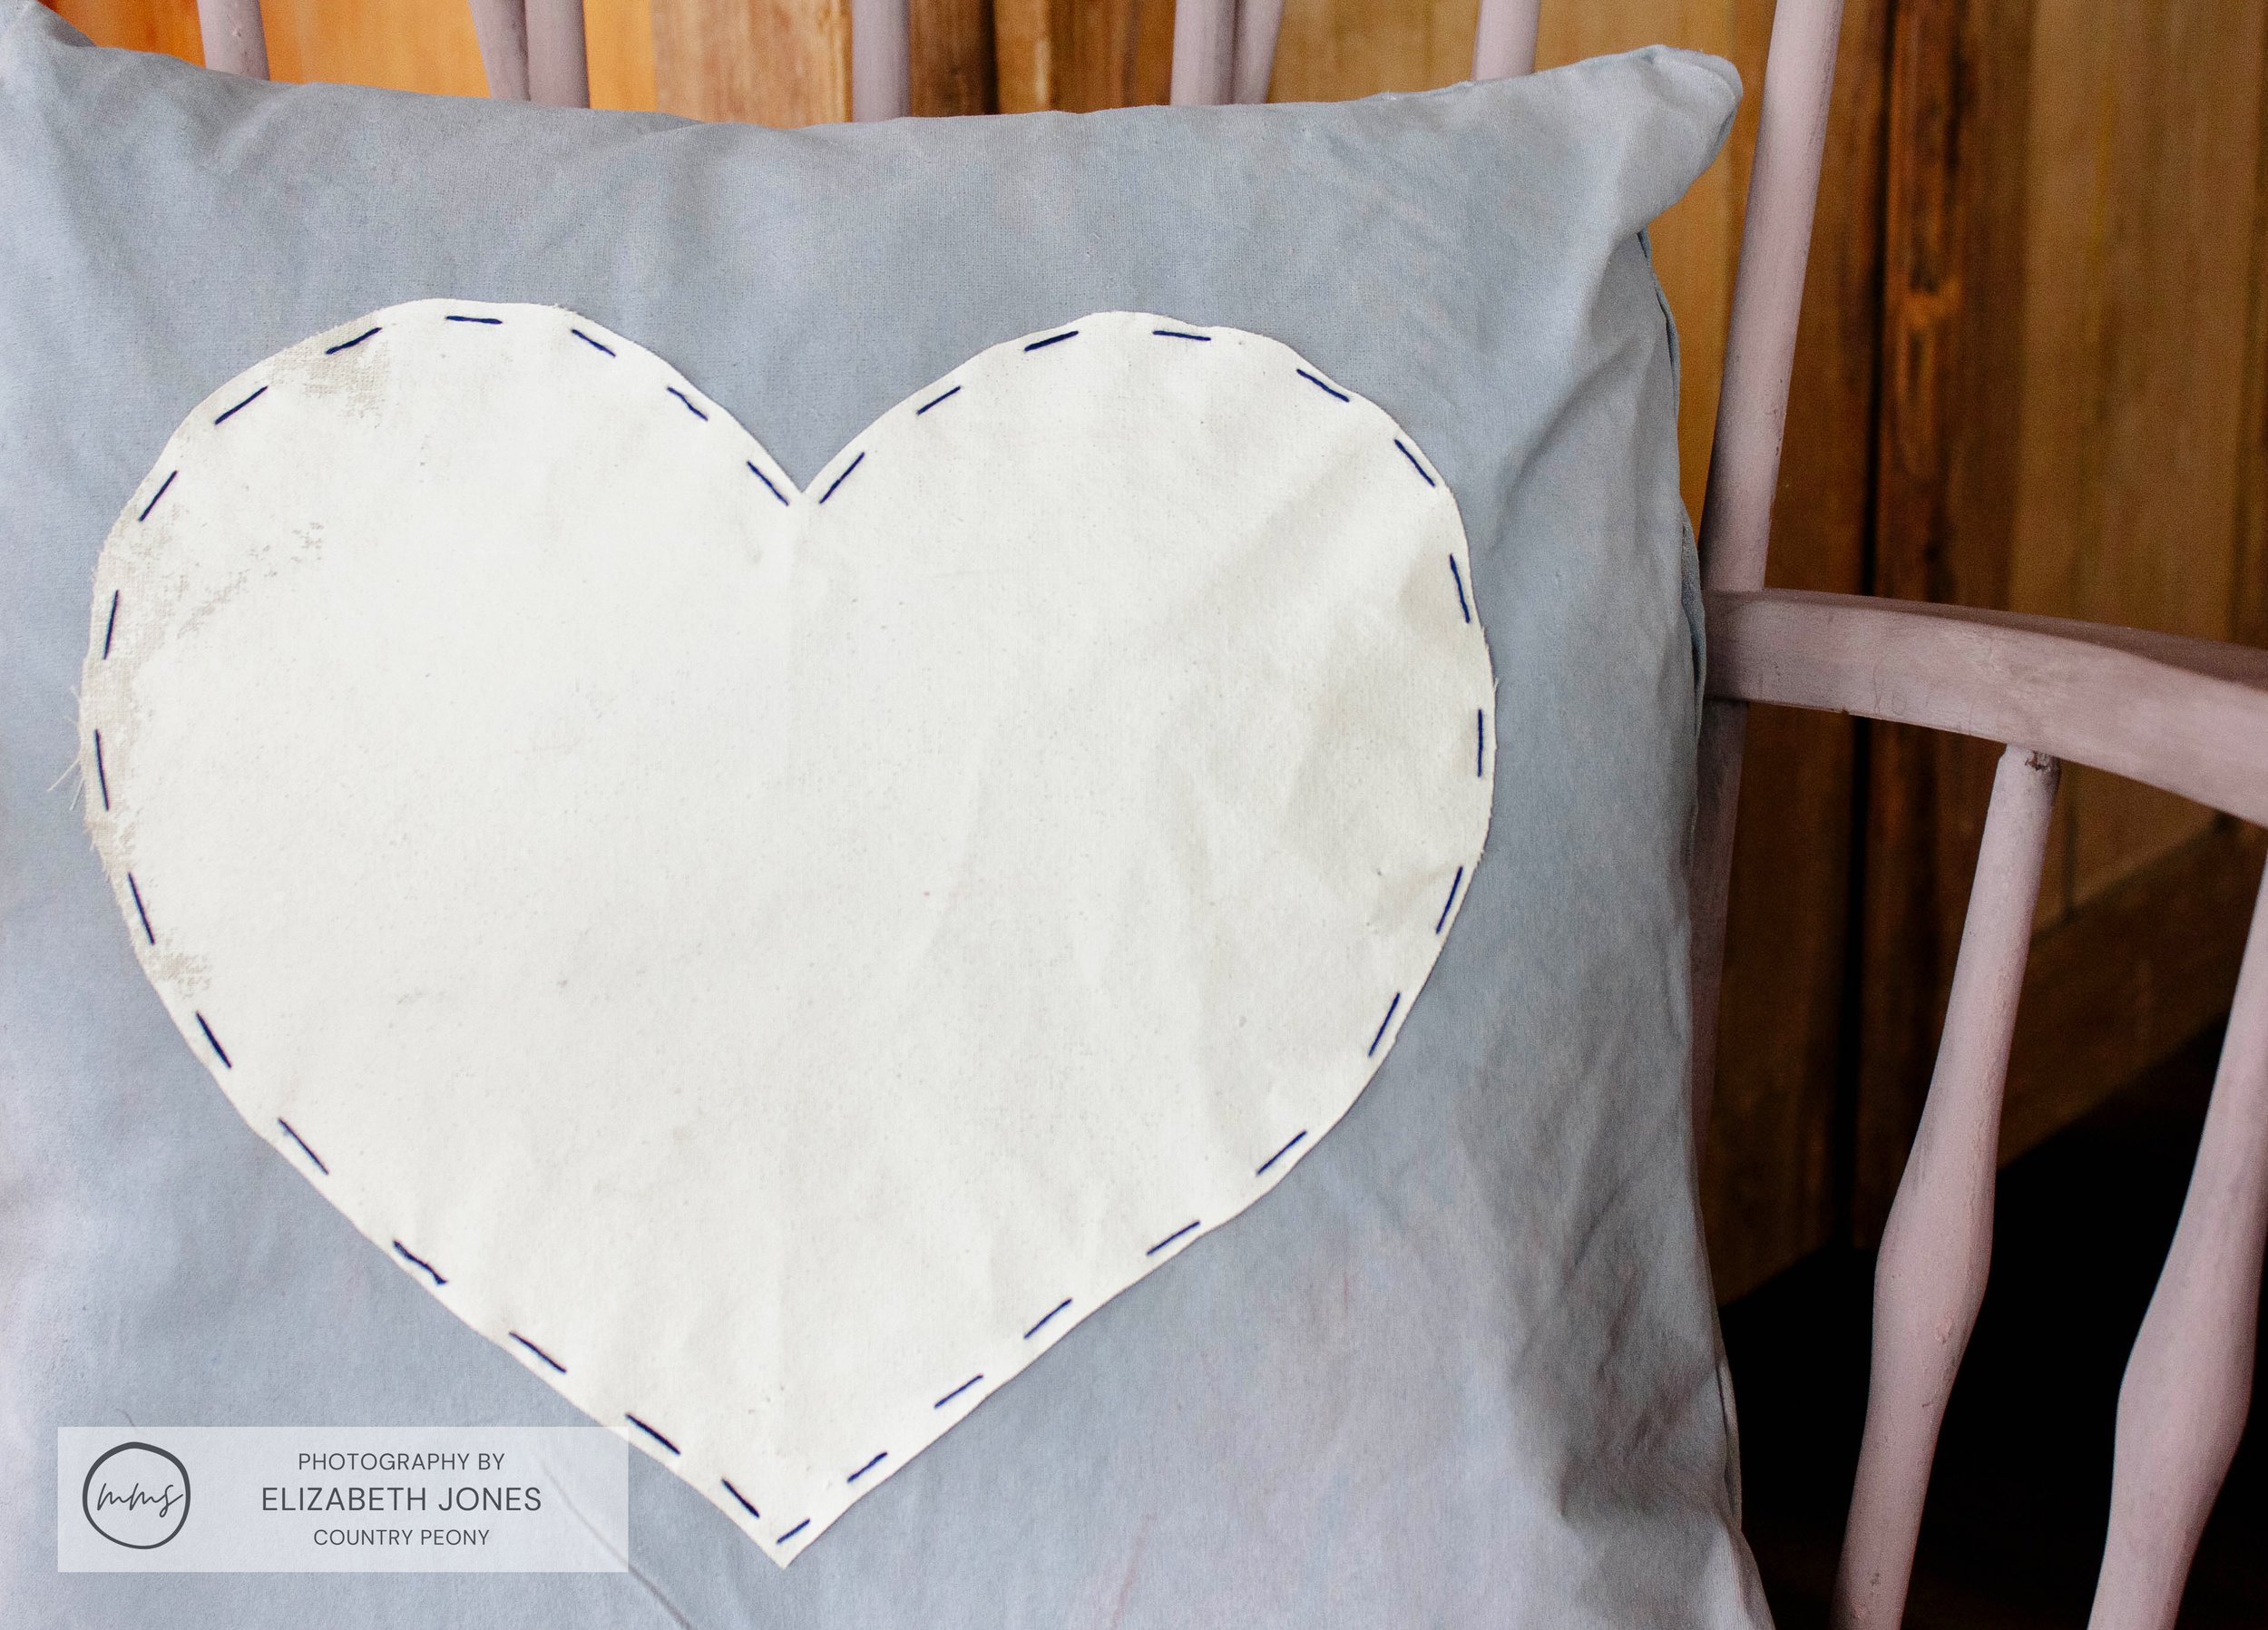
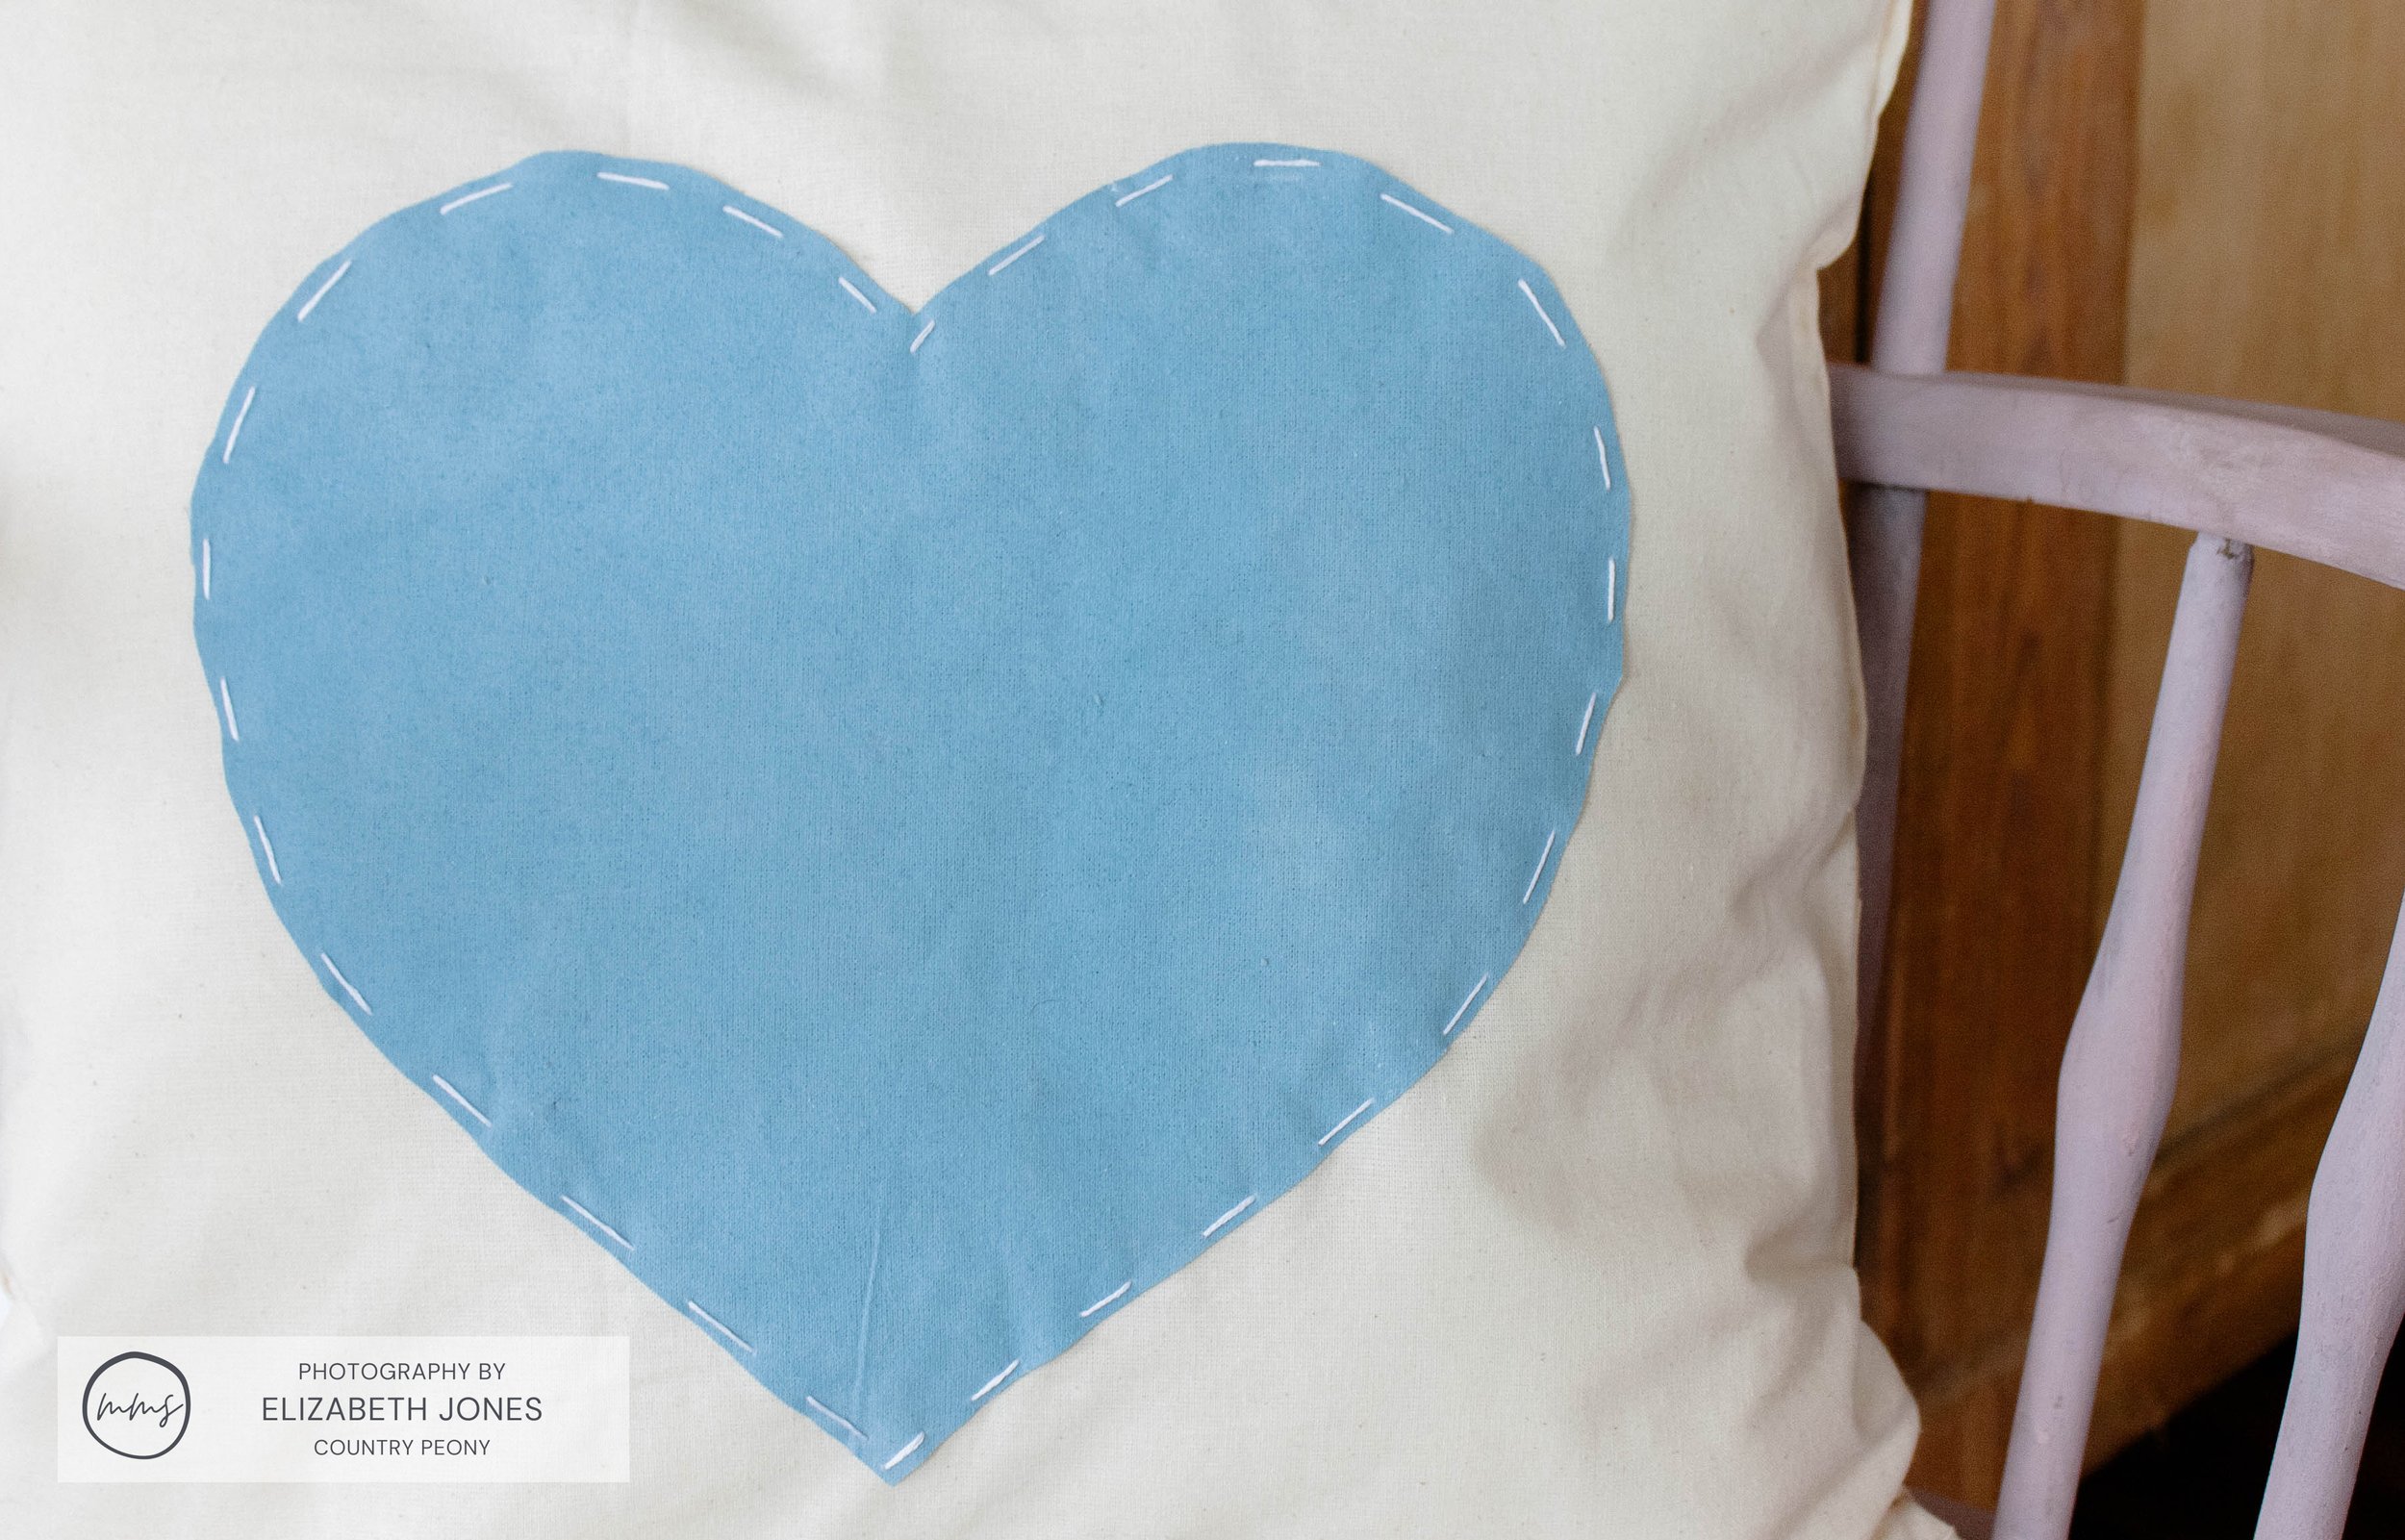
Miss Mustard Seed’s® MilkPaint™. For this project, I used Tricycle, Ironstone, French Enamel, and Dried Lavender. However, you can use whatever color best fits your color scheme.
Paintbrush
100 % cotton fabric. I used muslin for this project.
Sewing machine or fabric glue. Please feel free to use a sewing machine to make the pillows. I didn’t have my sewing machine handy, so I used Beacon’s Fabri-Tac.
Scissors
Embroidery Thread
Embroidery Needle
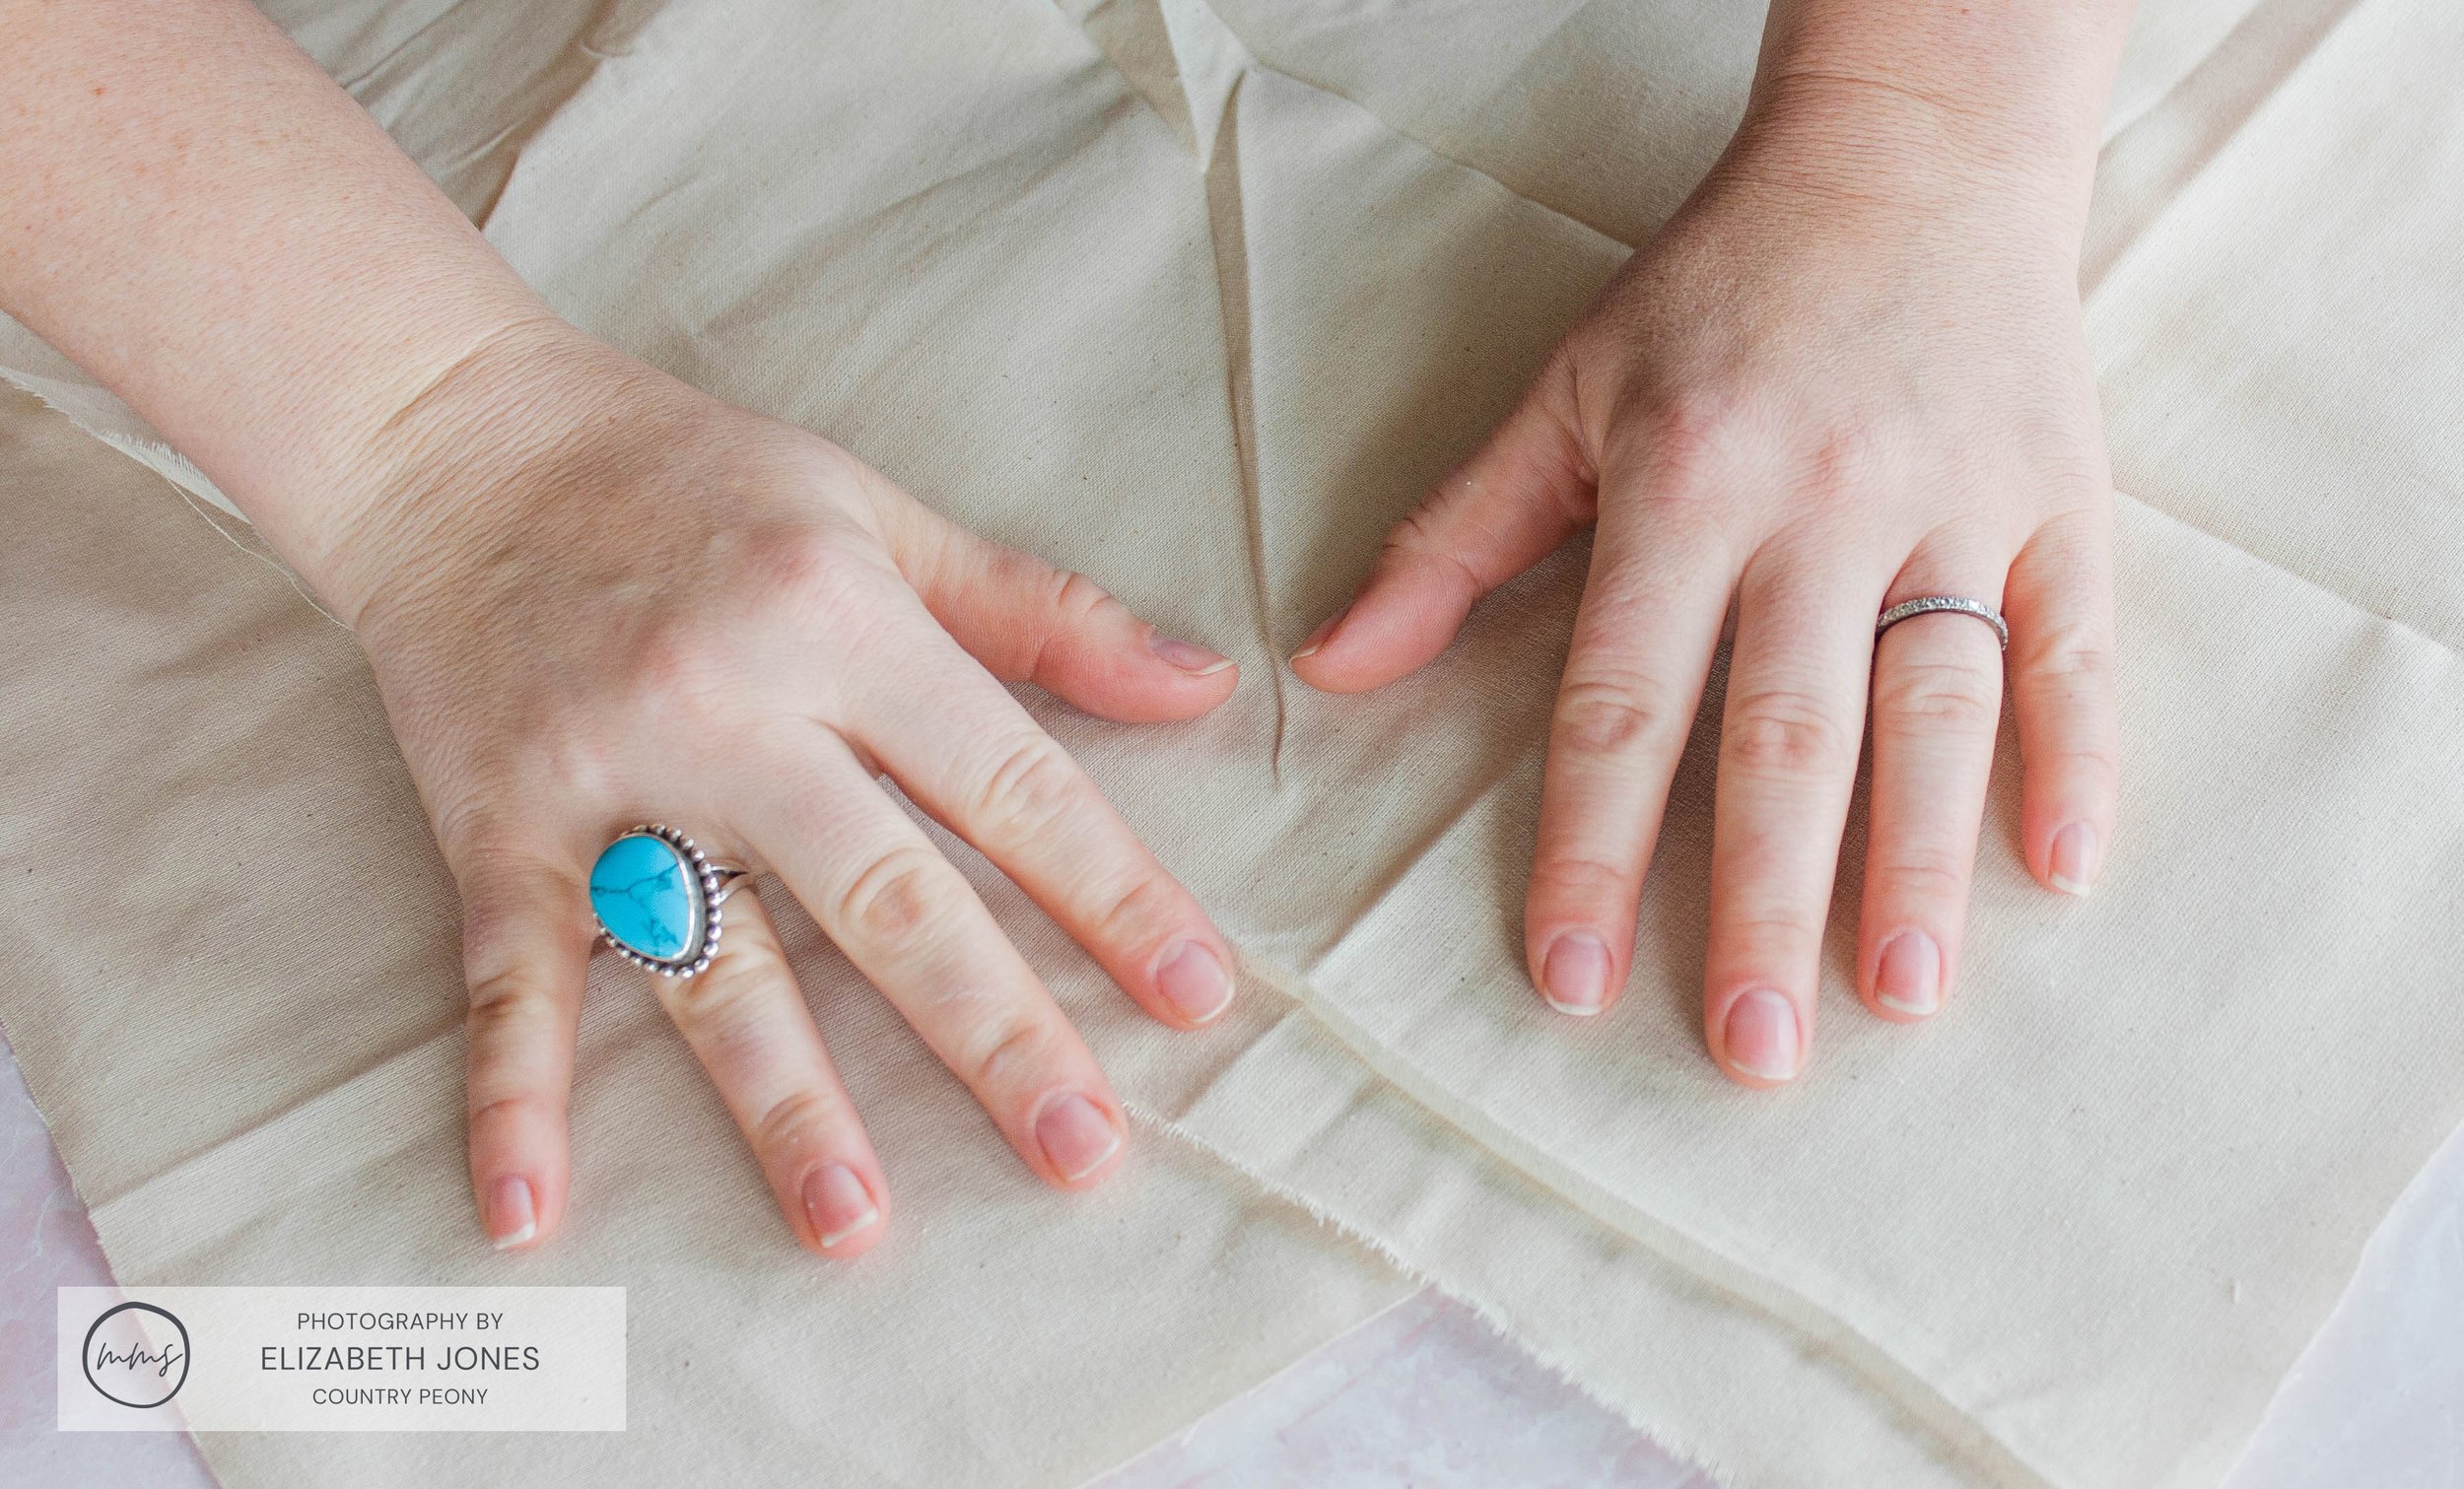
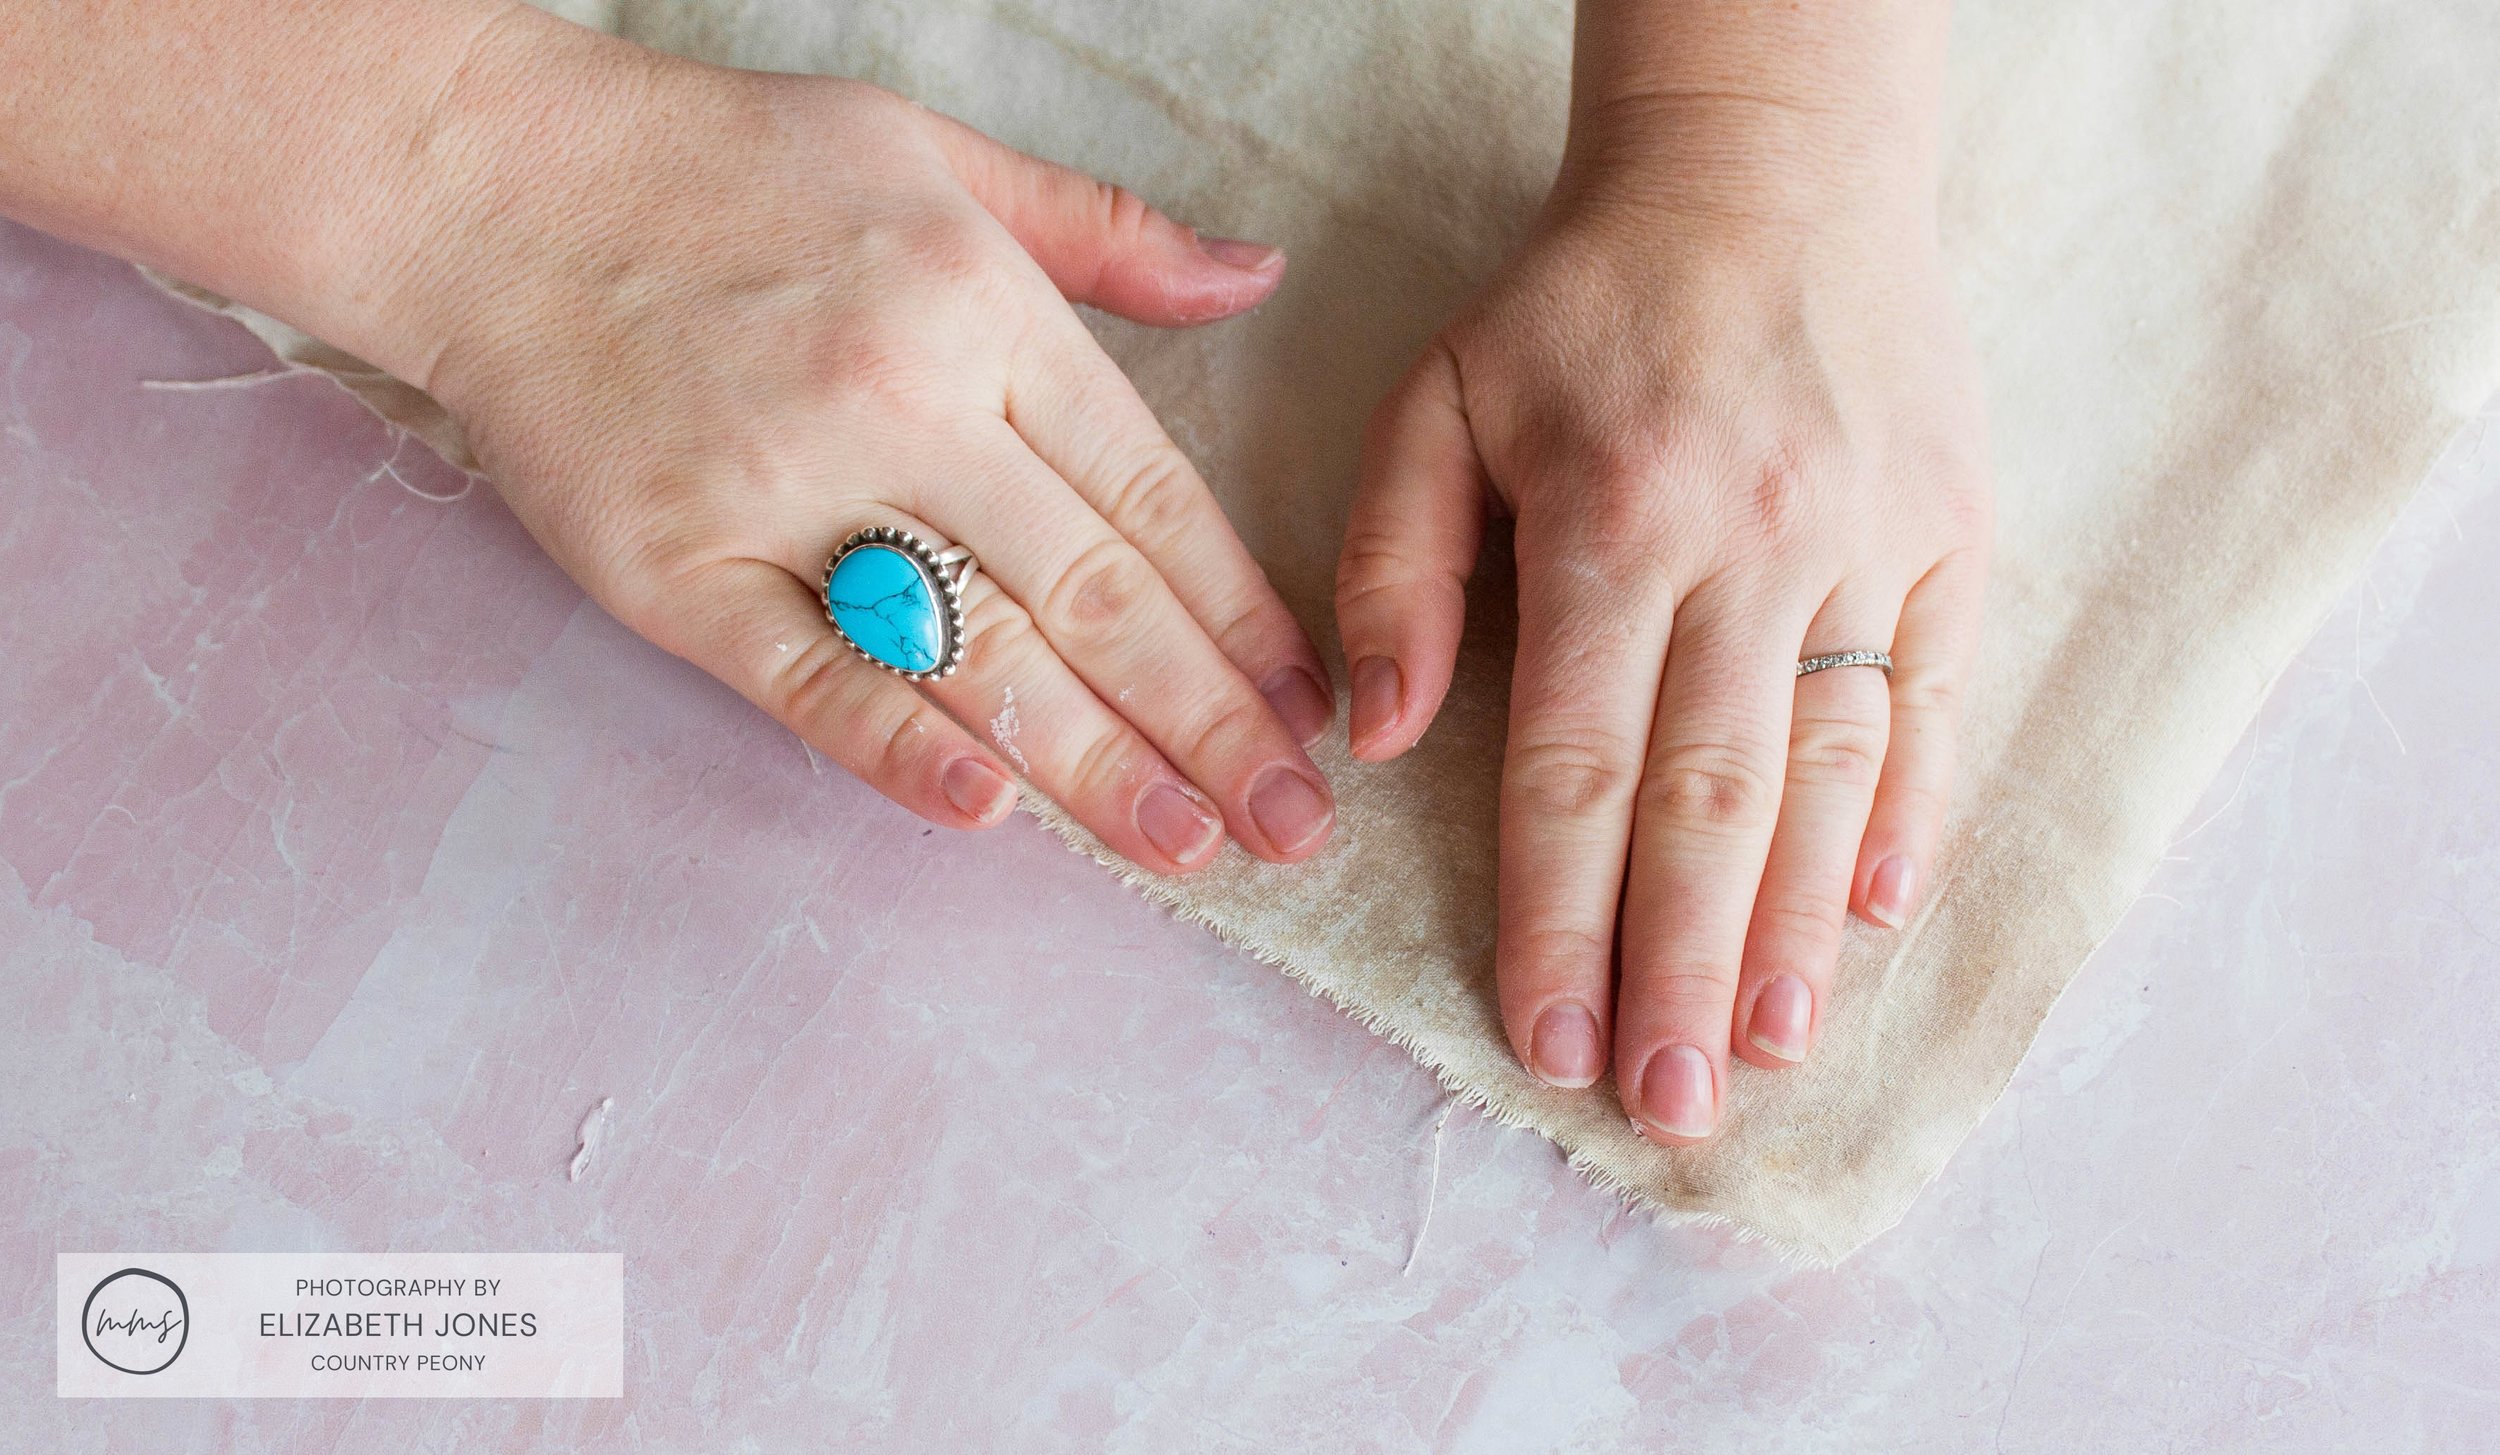
Step 1: Cut Out The Fabric For The Pillow
Find a pillow insert, and cut a fabric square that is 1 inch longer than the pillow insert on all four sides.

Then, cut another fabric square to match.
*To save money, you can use an old pillow as the pillow insert.
Step 2: Iron the Fabric
Iron the fabric to create a crisp base for the paint.

Step 3: Mix The MilkPaint™
Mix 1 part MilkPaint™ to 1 part water. A “part” can be any unit of measurement you wish. I used a tablespoon.
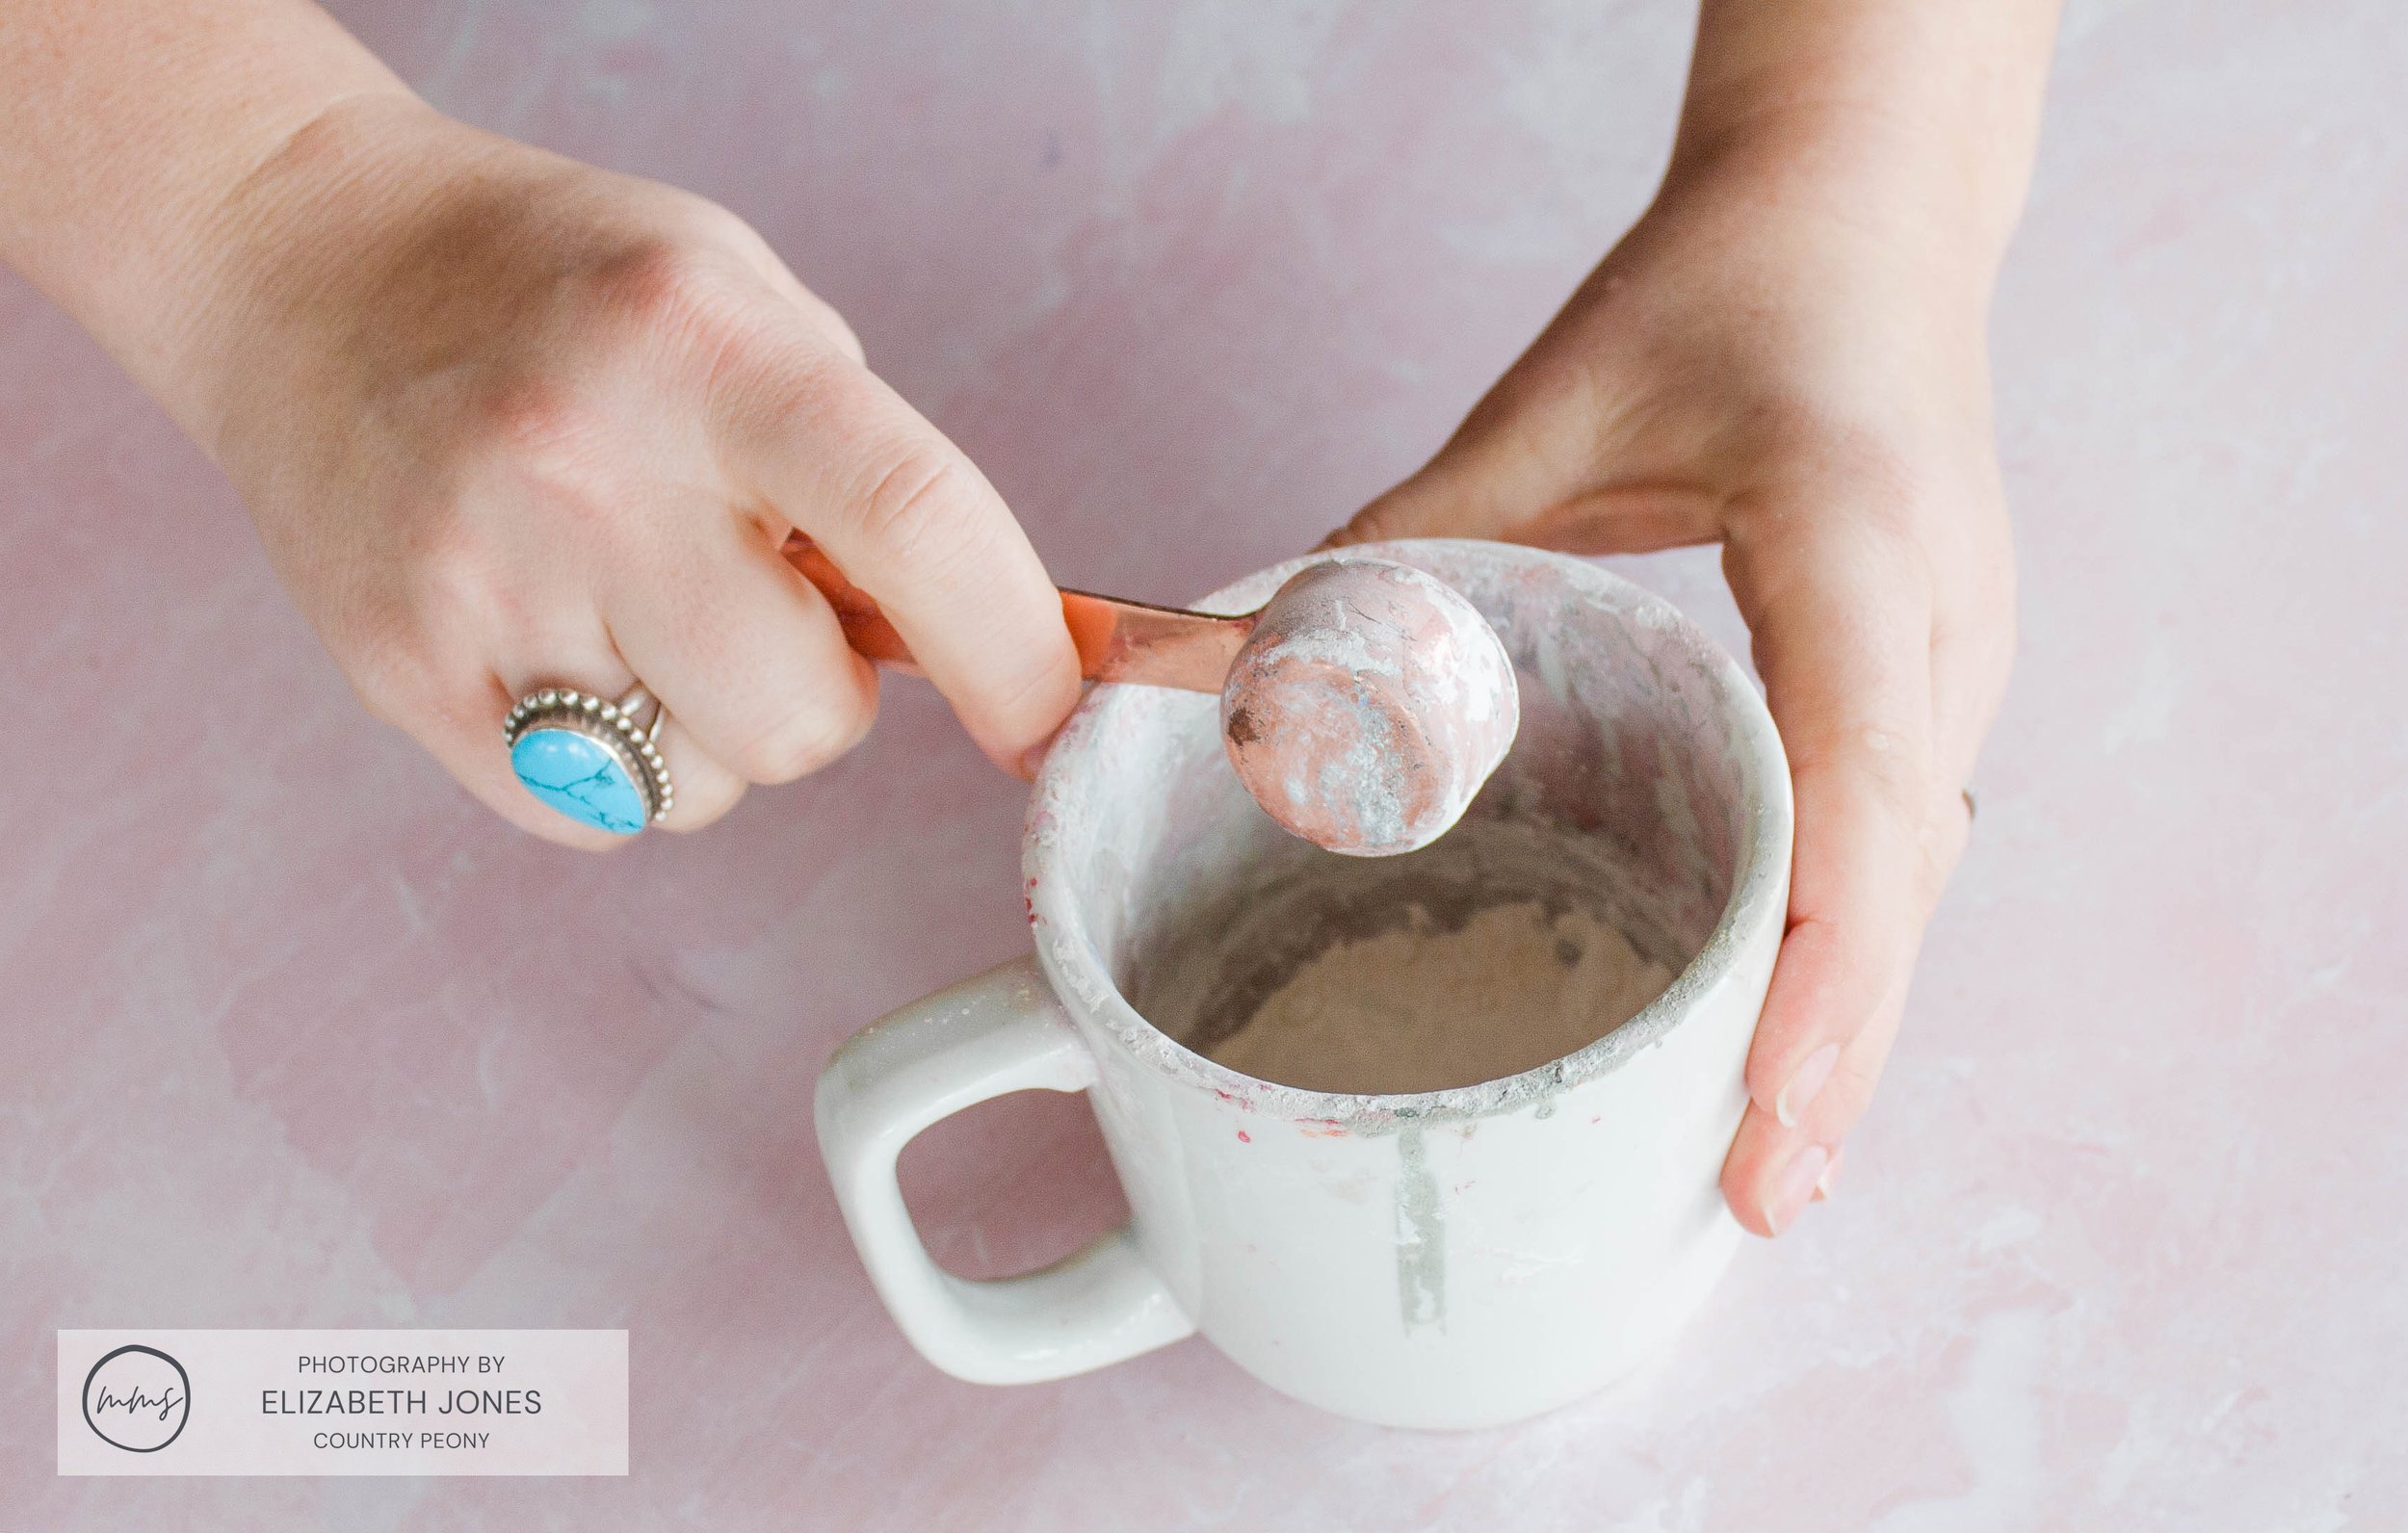
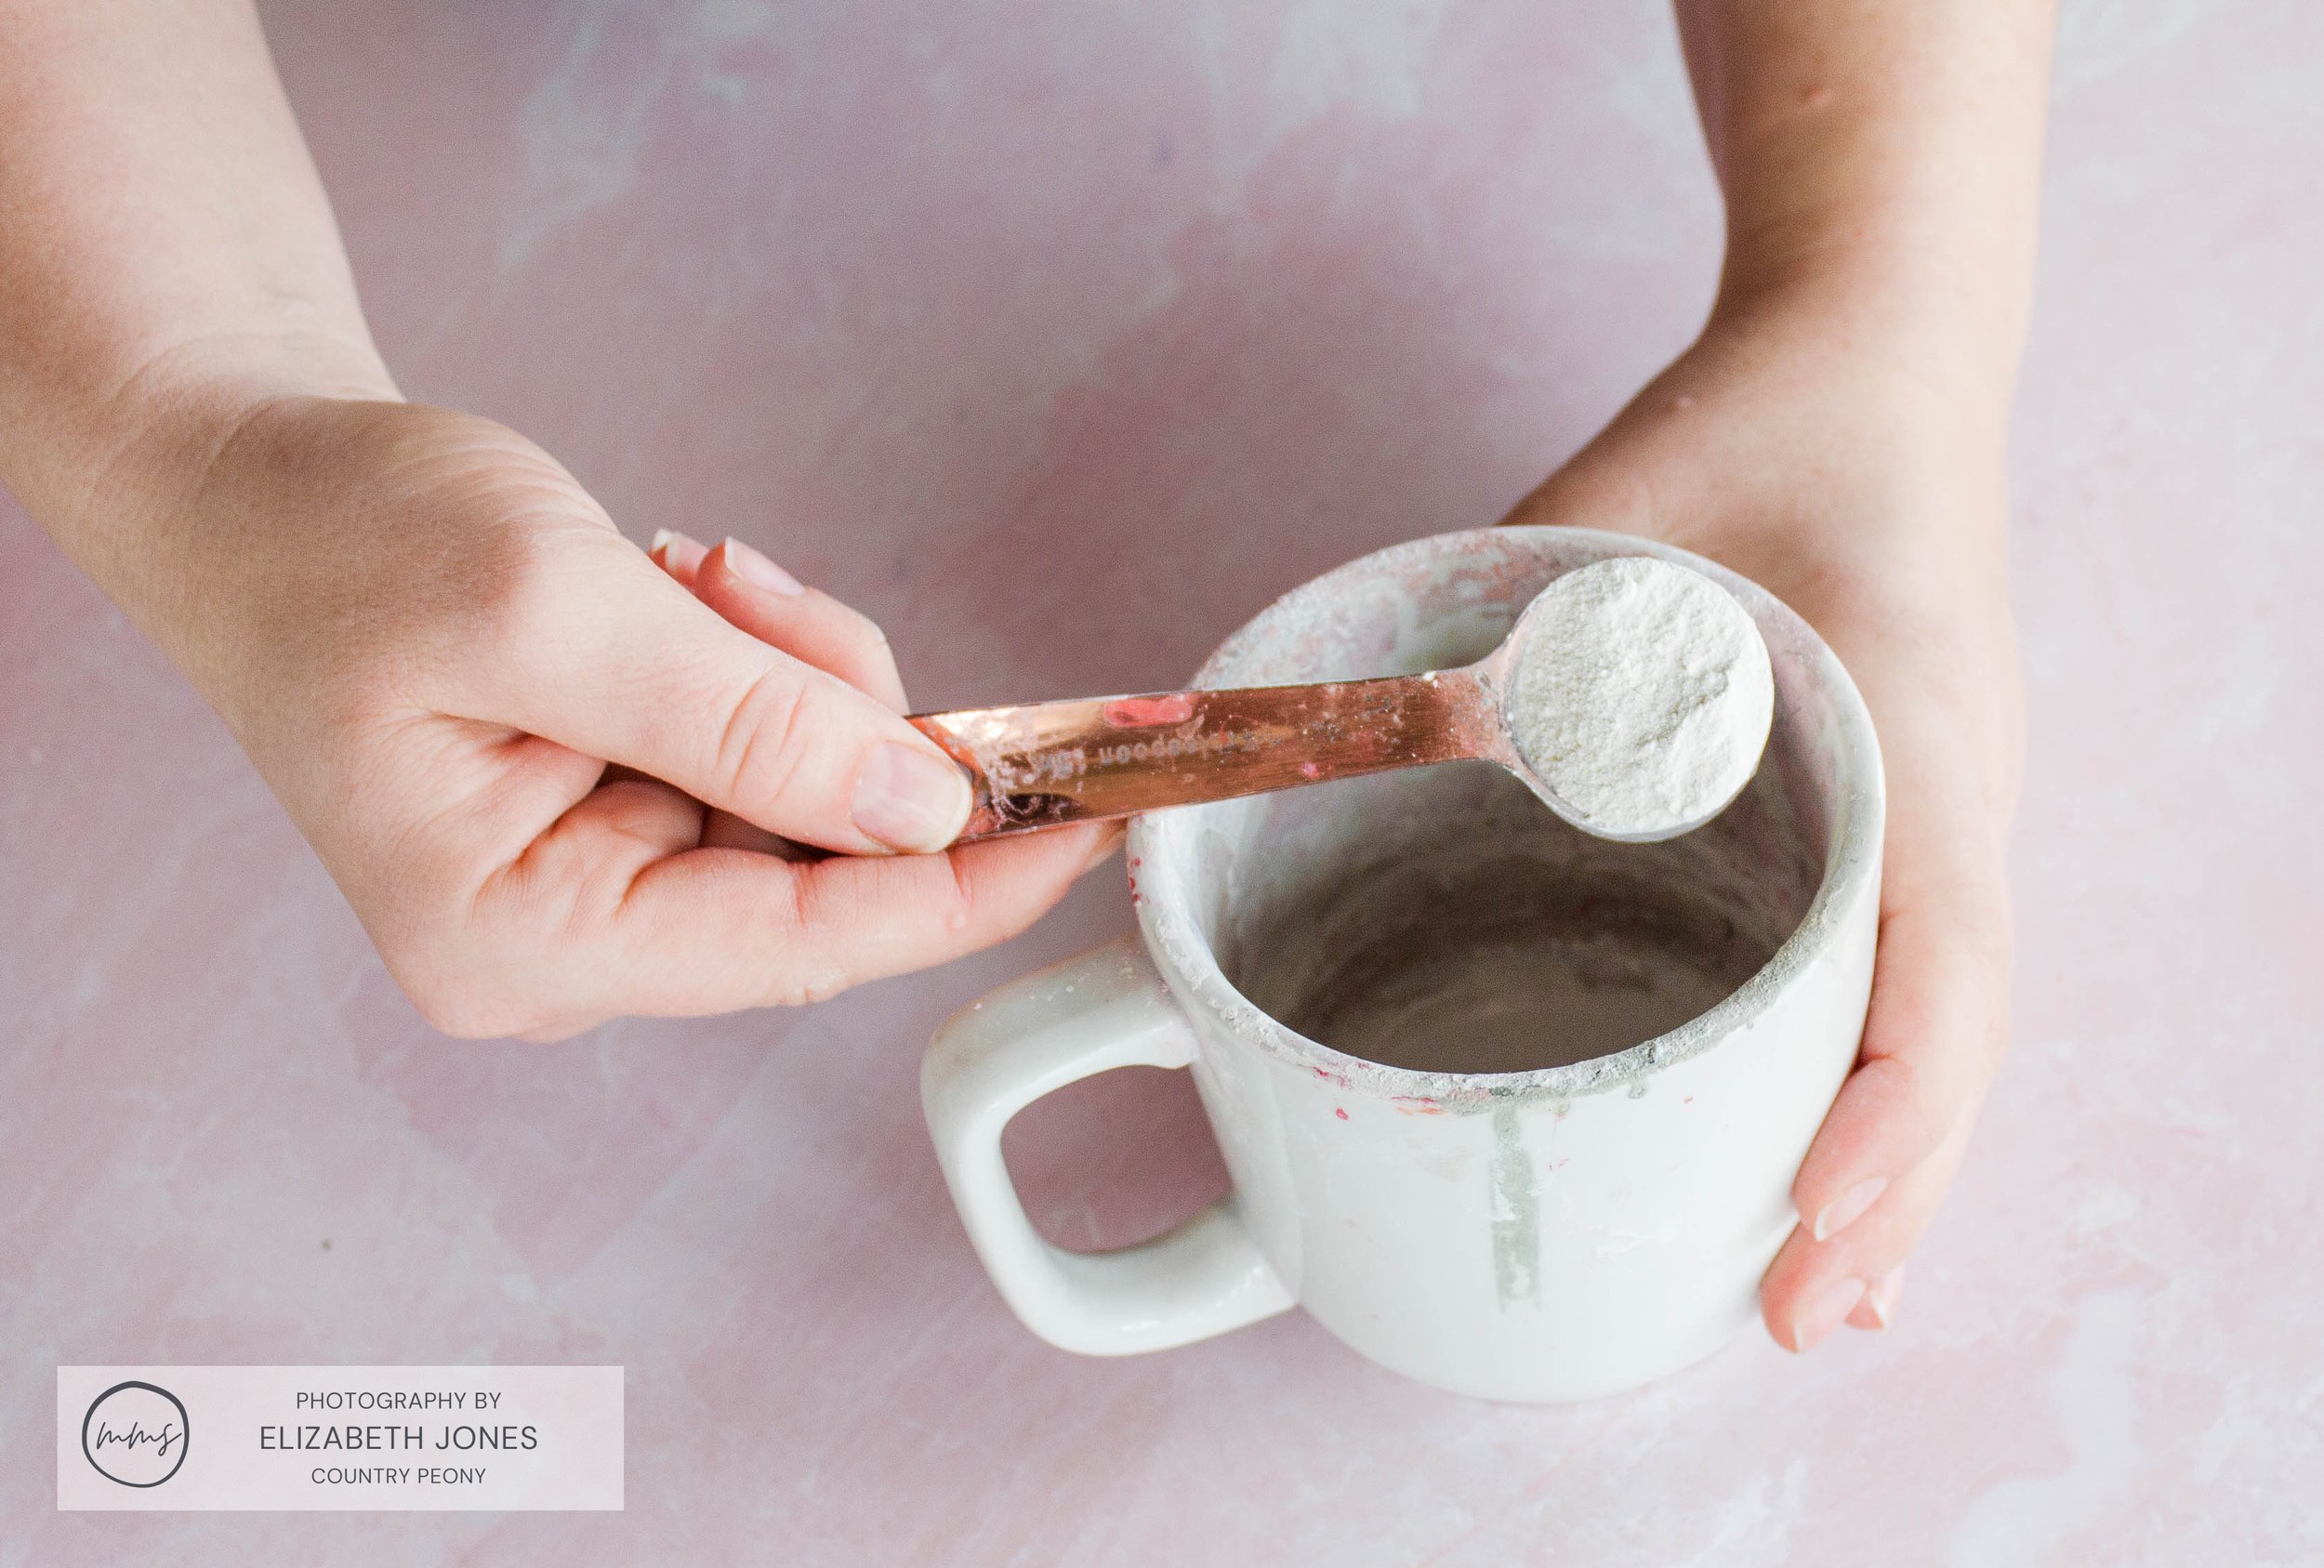
For this project, I used 3 tablespoons of MilkPaint™ to 3 tablespoons of water for the pillows, and 1 tablespoon of MilkPaint™ to 1 tablespoon of water.
Country Peony Tip: For most of my crafting projects, I start with 1 tablespoon. I always recommend starting with less powder than you think you may need. This will help avoid wasting your product. You can always make more paint later. A little bit of MilkPaint™ goes a long way, especially with this small project!

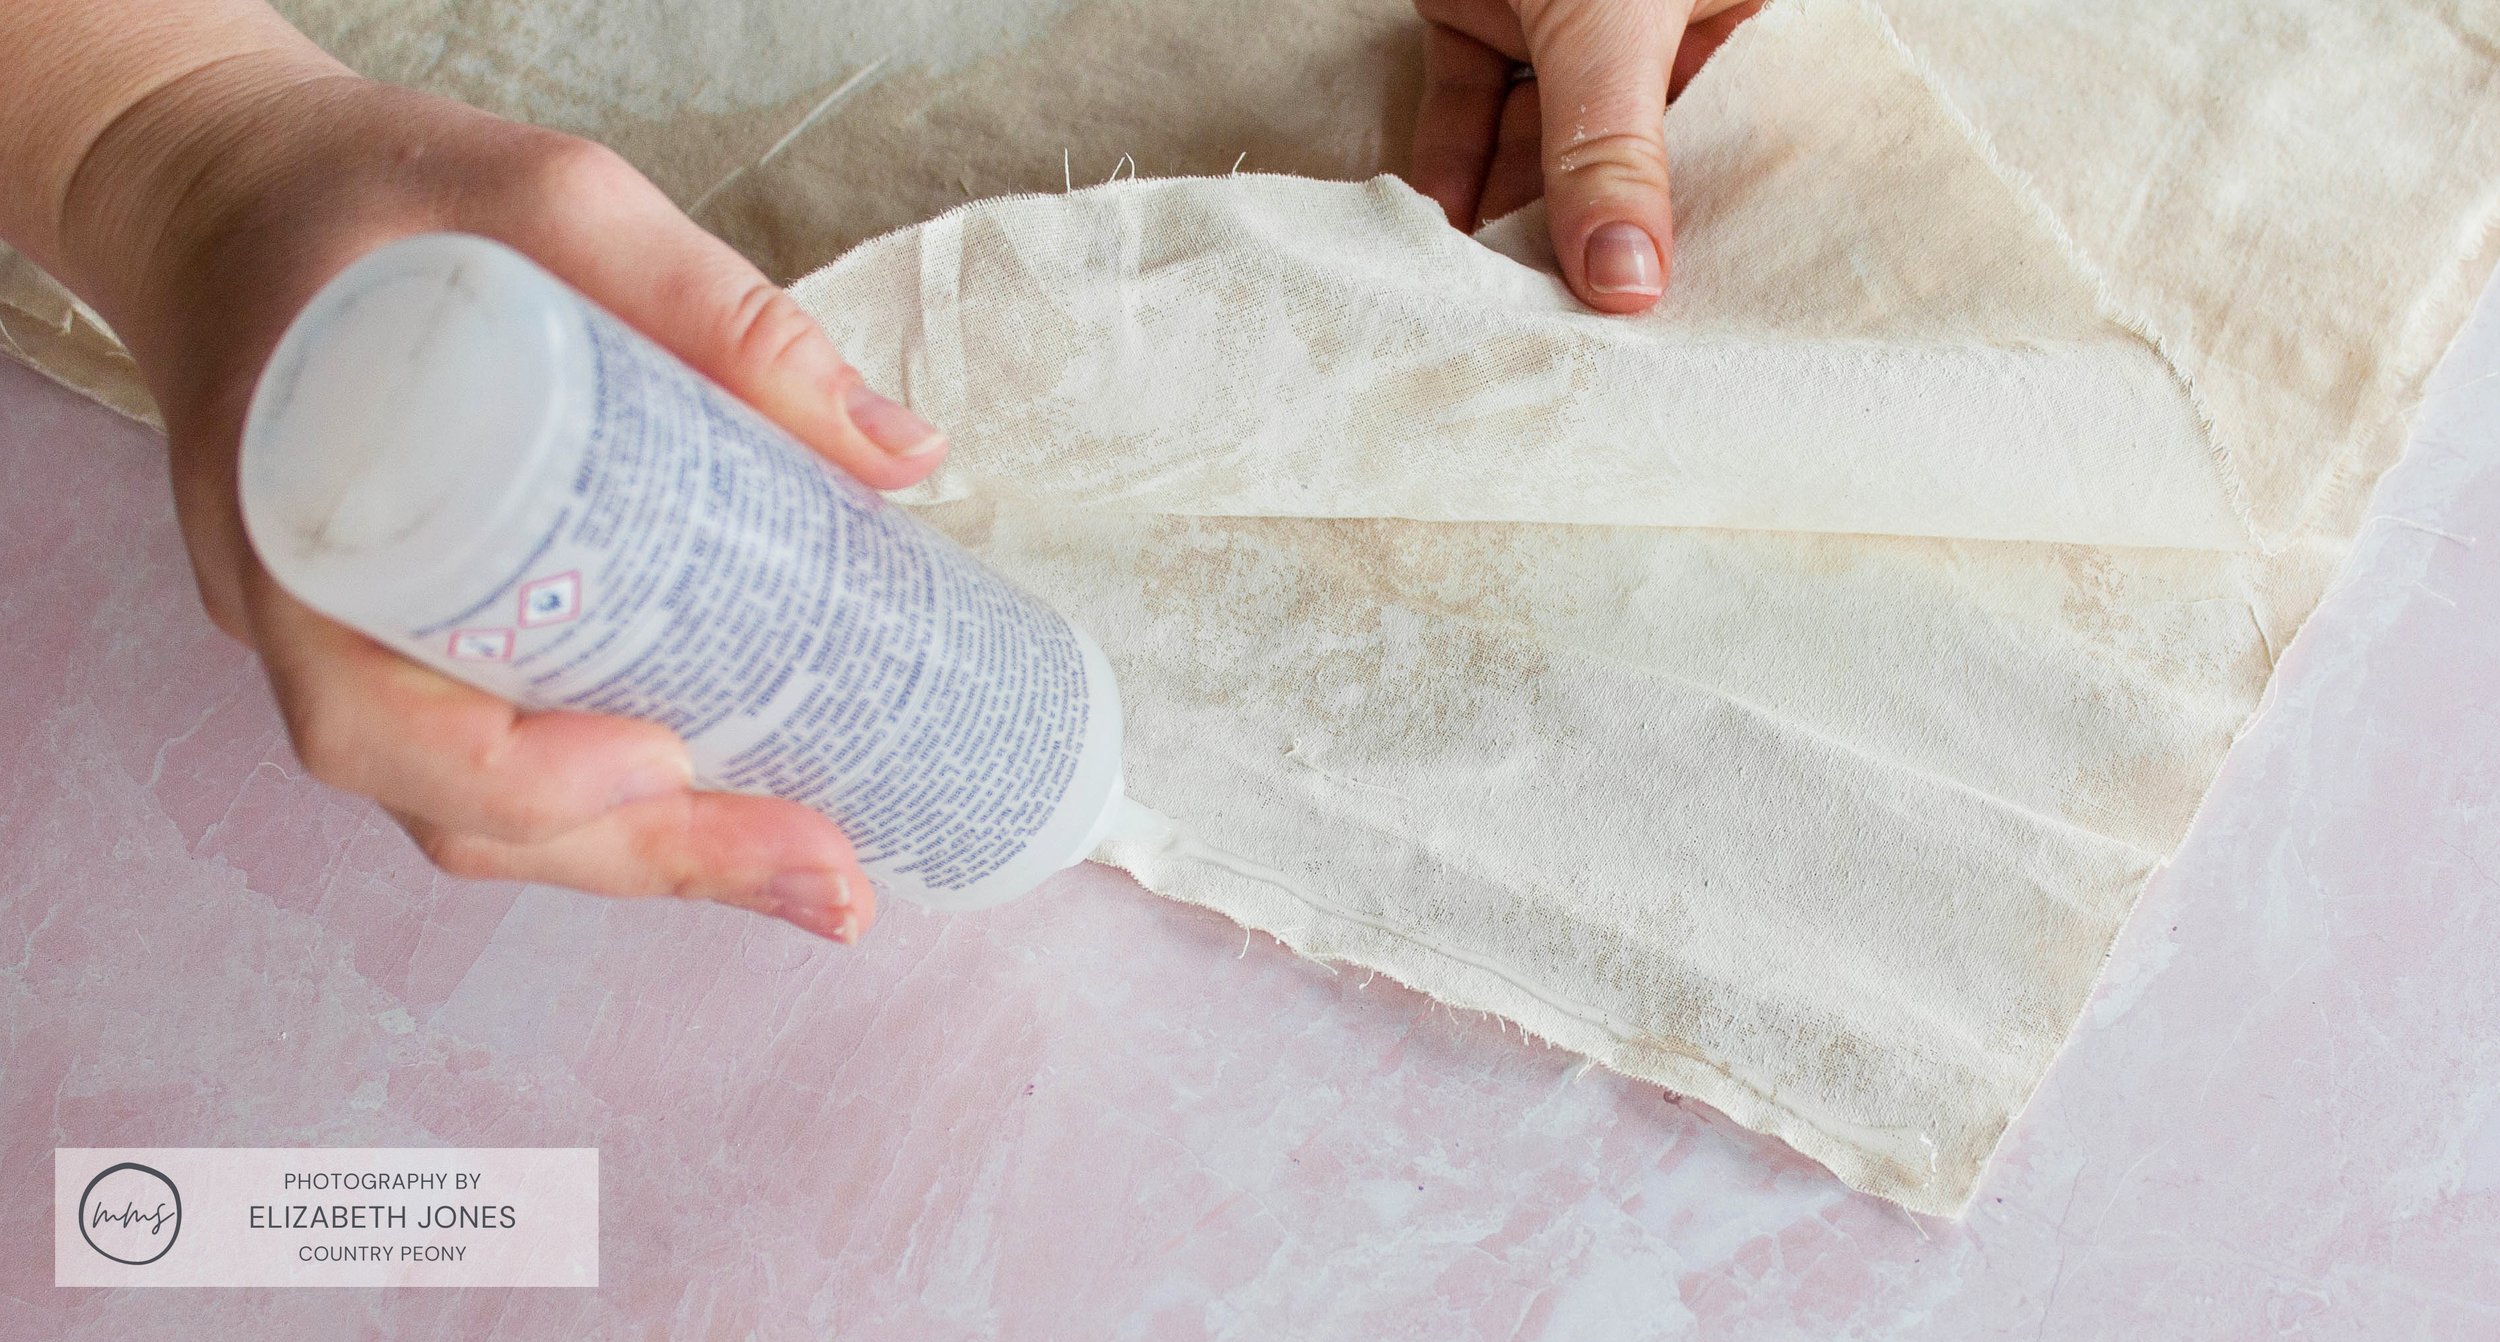
Step 4: Paint The Fabric
Protect your work surface, then apply one coat of MilkPaint™ to the fabric.

I’m going to turn this piece of fabric into a heart!

This piece will be the background for my pillow
You can decide to apply one heavy coat of MilkPaint™ for full coverage, or you can leave some of the fabric peeking through like I did with this pillow.

Let it dry overnight.
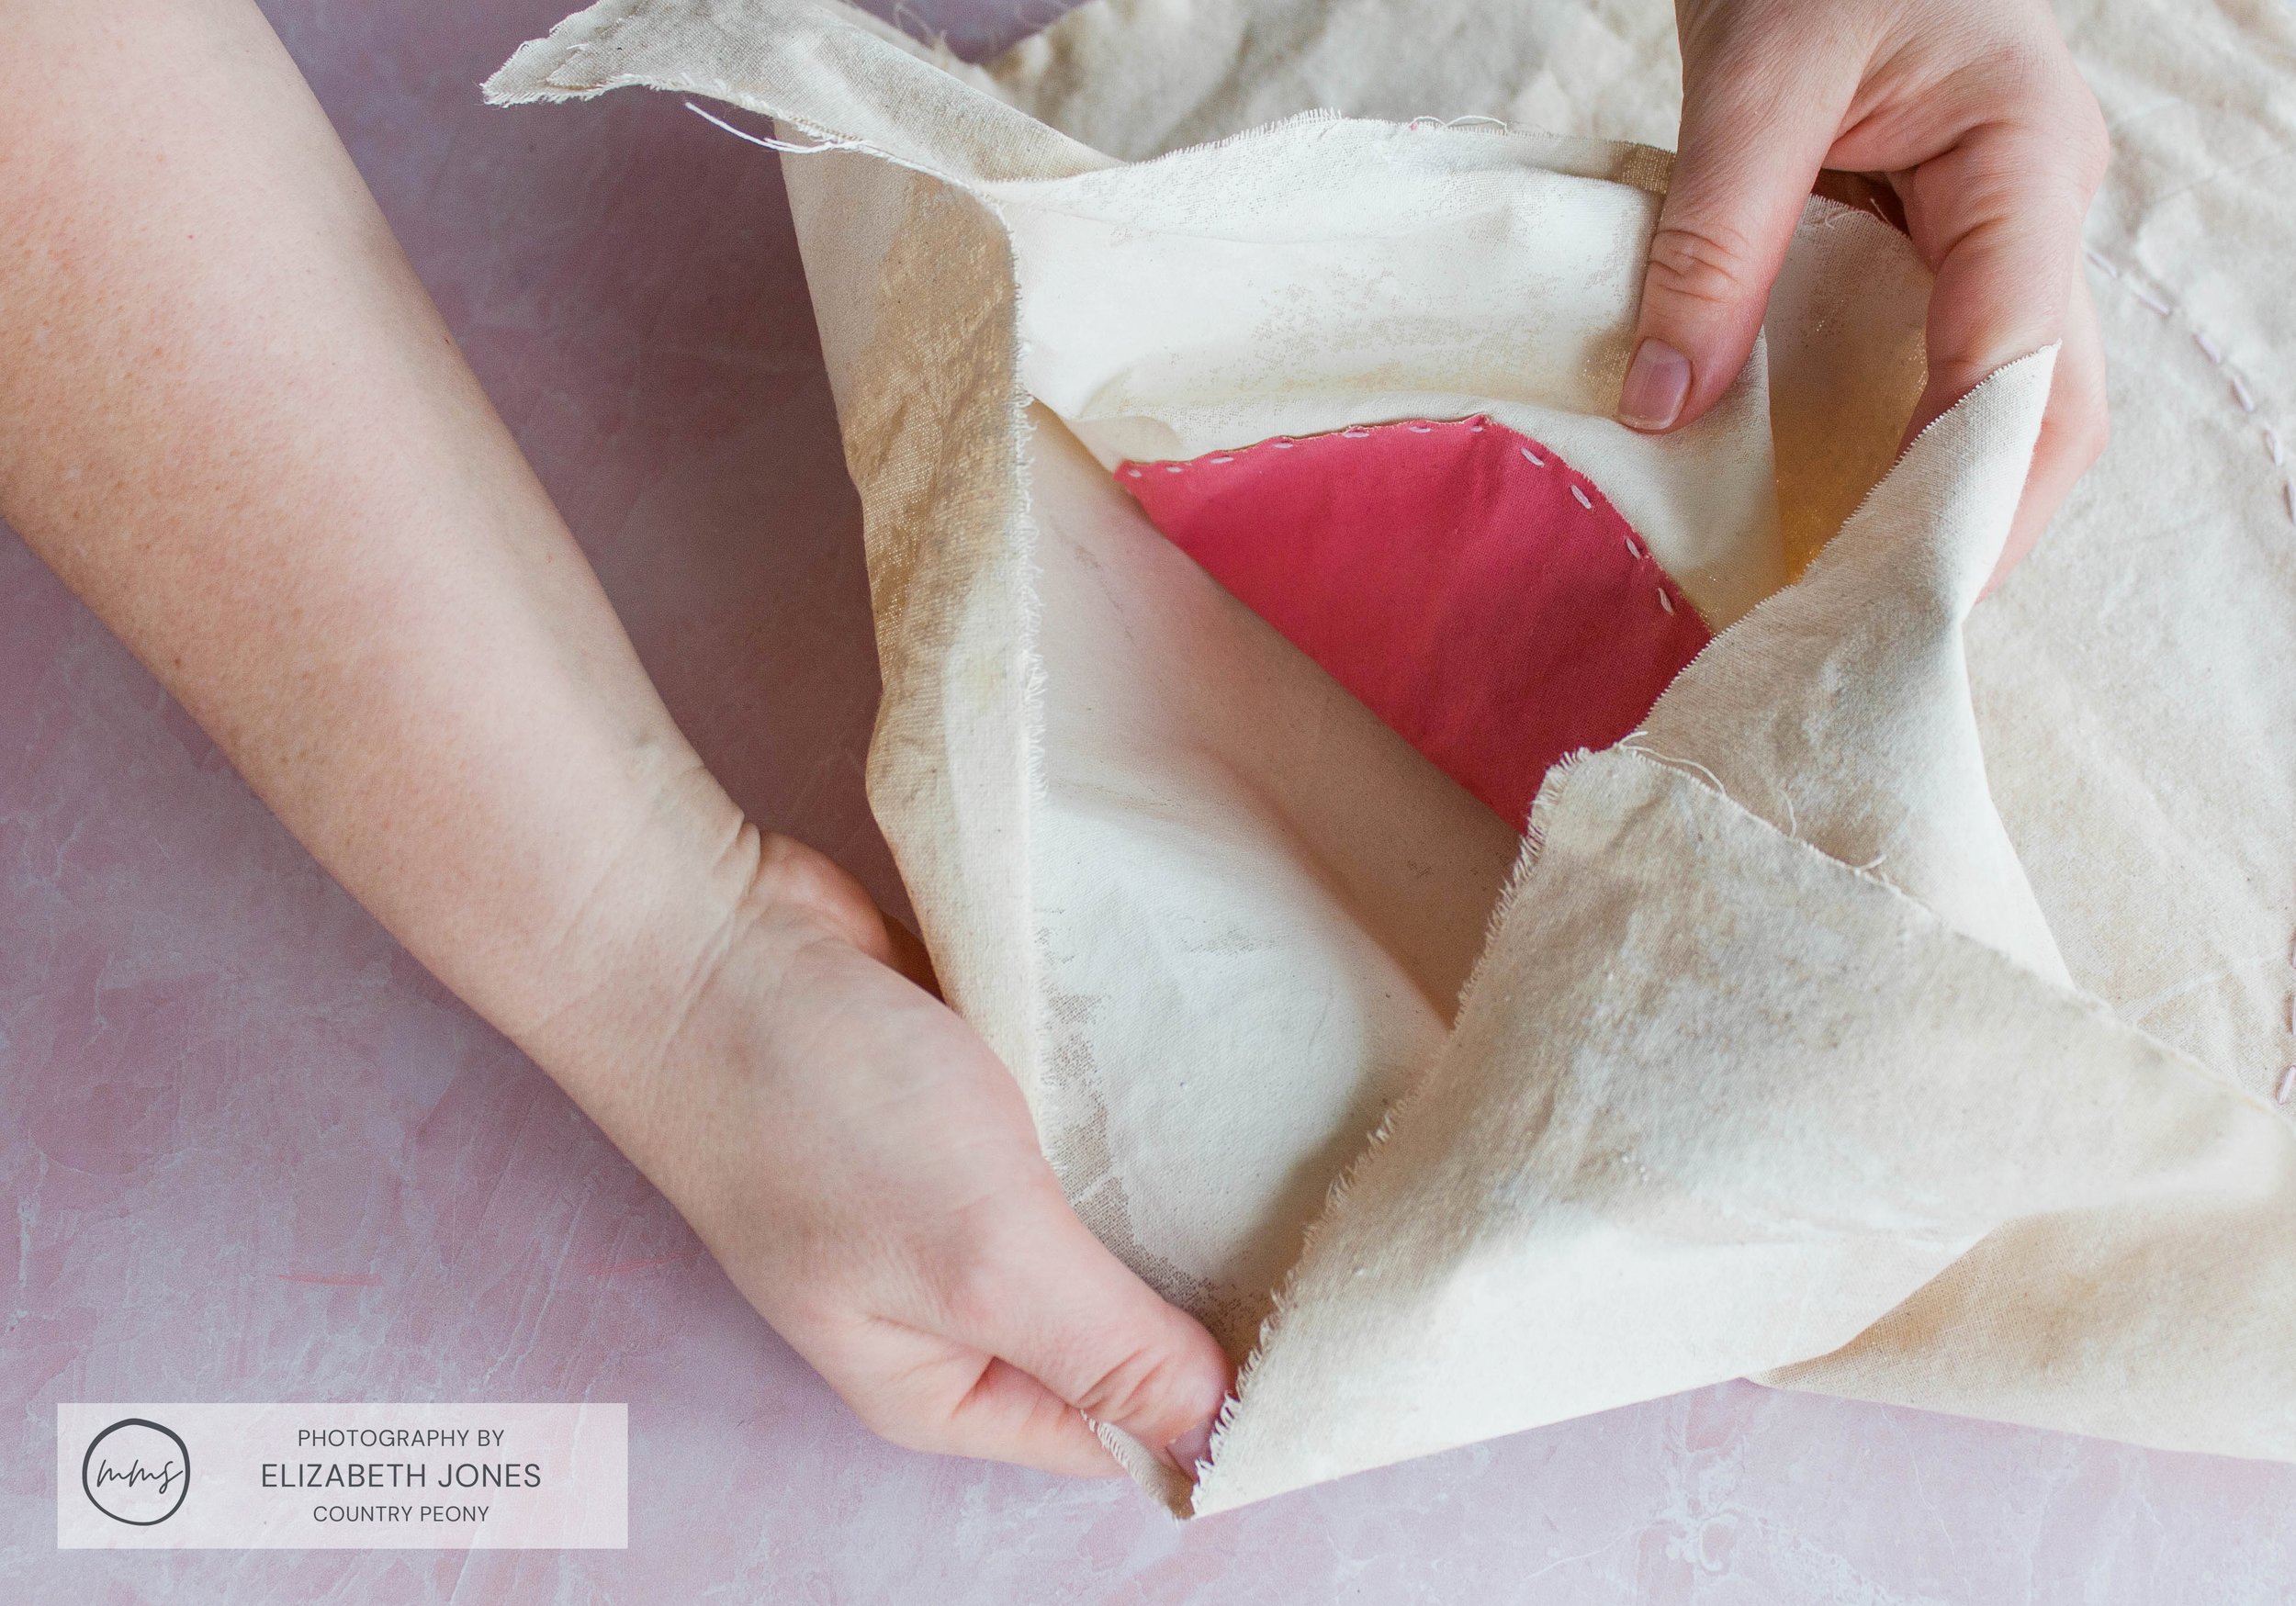
Step 5: Cut Out the Hearts
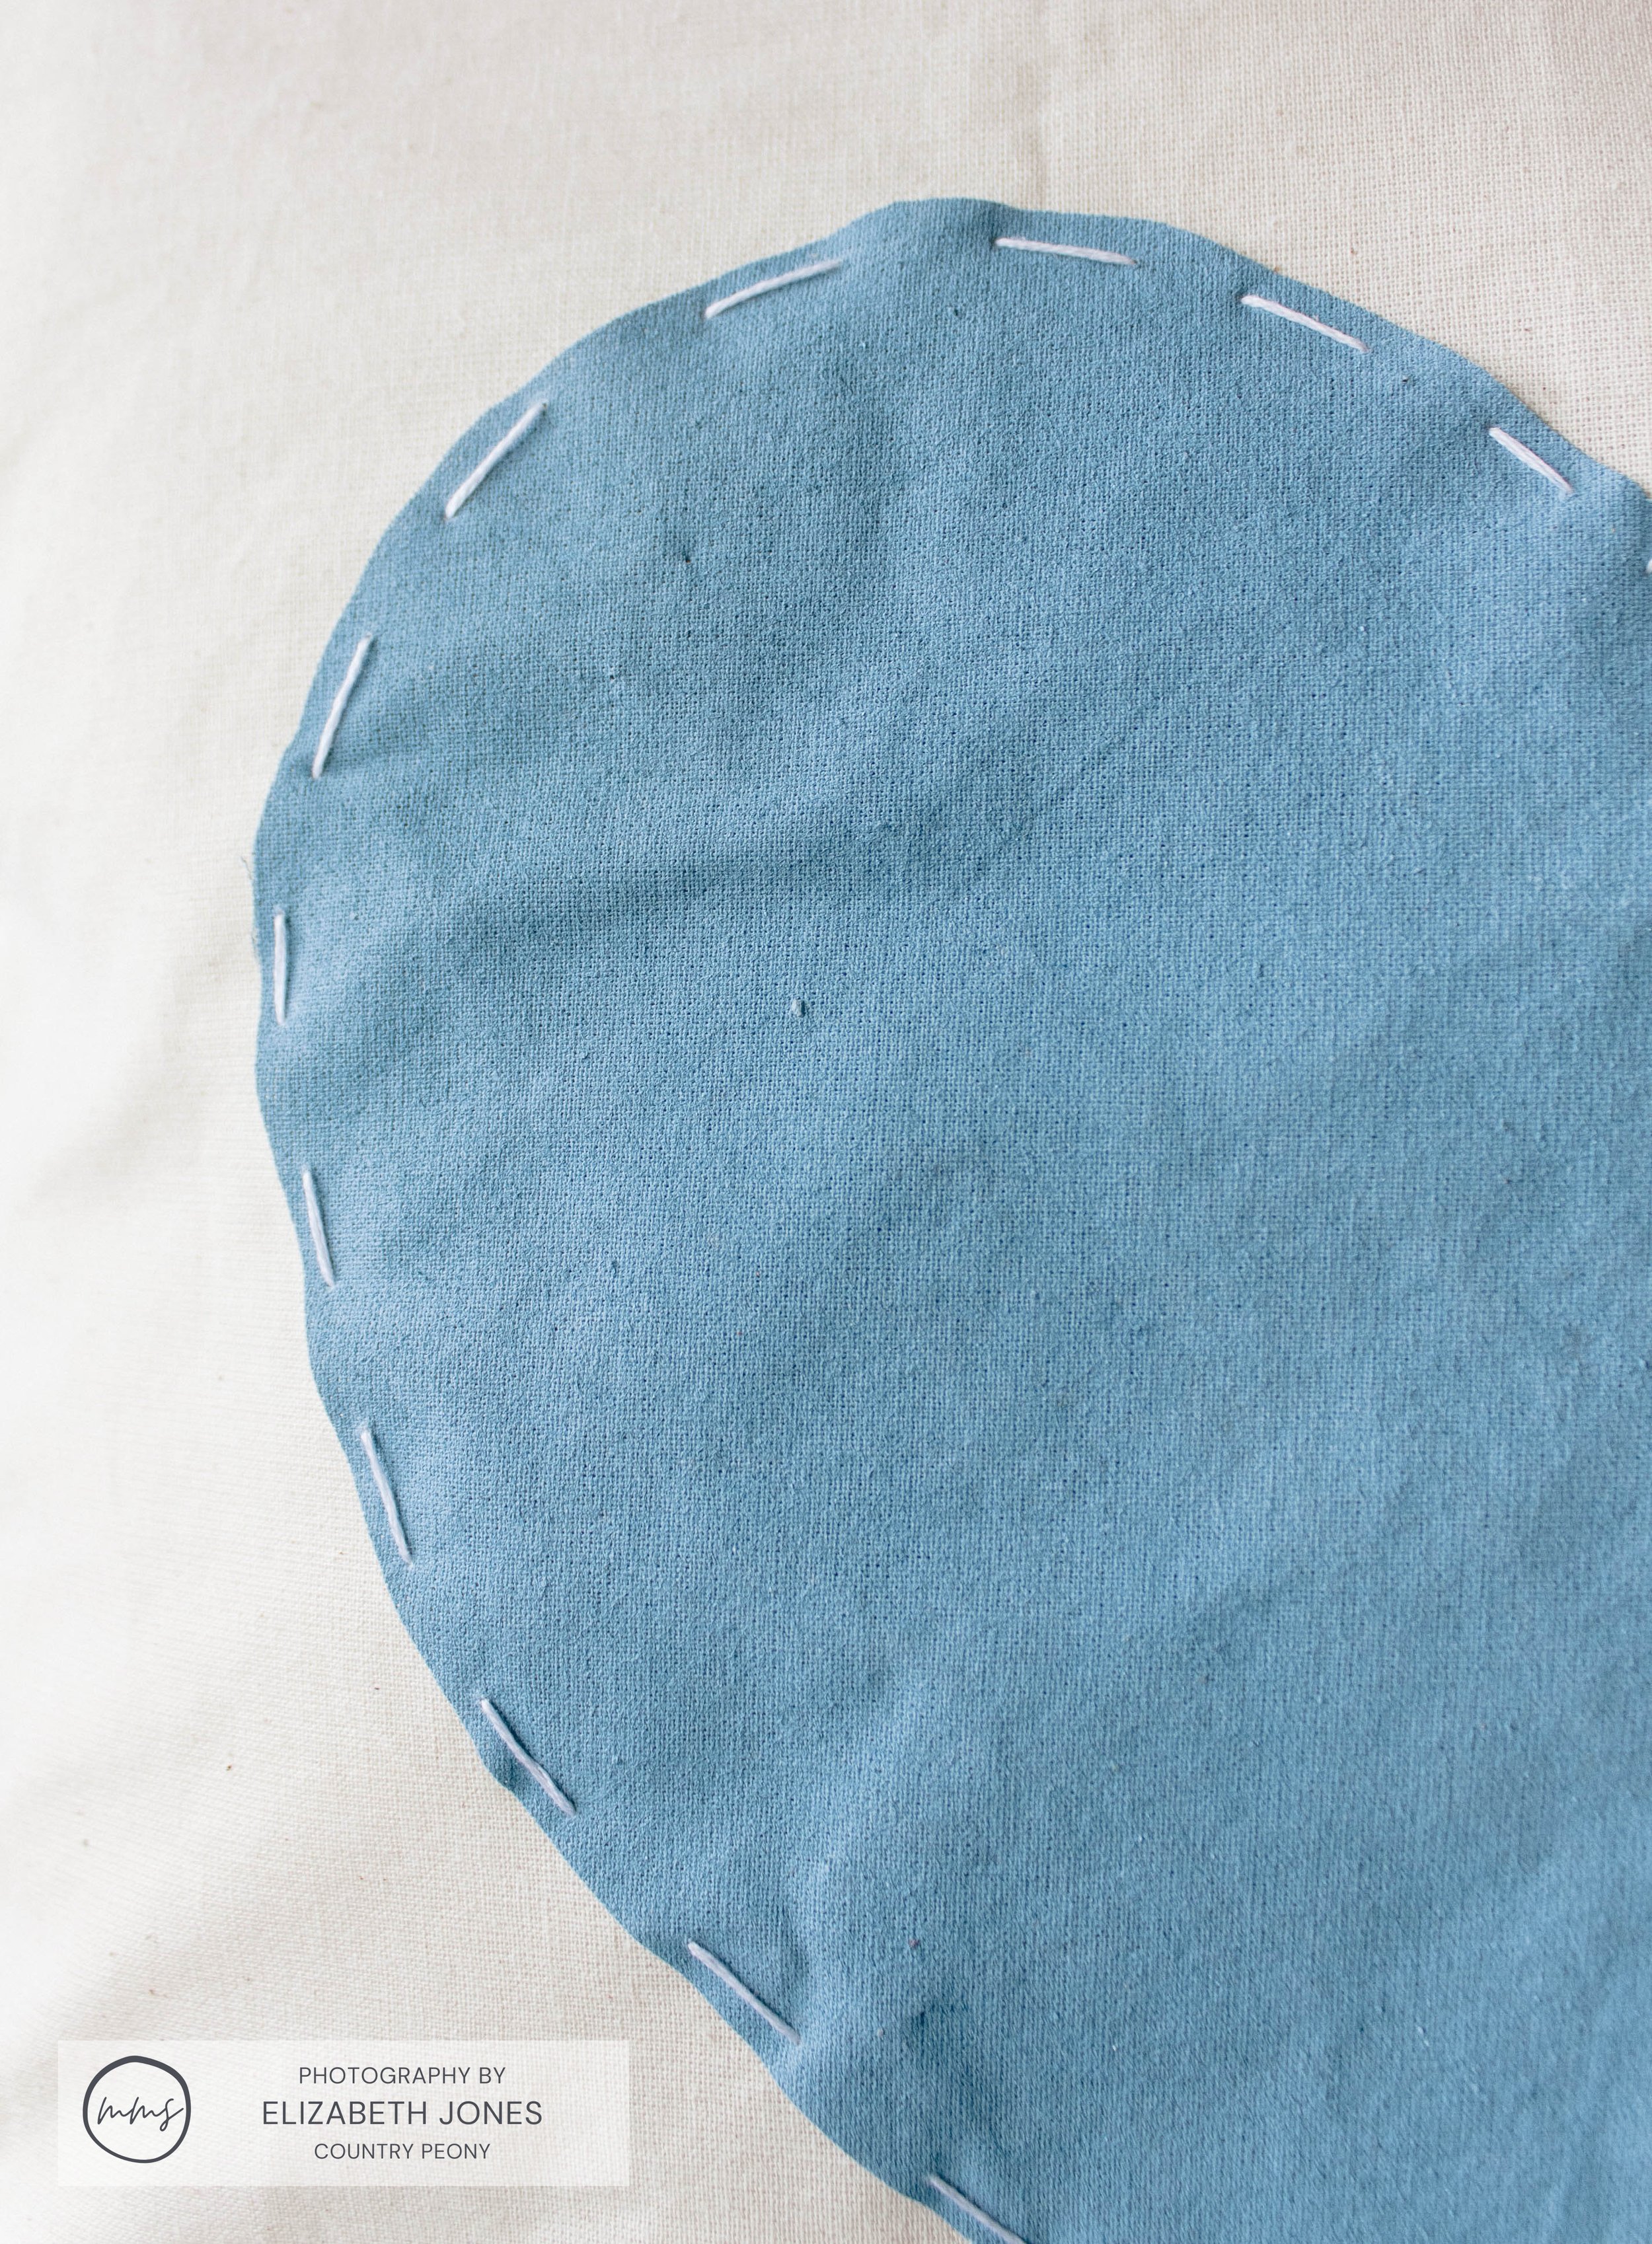
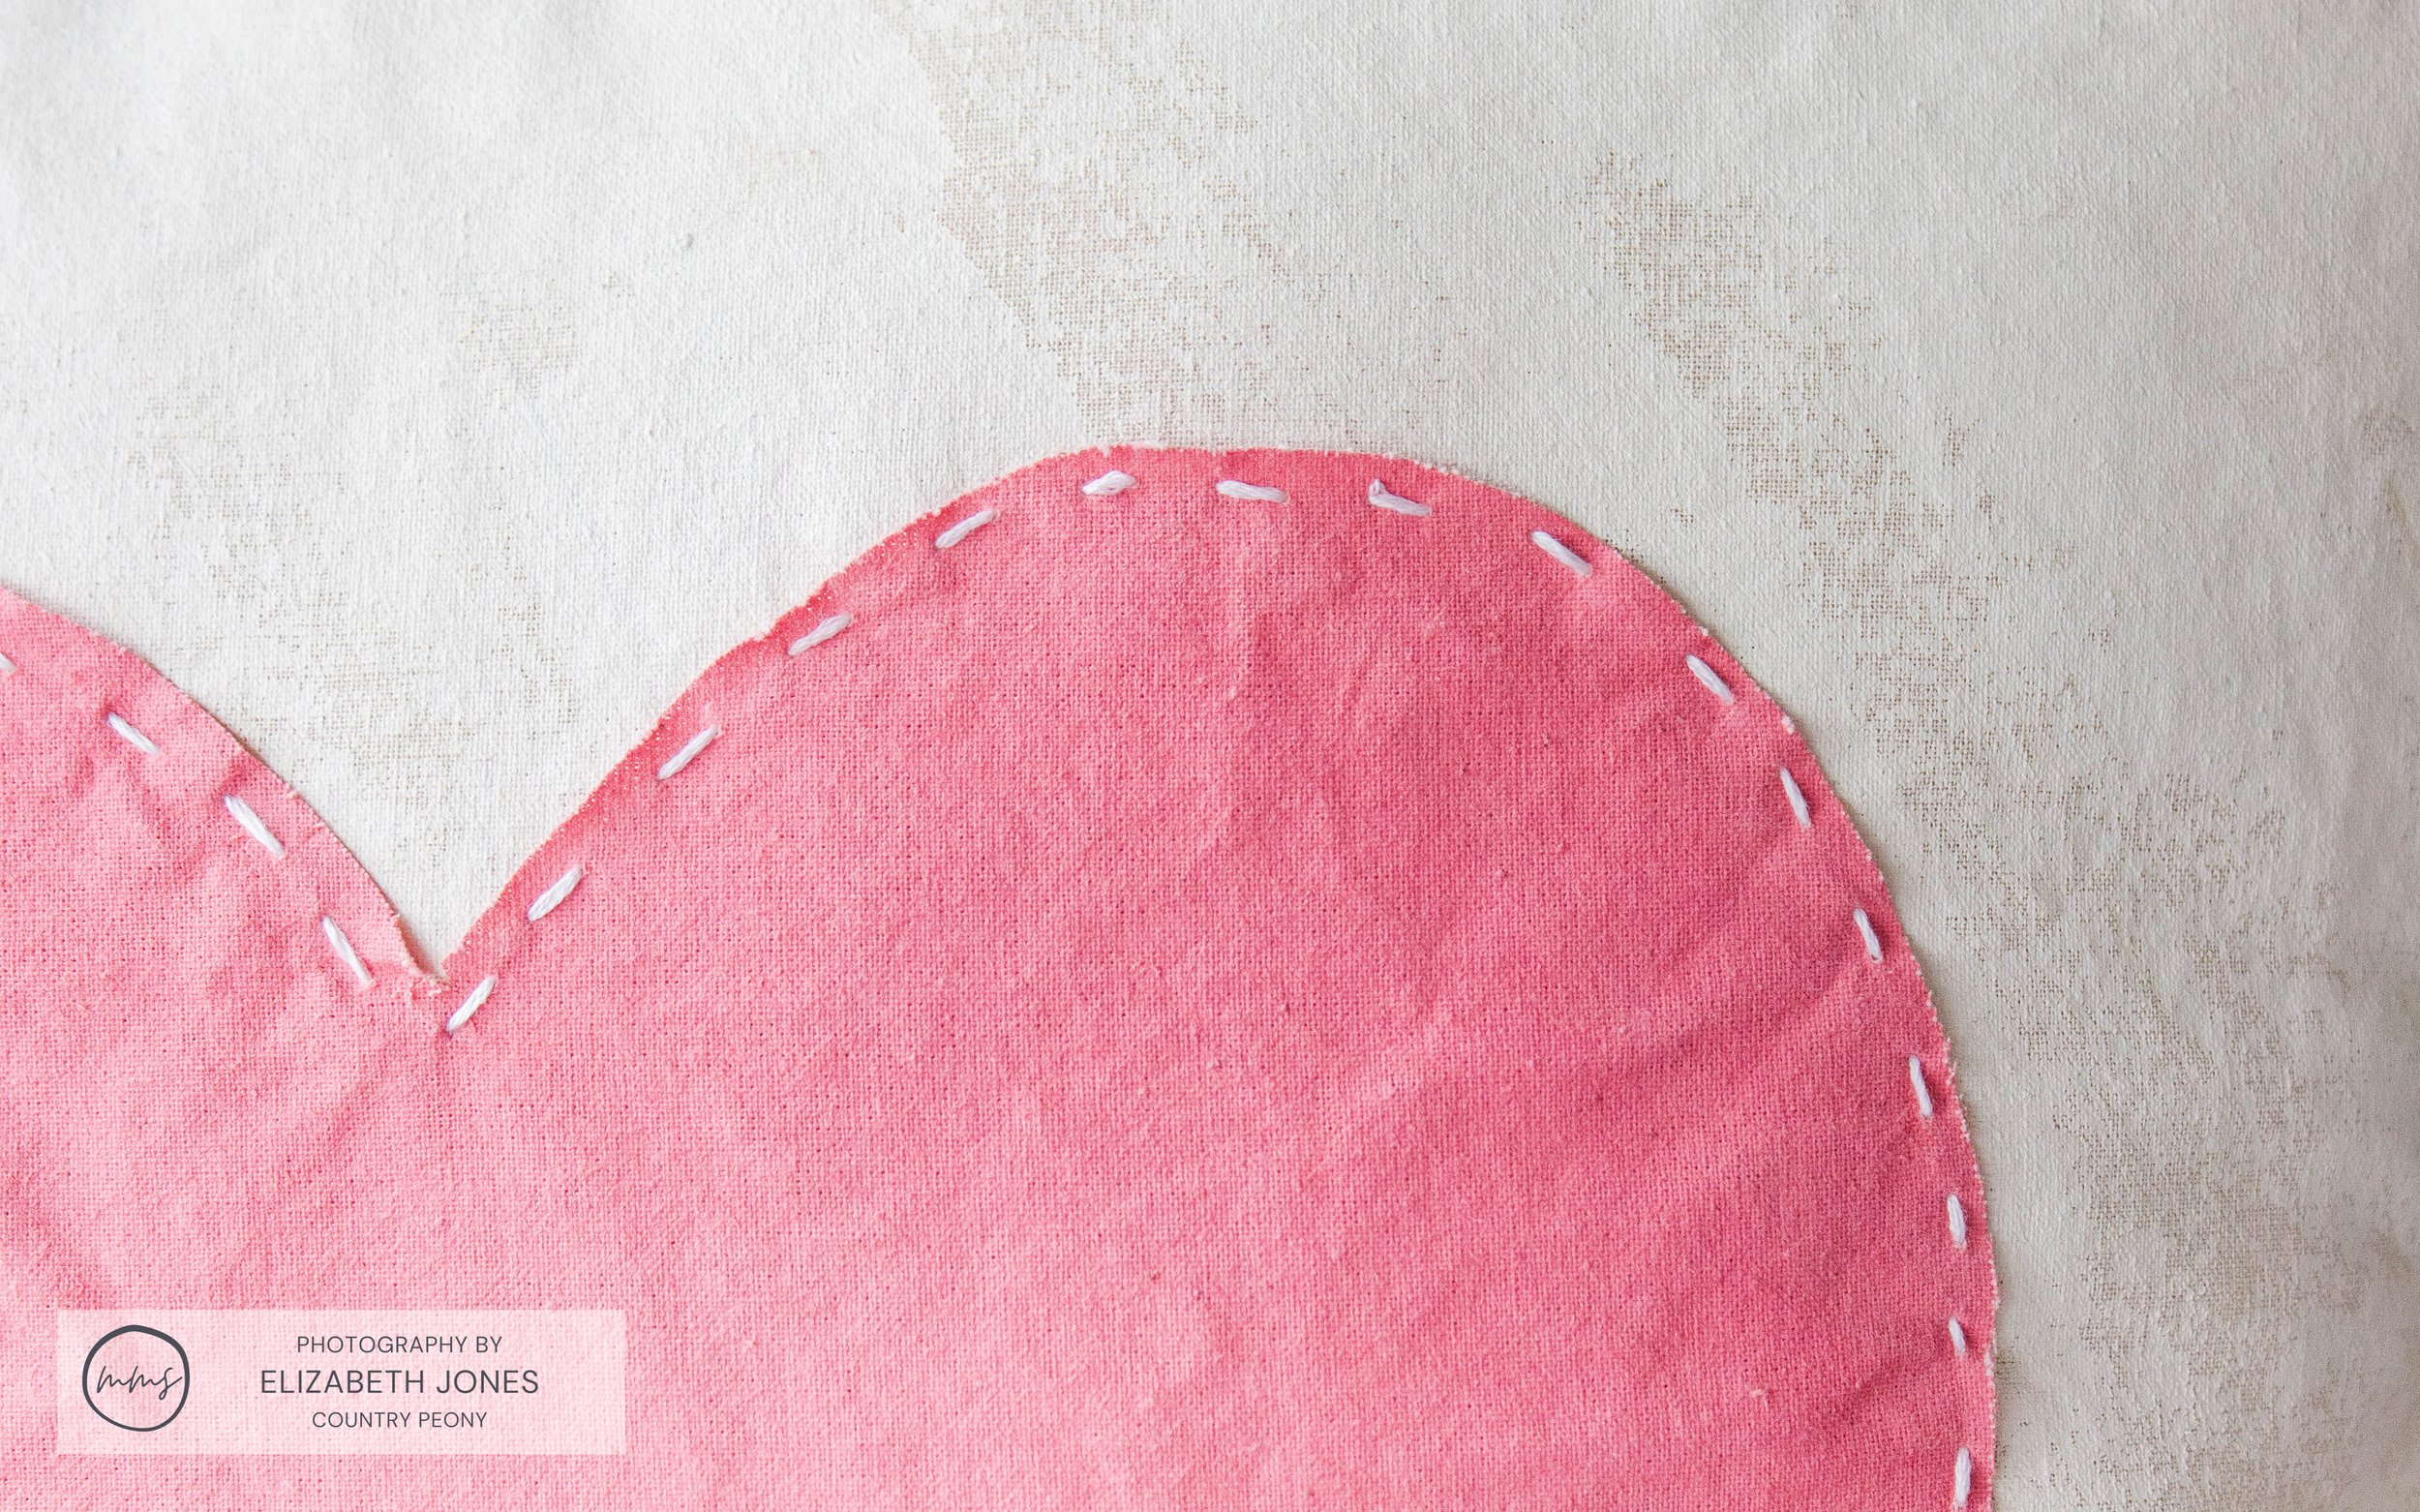
Use a stencil or freehand a large heart onto the back of the painted fabric. Then cut the heart out.


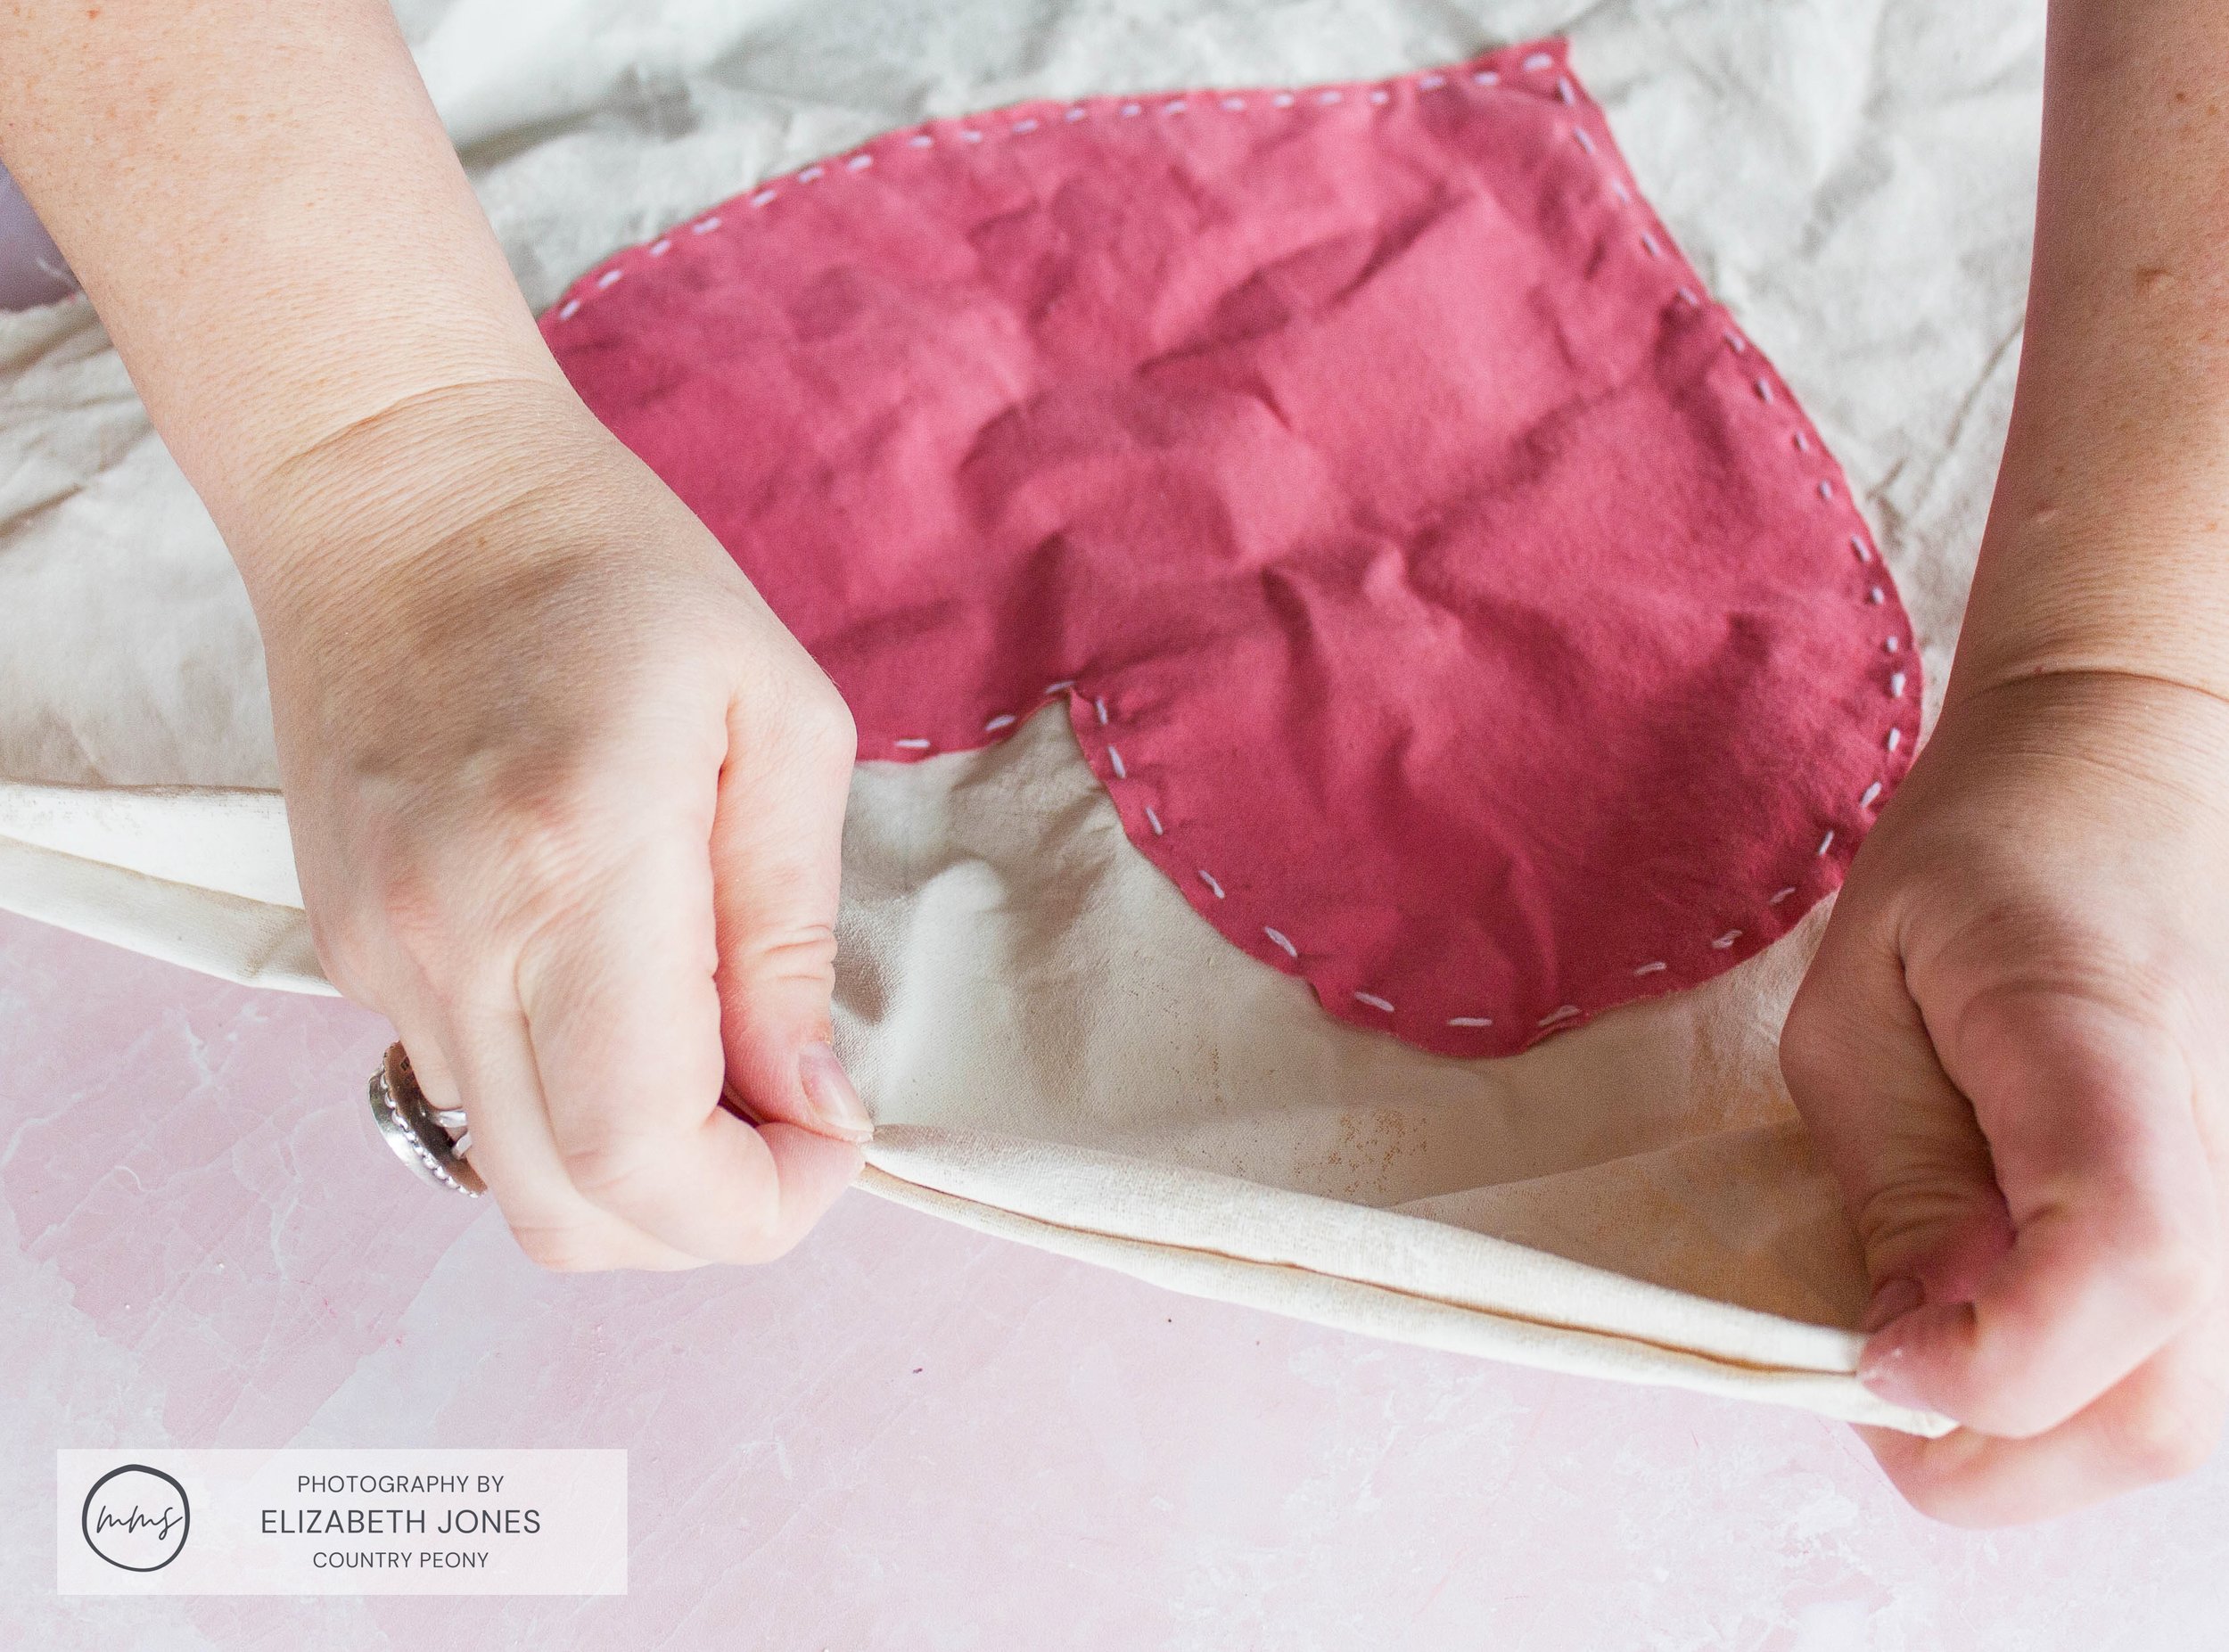
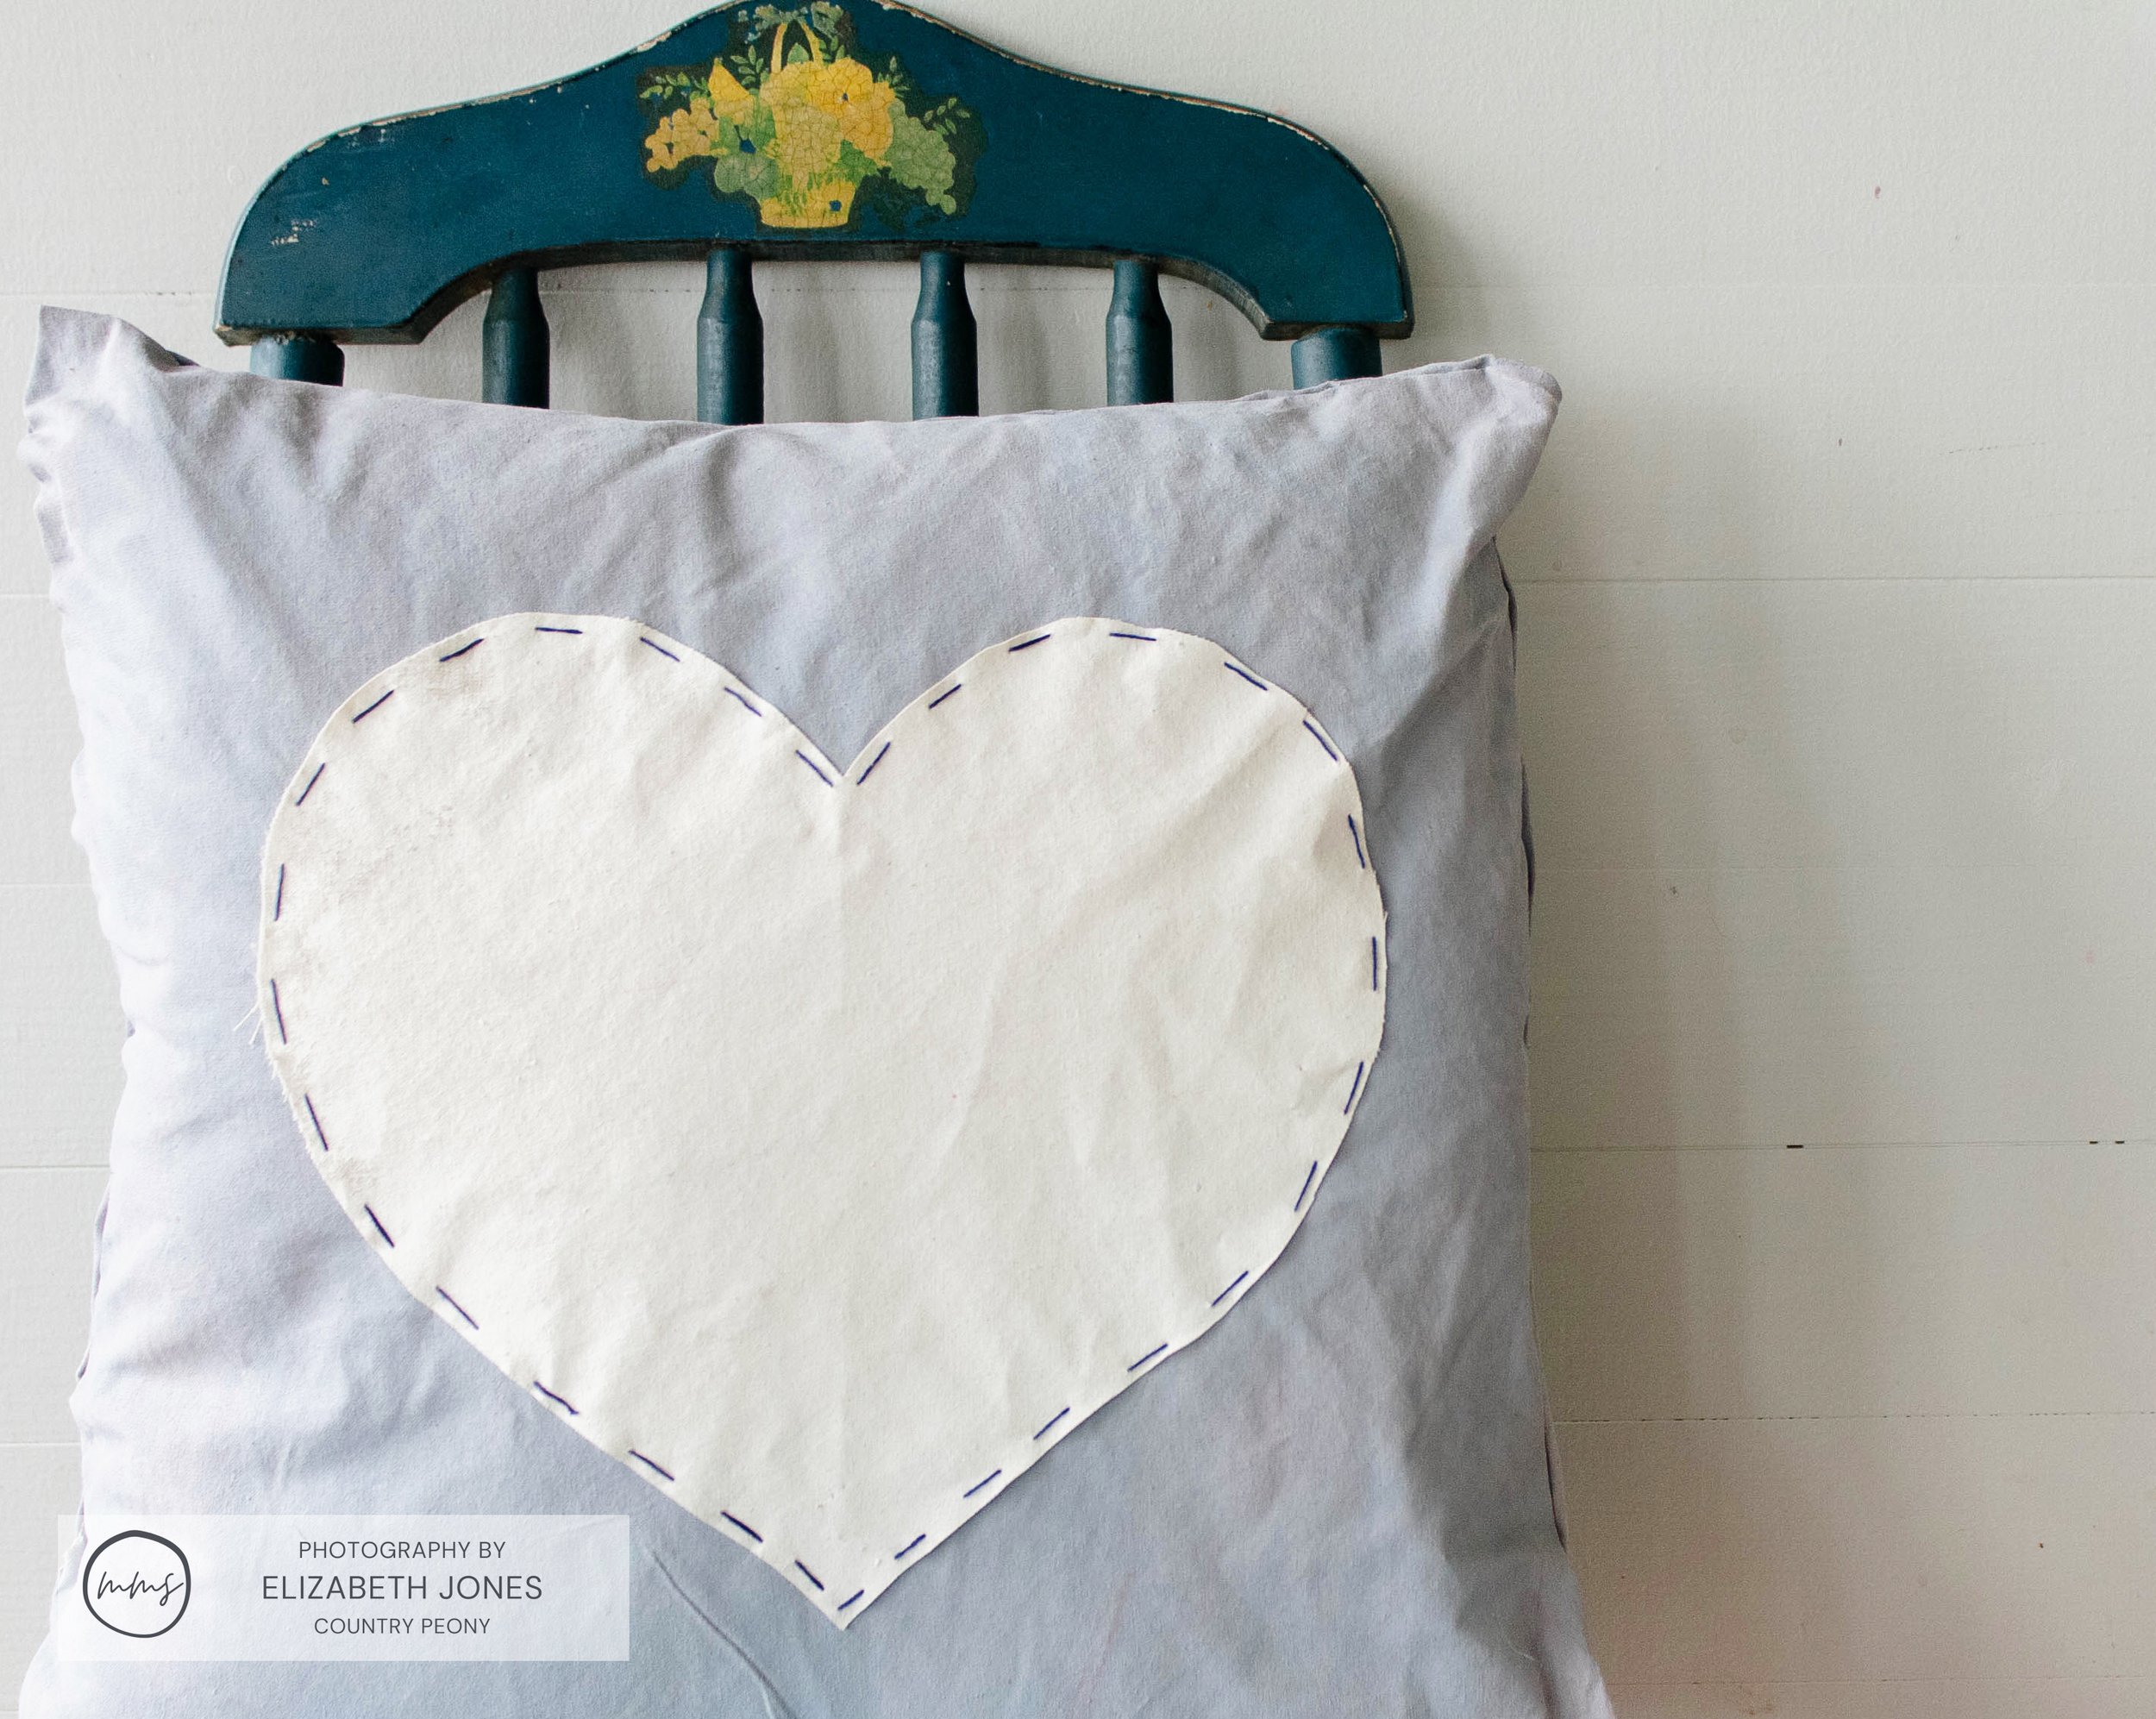
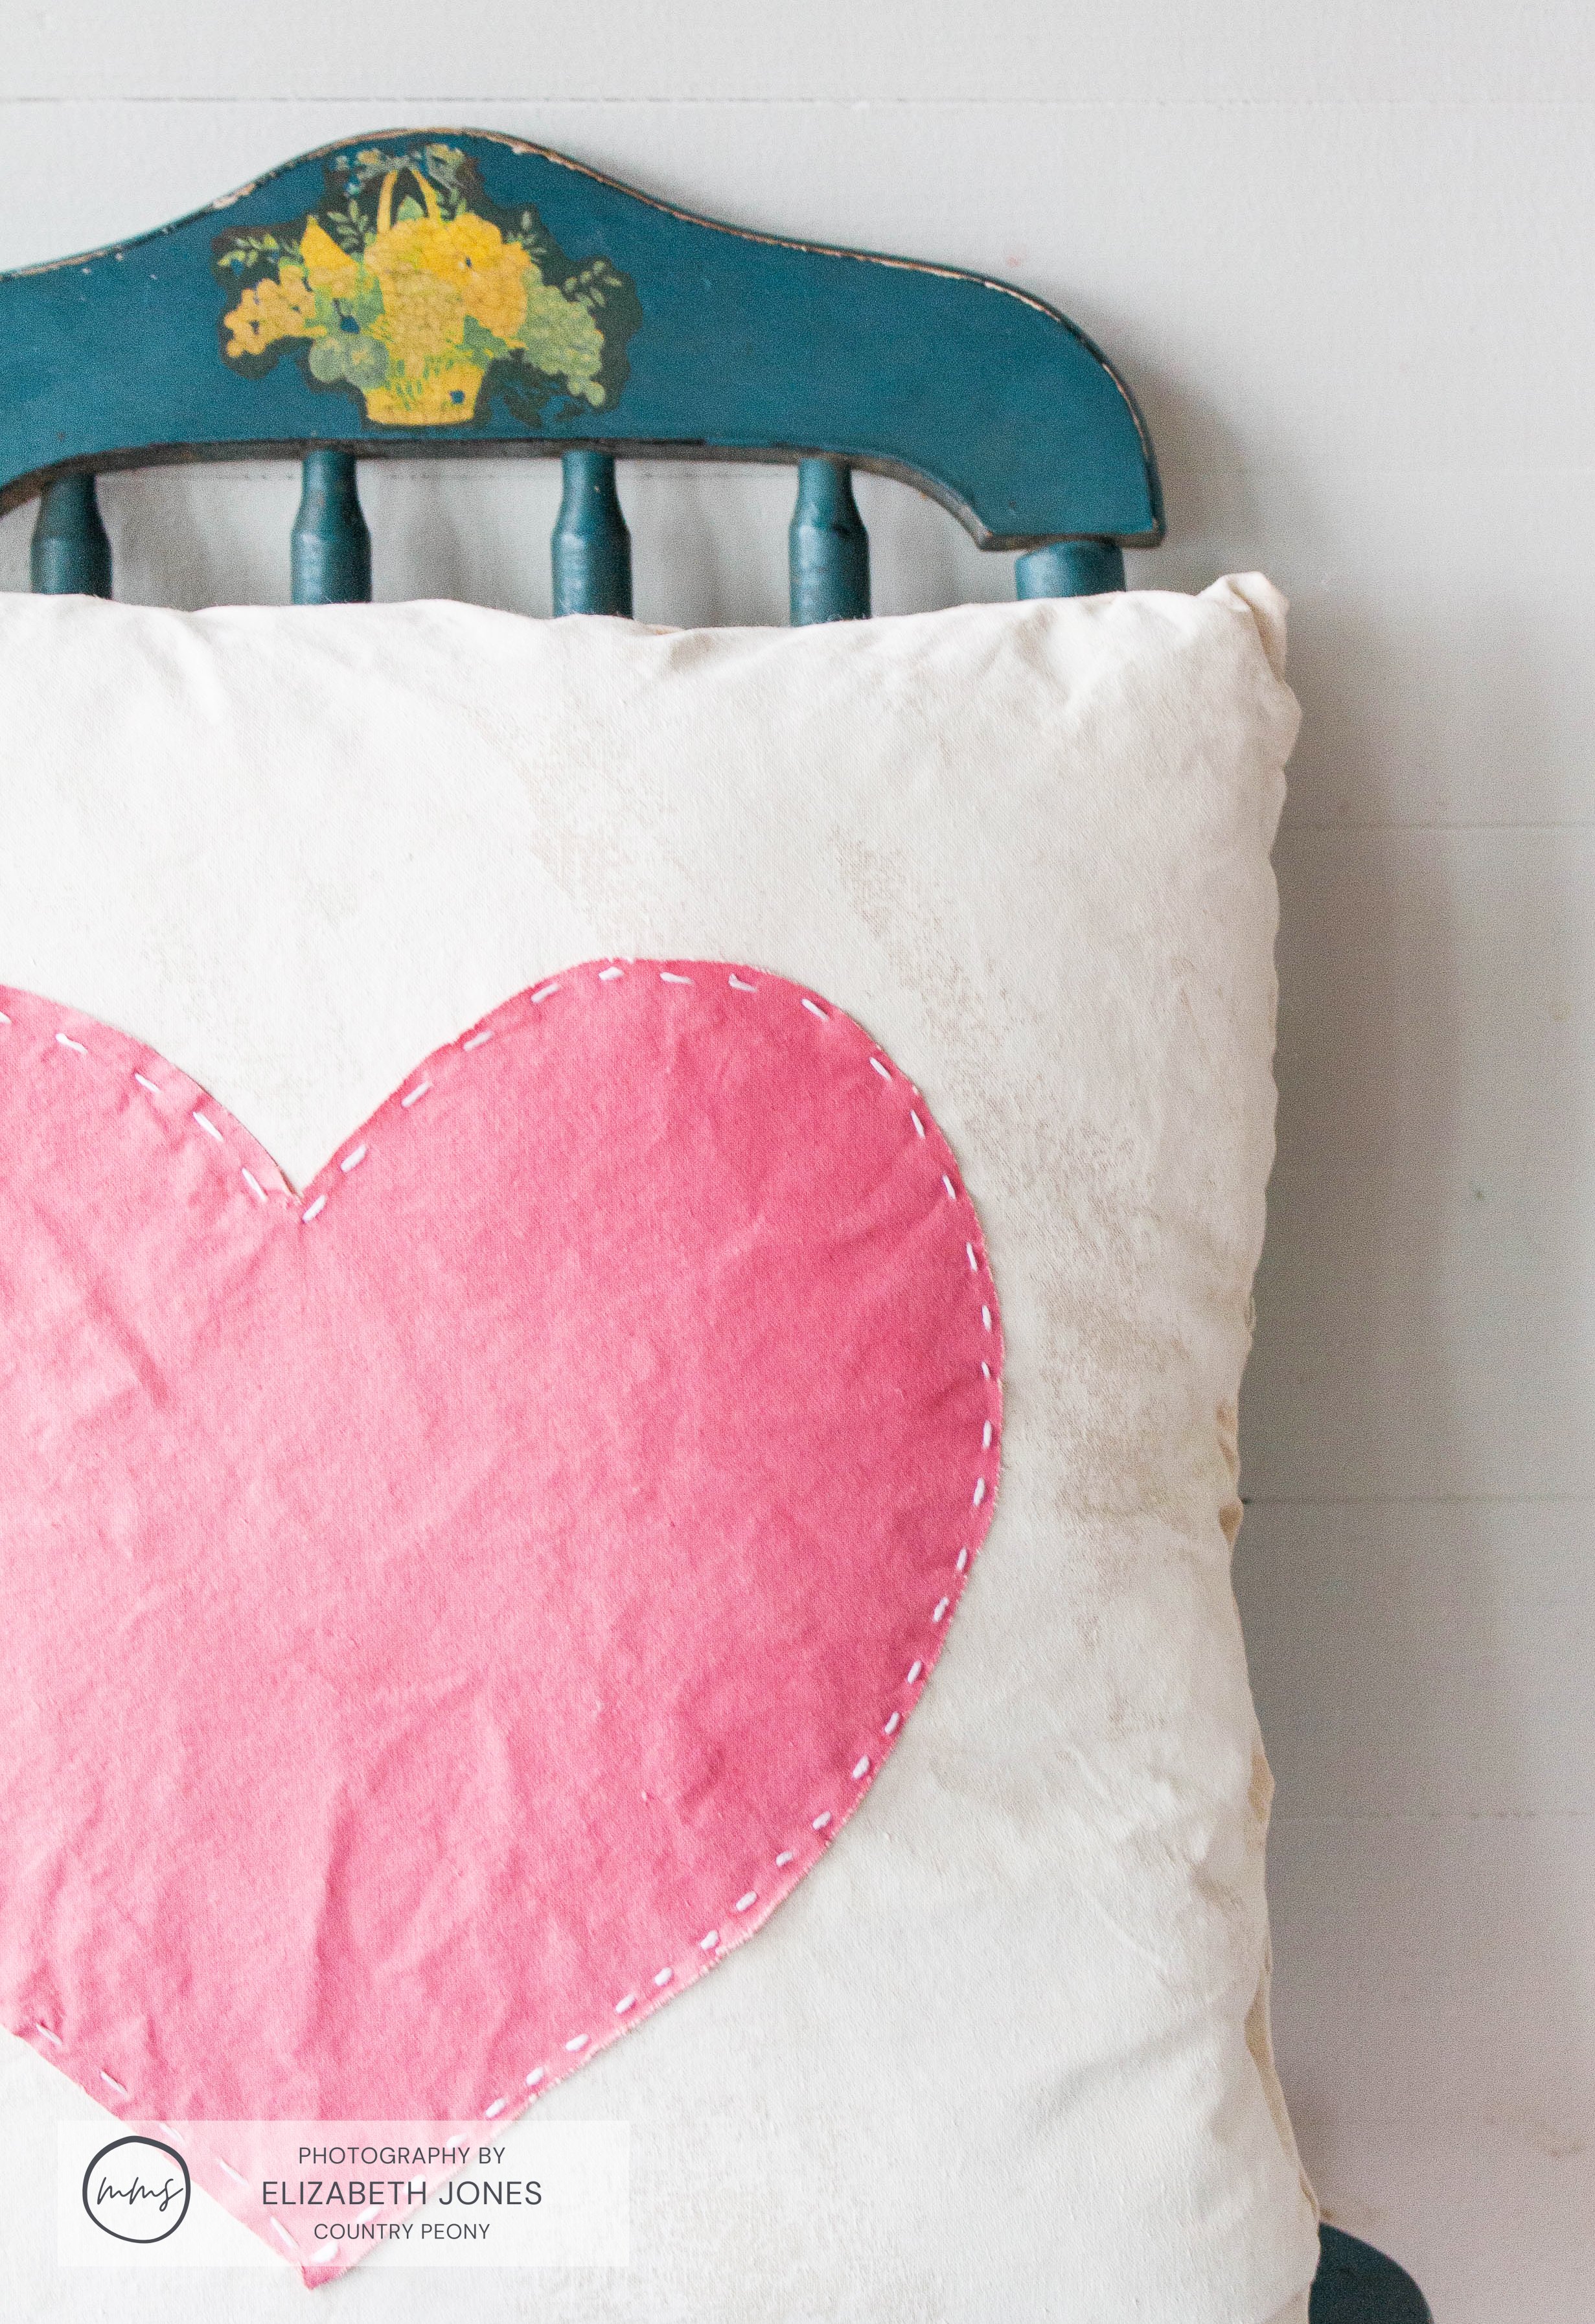
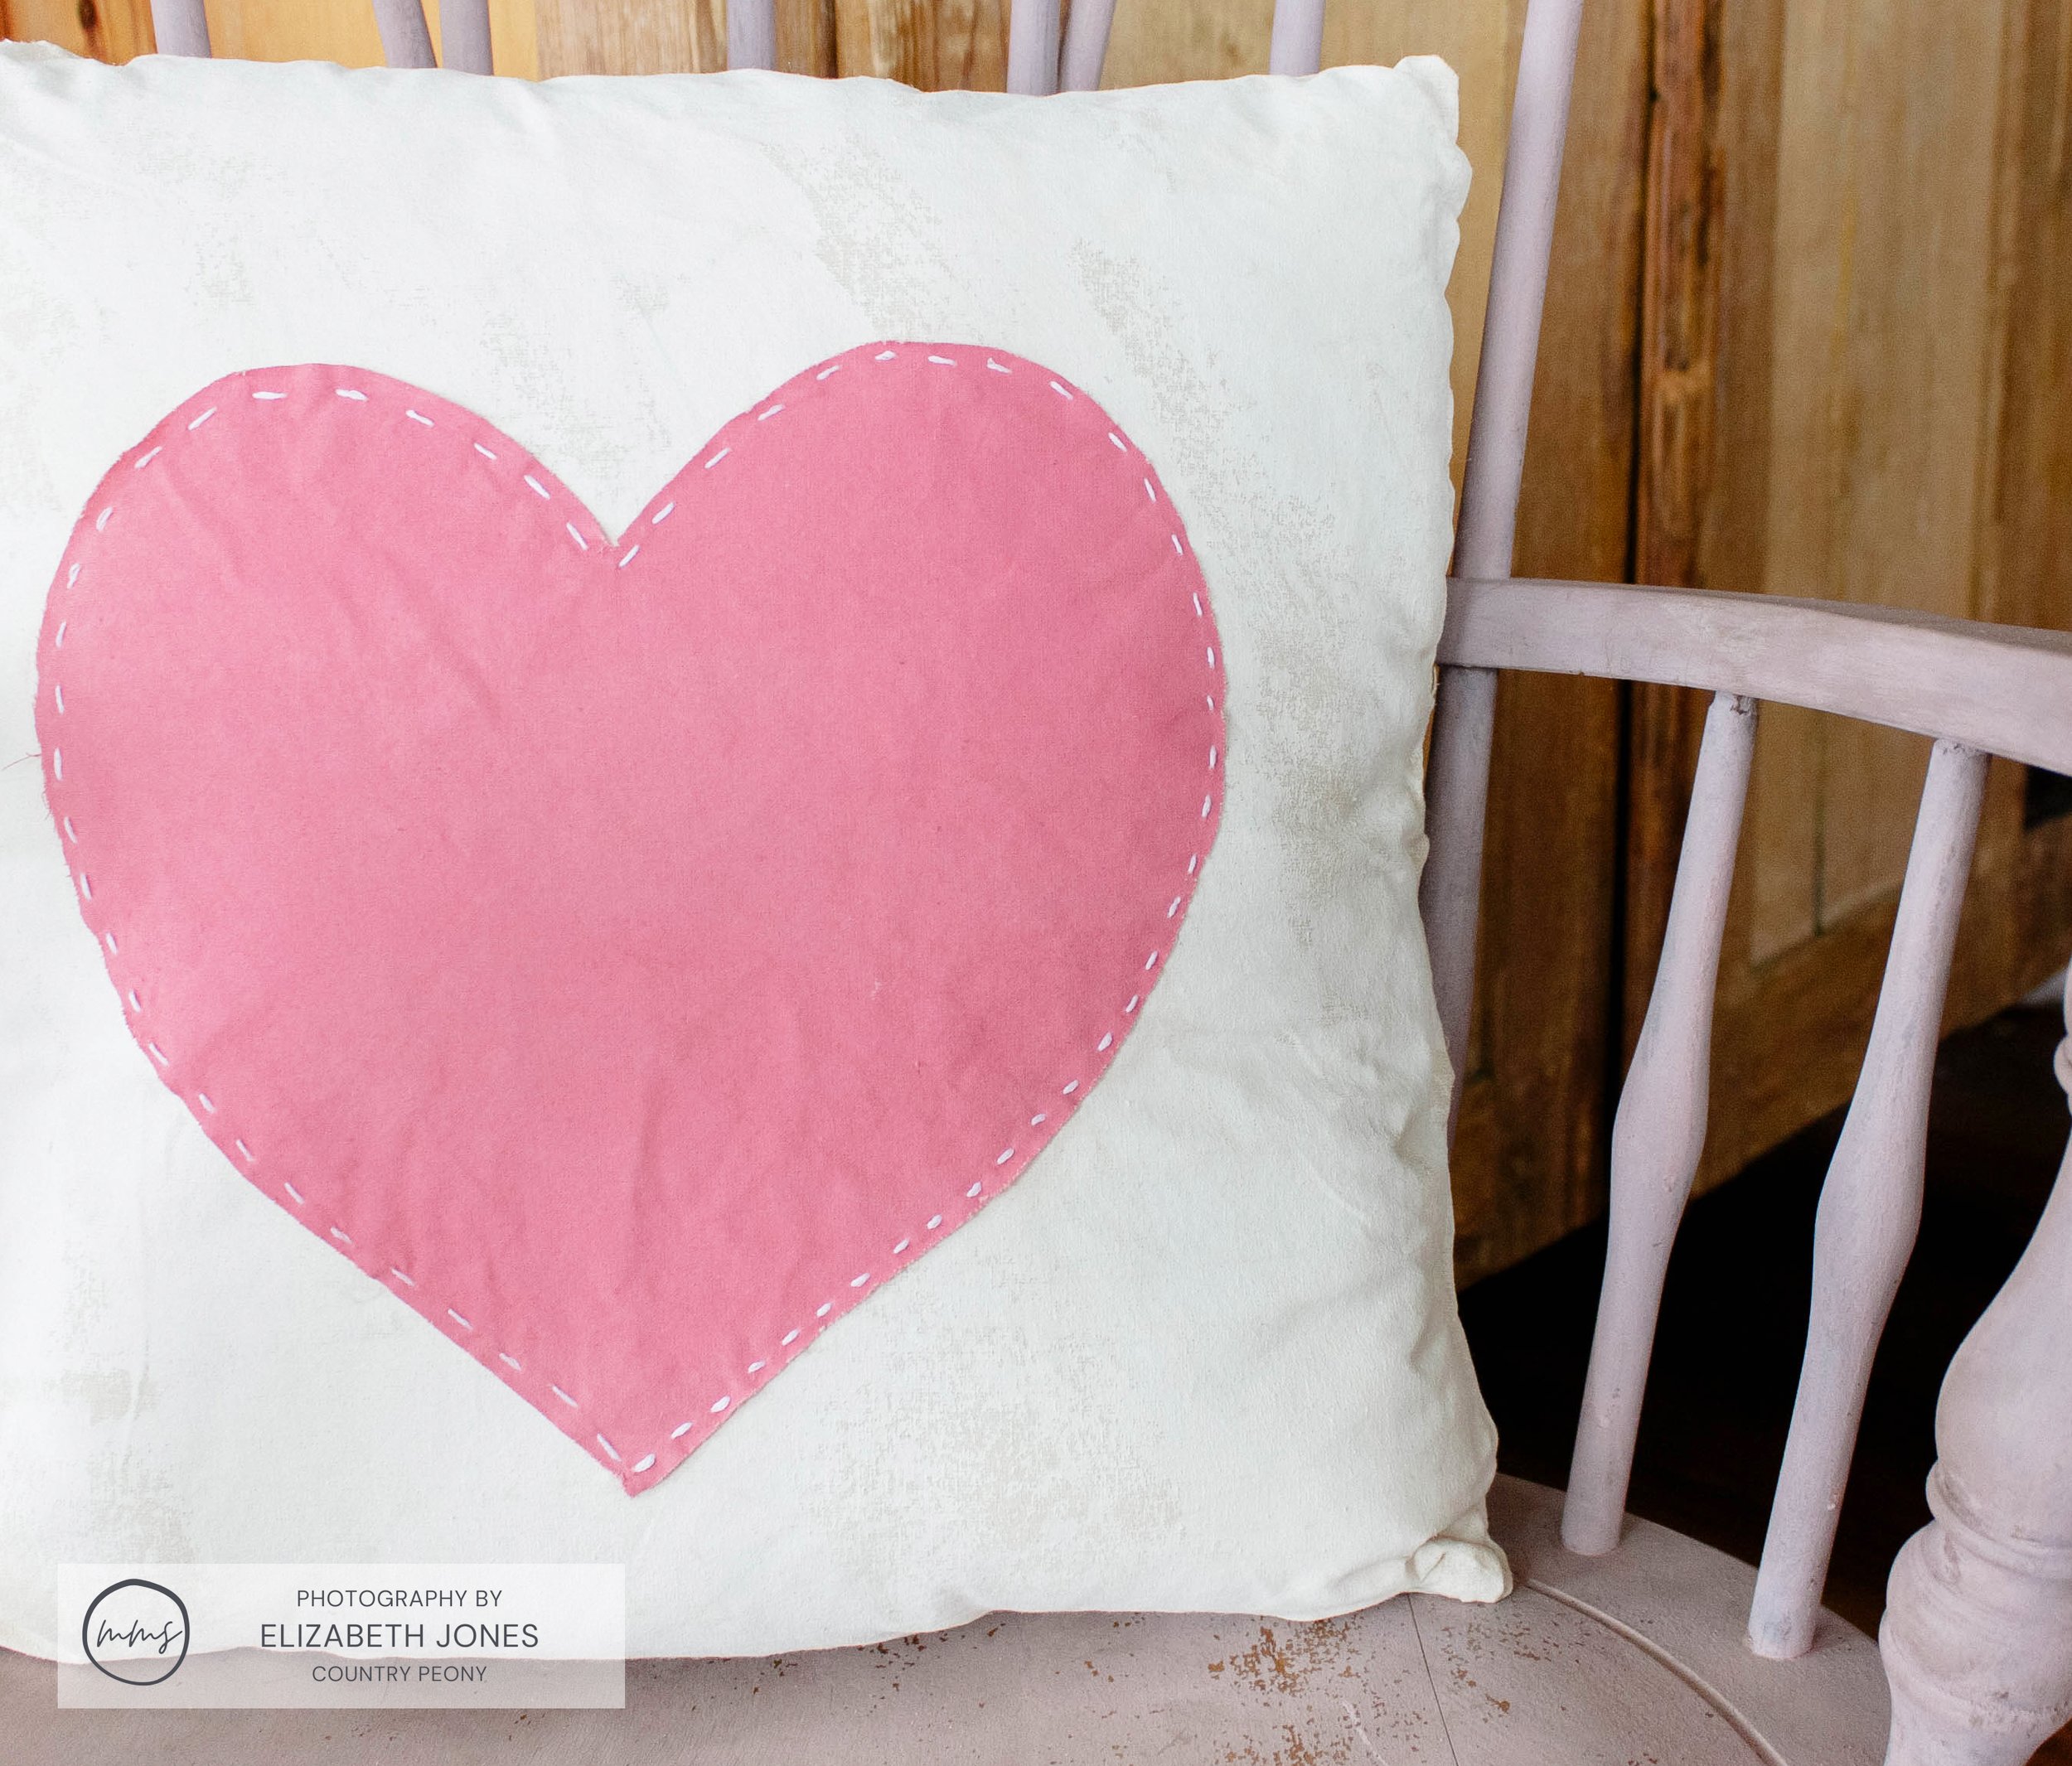
Step 6: Attach the Heart to the Pillow
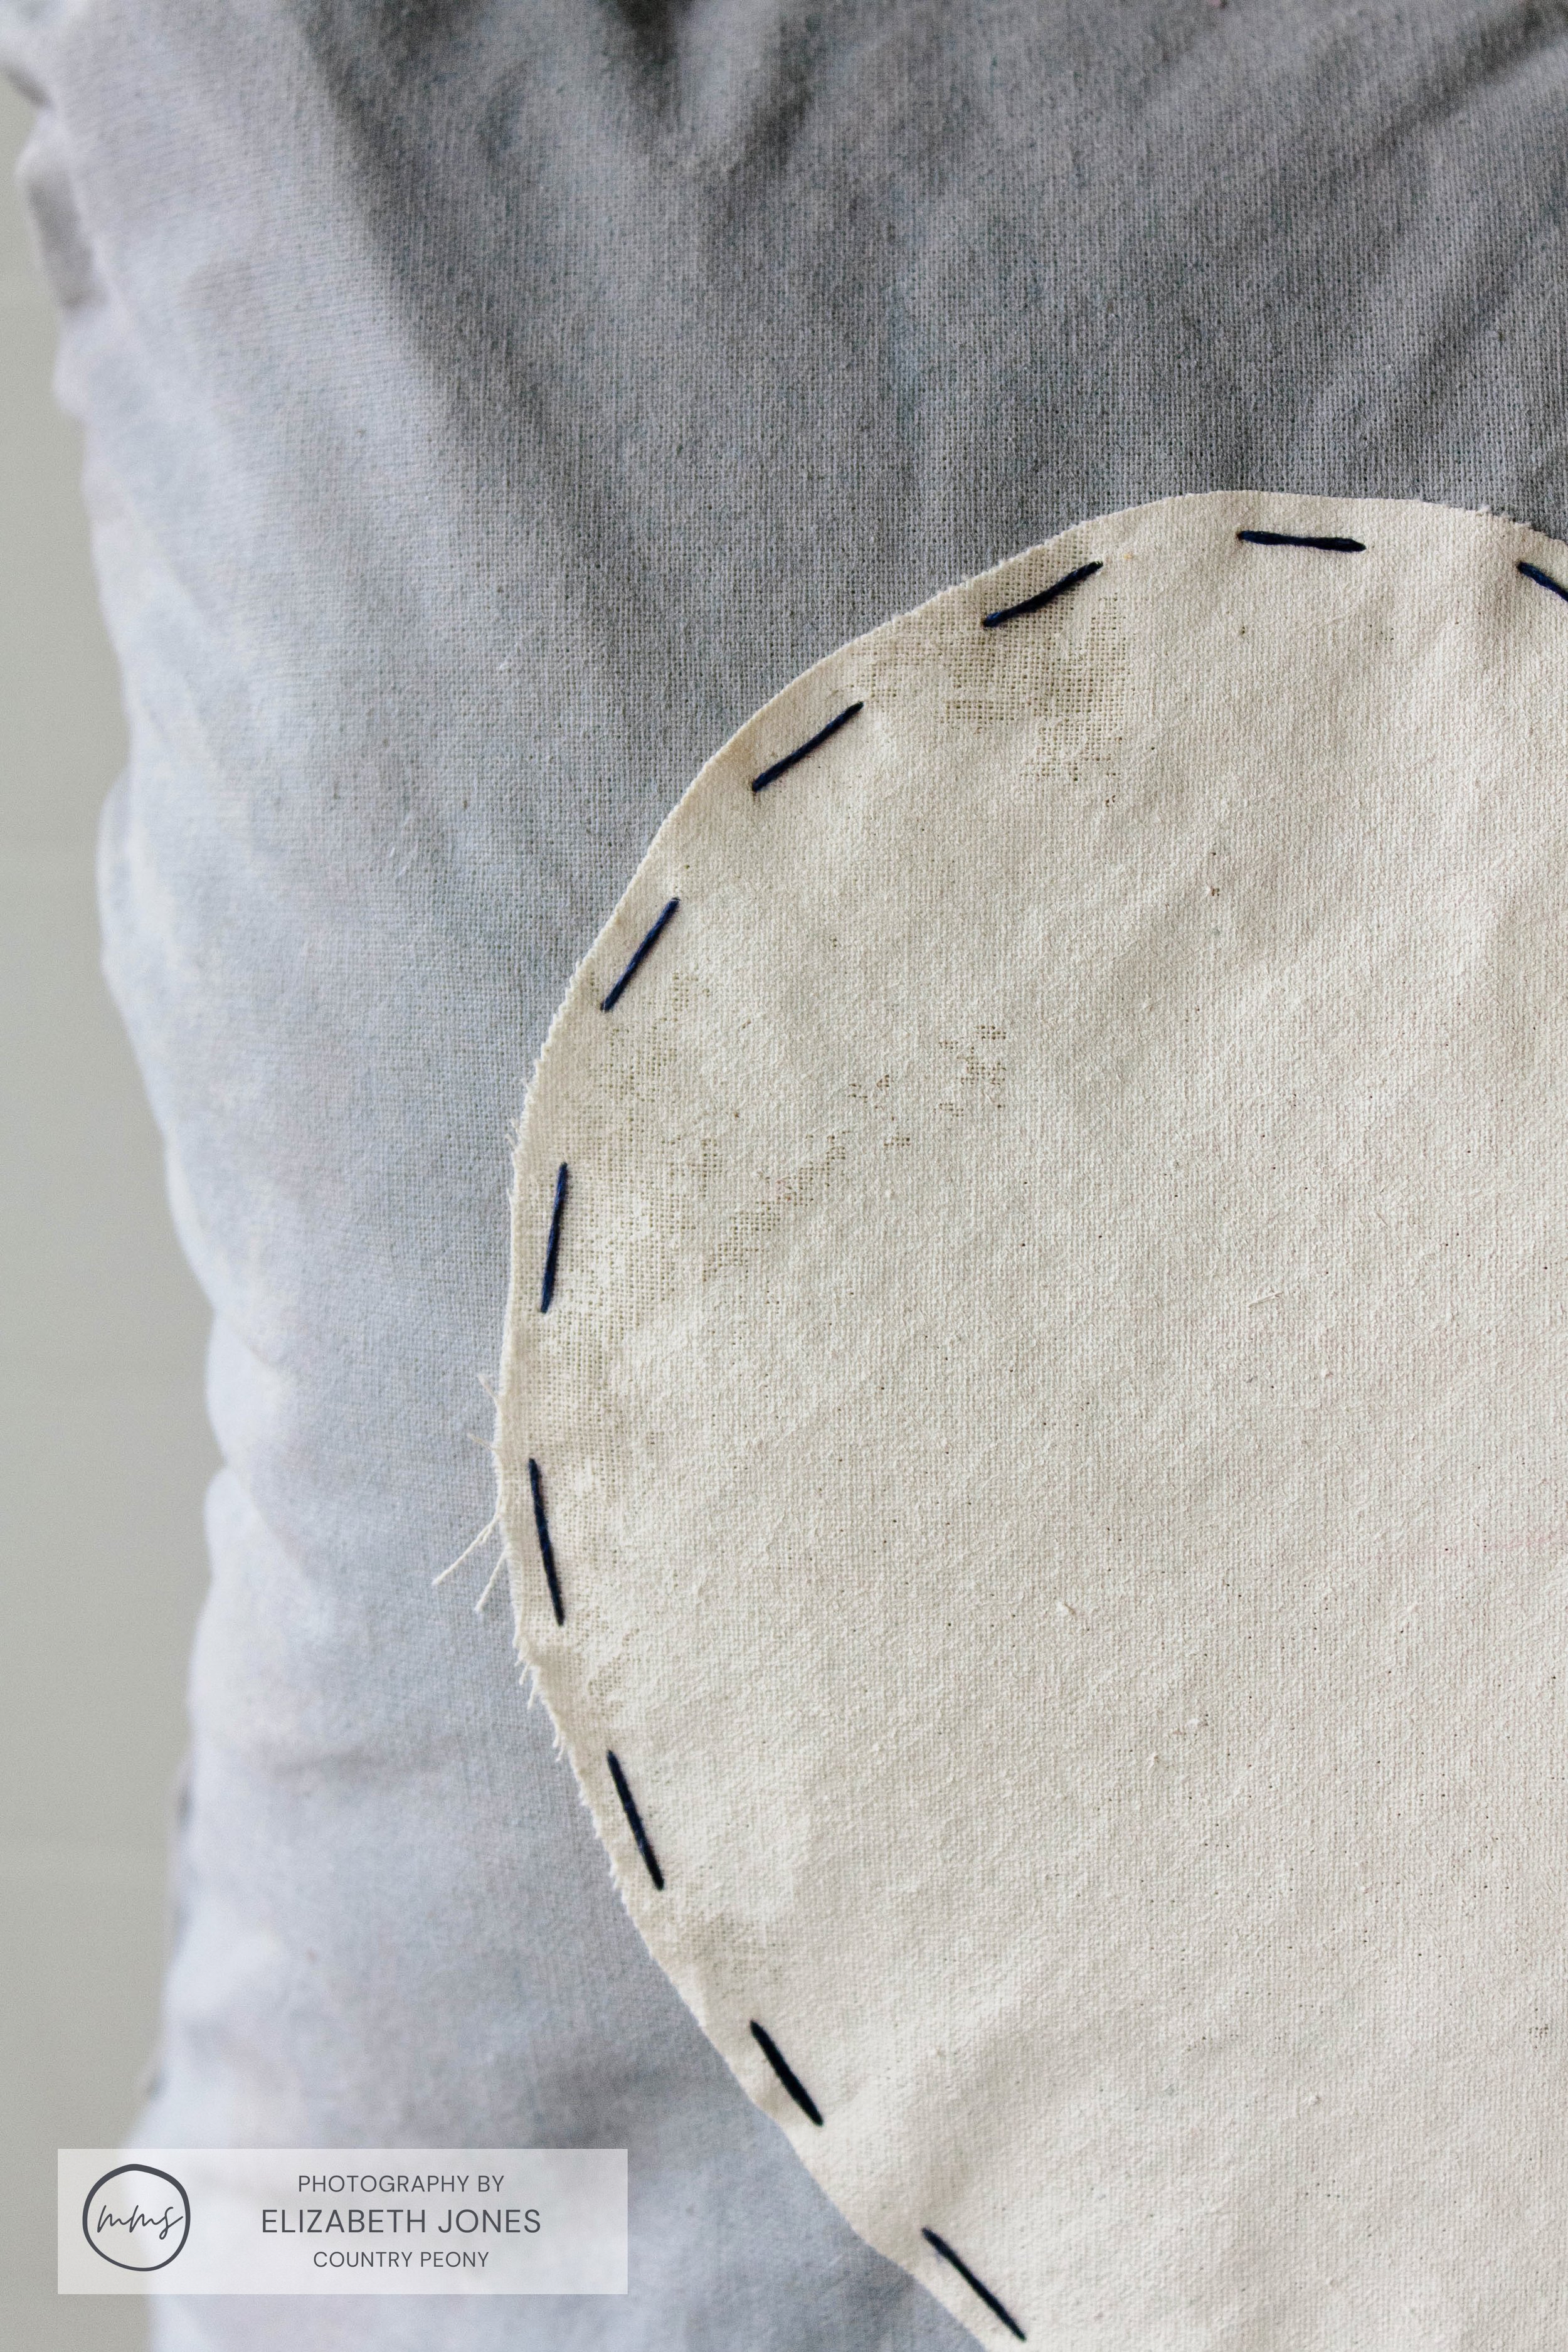
Attach the heart to one side of the pillow with a straight running embroidery stitch to create a sweet, handmade look. I recommend using a contrasting embroidery thread color so that it stands out.
Or, you can attach the heart with fabric glue.

Thread your needle with a contrasting embroidery thread

Pin your heart in place

This is what a running stitch looks like

Trace all around the perimeter of your heart
Step 7: Make the Pillow
Place the painted sides of the fabric together and use fabric glue to attach the pillow pieces together. Leave one side of the pillow open. Or, you can also use a sewing machine to create the pillow.
Step 8: Turn The Pillow Inside Out
Carefully turn the pillow inside, and place the pillow insert inside the pillow.

Step 9: Finish the Pillow
Attach the fabric glue to the open side of the pillow, then secure it with pins or wonder clips.
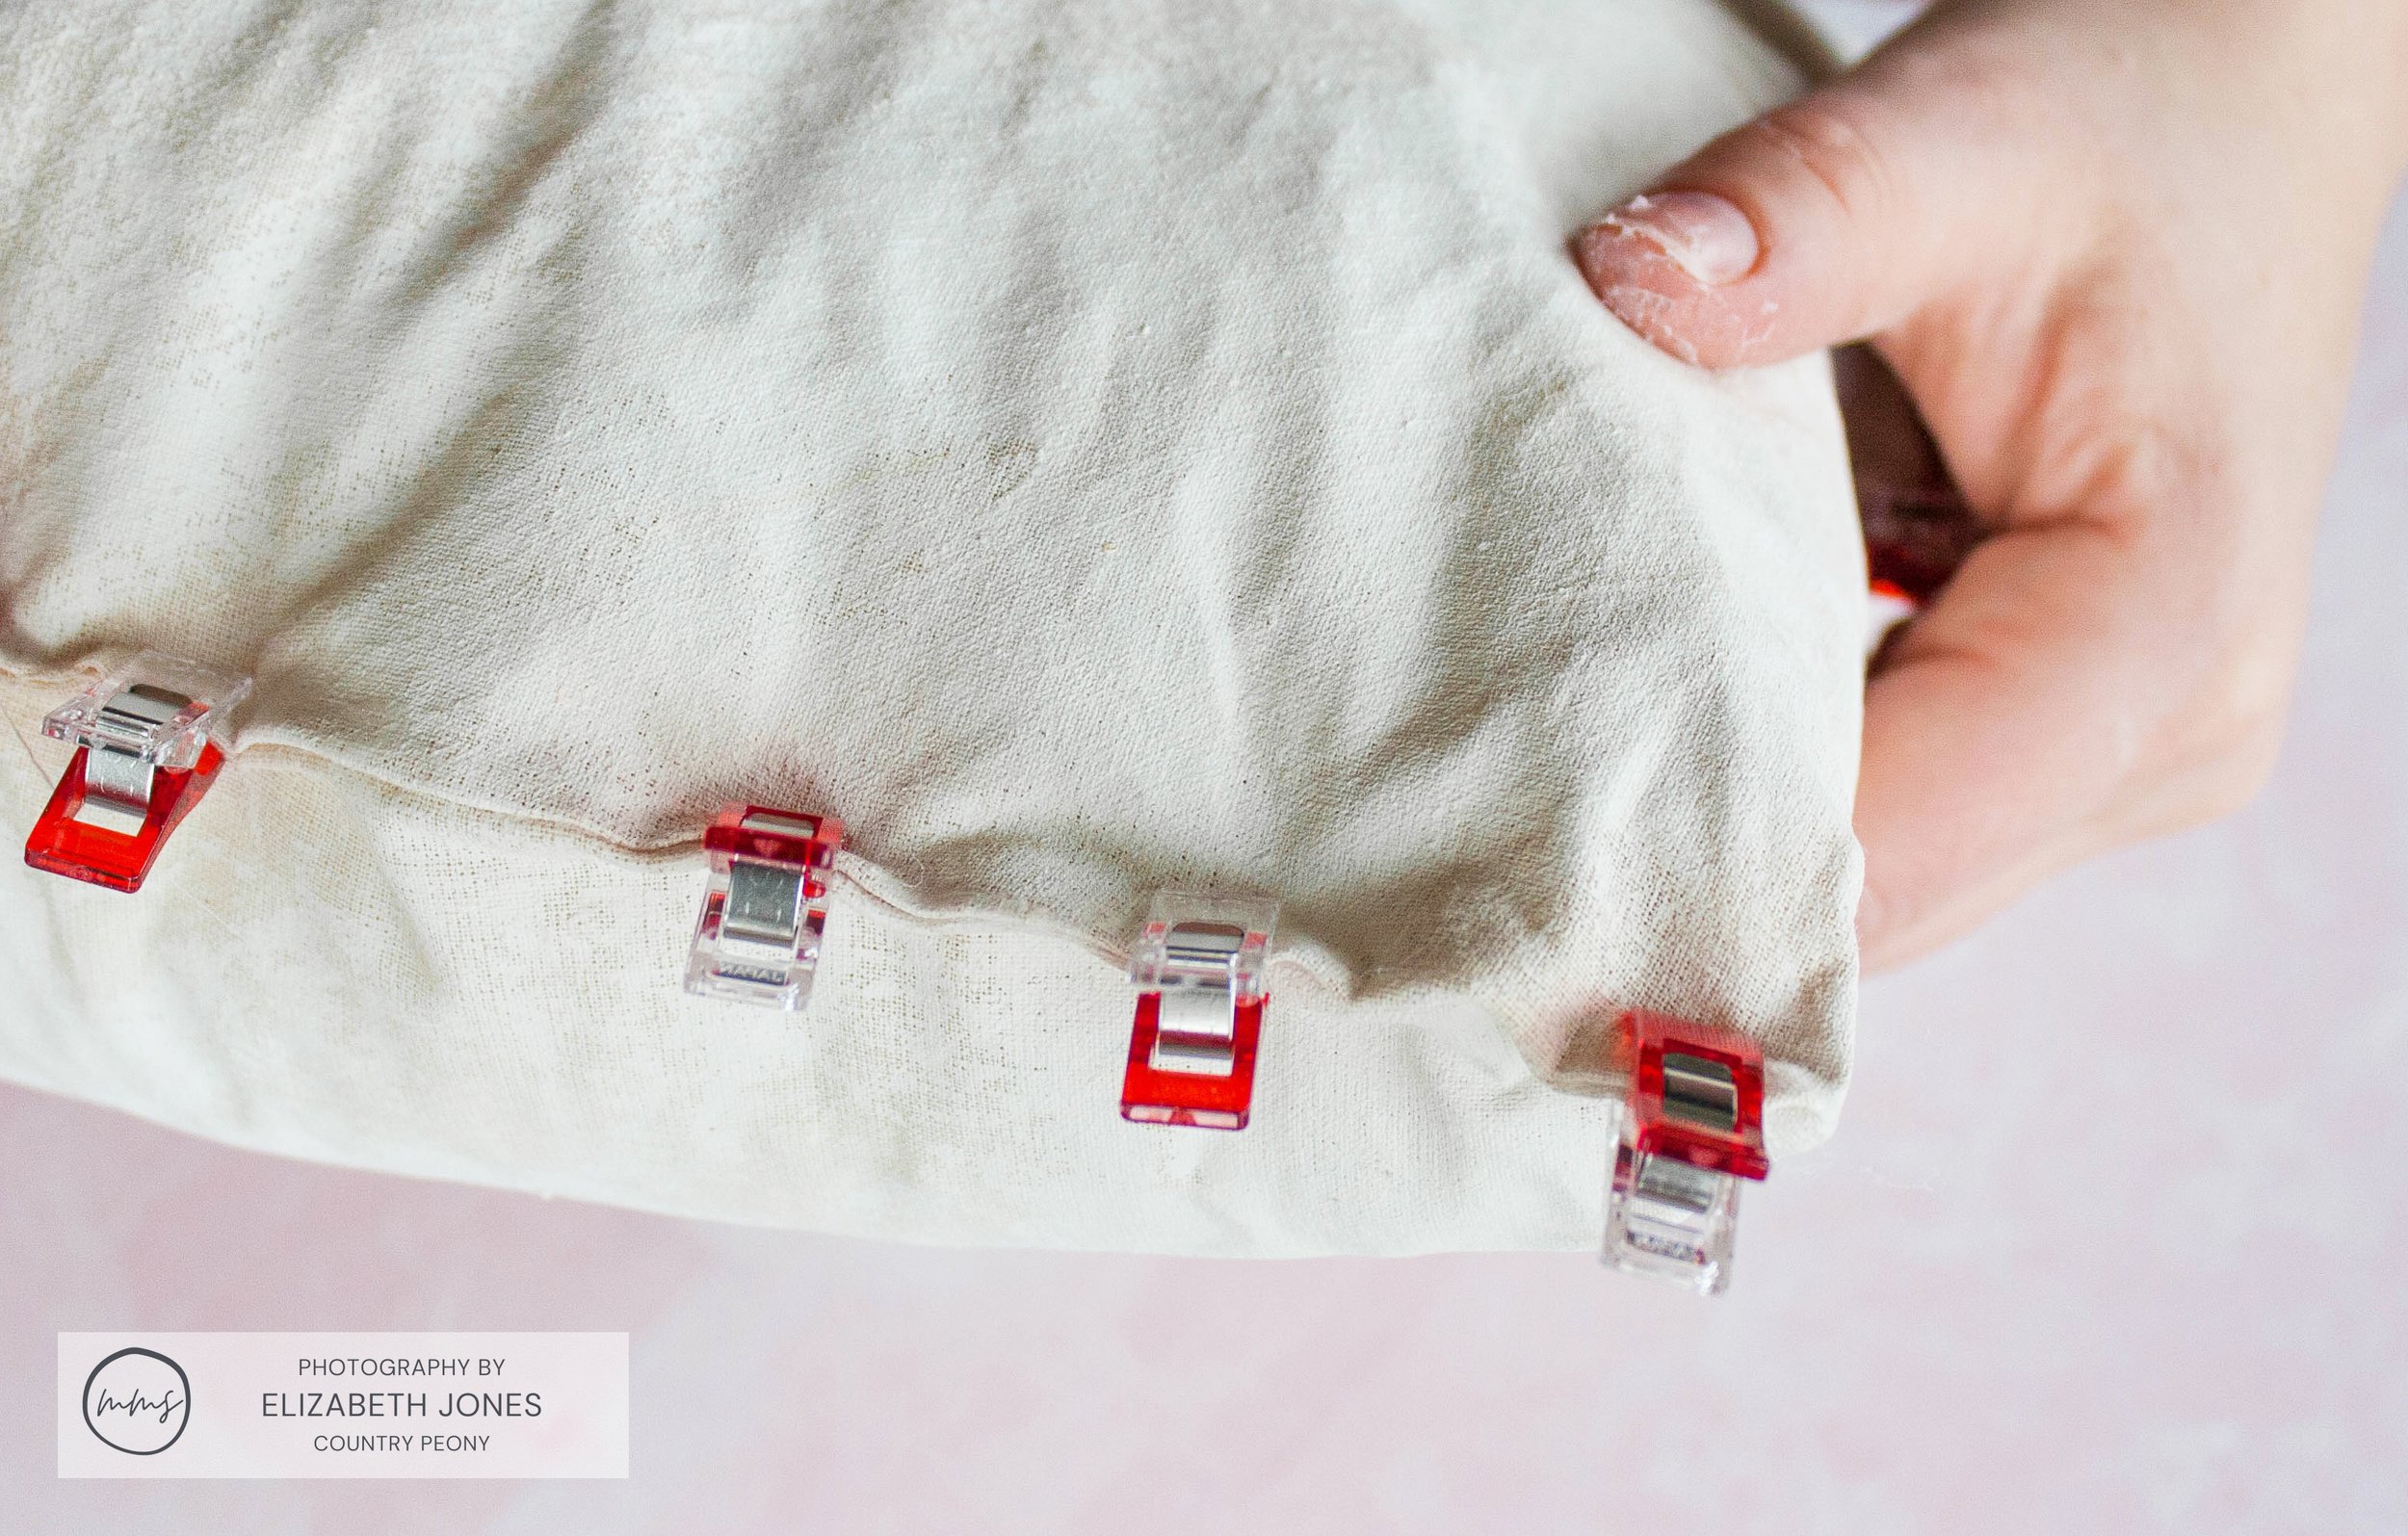
Once the glue dries, remove the pins or wonder clips.
Step 10: Enjoy your Custom Pillow
Allow 30 days for the pillow to fully cure, then enjoy your pillow.

I recommend hand-washing the pillow instead of placing it in the washing machine.
