
Studio Buffet In Schloss And White Wax
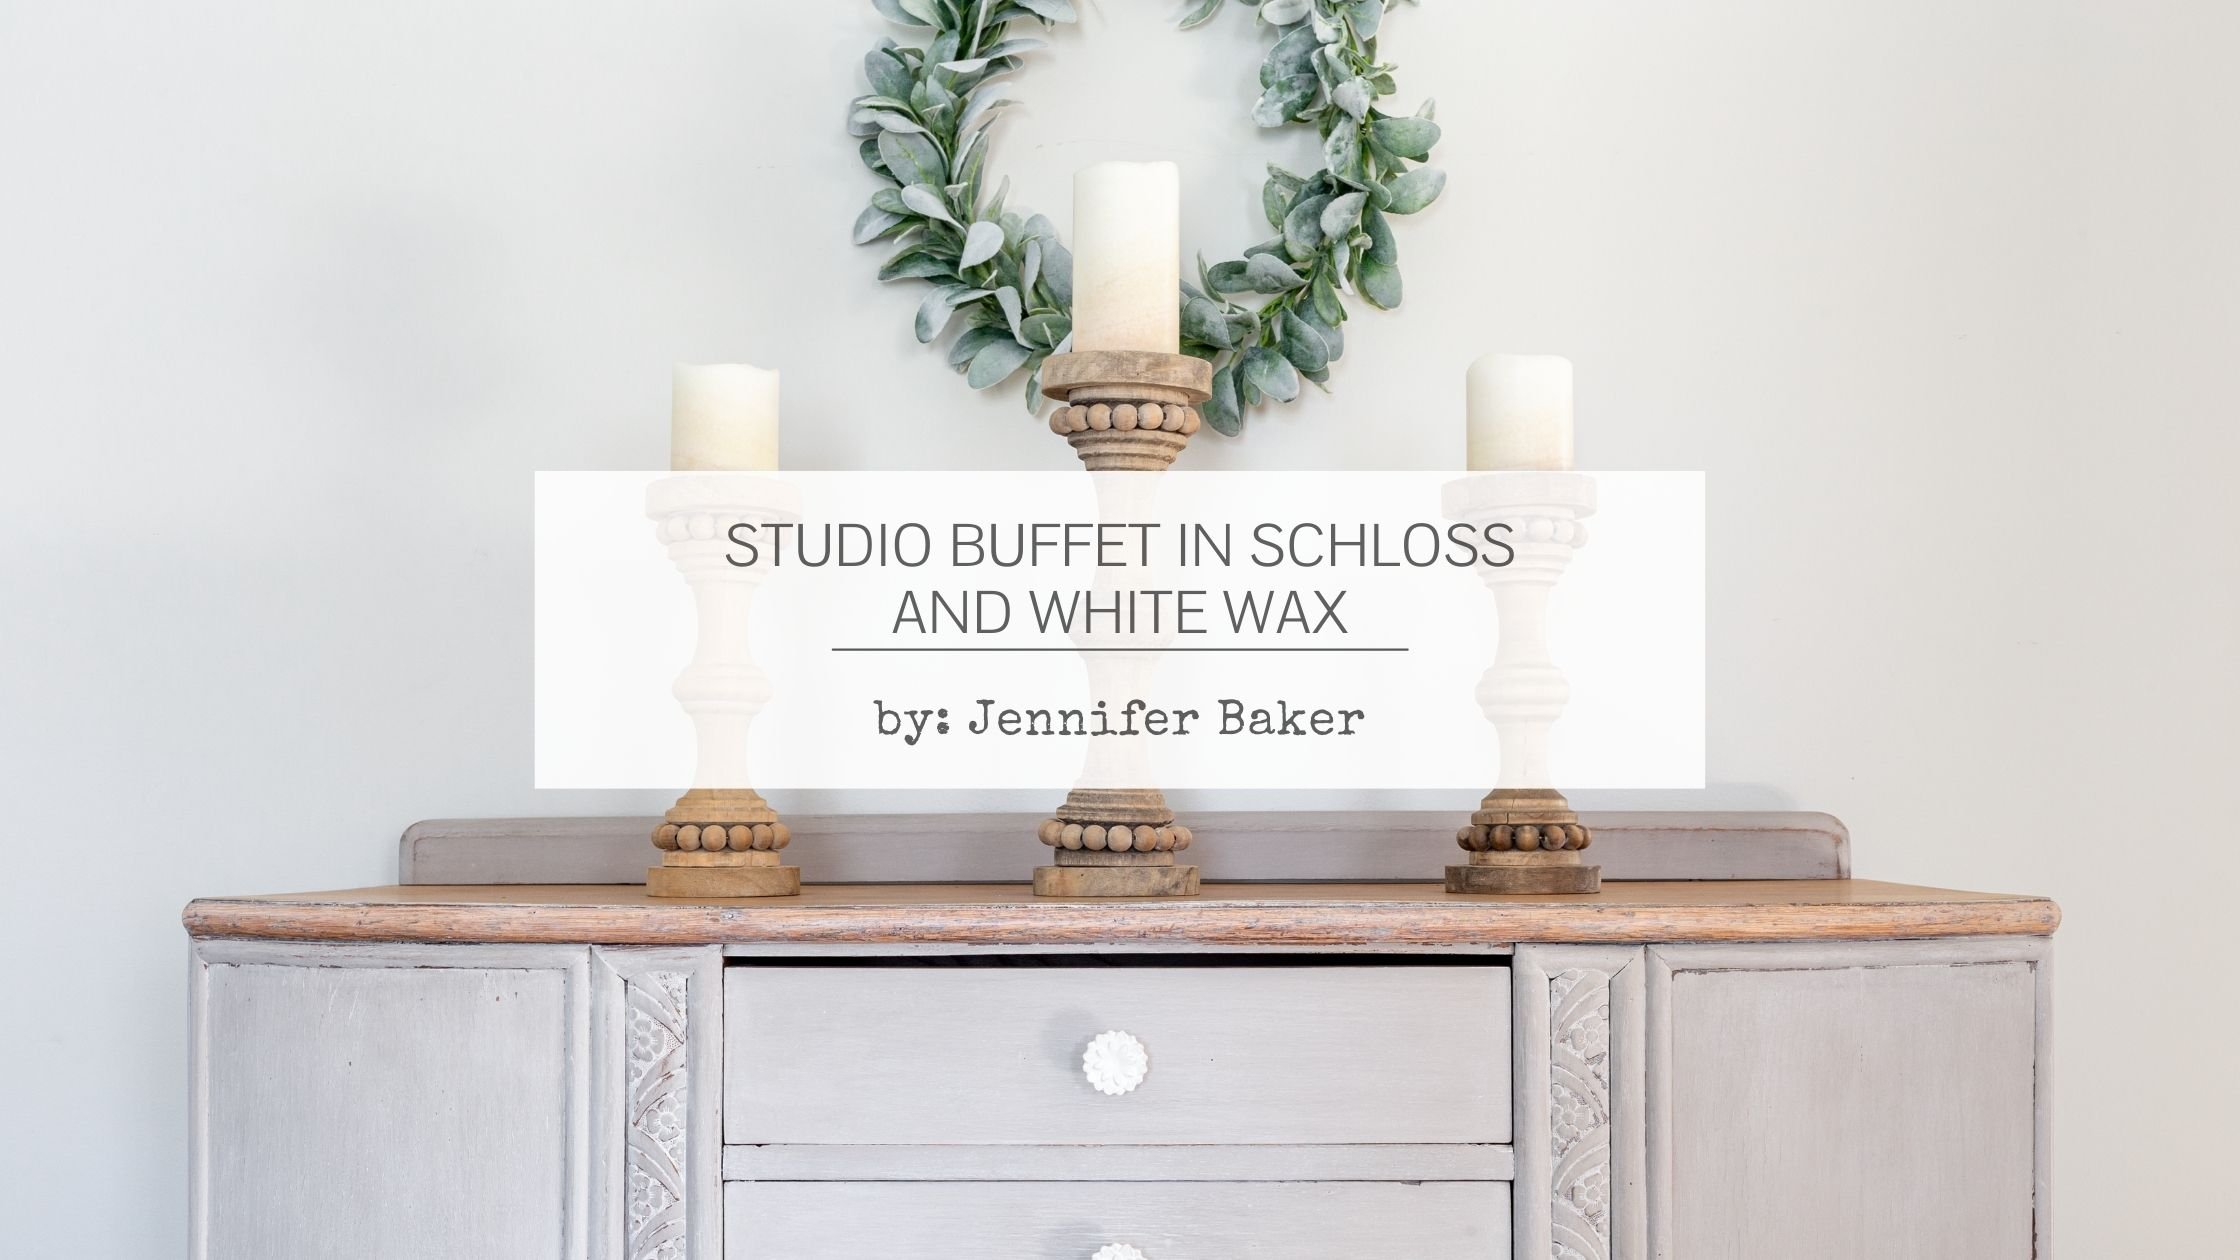
Redesigning My Studio Space With MilkPaint™
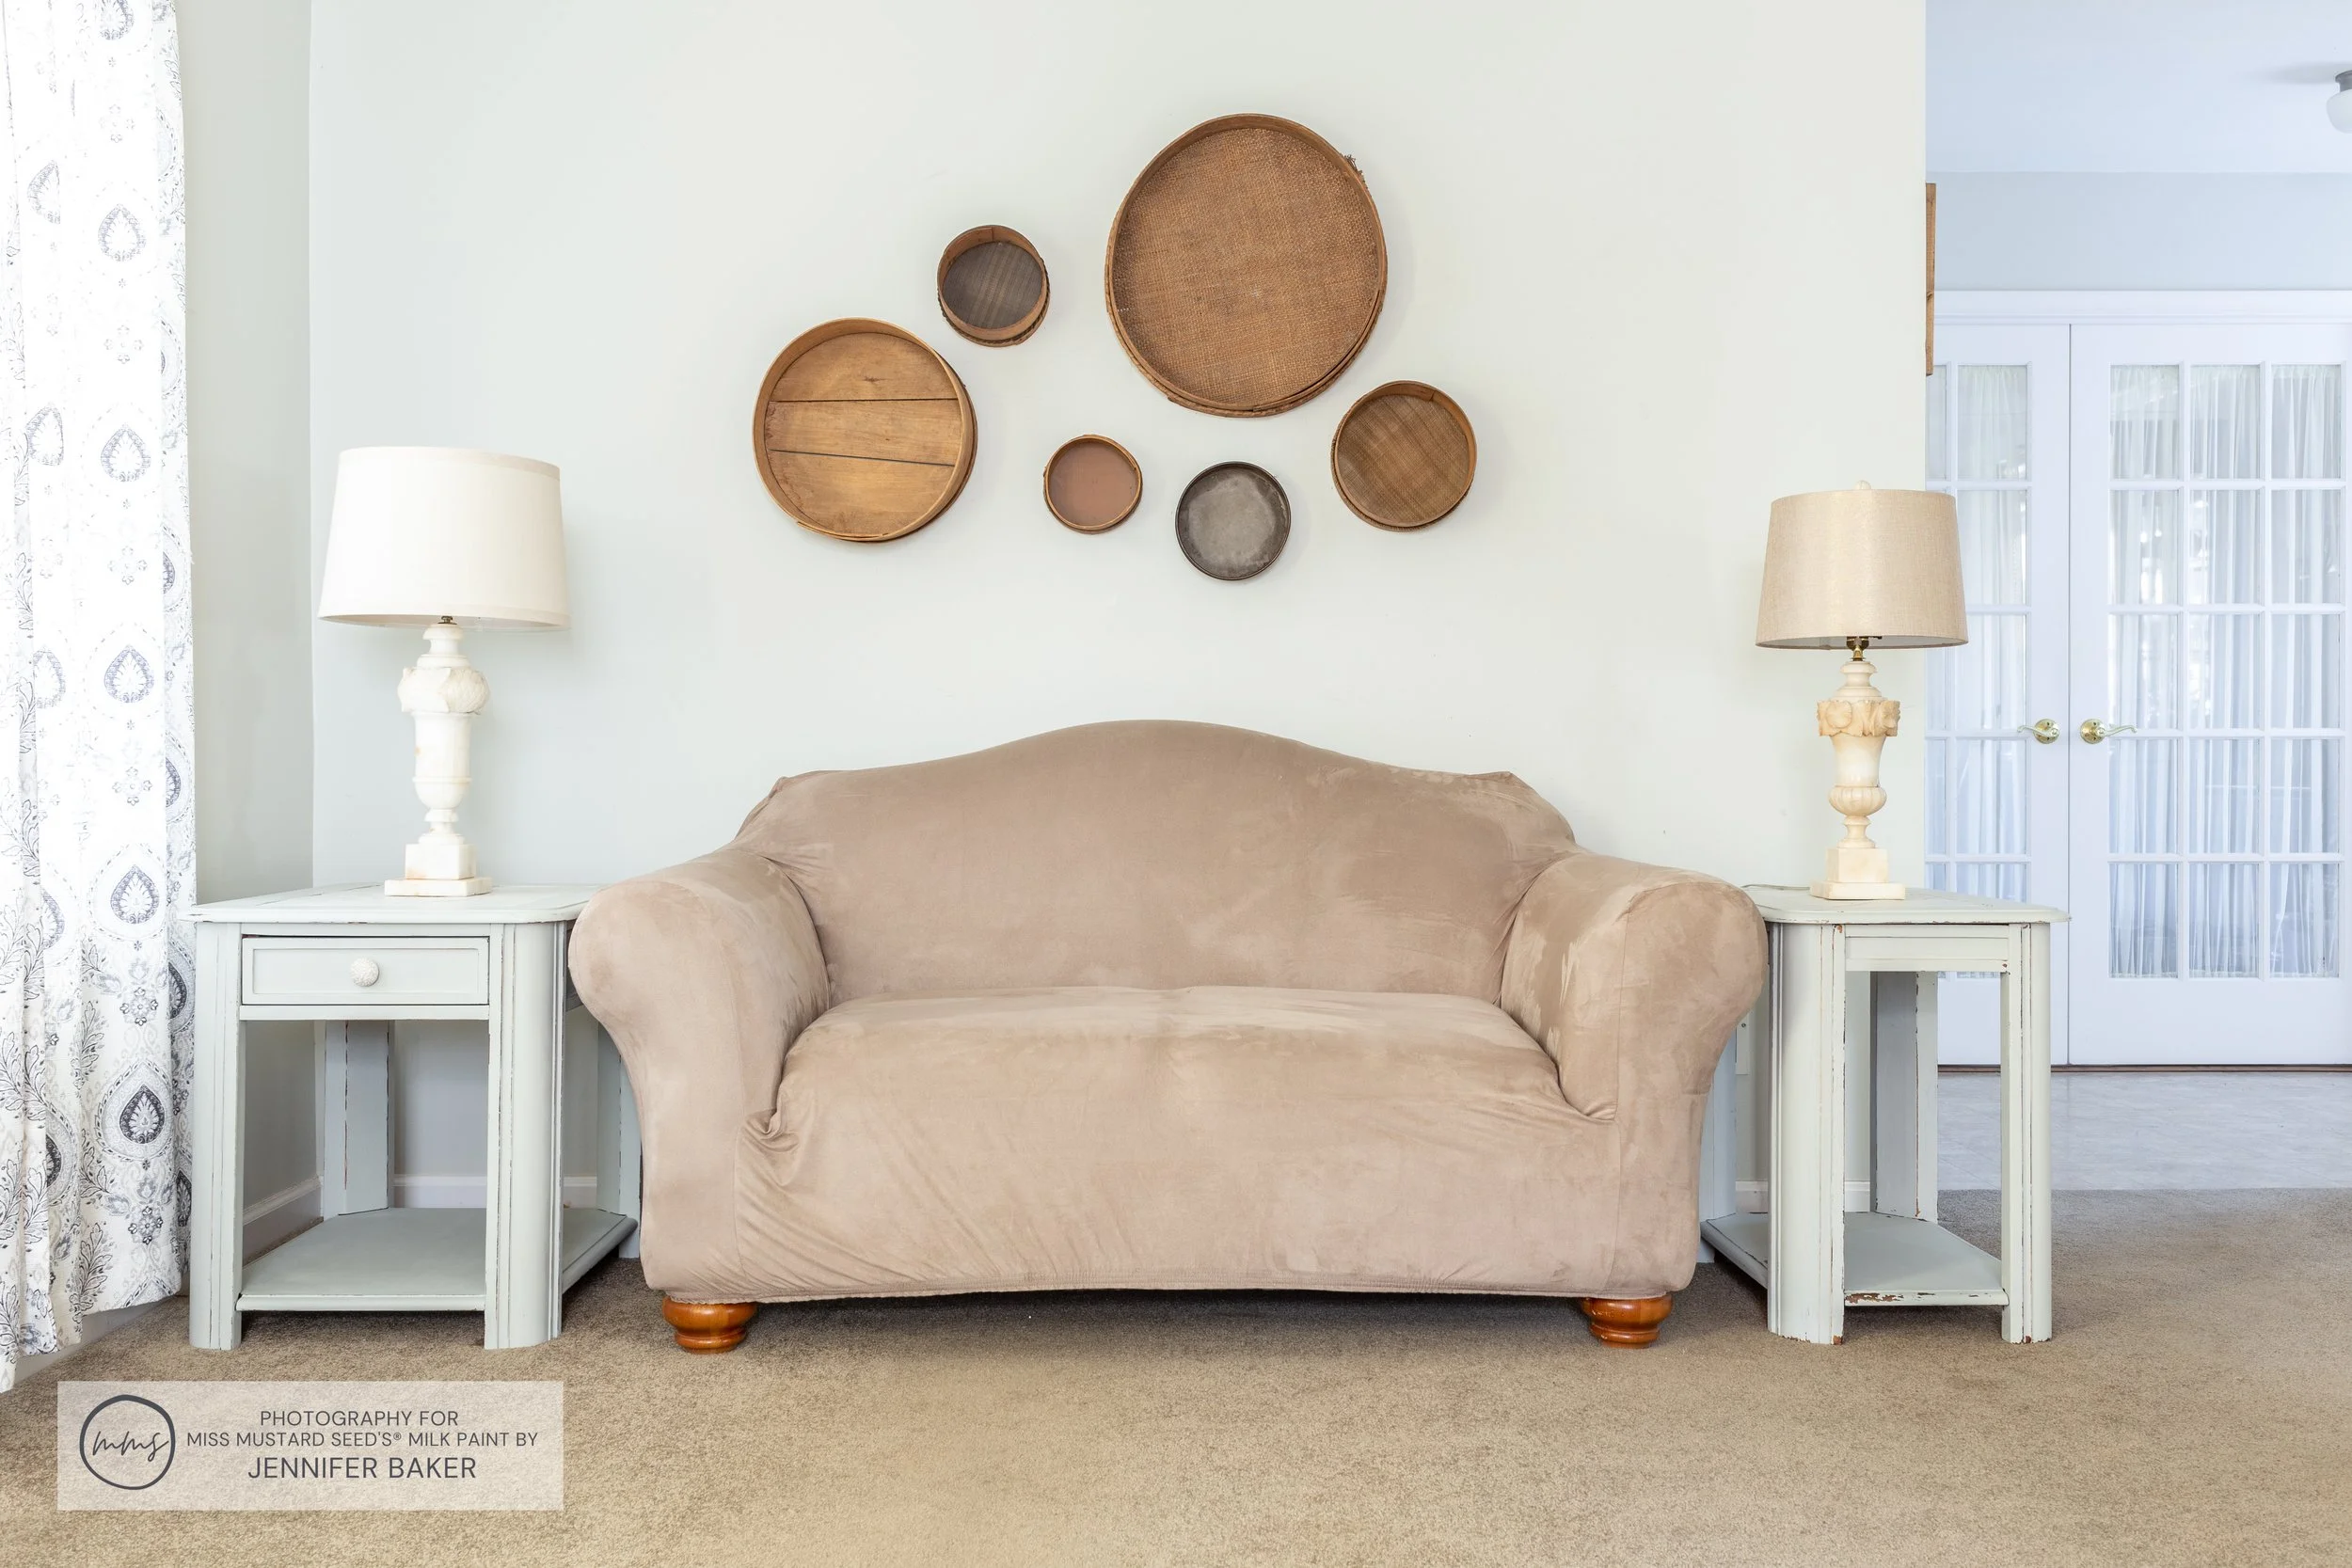
I’ve been redesigning and redecorating my studio work space over the past few months. Recently, I finished a pair of end tables in Mora and Grain Sack.
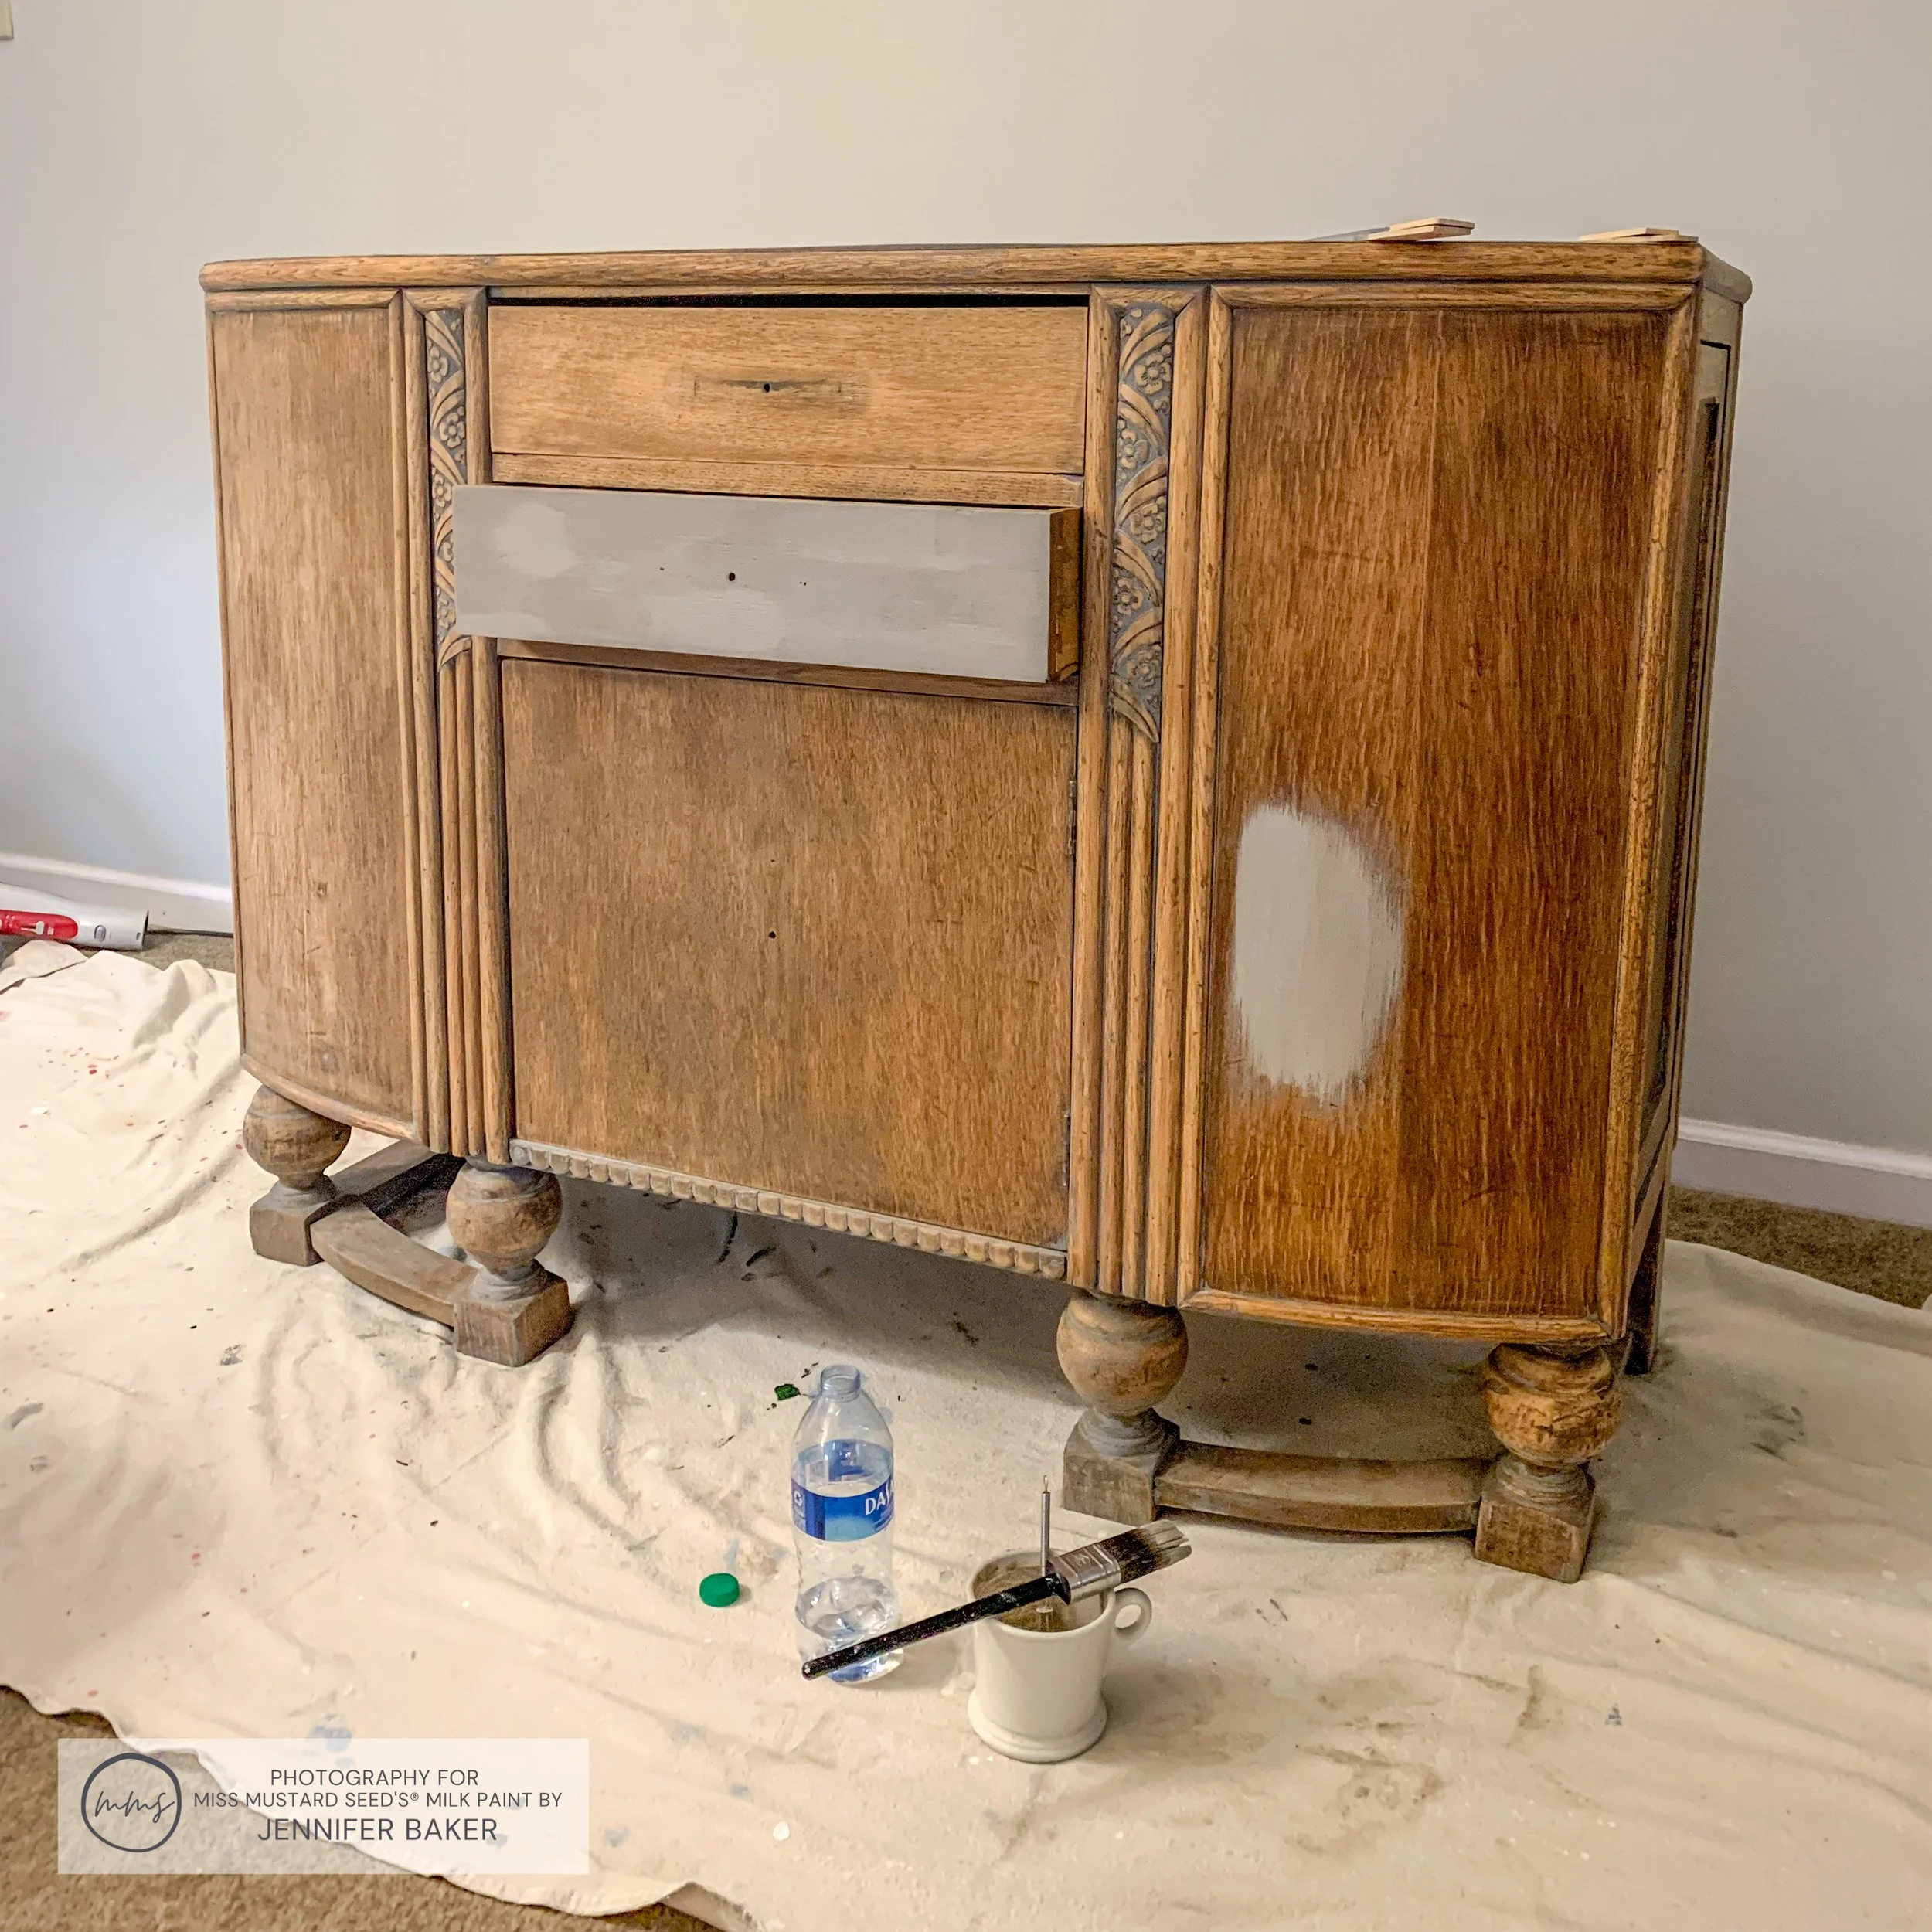
Now that they were looking mighty fine in MilkPaint™, it was time to turn my attention to this sweet 4 foot long buffet on the adjacent wall.
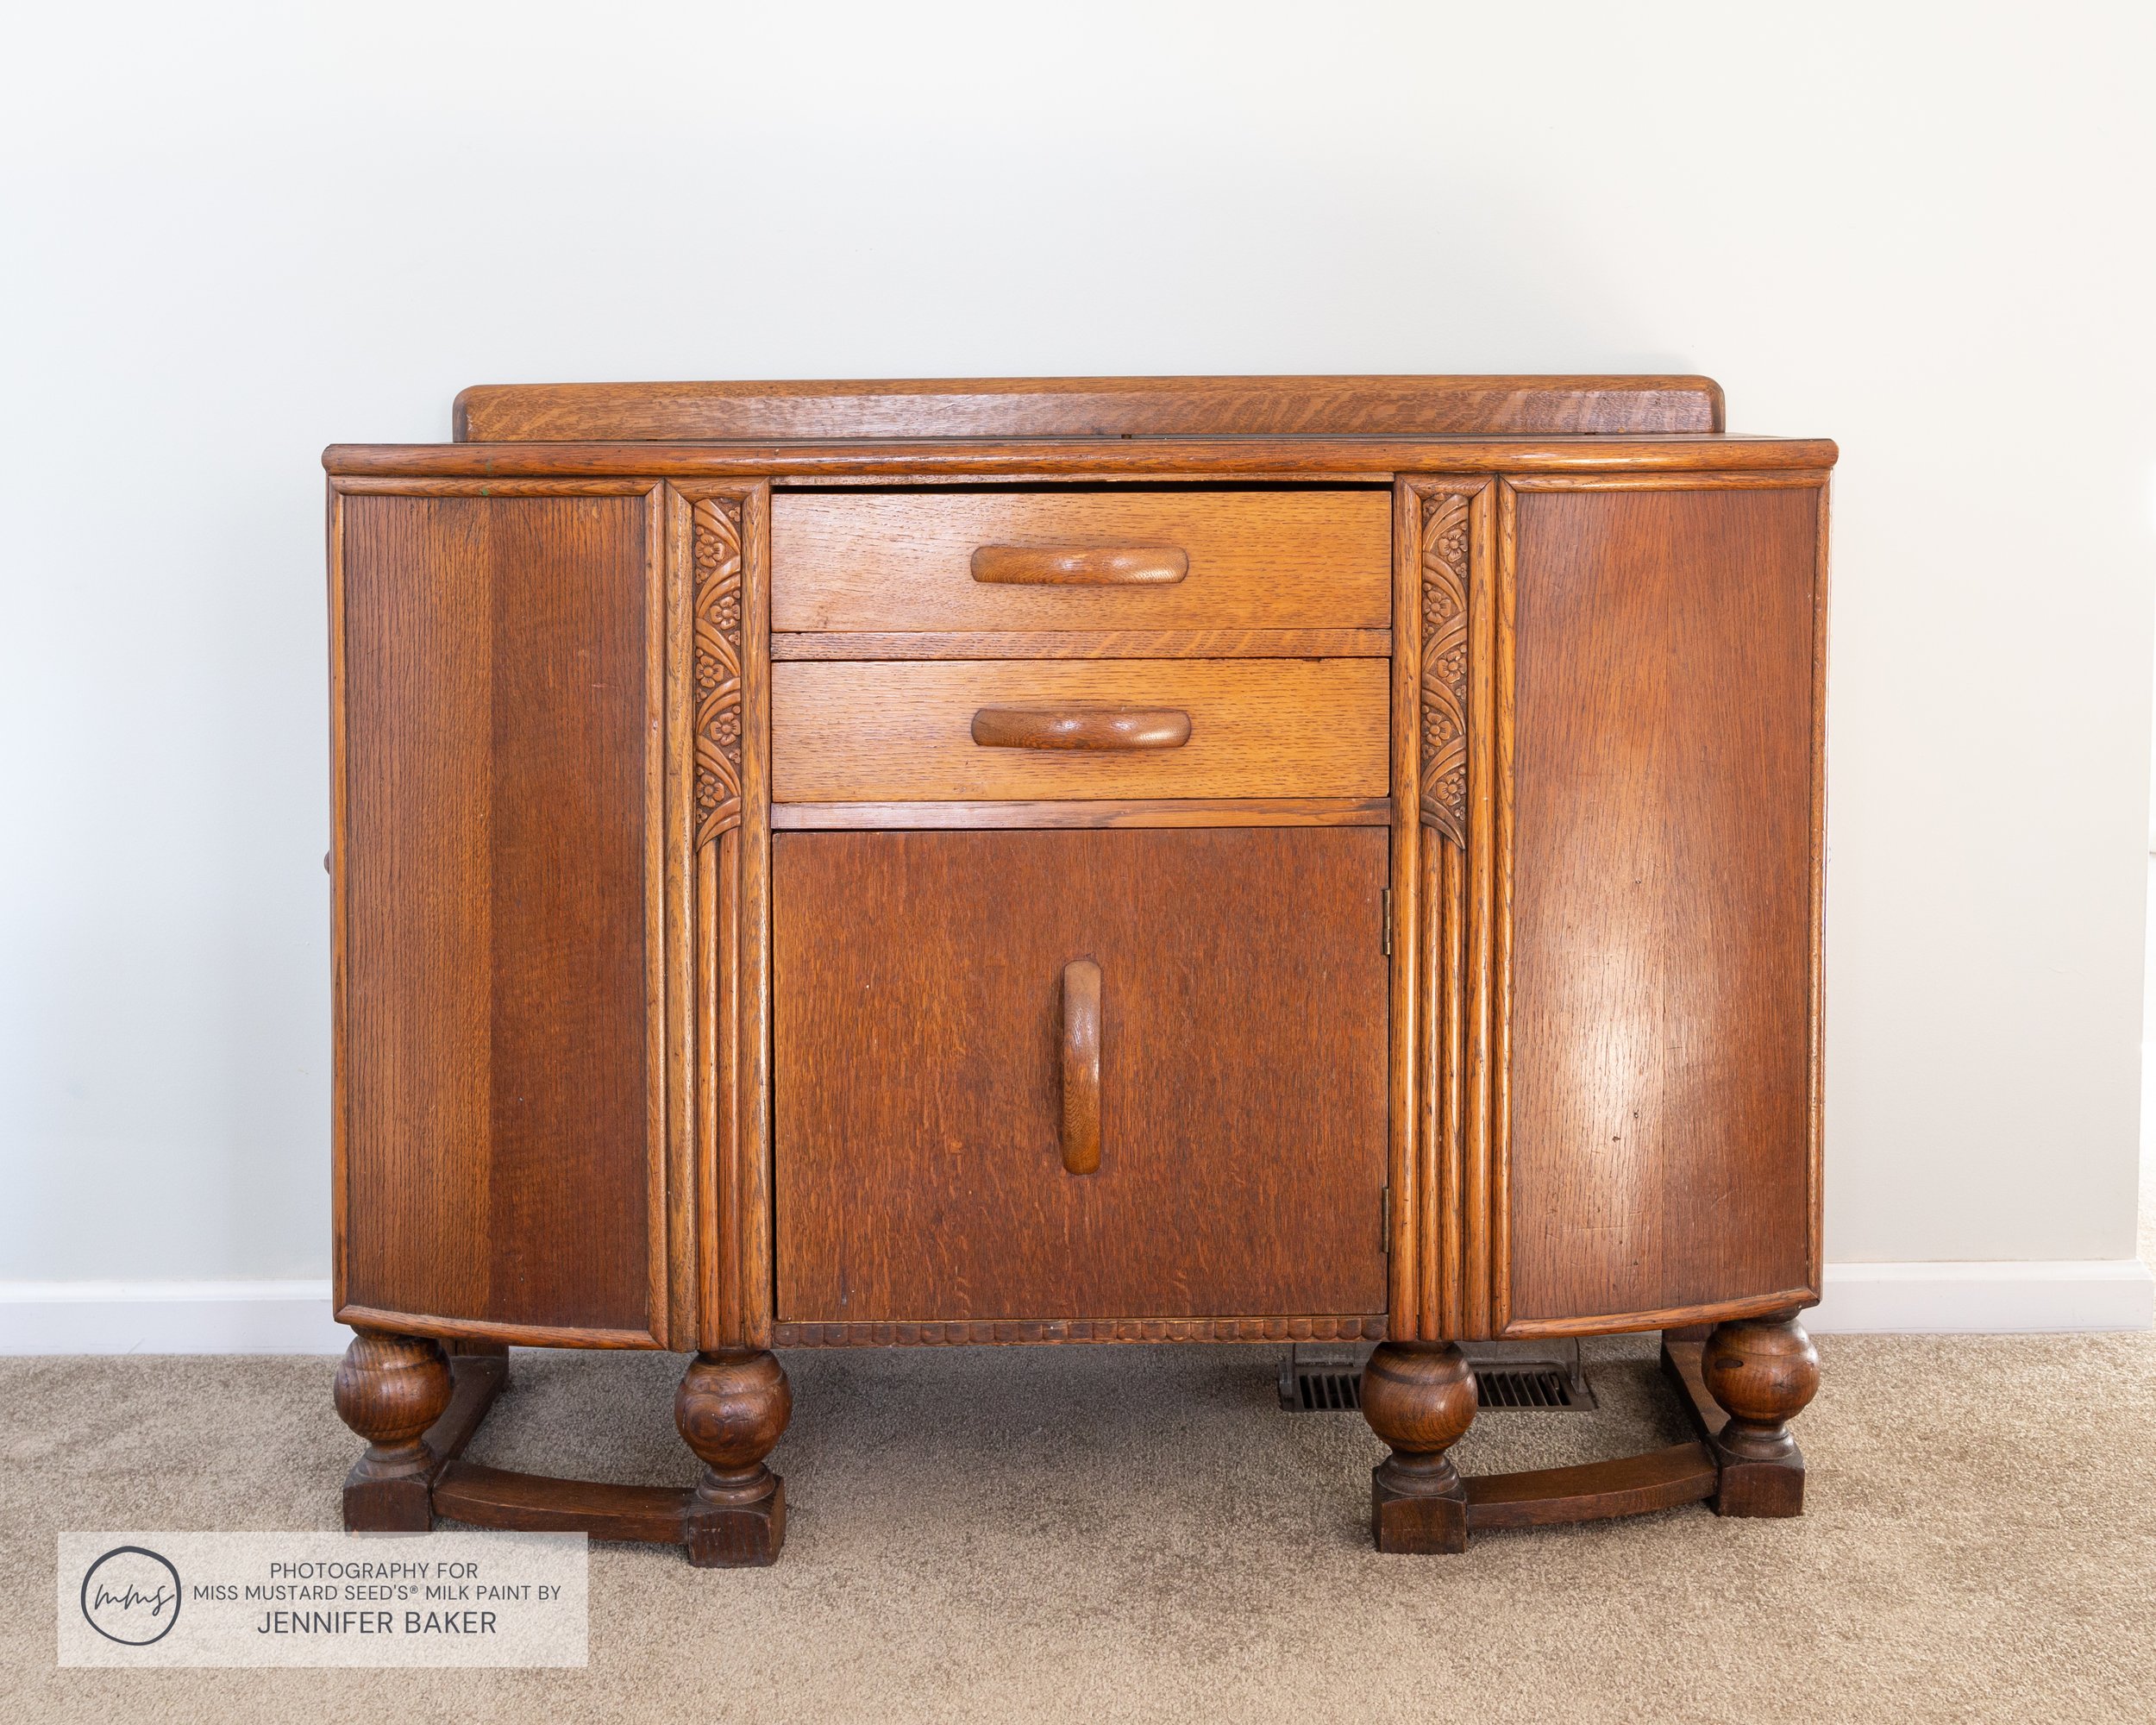
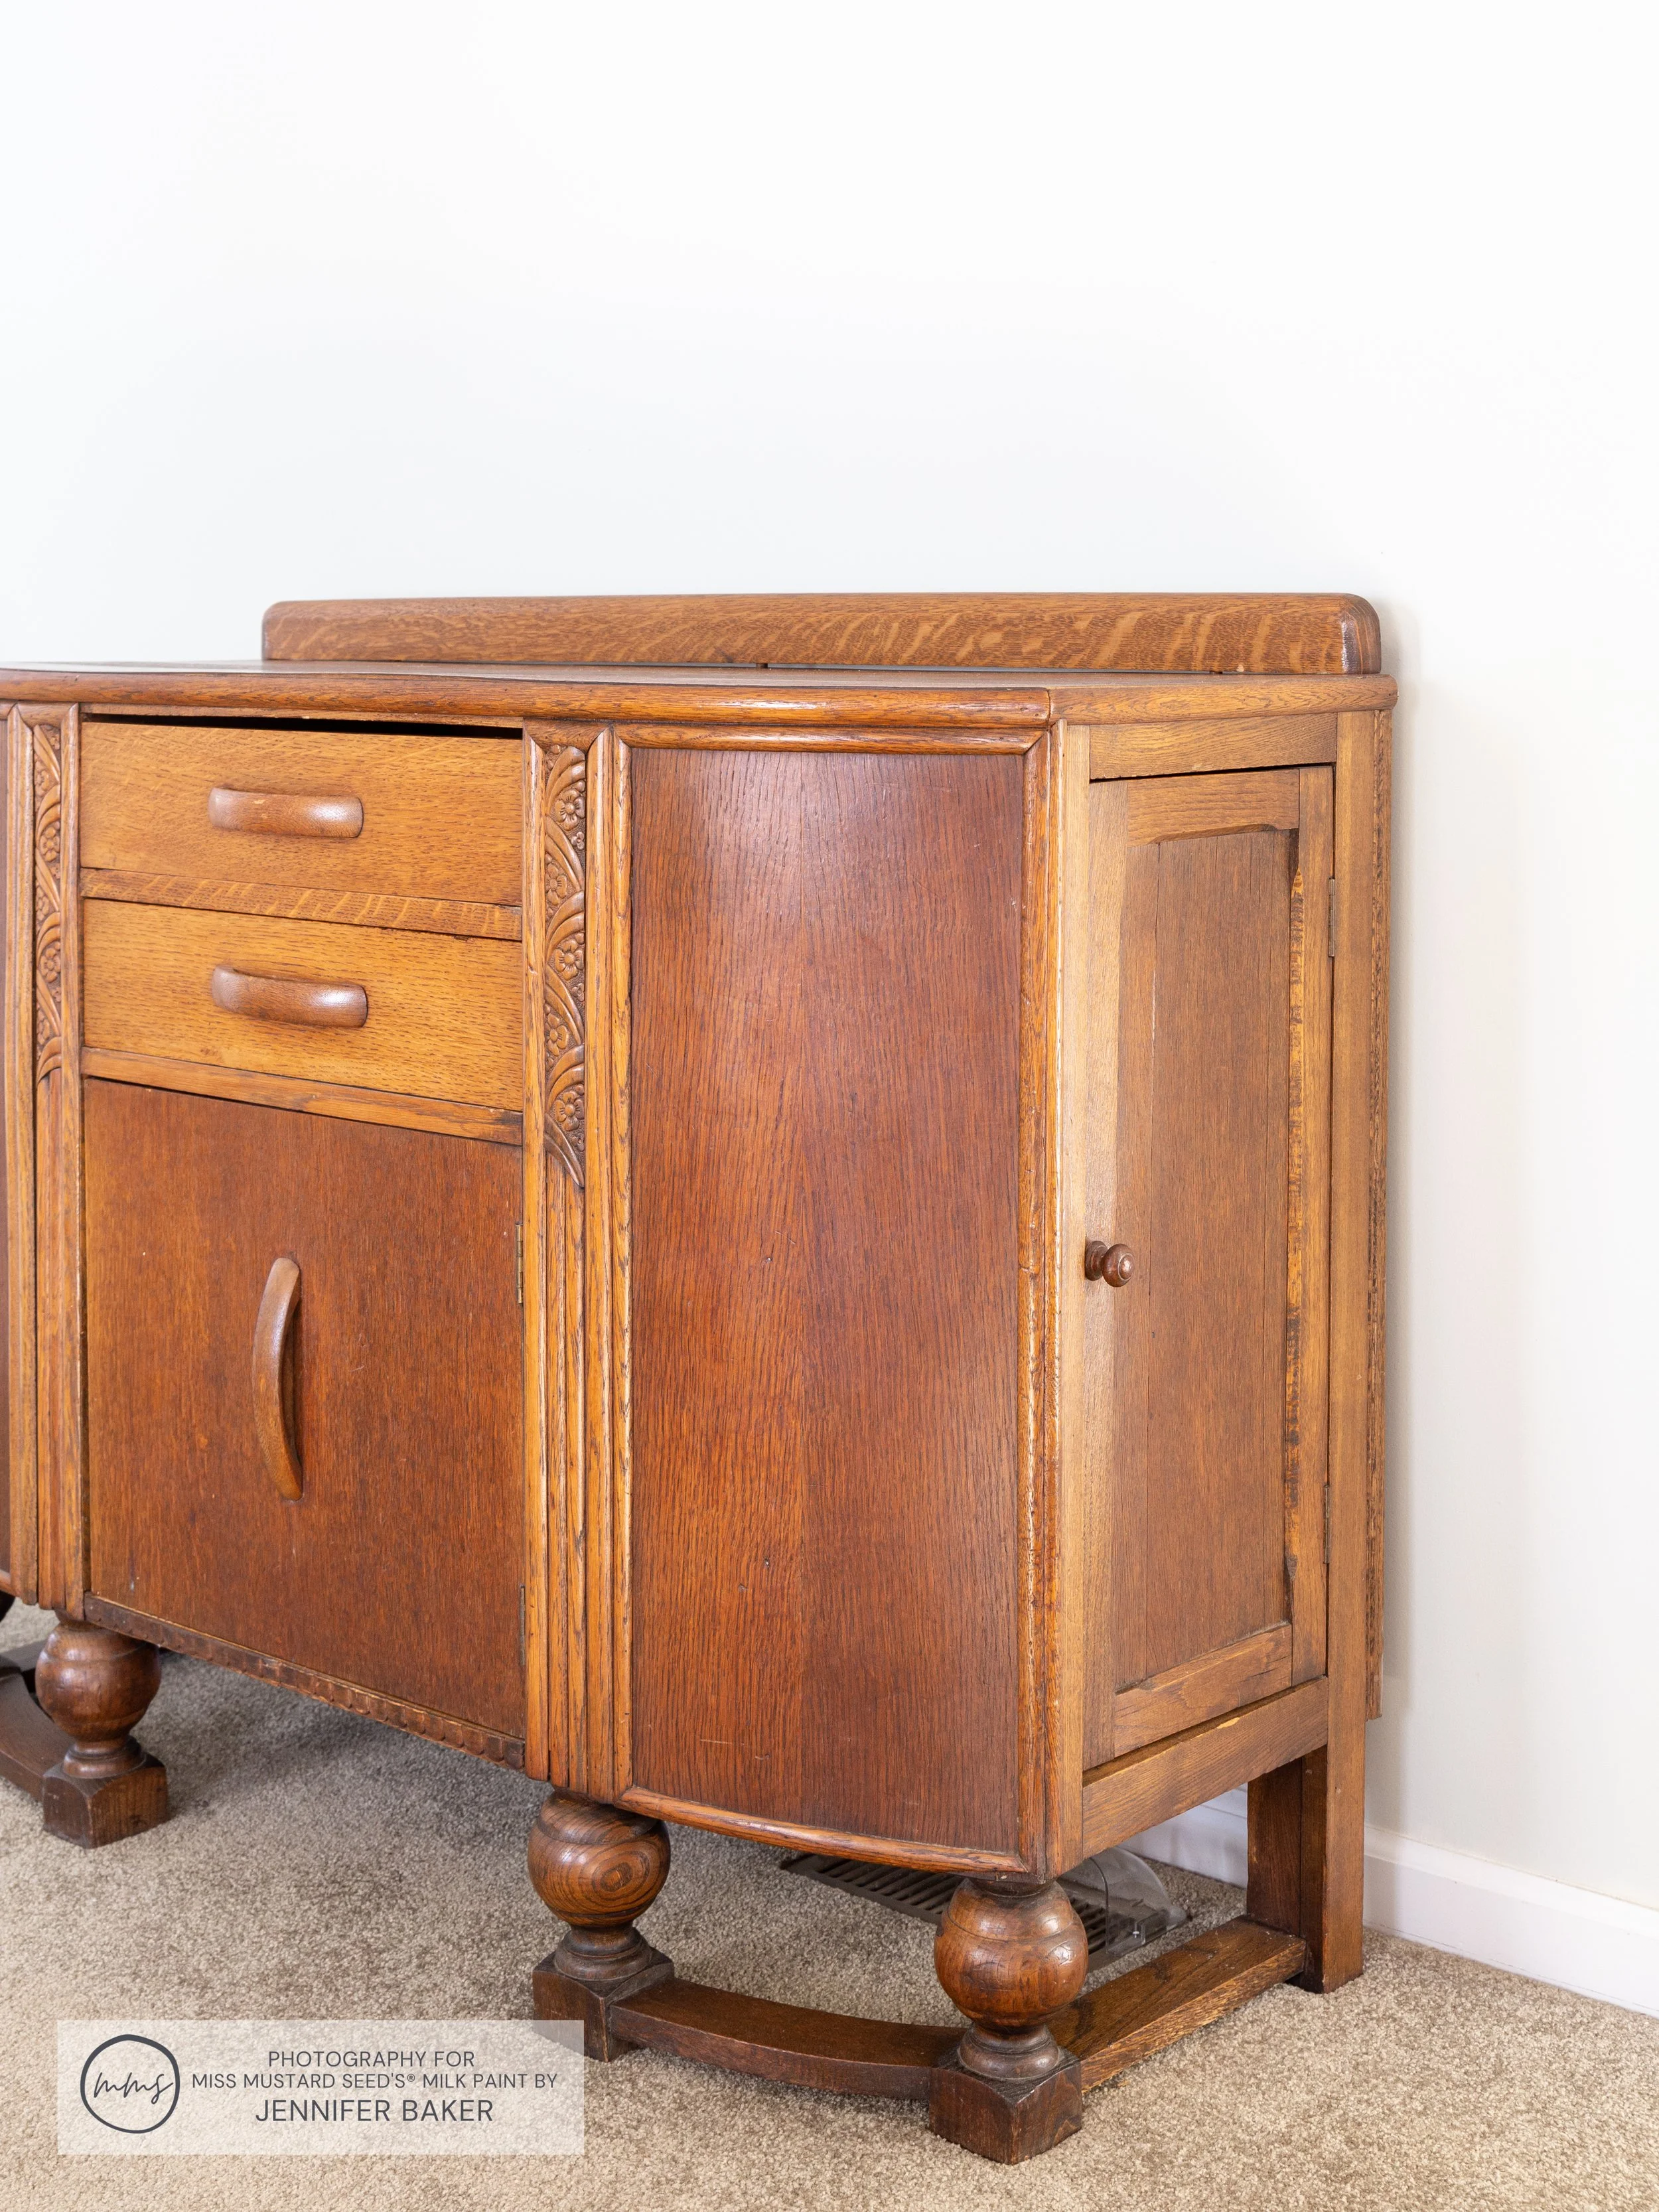
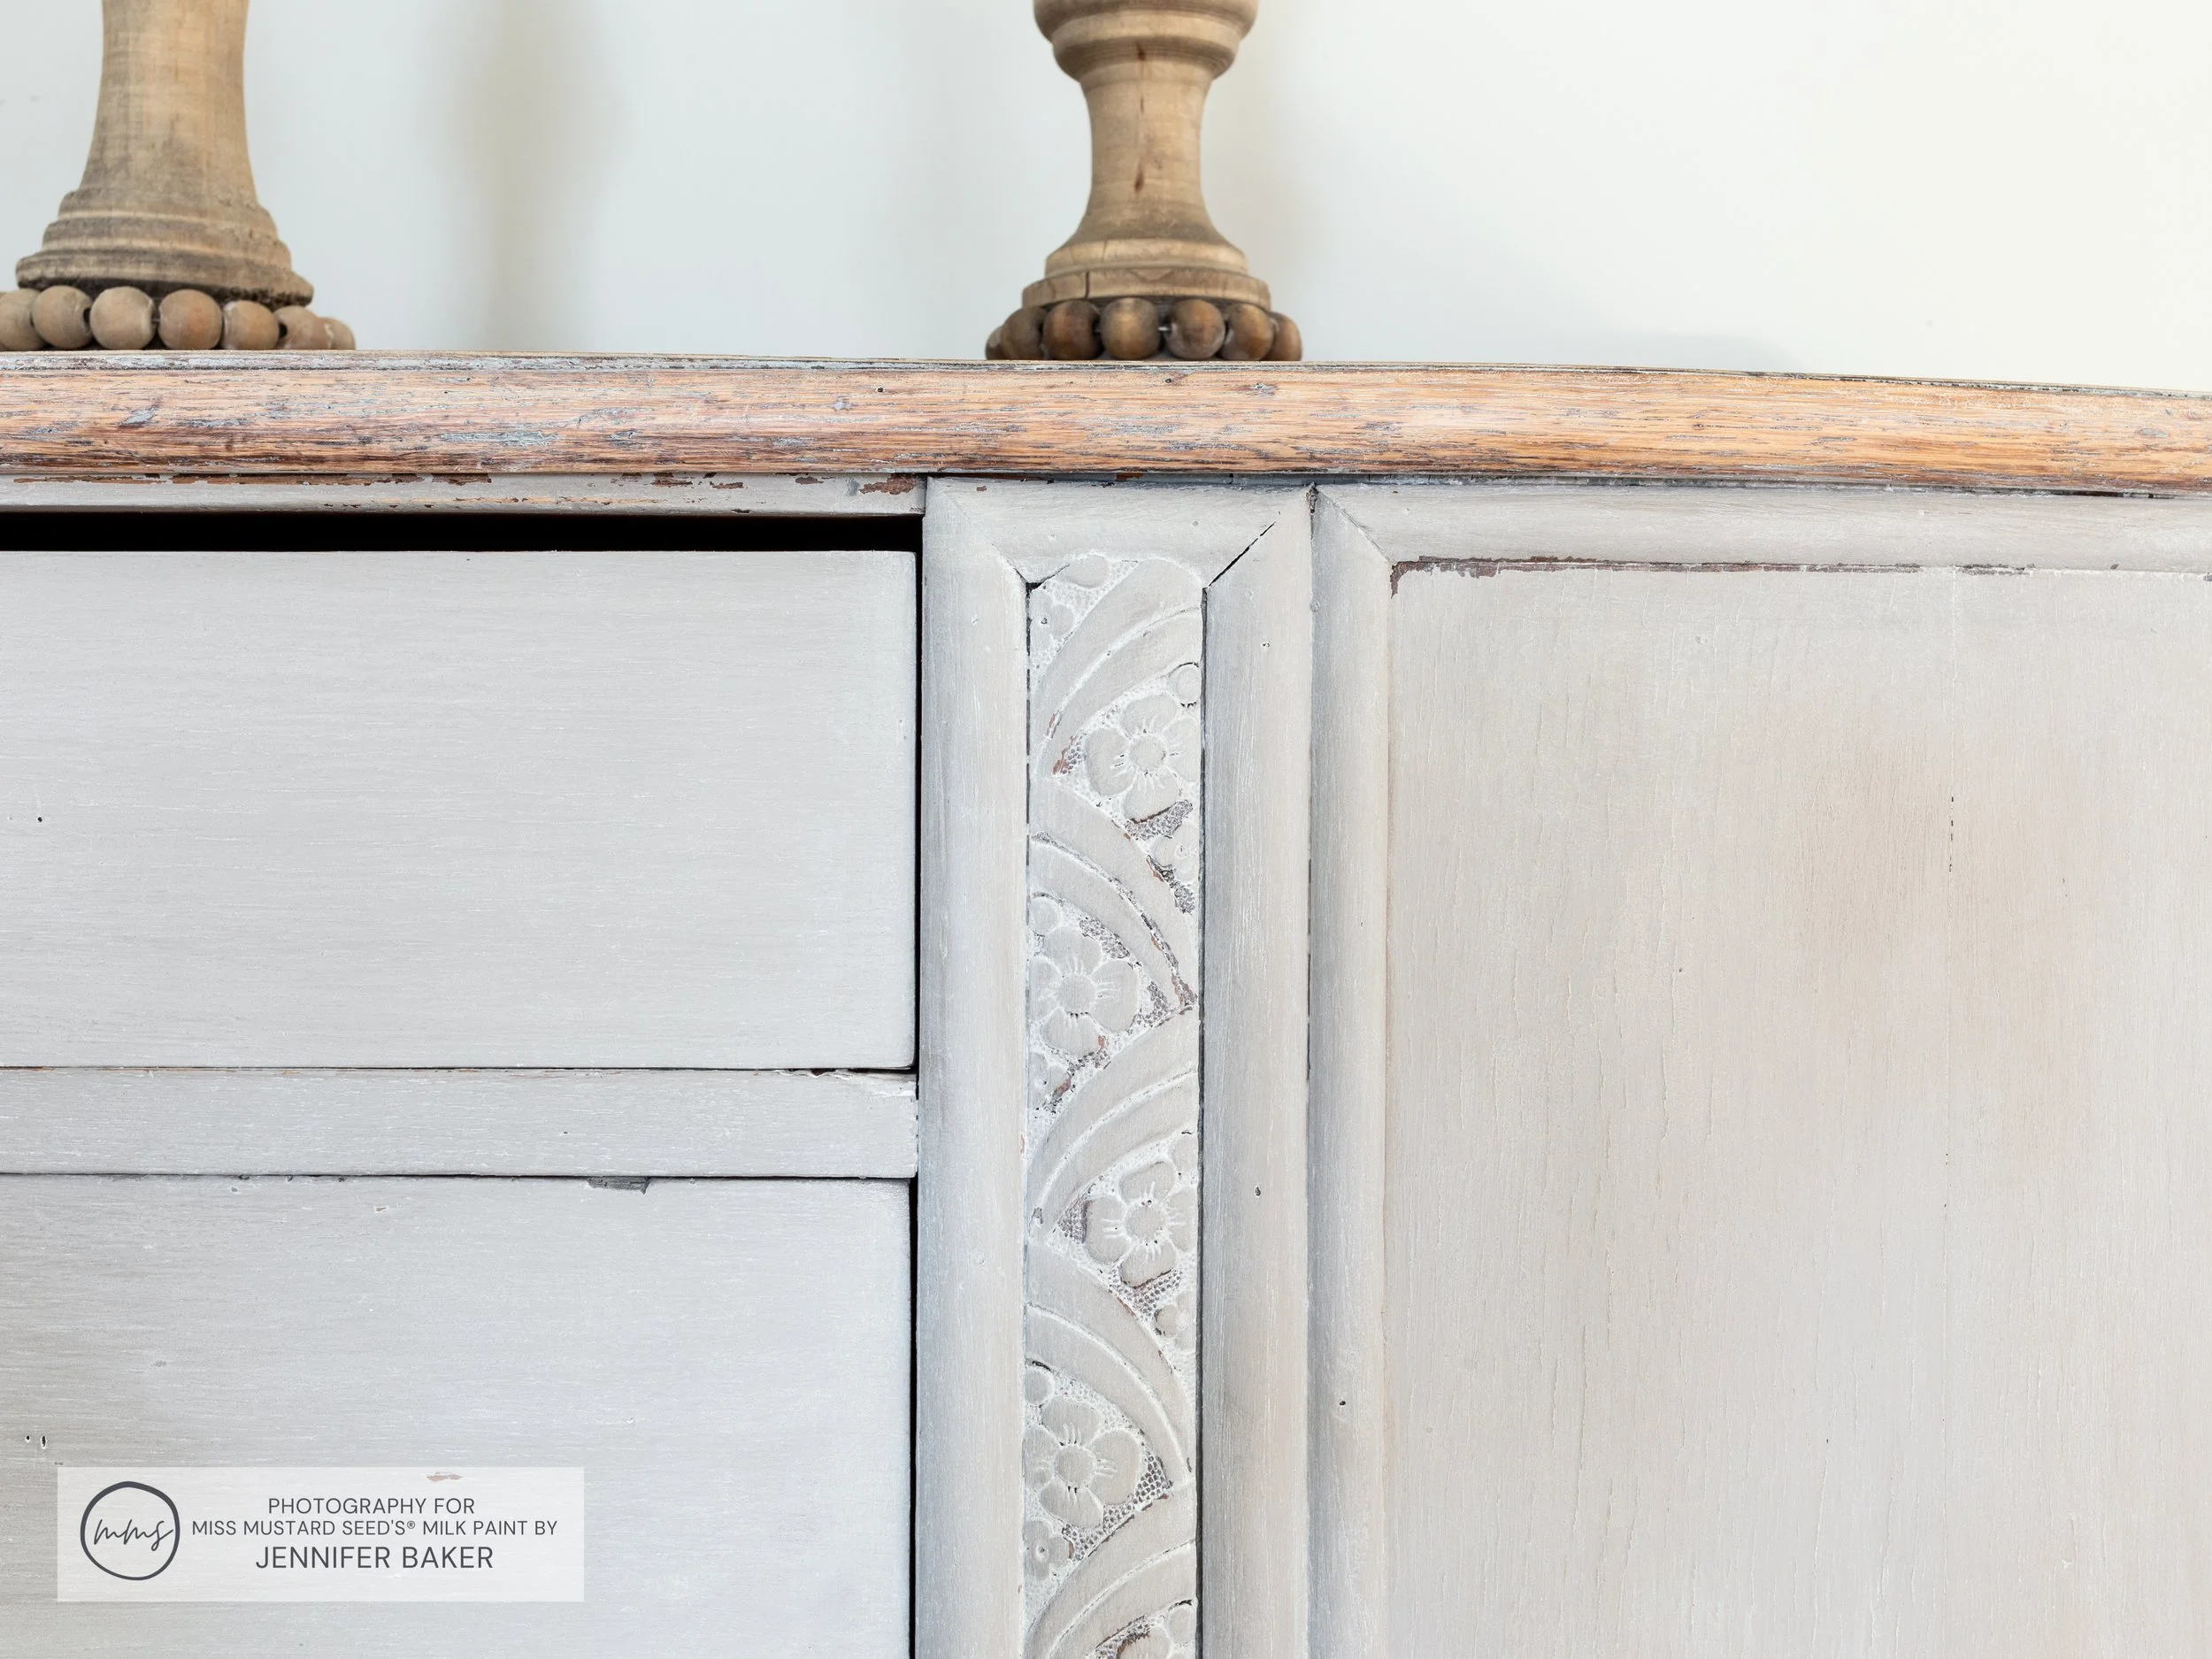
It has a strong Art Deco feel with the column accents in the front and the gently curving shape. The wood veneer, shape of the legs and overall construction probably places it somewhere in the 1920’s - 1940’s. One of my Instagram readers said she thinks it’s a liquor cabinet, because it has doors on either side!
However old it is, and whatever it was used for, it was the perfect length and depth for an empty wall in my studio! What wasn’t perfect about it was its orangey finish. It was too dark for my taste, so I broke out my MilkPaint™ stash to soften things up a bit.
Prepping The Buffet For MMS MilkPaint™
Work began by removing the original handles and knobs. I was planning on replacing them, so off they went!
Next, I cleaned out each drawer and cabinet space with an all-purpose cleaner. There was a LOT of dust, dirt and general debris. Then, I put some dryer sheets in each drawer to freshen them up a little bit. The piece didn’t smell, per say, but it had been all closed up for a while, so a little bit of Gain wouldn’t hurt, right?
After that, I cleaned the outside of the piece with a 50/50 mix of Denatured Alcohol and water. You can find this in the paint aisle of your local hardware store. Denatured Alcohol is a GREAT cleaner to use on furniture because it doesn’t require extra rinsing like TSP does. It’s easy to find, inexpensive, and does a fabulous job of removing grease, dirt and grime. Plus, you can clean your windows with it!
Finally, I scuff sanded with 150 grit sandpaper, because the original finish was on the shiny side. After a quick vacuum, the piece was ready for MilkPaint™.
Painting The Buffet In Schloss
Schloss is one of my top favorite colors in the MMSMP collection. It’s a soft “greige” (mix of beige and gray) that looks dreamy when topped with MilkWax™ - White.

Plus, Schloss is in the European Collection along with Mora, so my pieces will all coordinate with one another.
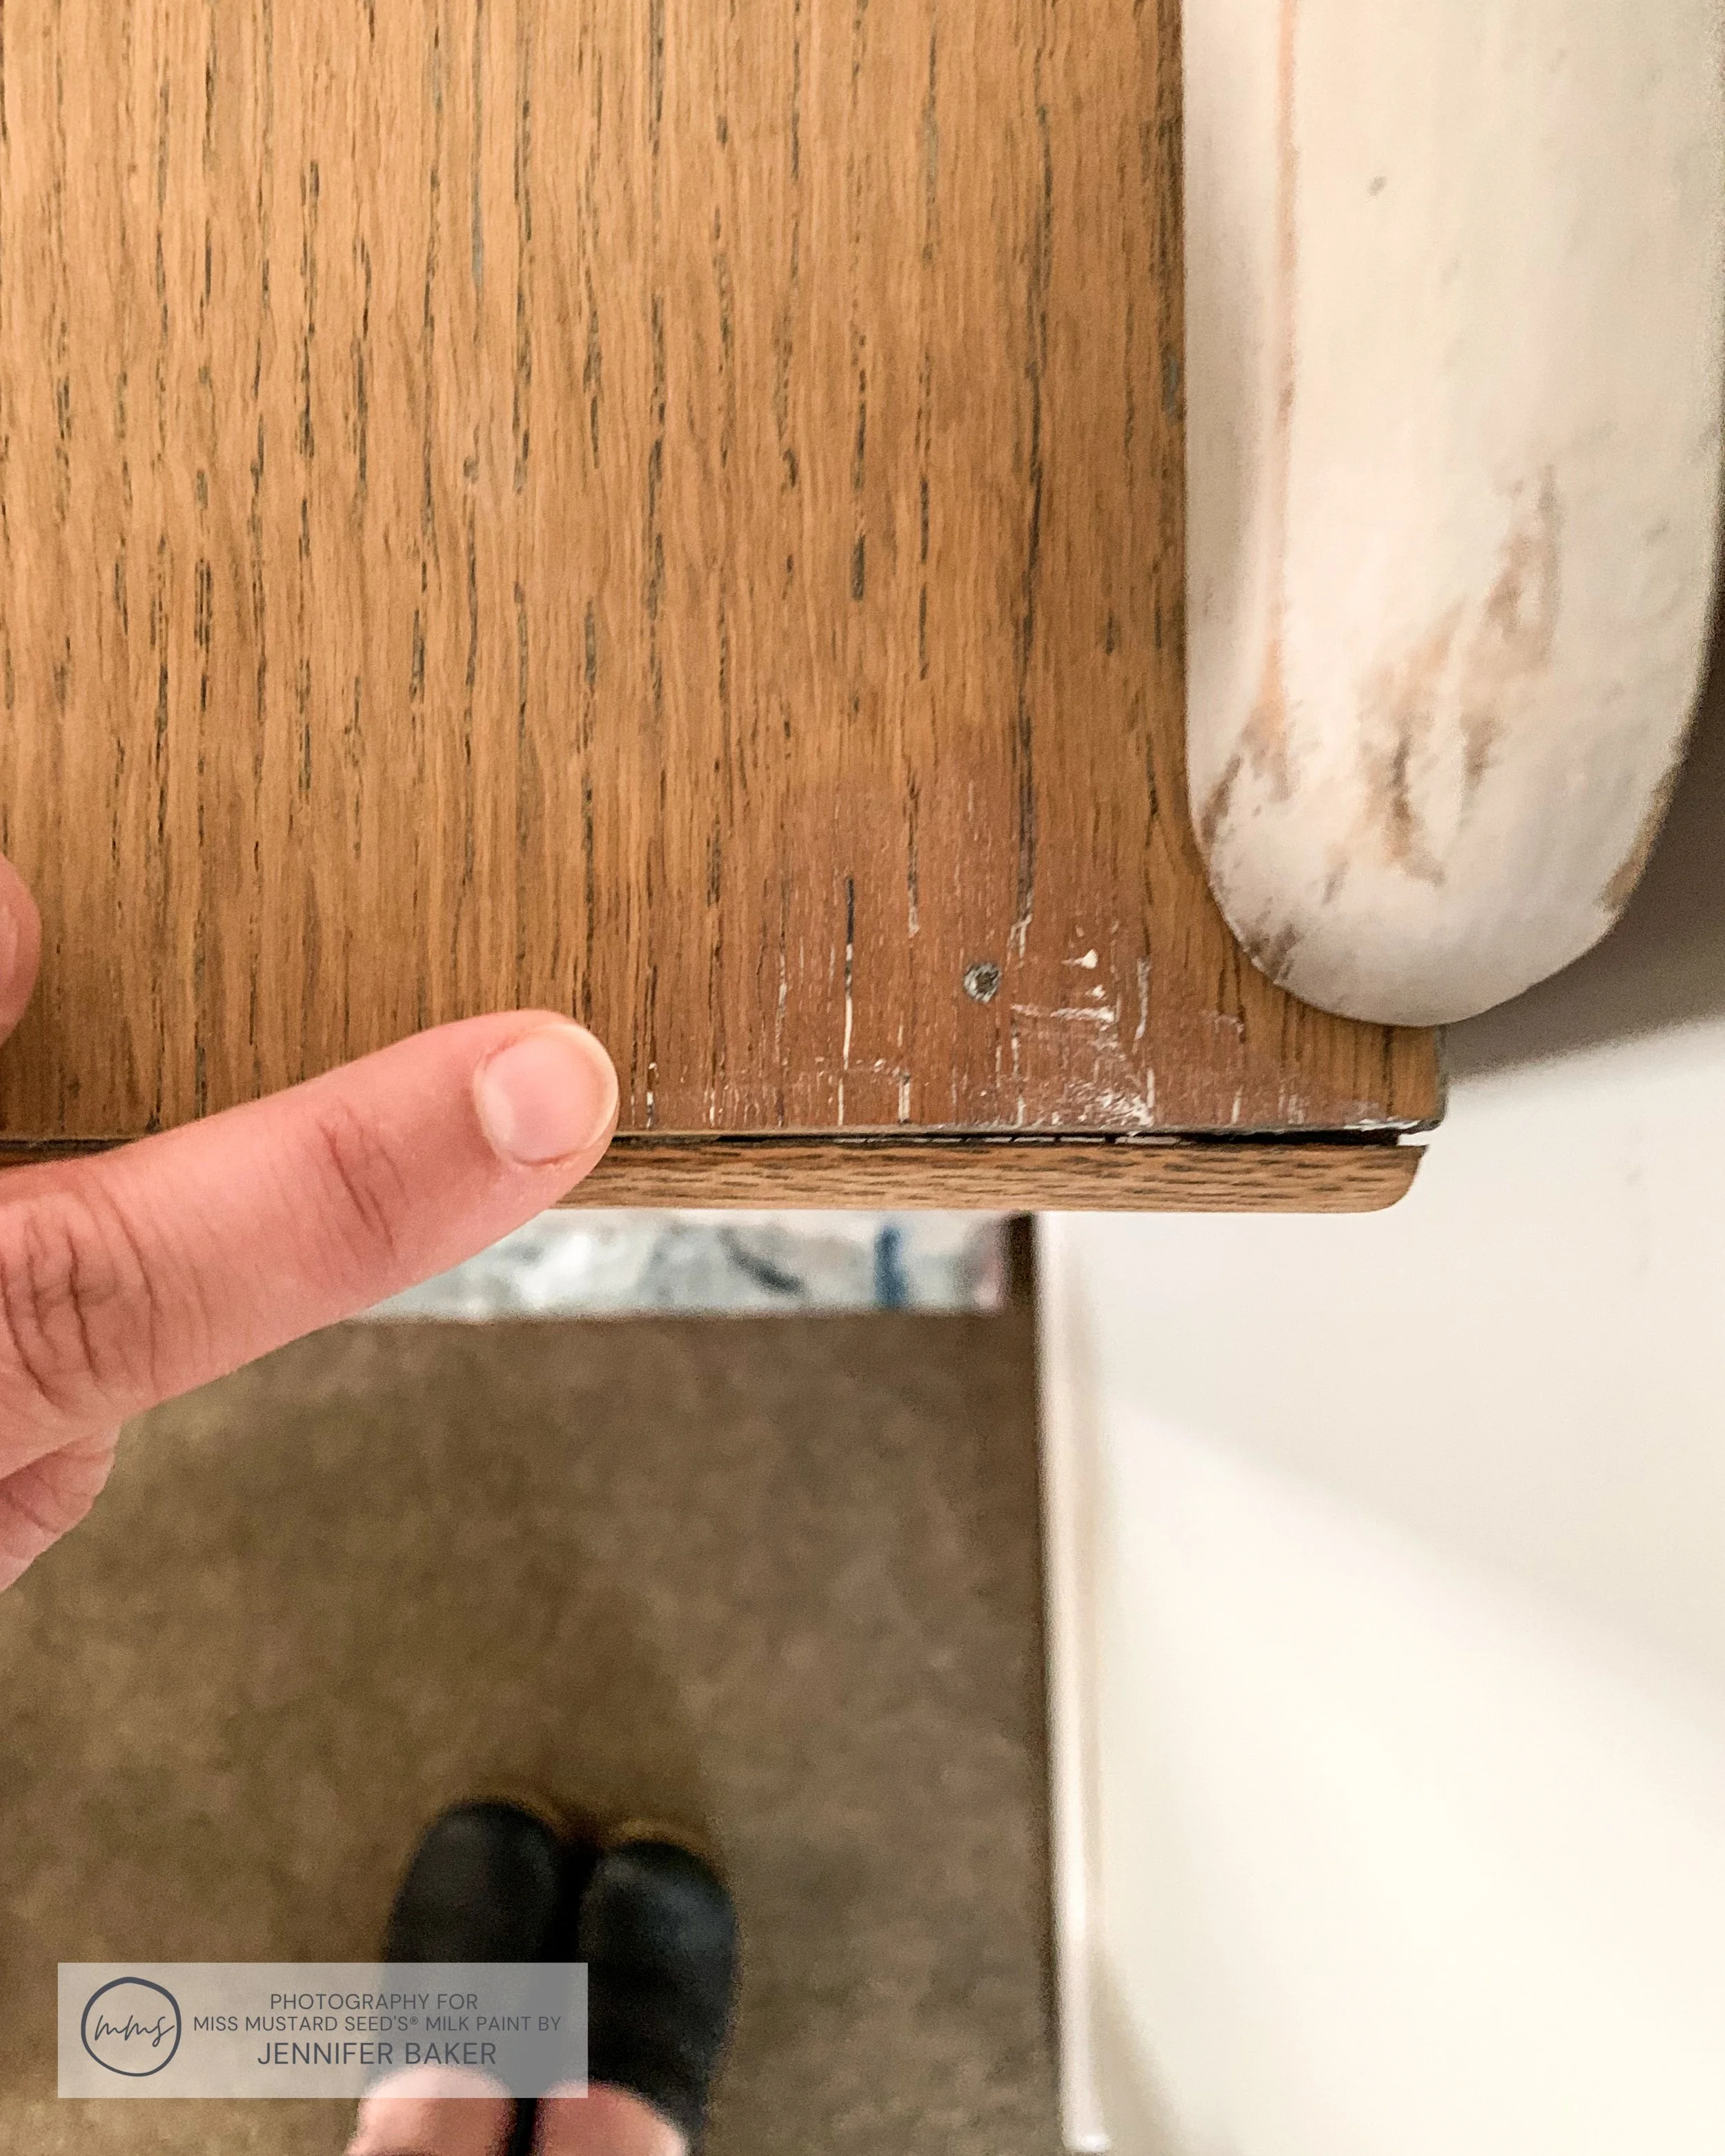
After mixing up a batch of Schloss with some MilkGrip™ added in, I tested out the color on the drawer and the side to see if there would be any bleed-through. Once my test spots dried, and the coast looked clear, I got busy painting!
In total, I applied 3 coats of Schloss on my buffet. The third was mainly for the left and right panels. For some reason, they painted up a little more transparent than the rest of the piece. I’m glad I had a 2 quart bag of MMSMP on hand for this project, because I still have a bit left over for some smaller projects in the studio. There’s a desk clock that has a Schloss makeover in its future along with a mirror and a frame.
Sanding Down The Top Of The Buffet
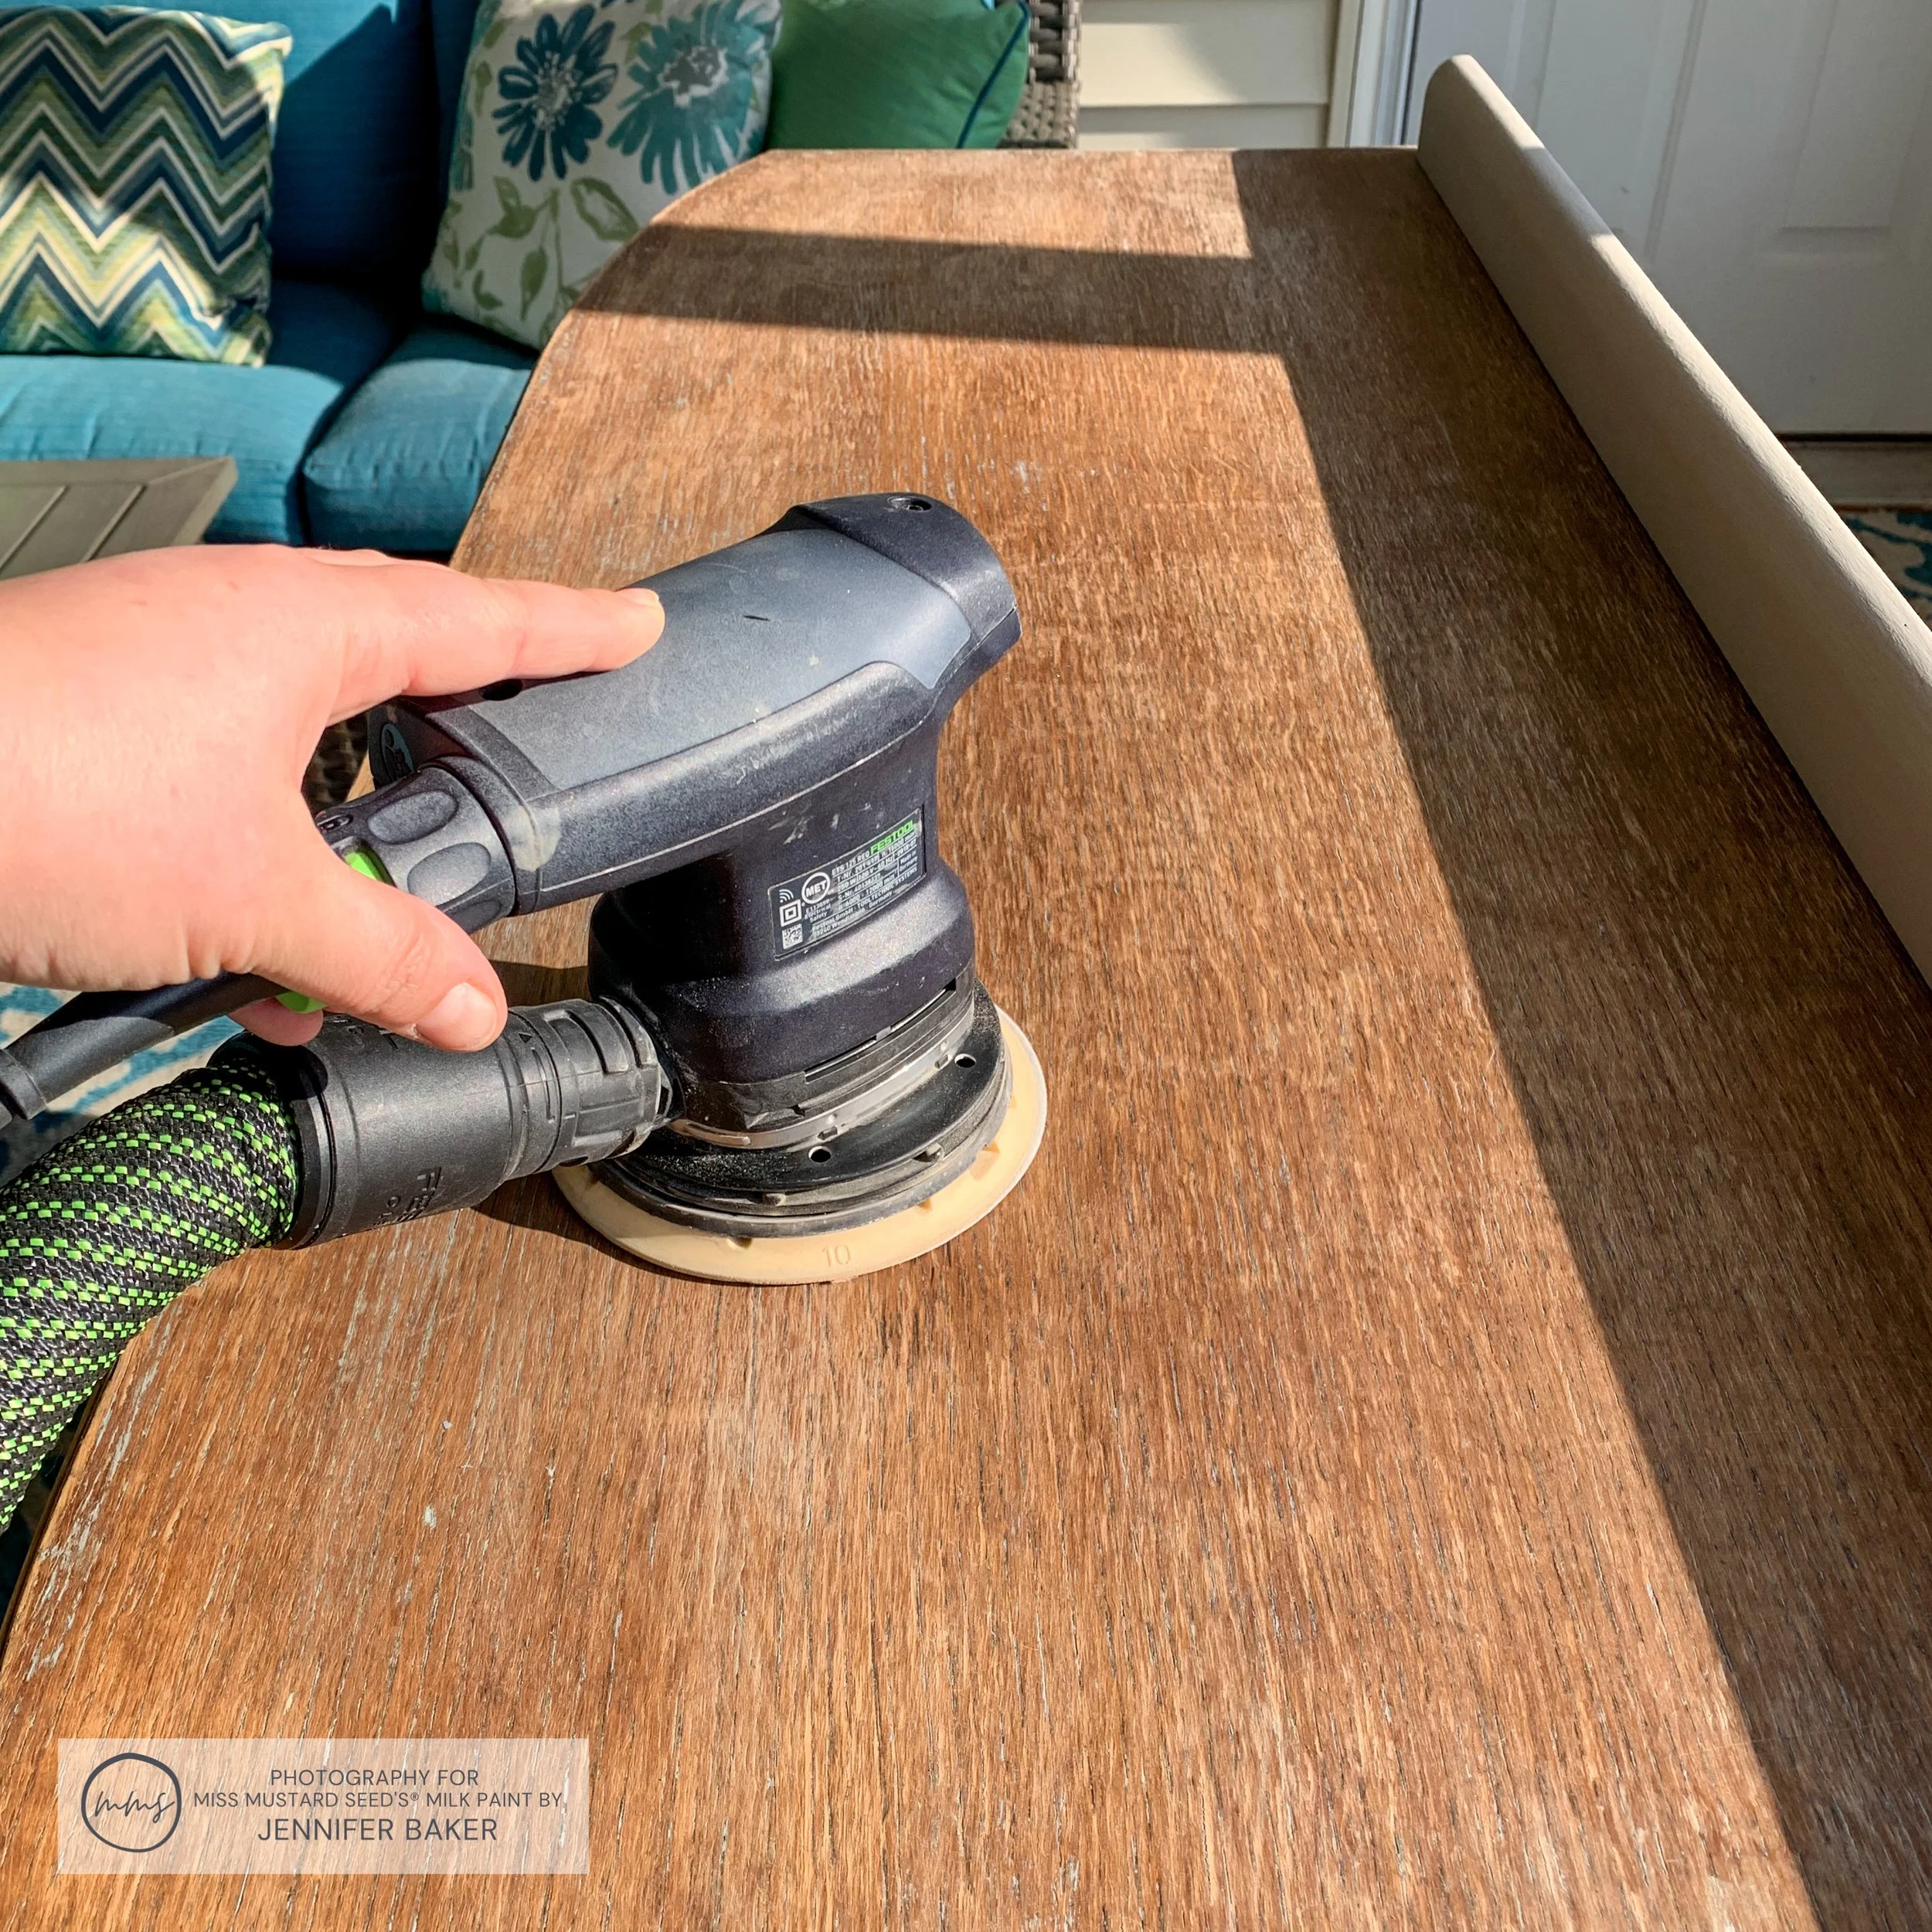
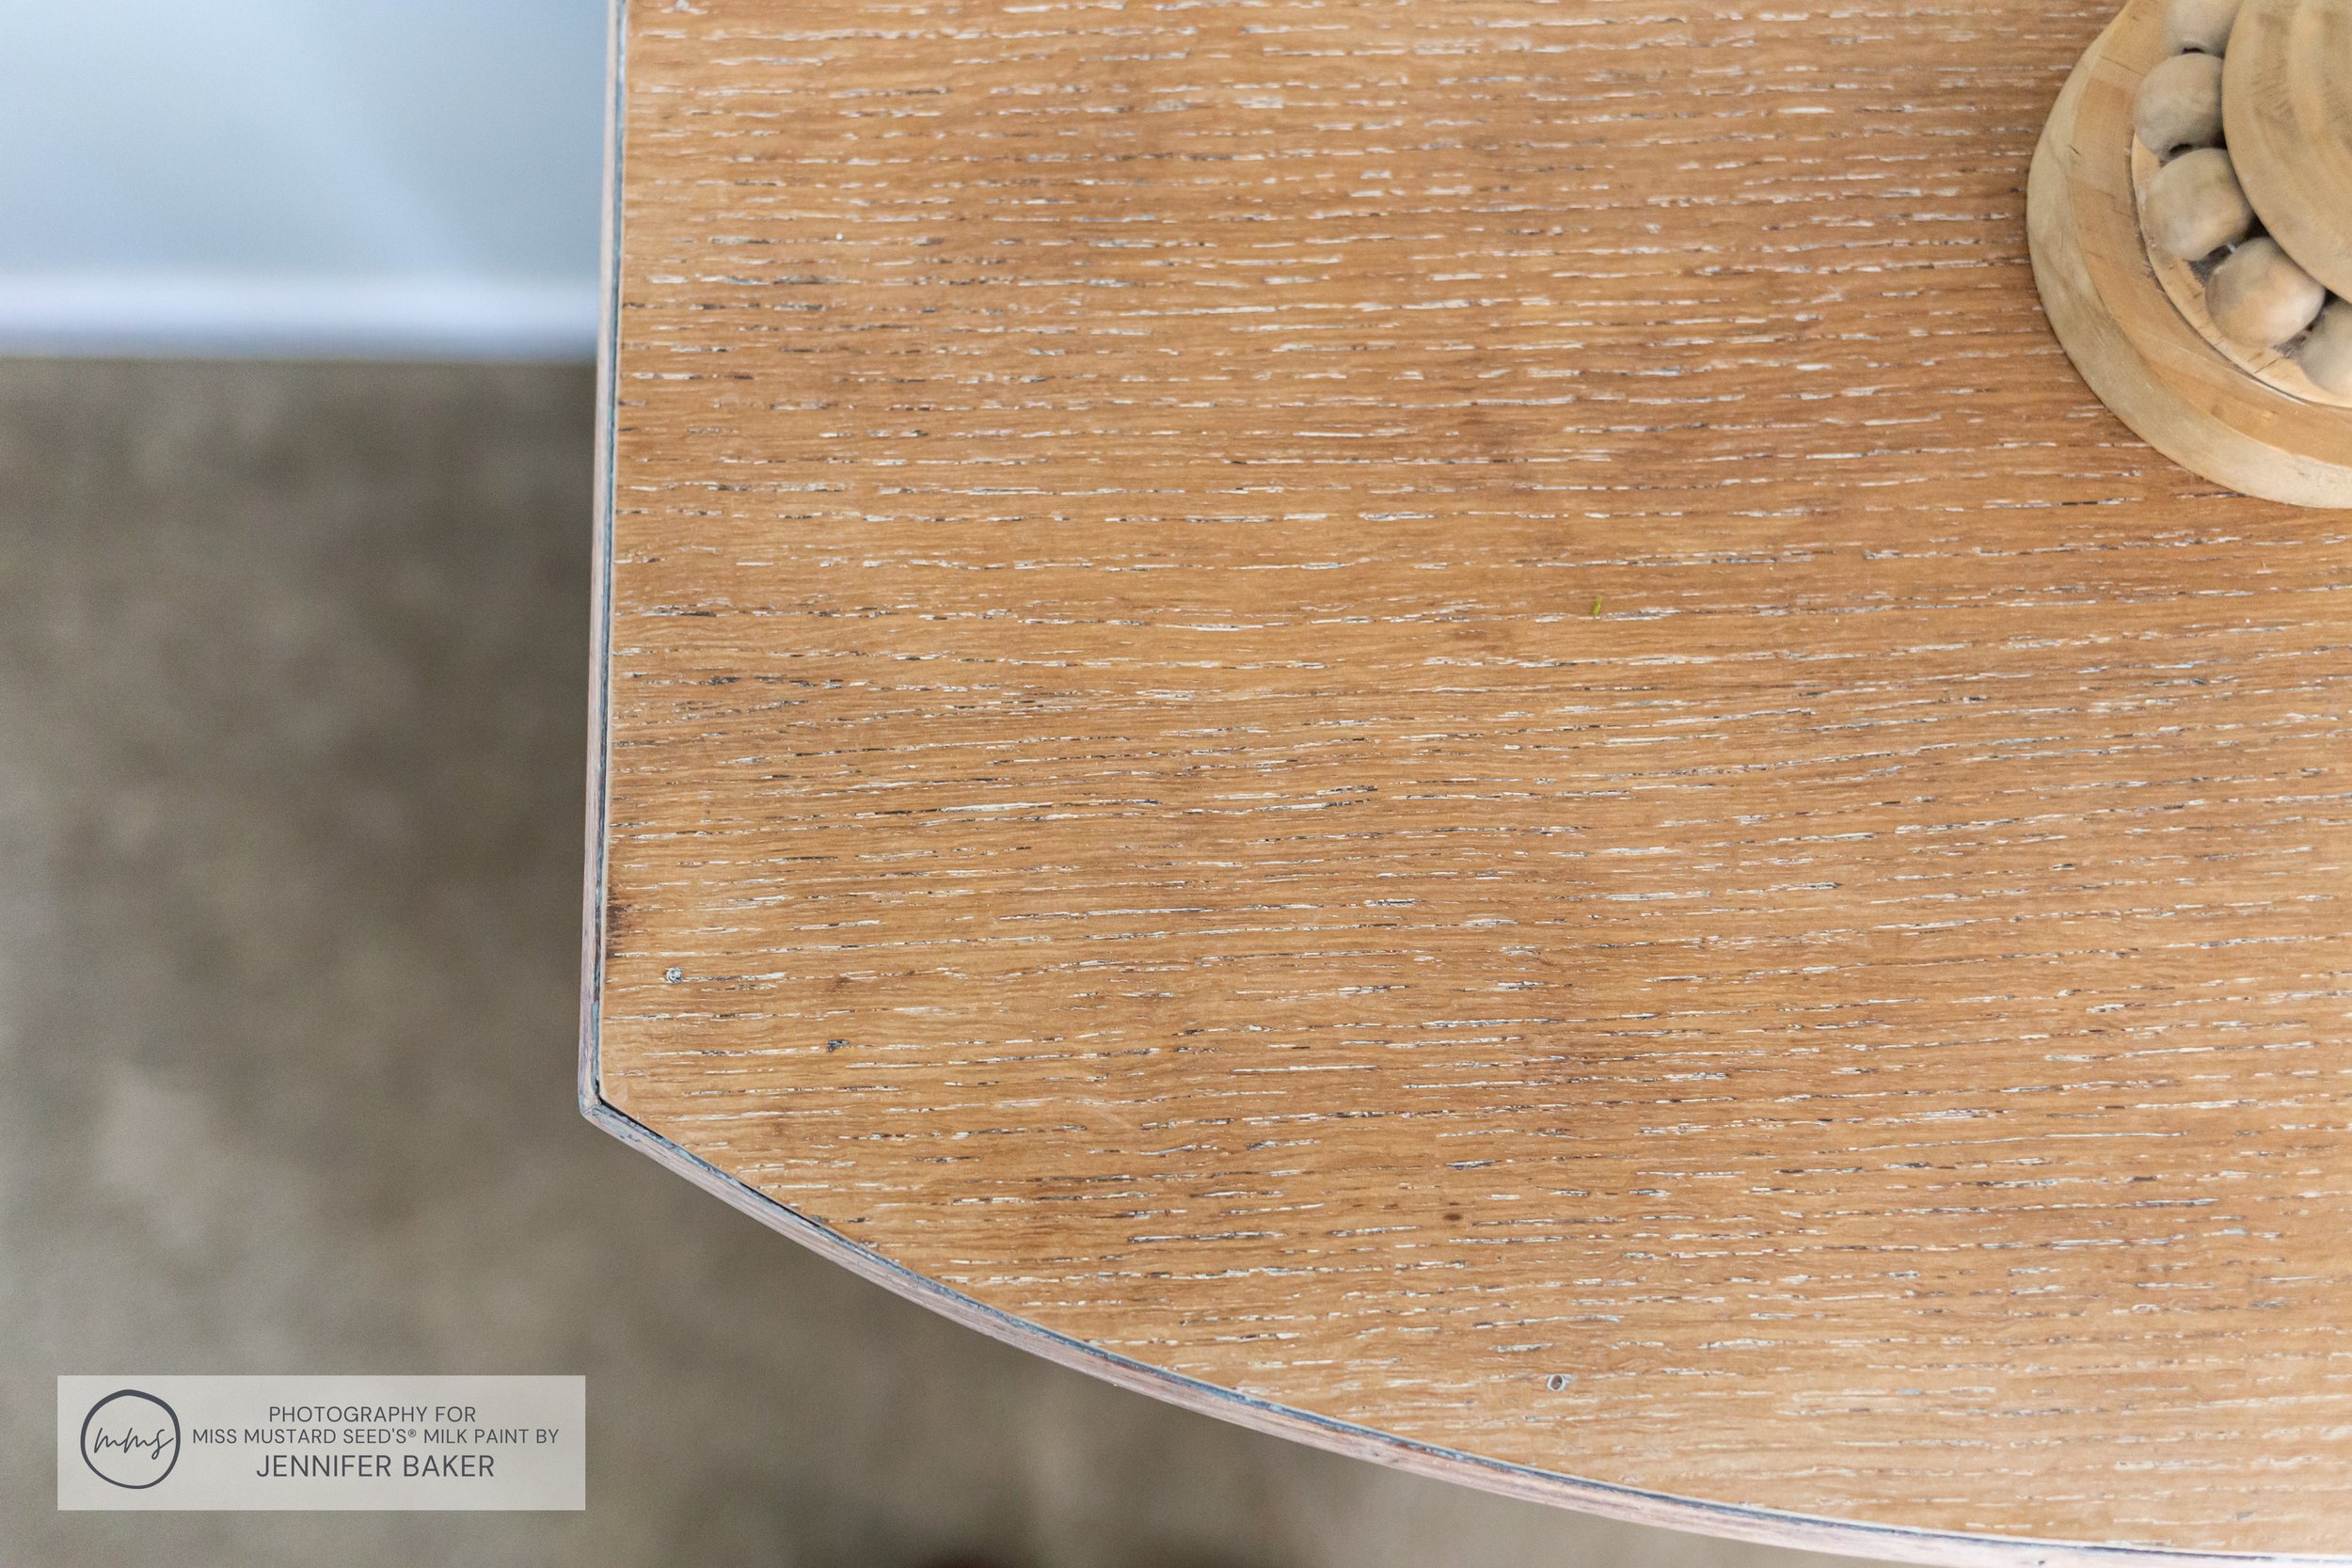
Once the buffet body was painted, I turned my attention to the top. My vision was to sand off the original finish and whitewash the top using MilkWax™ - White.
Using my Festool sander, I took my time and followed a sanding schedule of 80 grit, 120 grit then 150 grit. Gradually increasing the softness of your grit helps to avoid swirl marks.
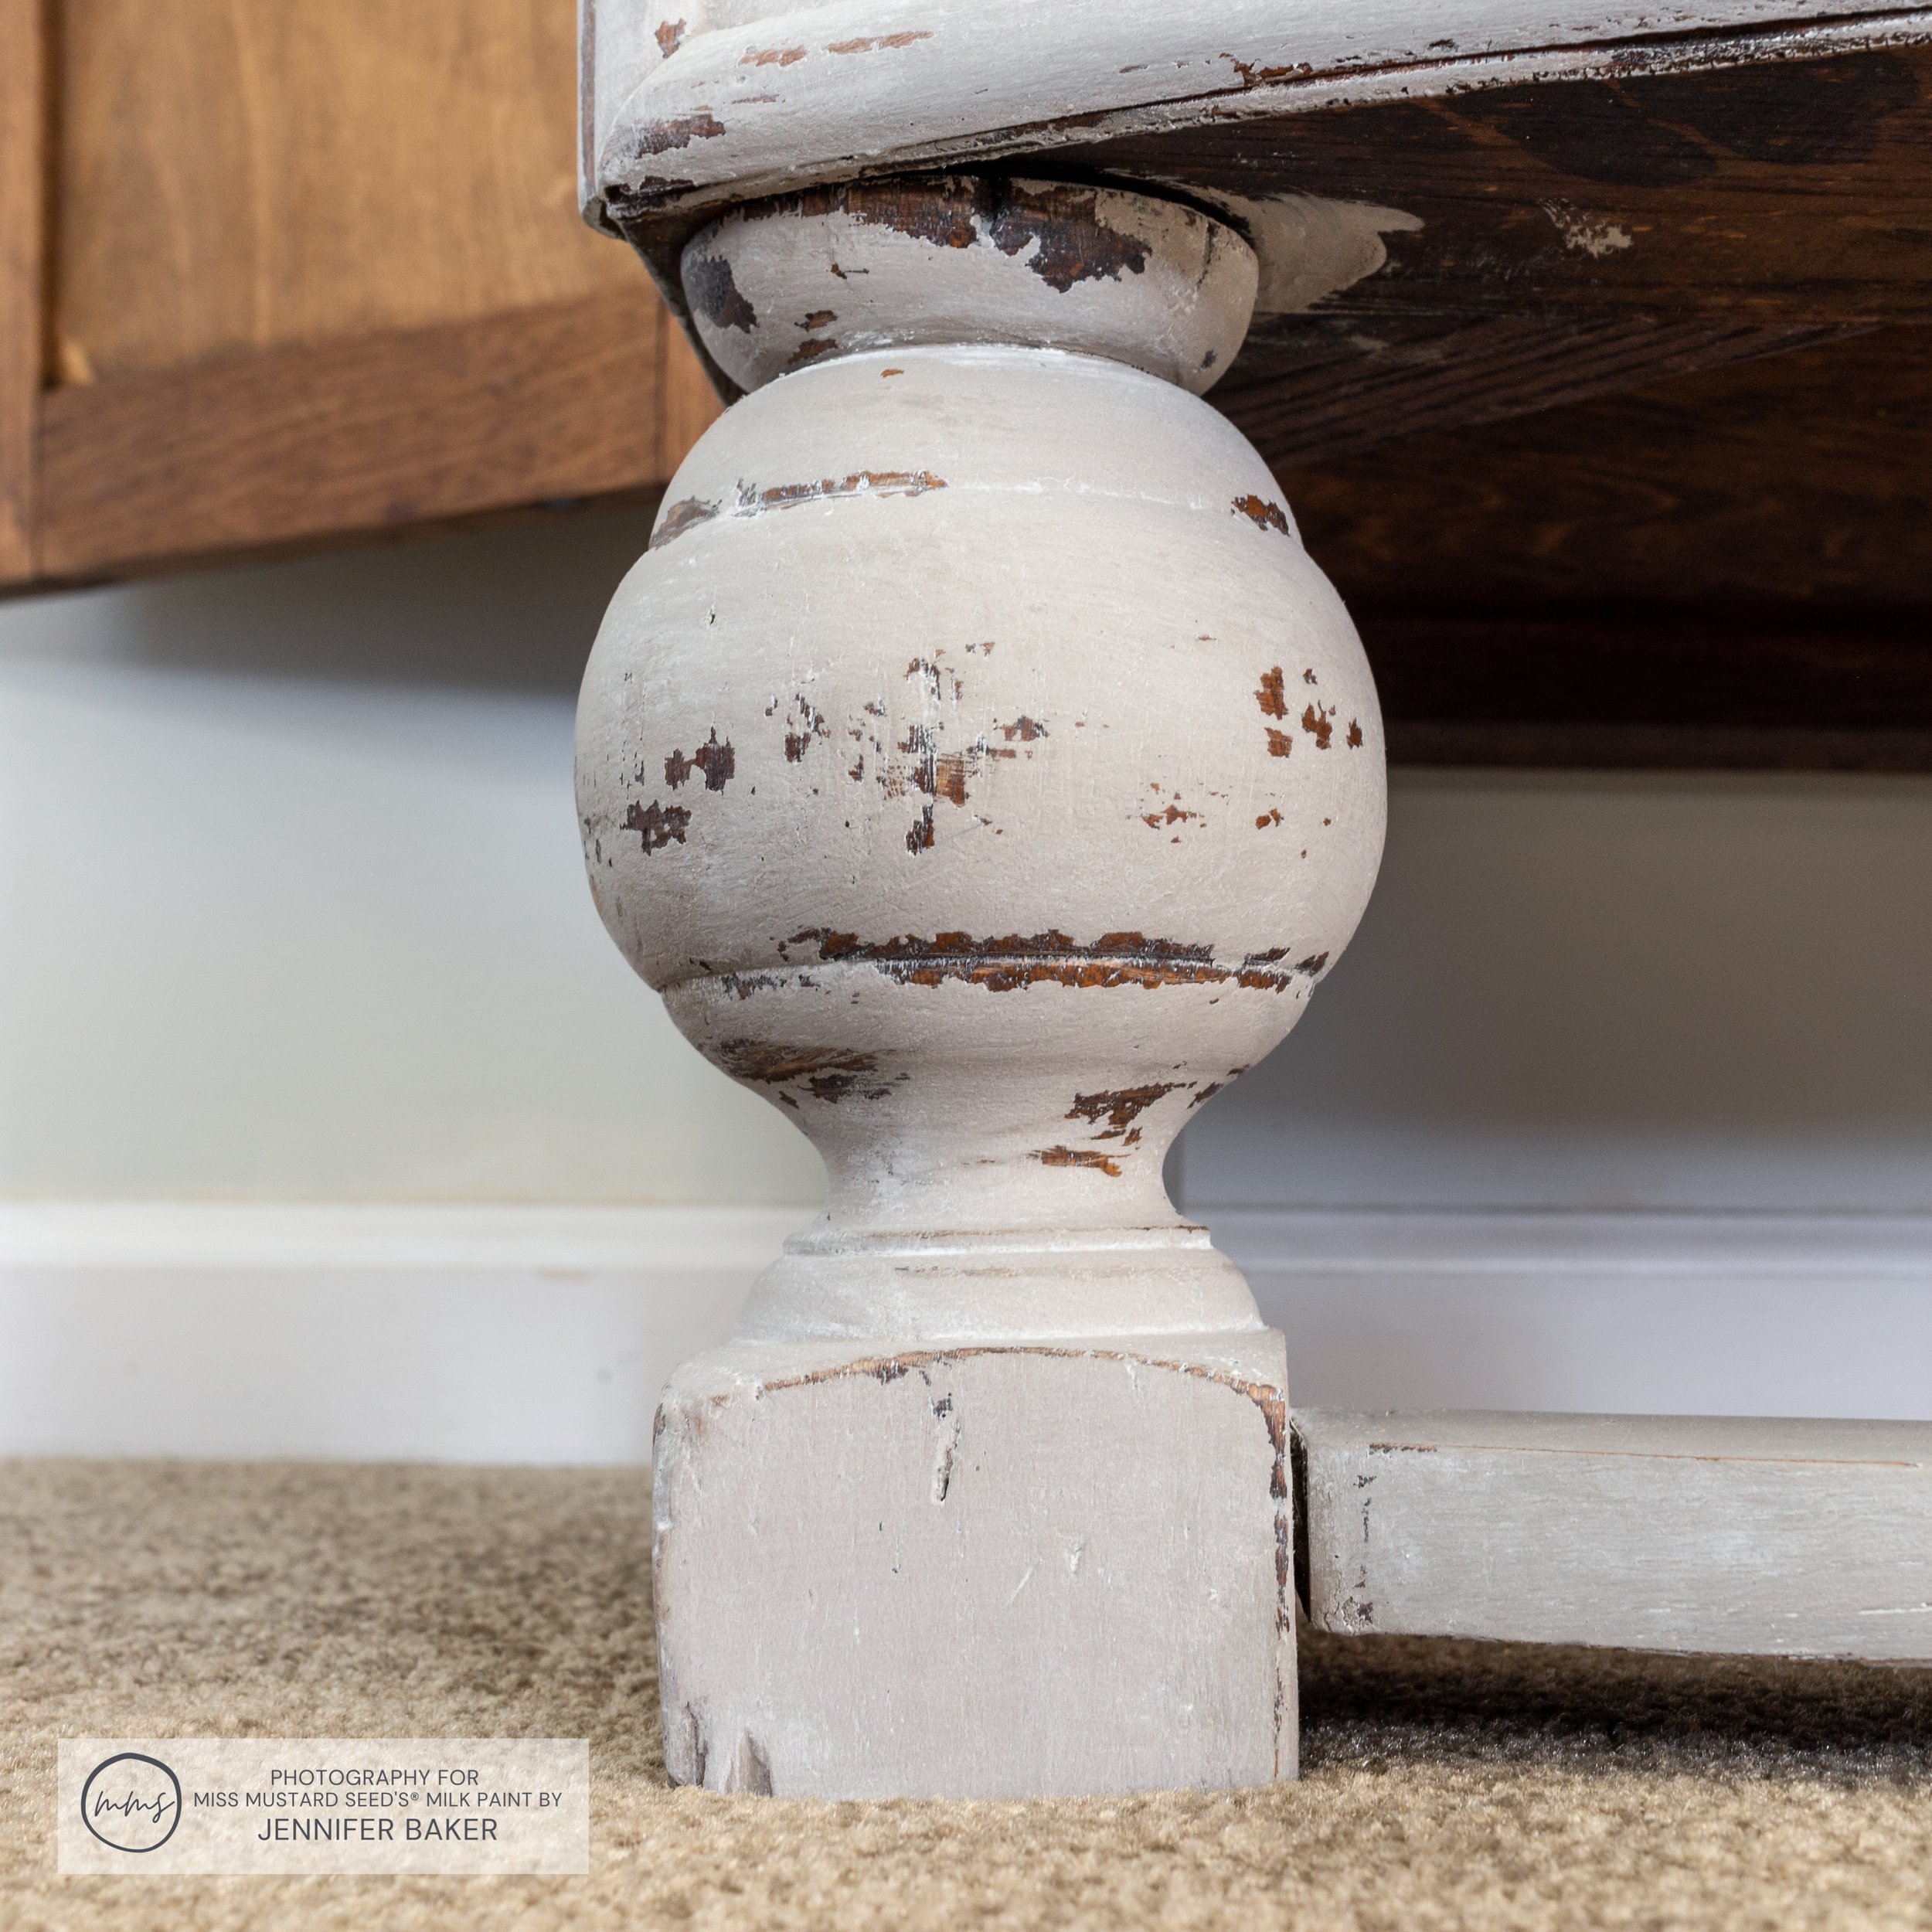
Once my buffet top was sanded down, I took the sandpaper off my sander and distressed the base.
Even though I used MilkGrip™, there were some areas that chipped. They were in the spots where it was tough to scuff sand i.e. the feet, legs, etc. I didn’t mind the chipping though, because I really like having some here and there! Using MilkGrip™ doesn’t always guarantee you’ll have a chip-free finish. It all depends on your prep work, the contaminants on the surface you’re painting and how much MilkGrip™ you use.
Sealing The Buffet With MilkWax™ - White
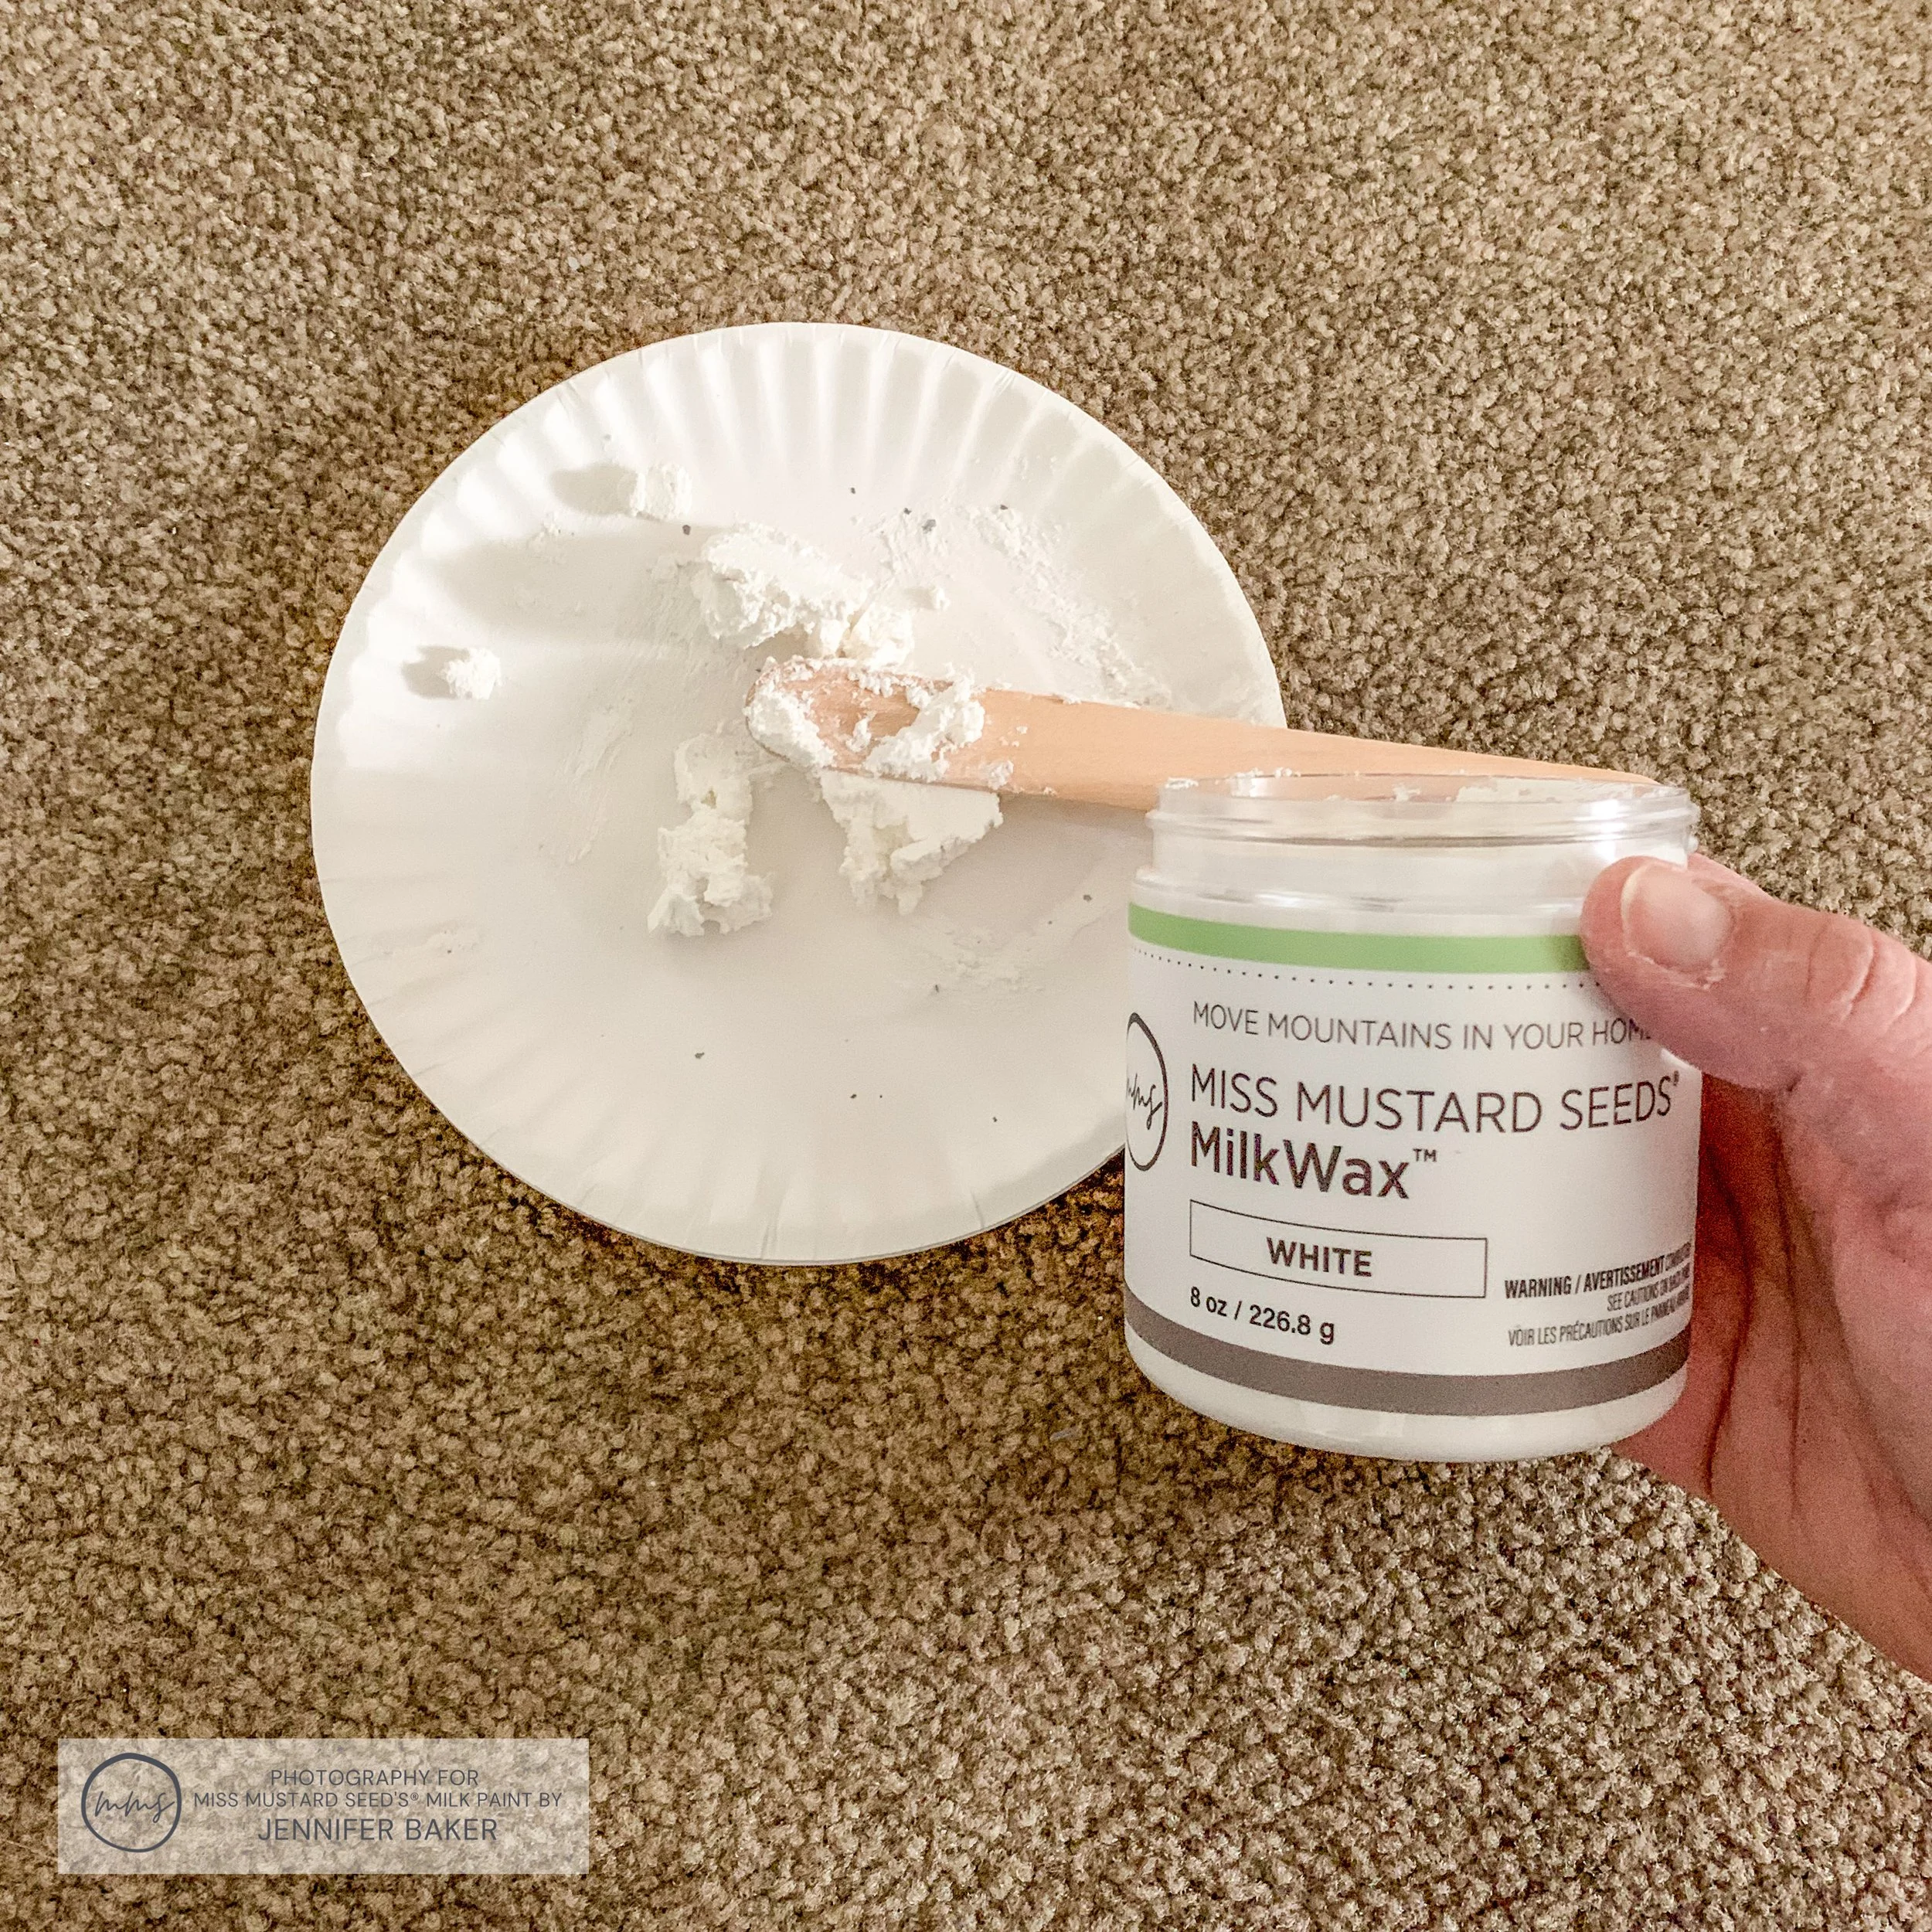
Once everything was all sanded and dusted off, I got my jar of MilkWax™ - White off the shelf. Using a popsicle stick, I scooped out a little bit and placed it on a paper plate. That’s where I worked from - not the jar itself. By keeping my brush out of the jar, it stops the “good” wax from getting contaminated.
The new white wax has a different texture than the old formula. It’s a bit more crumbly and smooths out nicely. It kind of reminds me of whipped butter. It’s spreadable and soft, but has a slightly different consistency than butter in stick form.
Make sense?
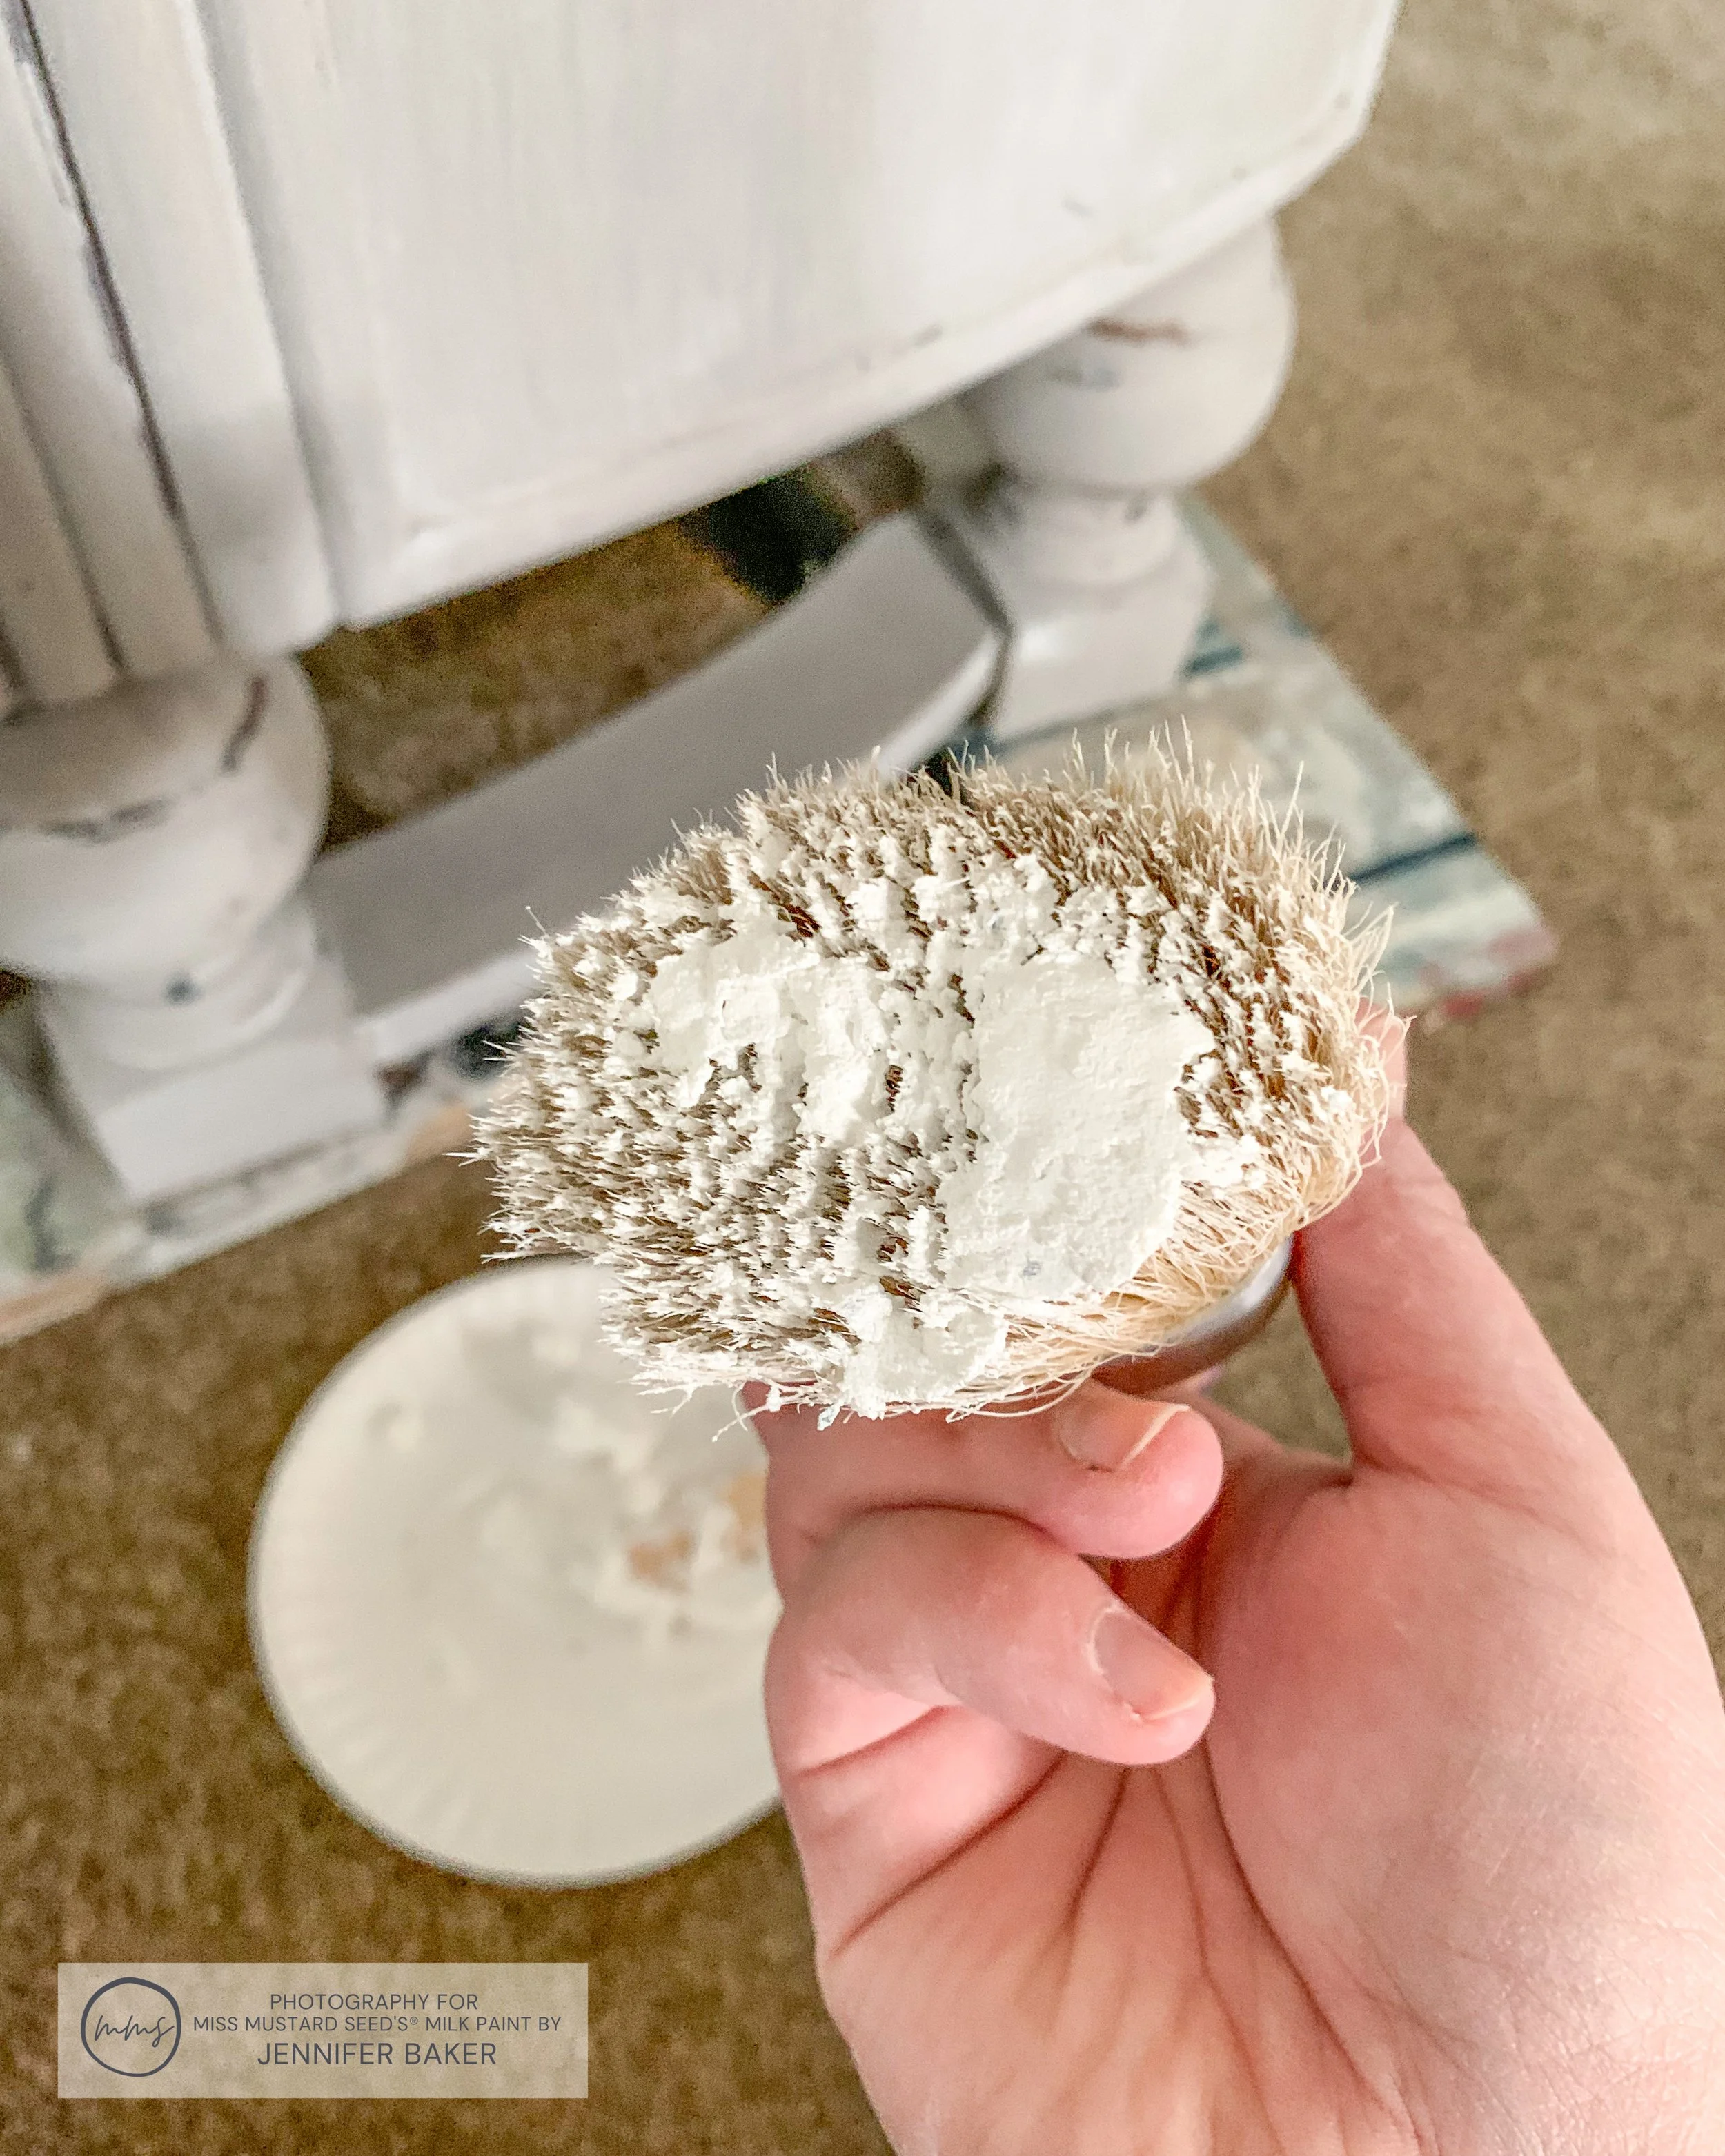
Using a wax brush, I smushed some crumbles into the bristles and began to swirl it over my buffet, one section at a time. Then, I’d wipe away the excess wax using a lint-free cloth. (I like using Rags-In-A-Box, which you can get from any hardware store.)
Working in small sections helps you 1) keep track of where you are on your project, 2) control your wax application and 3) prevent your wax from drying before you have a chance to wipe away the excess.
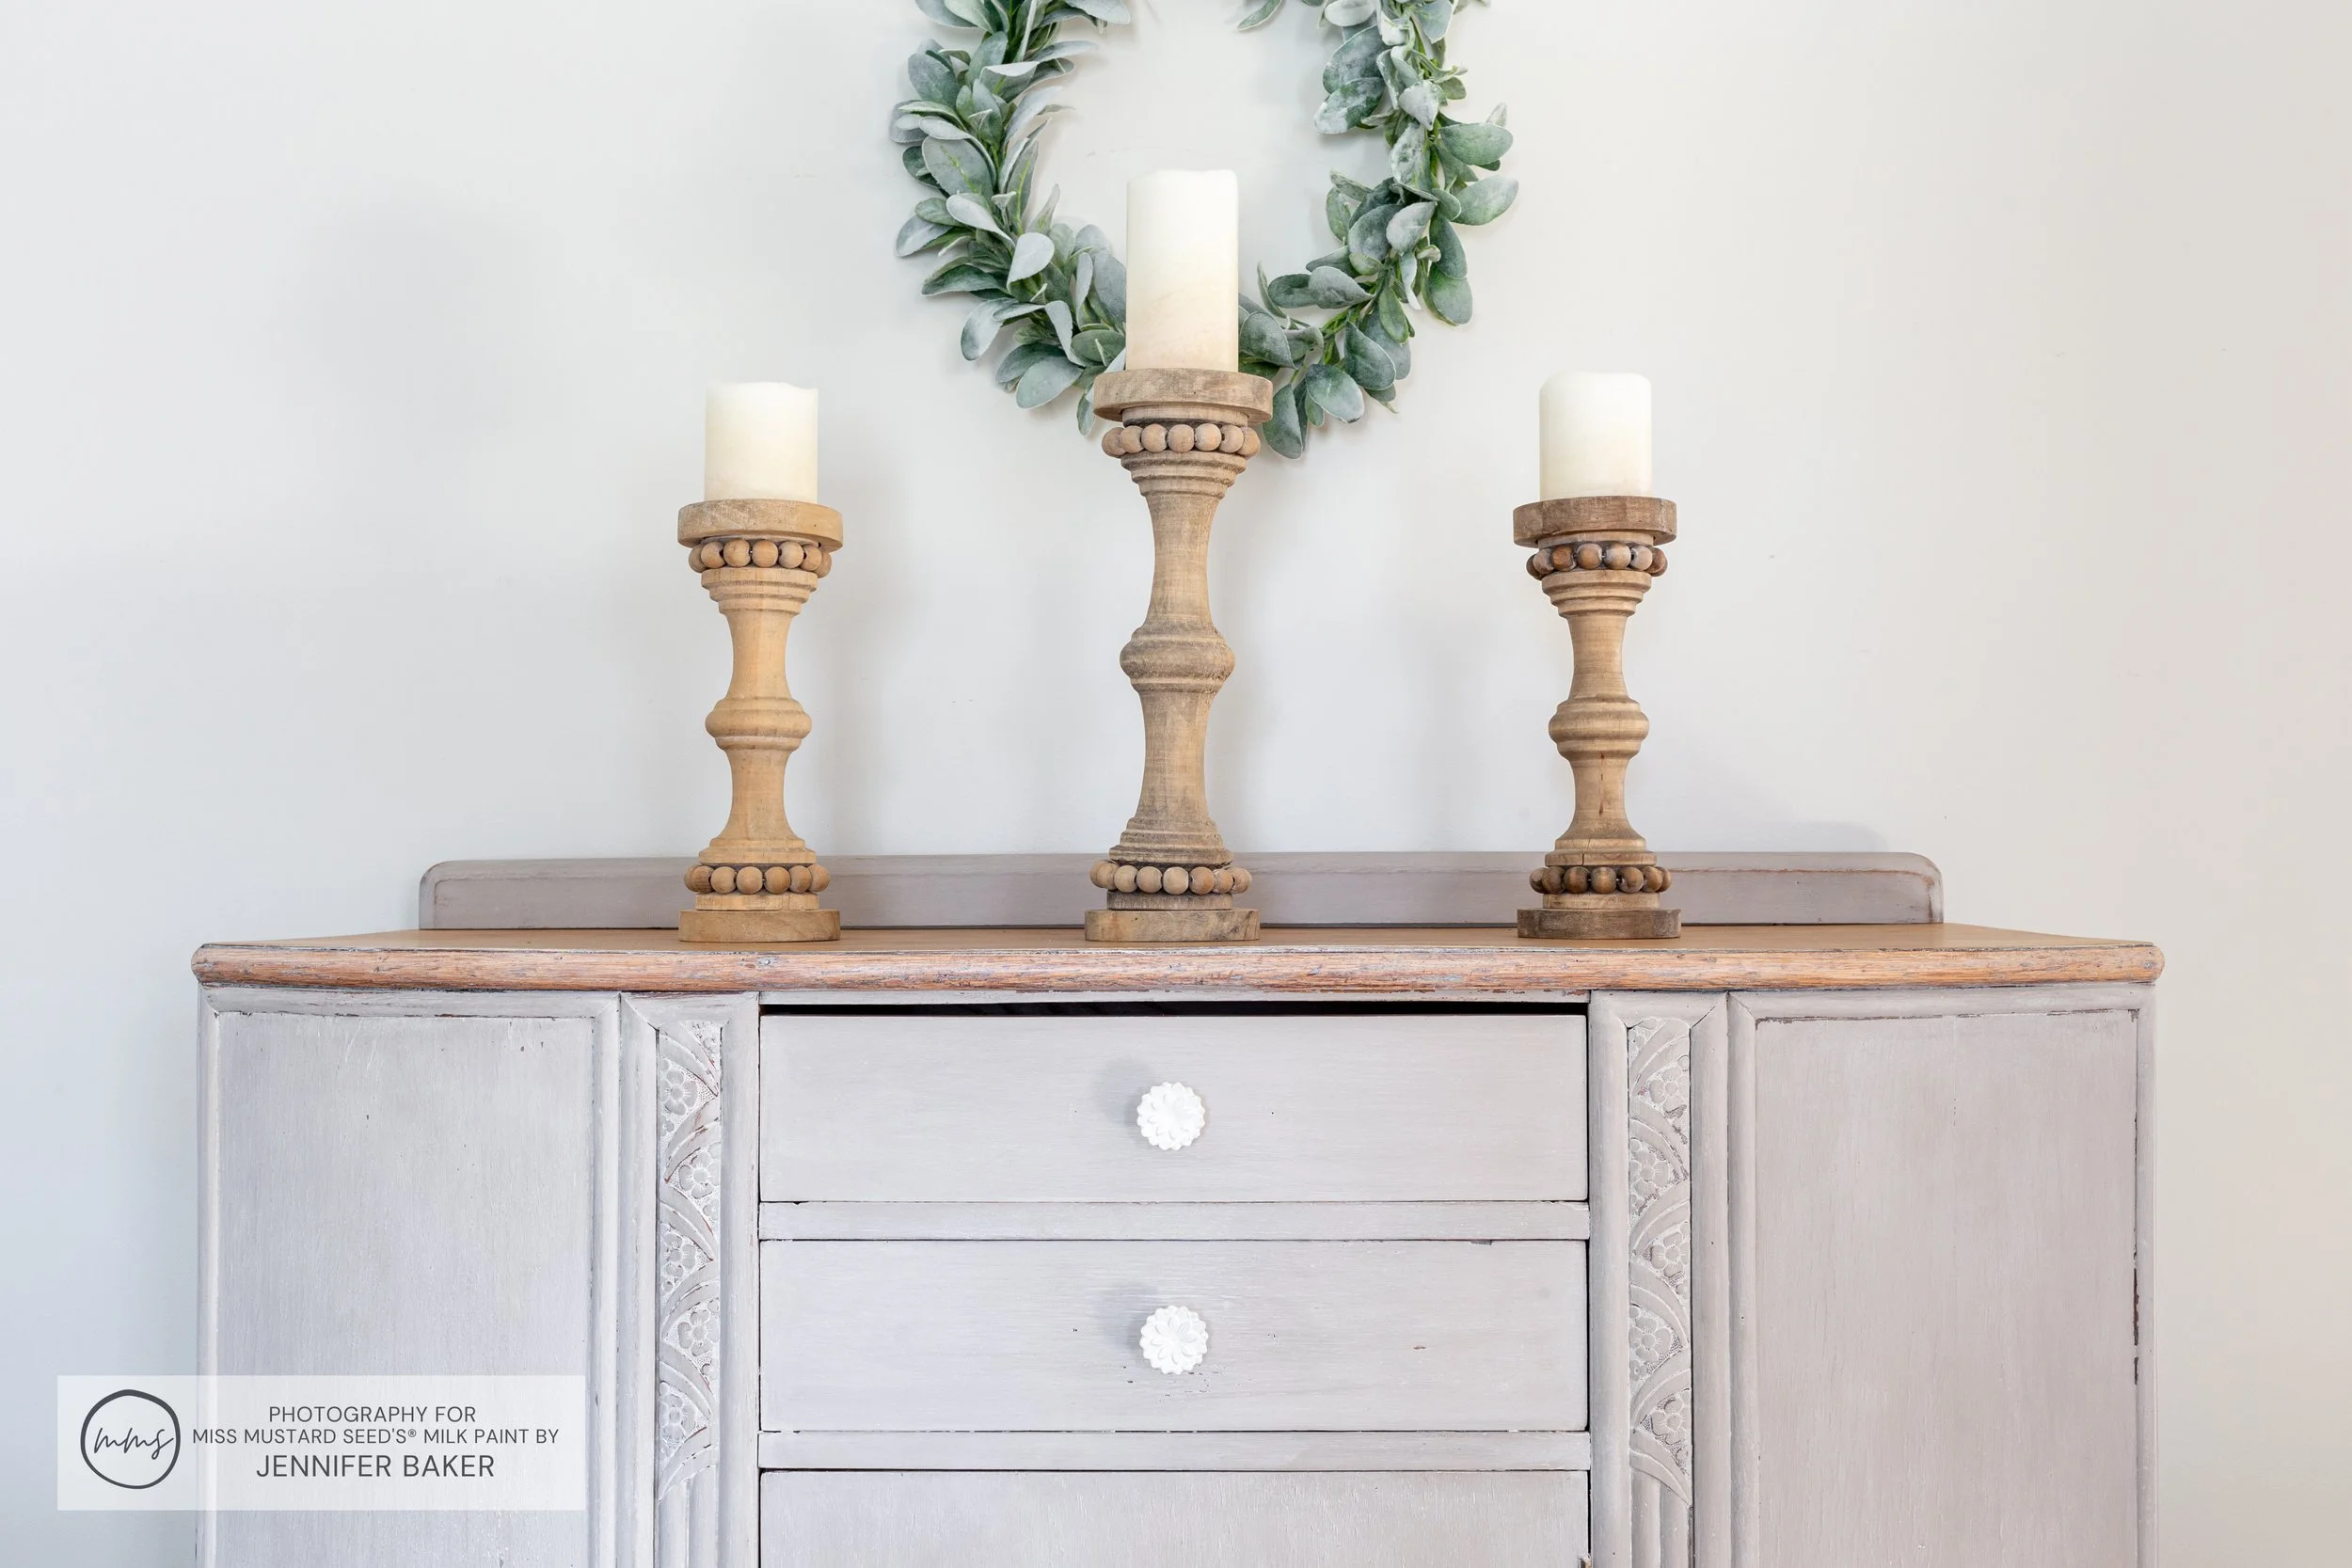
I even used White Wax on the top! It got stuck in the pronounced oak grain pattern, leaving lovely little traces of white behind.
The Final Result
Overall, my Art Deco buffet has a much softer appearance than when it first entered the studio.
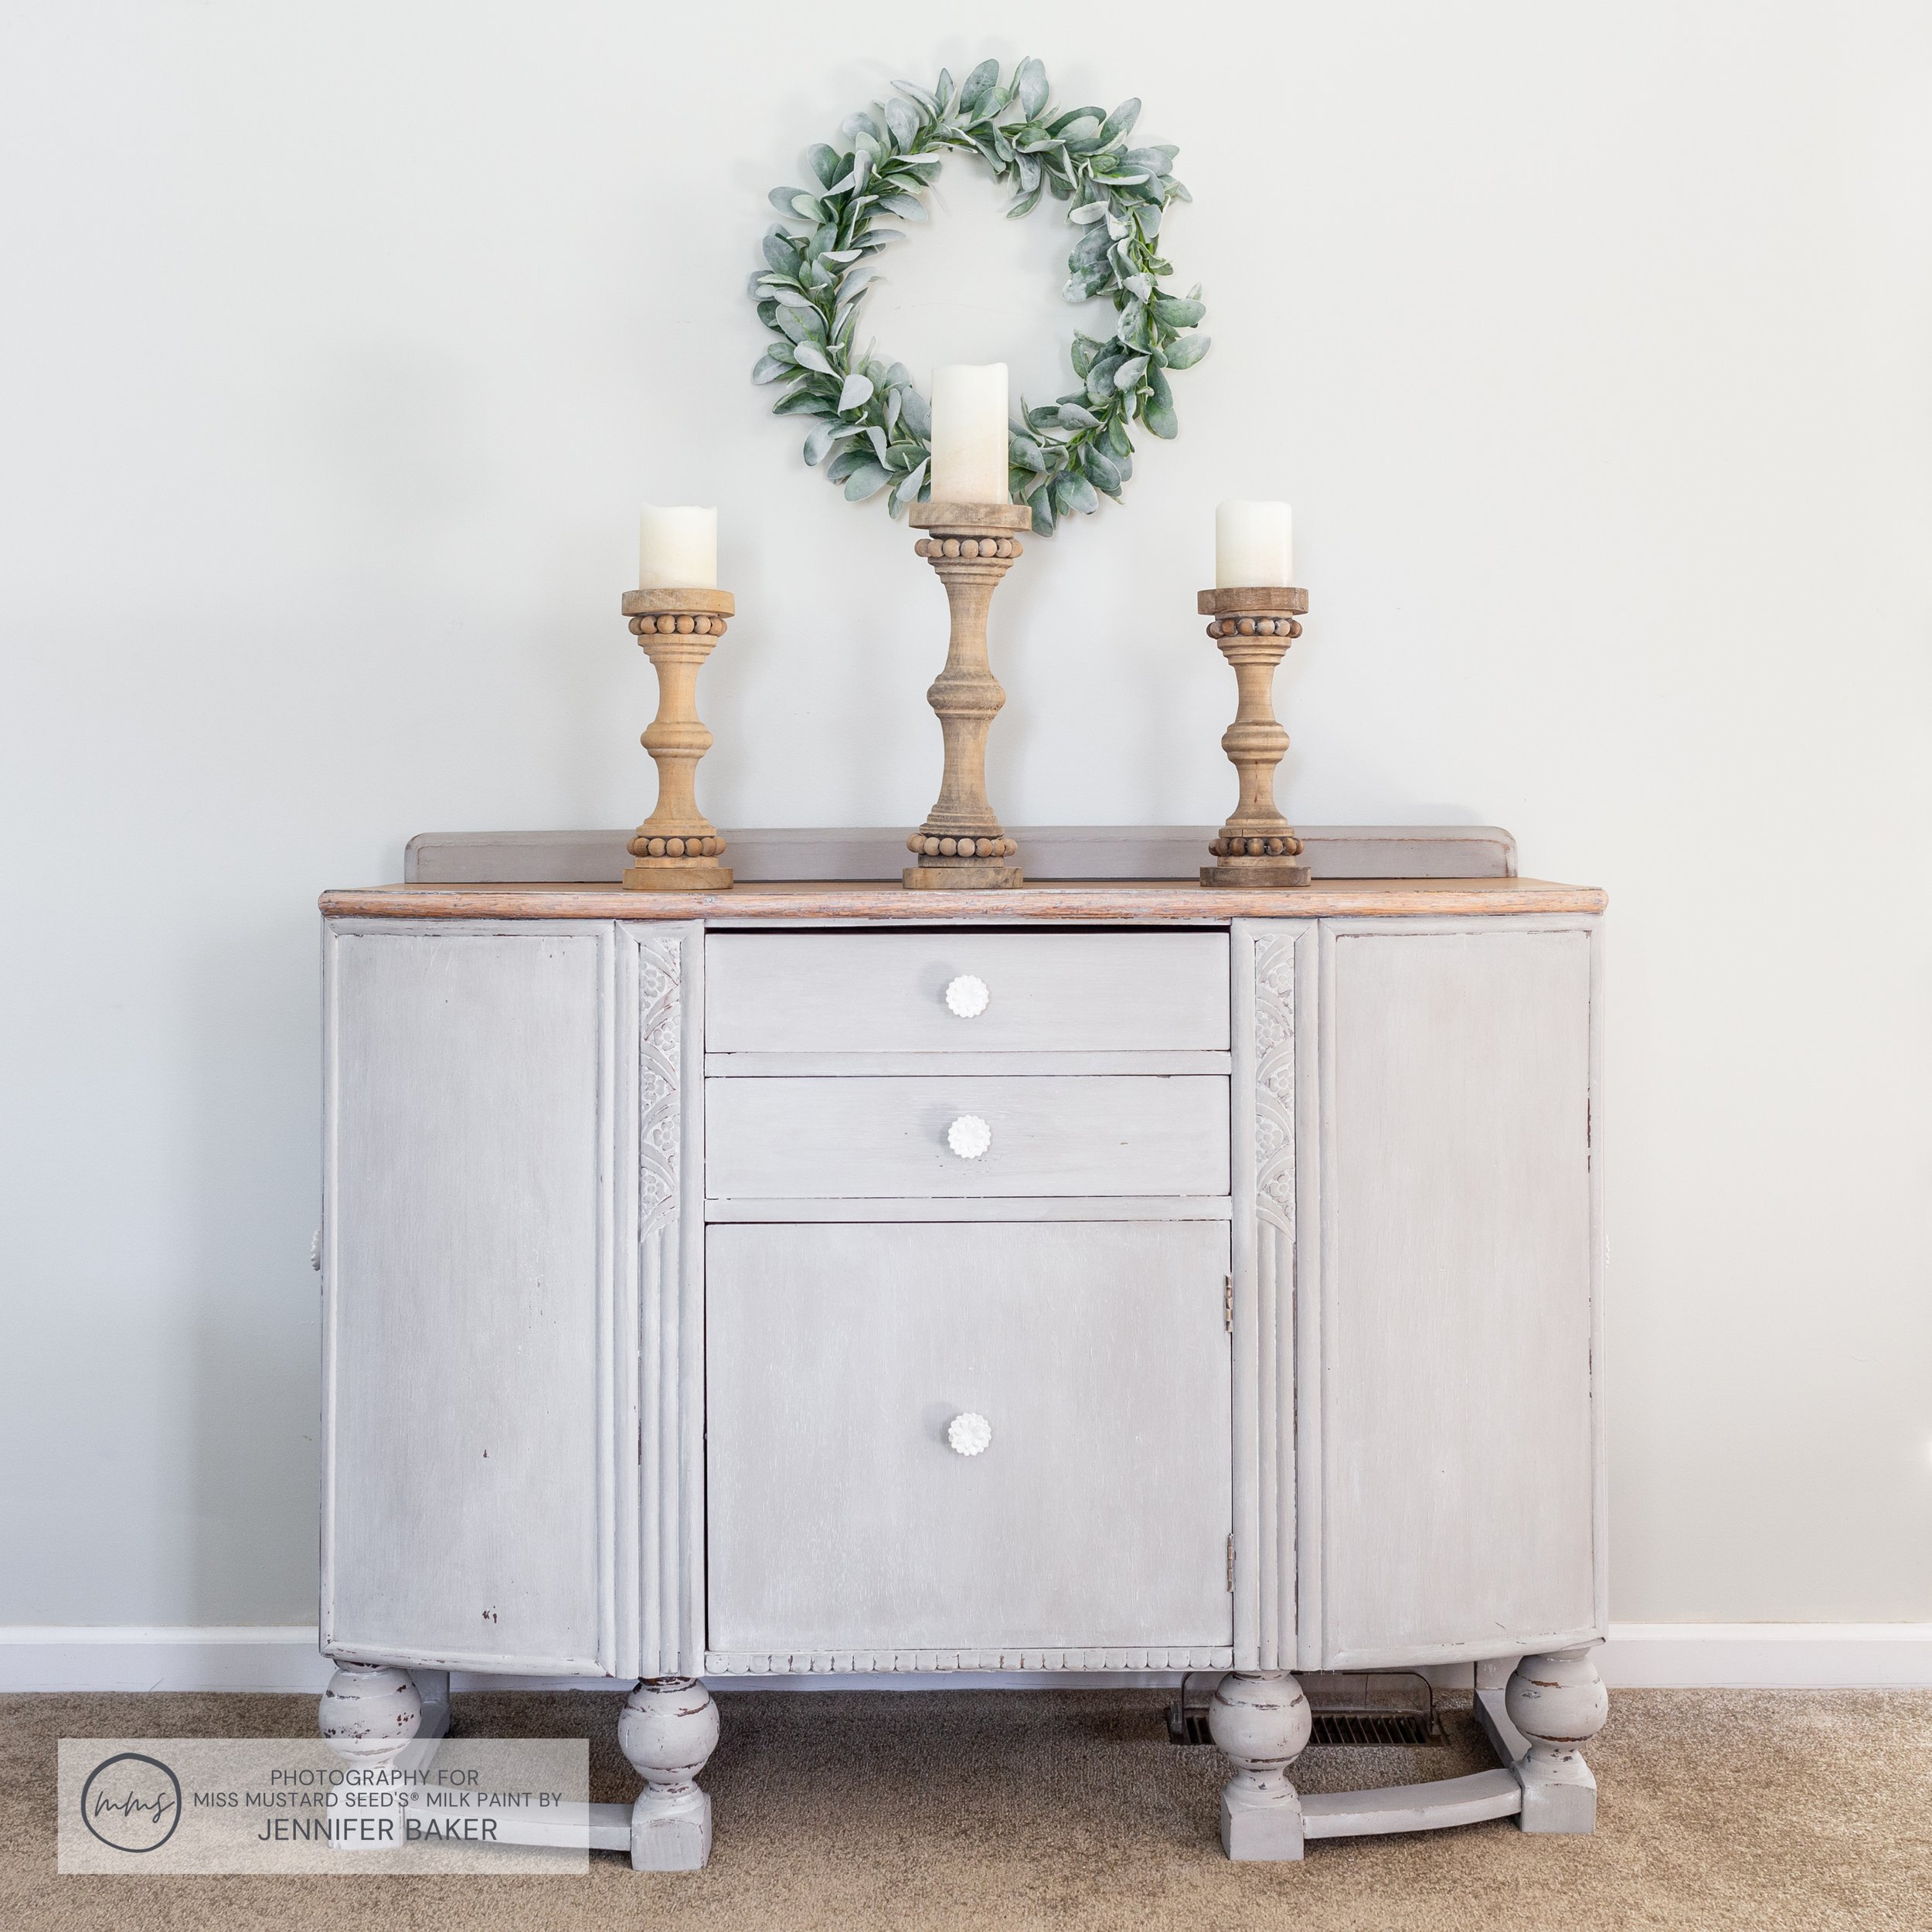
By applying the MilkWax™ - White directly over the Schloss (with no clear wax in between), I was able to get a pronounced whitewashed effect. It’s exactly what I wanted to create! It got stuck in all of the recessed areas, nooks and carved details, providing a soft and airy look.
Now if you want it to look less smudgy, apply a layer of clear wax first, then do your white wax. I REALLY wanted to see the white wax on my piece, so I skipped the clear wax step altogether.
I’m filling my studio with calm and soothing colors like sage green, whispers of blue, natural wood, sandy tans and whites. Thanks to MilkPaint™, my buffet finally fits in! That intense orangey finish is gone, leaving behind a soft, airy and soothing new look.

The original hardware was swapped out for pretty white flower knobs from Hobby Lobby. They make a much quieter statement than the over-sized handles that were there before.
The feet got the most amount of chipping. It’s probably because they were the hardest parts to scuff sand, and I left some of the original finish on the surface. When I work on buffets, the legs usually turn out chippy like this.
The top is my favorite part of the whole piece. Just look at all of the places where the MilkWax™ - White got stuck!
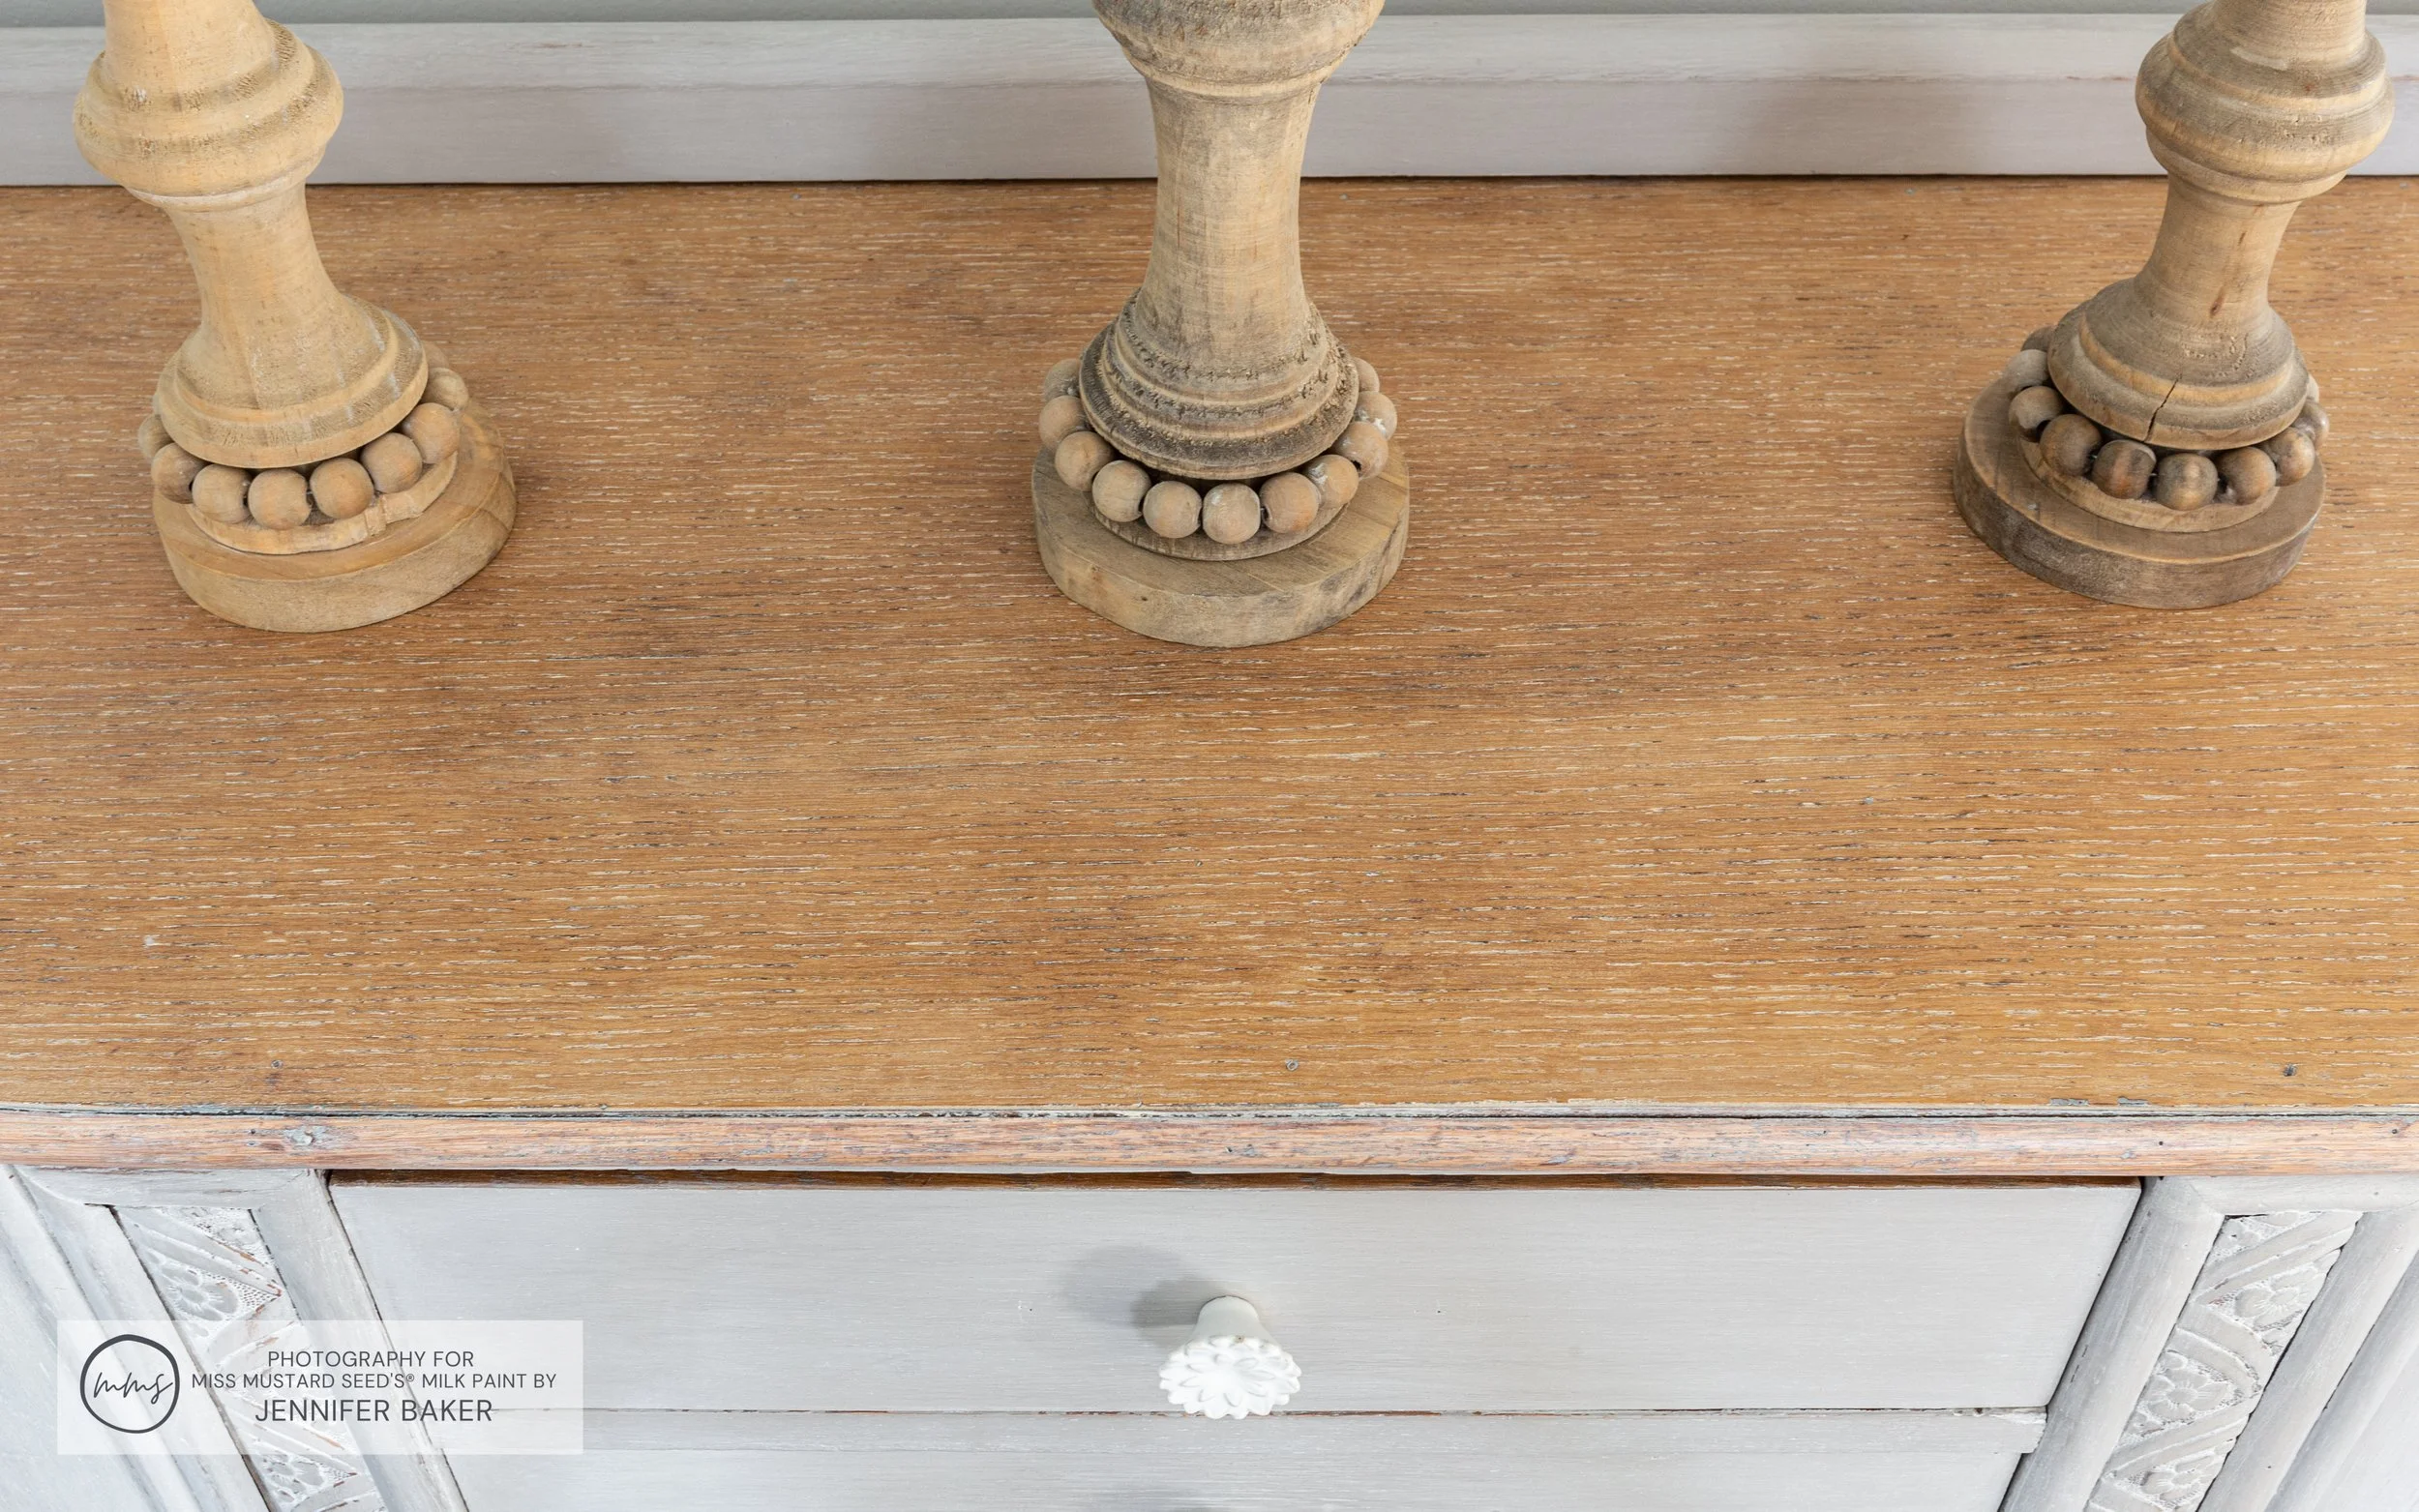
It’s sooo yummy, right?! I couldn’t have asked for a more perfect application.
Stay tuned for more MilkPaint™ projects in my studio over the next few weeks. There’s lots more to refinish, relove and remake!
