
How To Replace Leather Inlay
Jenn’s Furniture Refinishing FYI Series
Have you ever come across a table or desk that has a leather inlay on the top?
The inlay is really really susceptible to damage from heat, water or extreme temperatures. Replacing the inlay isn’t as hard as it may seem!
Follow my 4 easy steps to give your next inlay project a fresh new look!

Step 1 - Remove Old Leather Inlay
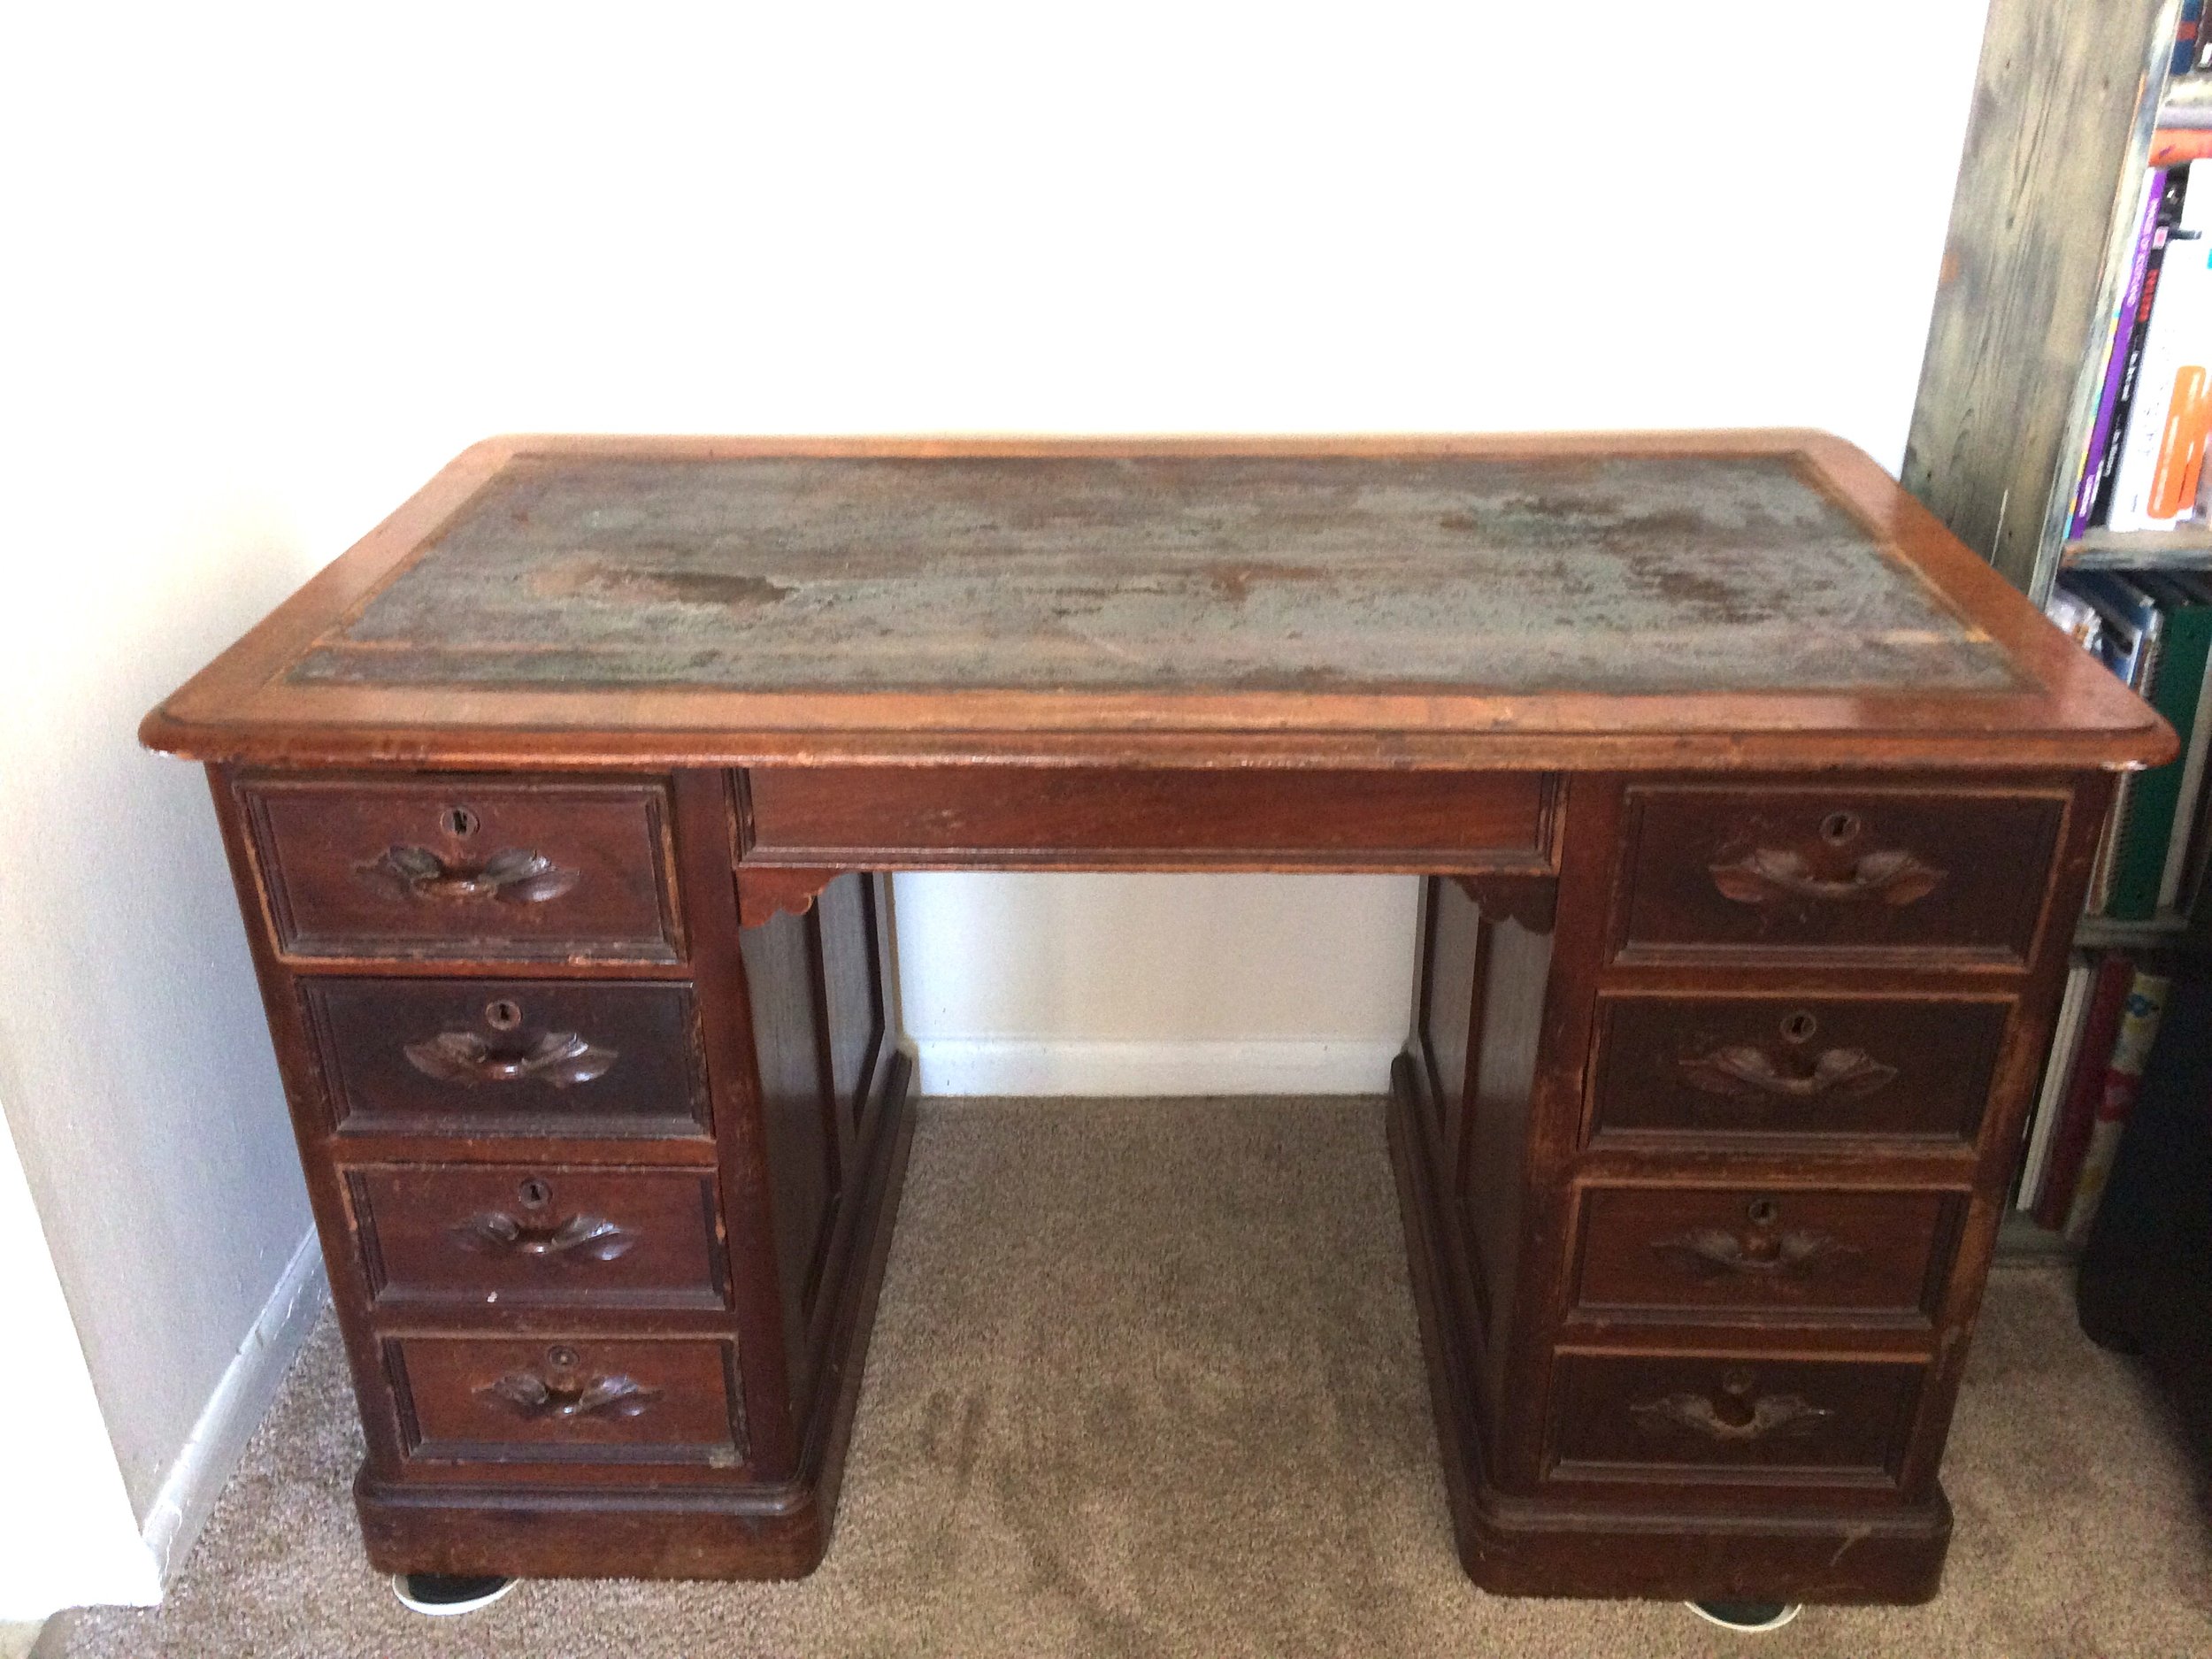
For this tutorial, I’m going to use this sweet oak desk as an example. I refinished this several years ago when I was about a year into my furniture refinishing career. This project is a super popular one on my own website, so I thought I share it with all of you here at MMS MilkPaint™ too!

The top had definitely seen better days, so my first task was to remove the old and damaged leather inlay.
Using a pair of pliers and a scraper, I started in a loose corner and carefully peeled the leather off. It came away in one sheet, which I highly recommend that you put aside and save. You’ll need it later to measure your new piece!
Step 2 - Sand Down Old Glue
As you can see, the top underneath the leather was dotted with old glue, dirt and other general “funk”. To give myself a fresh new surface, I used my orbital sander to clean things up.

Before Sanding

During Sanding

After Sanding
Step 3 - Install New Leather Inlay
I went to my local fabric store to see what options they had for a replacement fabric. I didn’t want to use actual leather. Instead, I looked for a vinyl alternative.

I ultimately decided on this pretty chocolate color! It had some alligatoring on it, which I thought would go well with the handsome feel of the desk.

I took my new piece home and used the old leather piece as a template. Using a rotary fabric cutter and a cutting mat, I cut a new piece that was slightly larger than the original. This would give me plenty of extra fabric to grab onto while I was installing it.


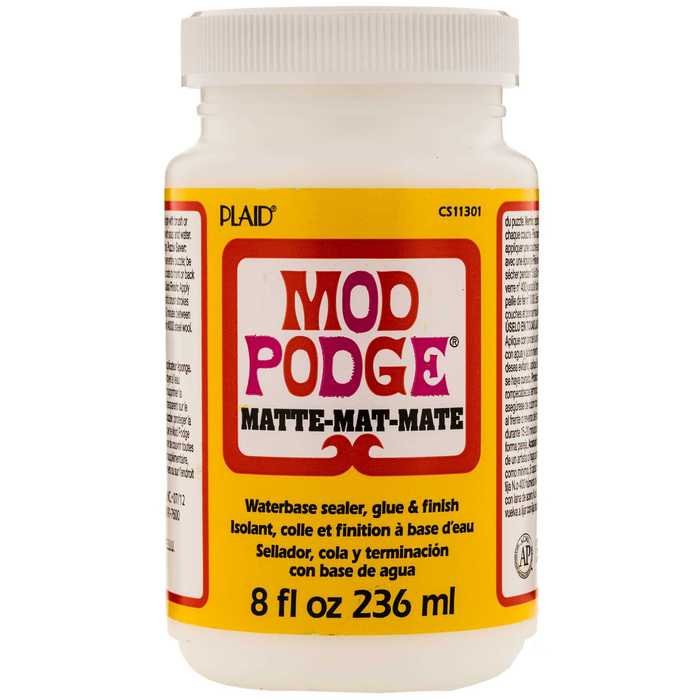
Once my piece was cut to size, I applied ModPodge to the wood where the old inlay used to be.
Then, I used a little roller to smooth the vinyl fabric into the corners and eliminate any air bubbles. To get a clean edge, I used an X-Acto knife to trim away any excess vinyl.


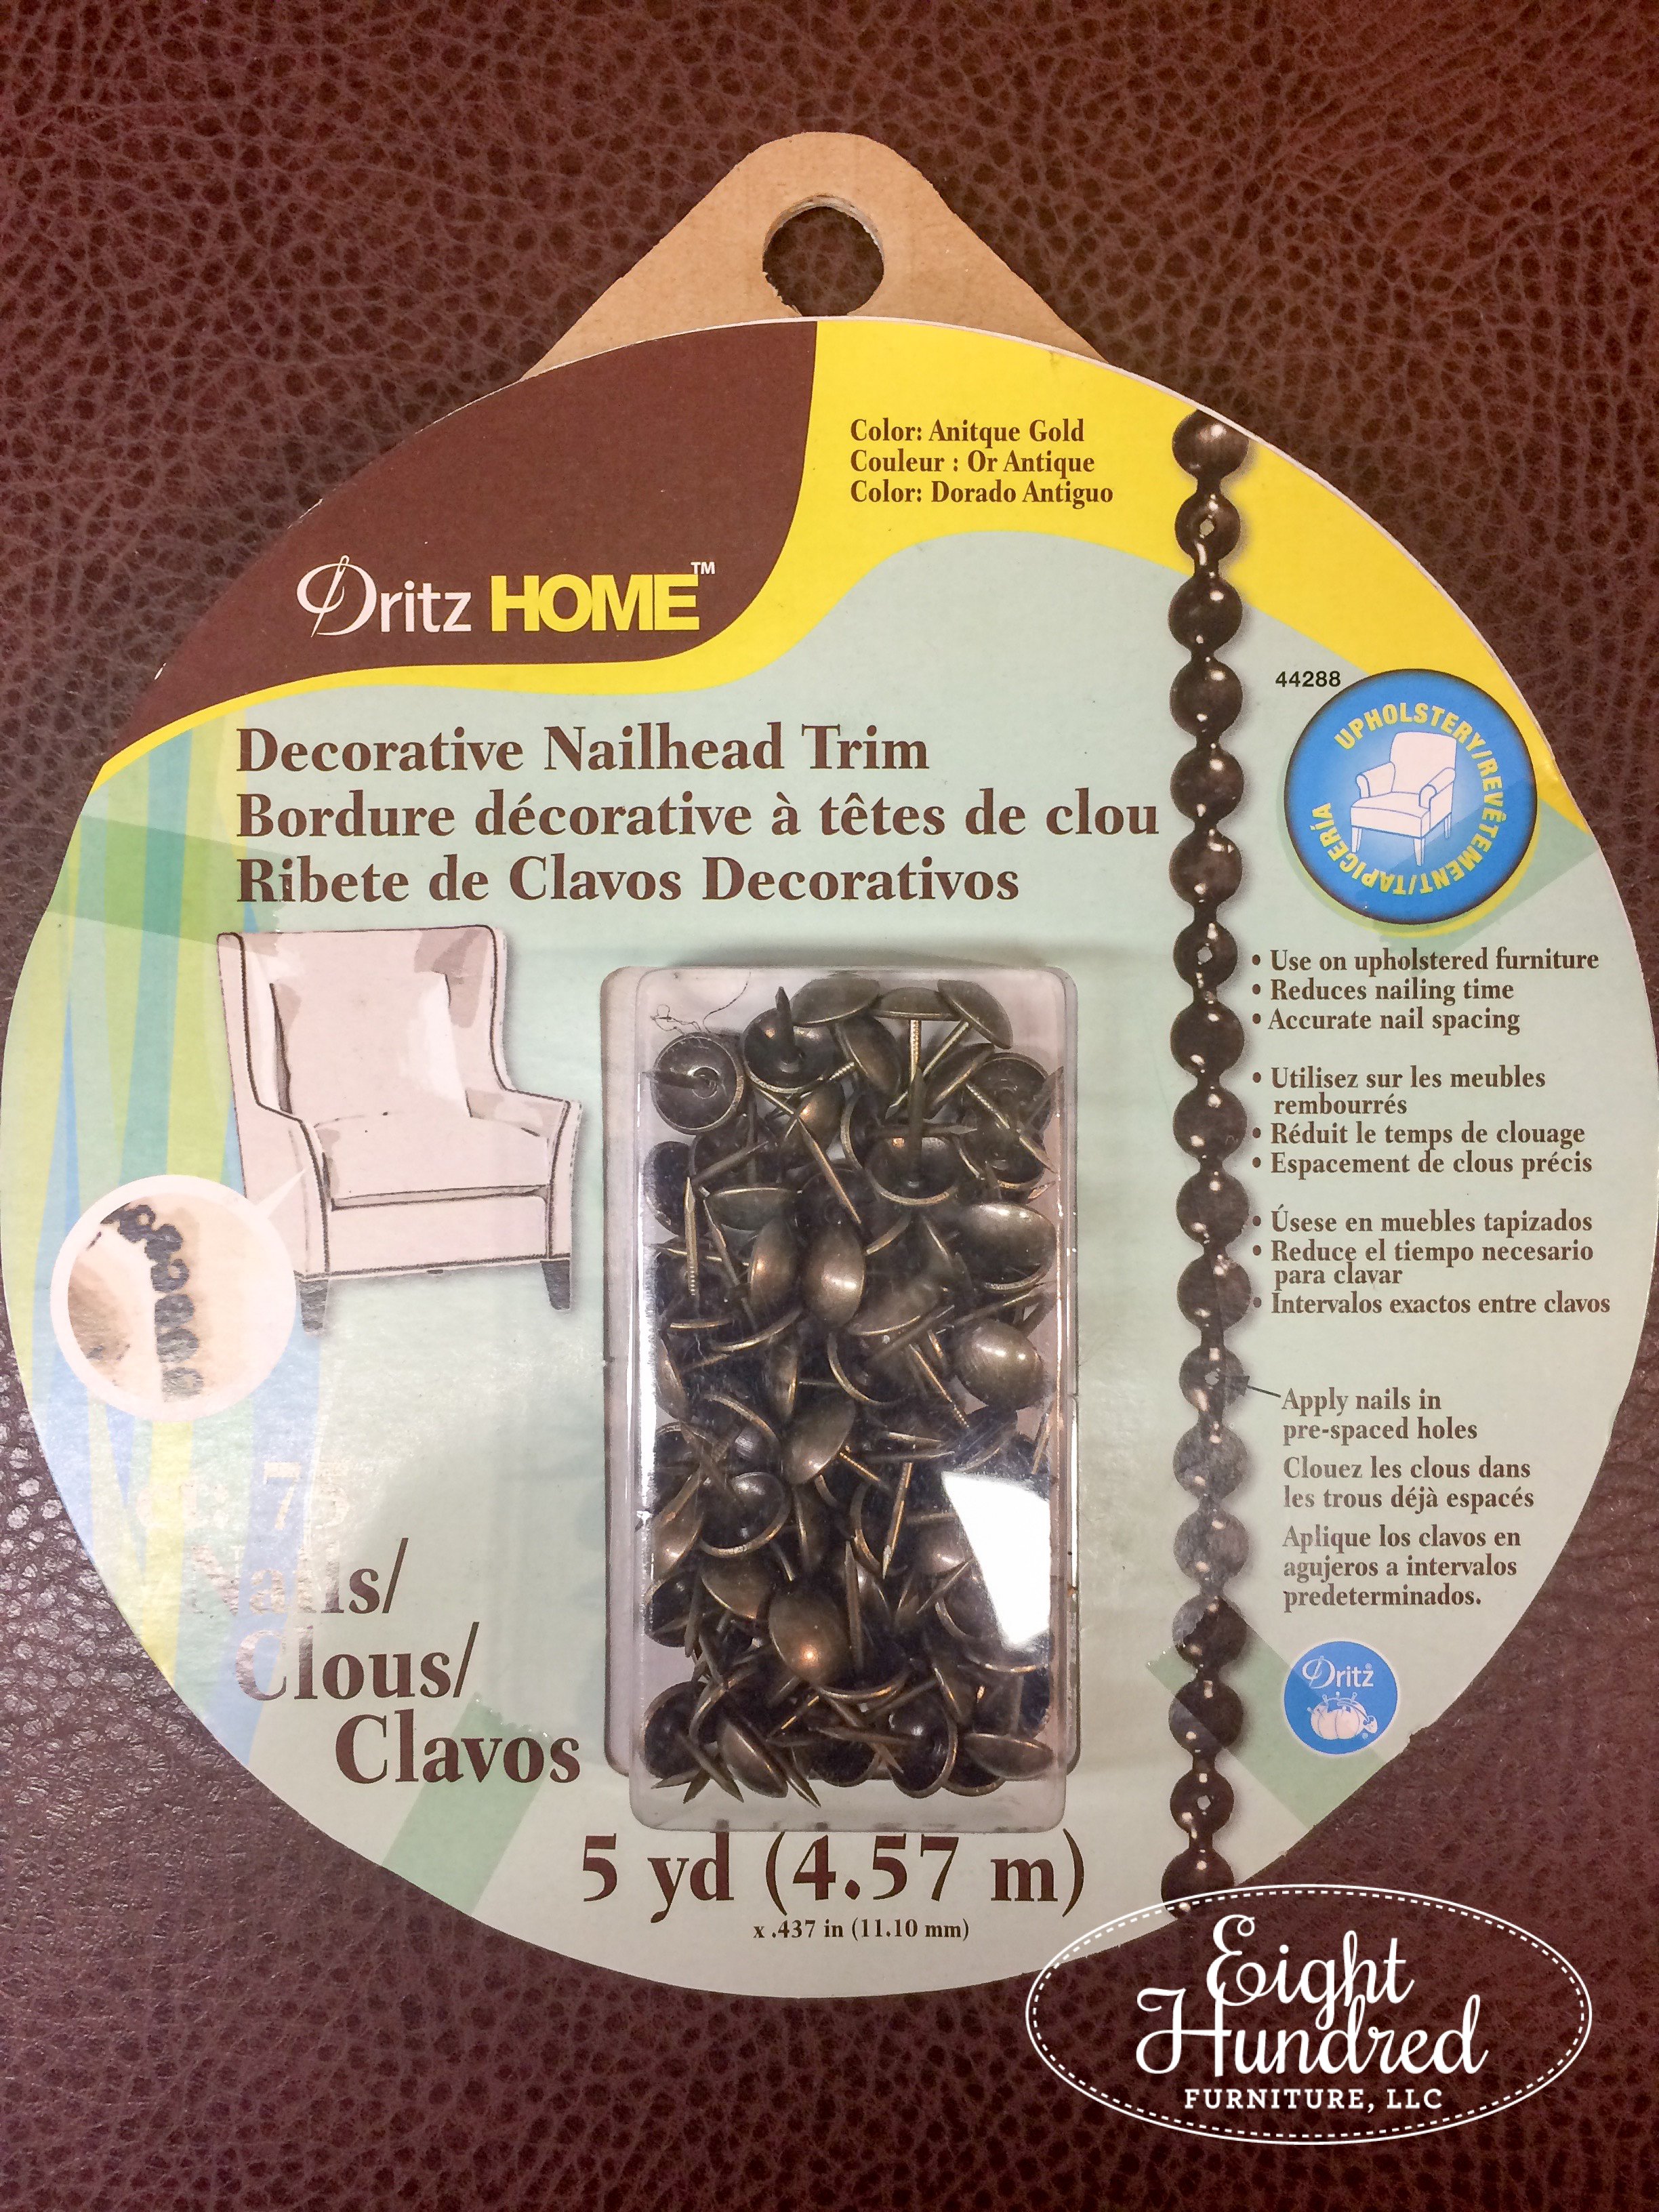
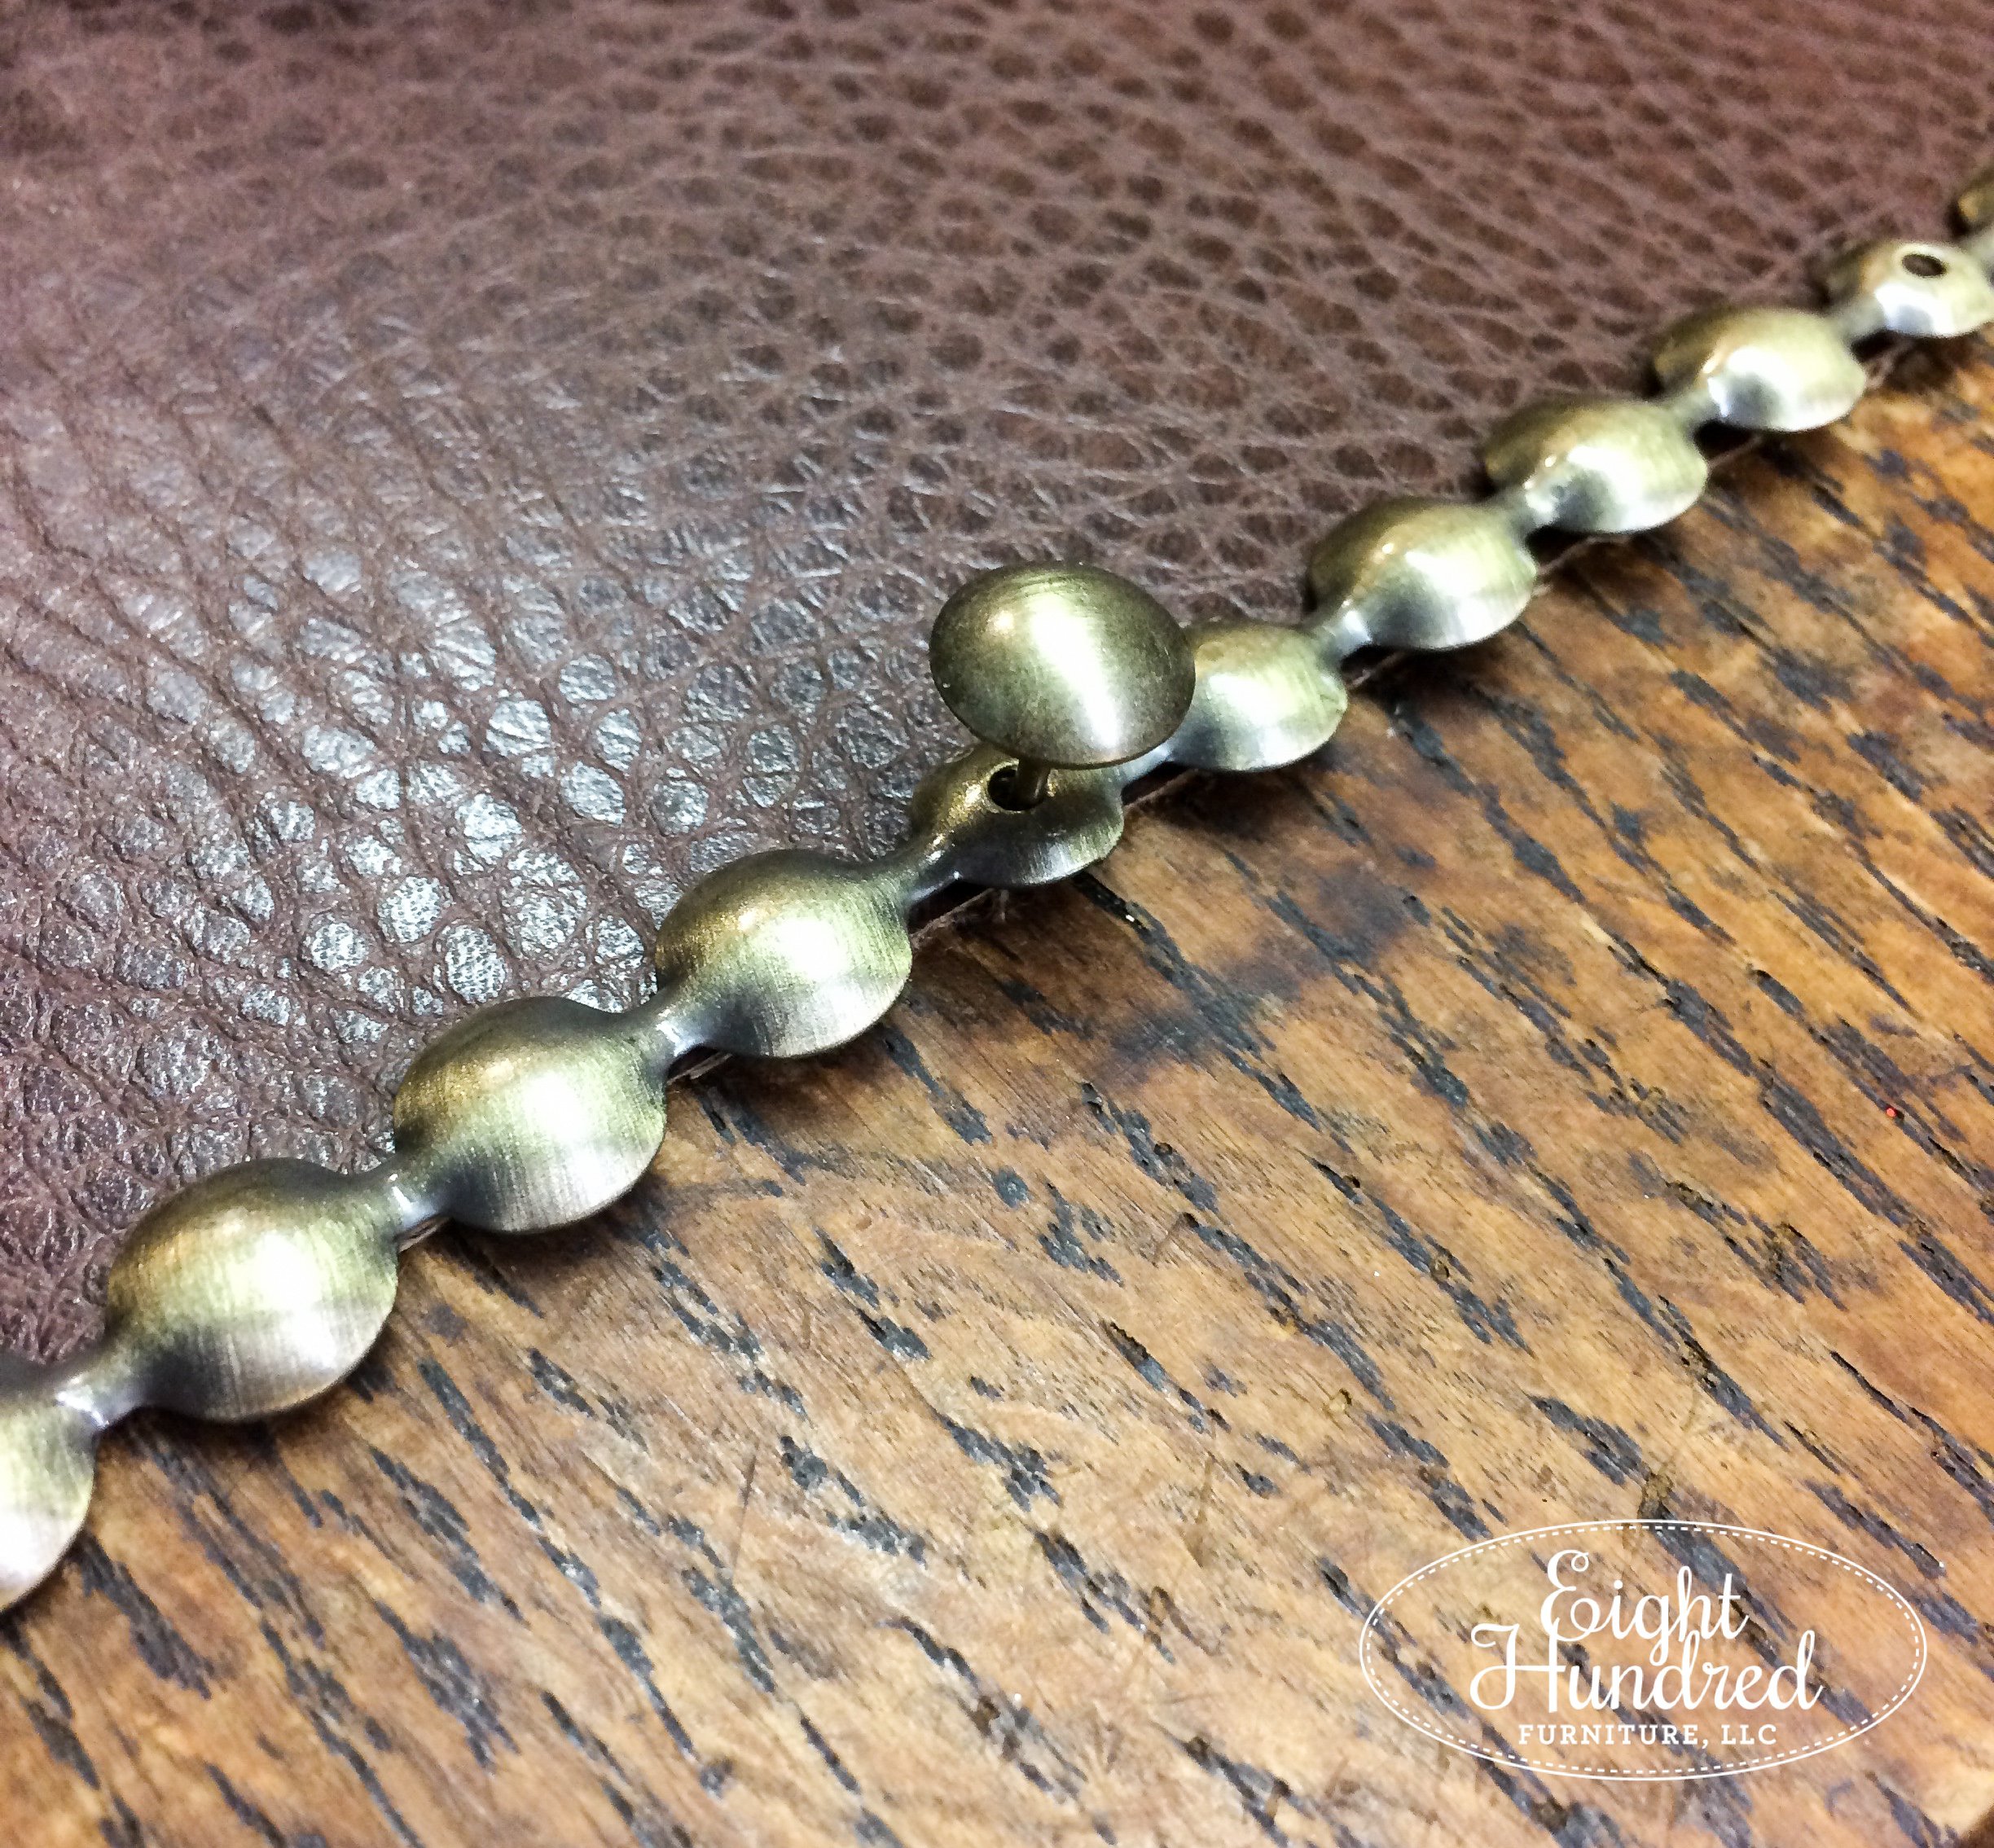
Step 4 - Add Decorative Trim
Once the ModPodge was dry, I wanted to add a decorative trim where the wood and the vinyl met. I thought it would clean things up a bit.
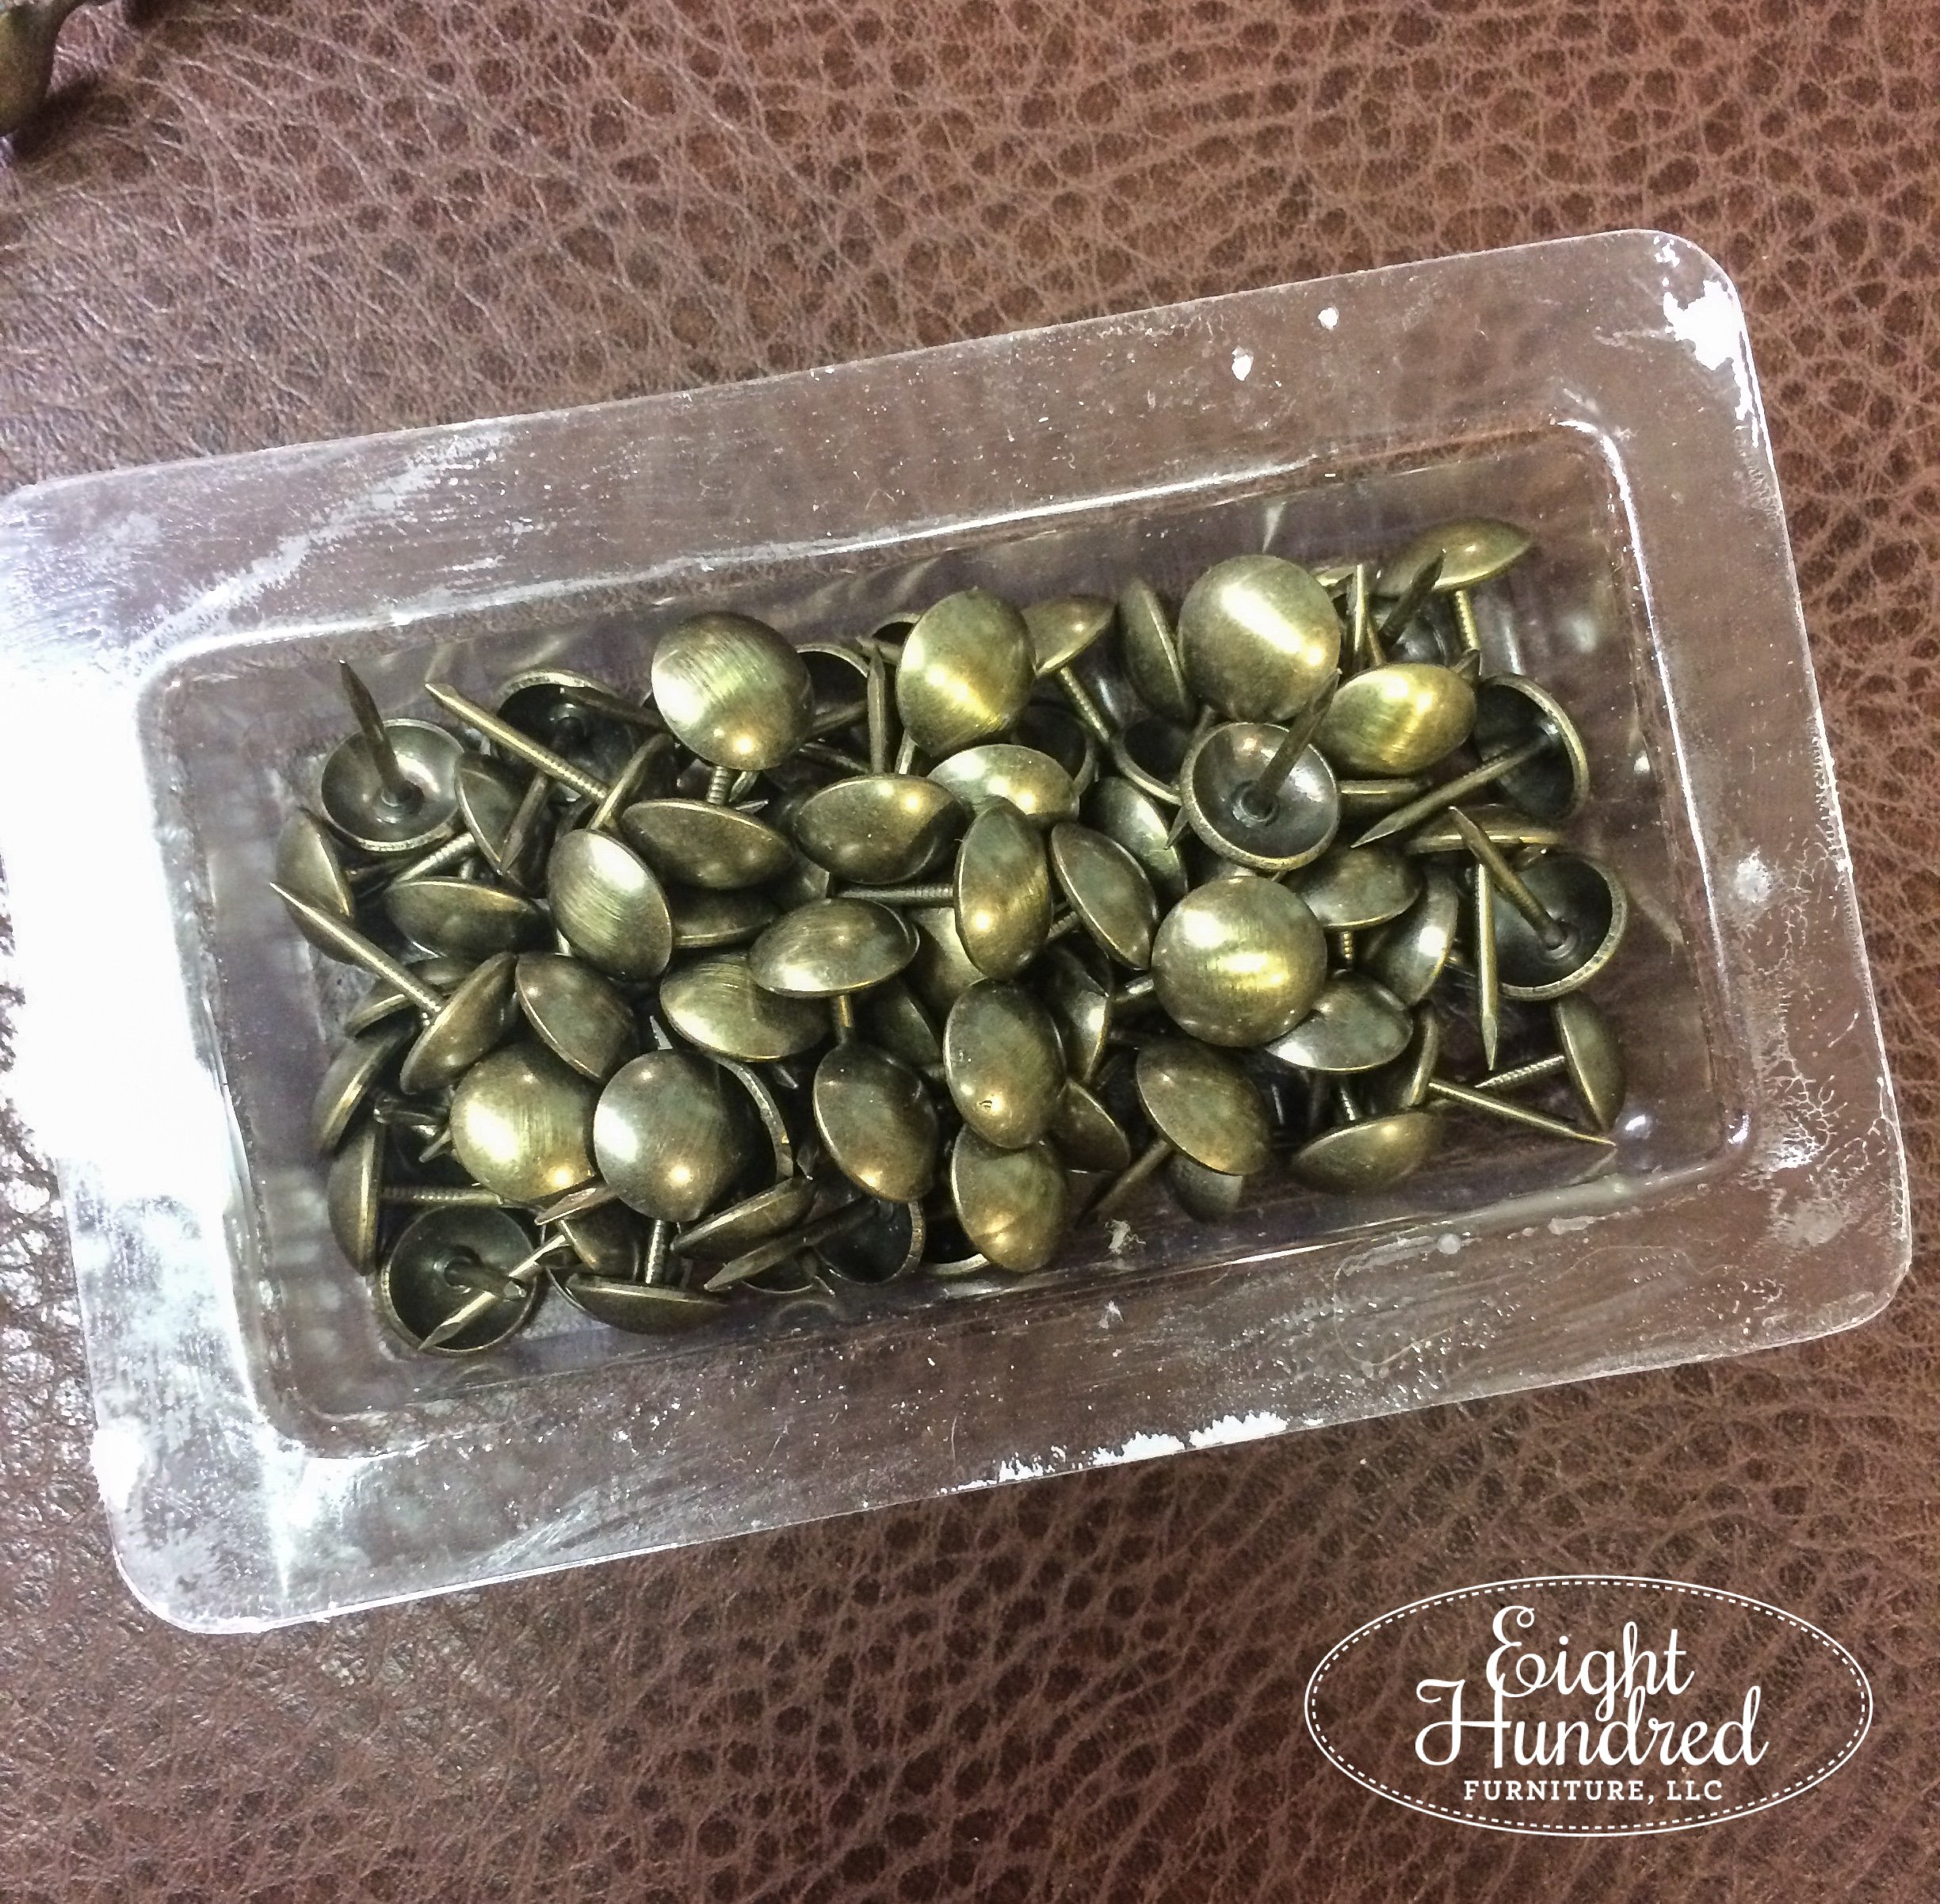
I decided to use a faux nailhead trim. It comes in a long roll and has a hole every few nailheads or so. This allows you to attach it without having to hammer in every.single.one!
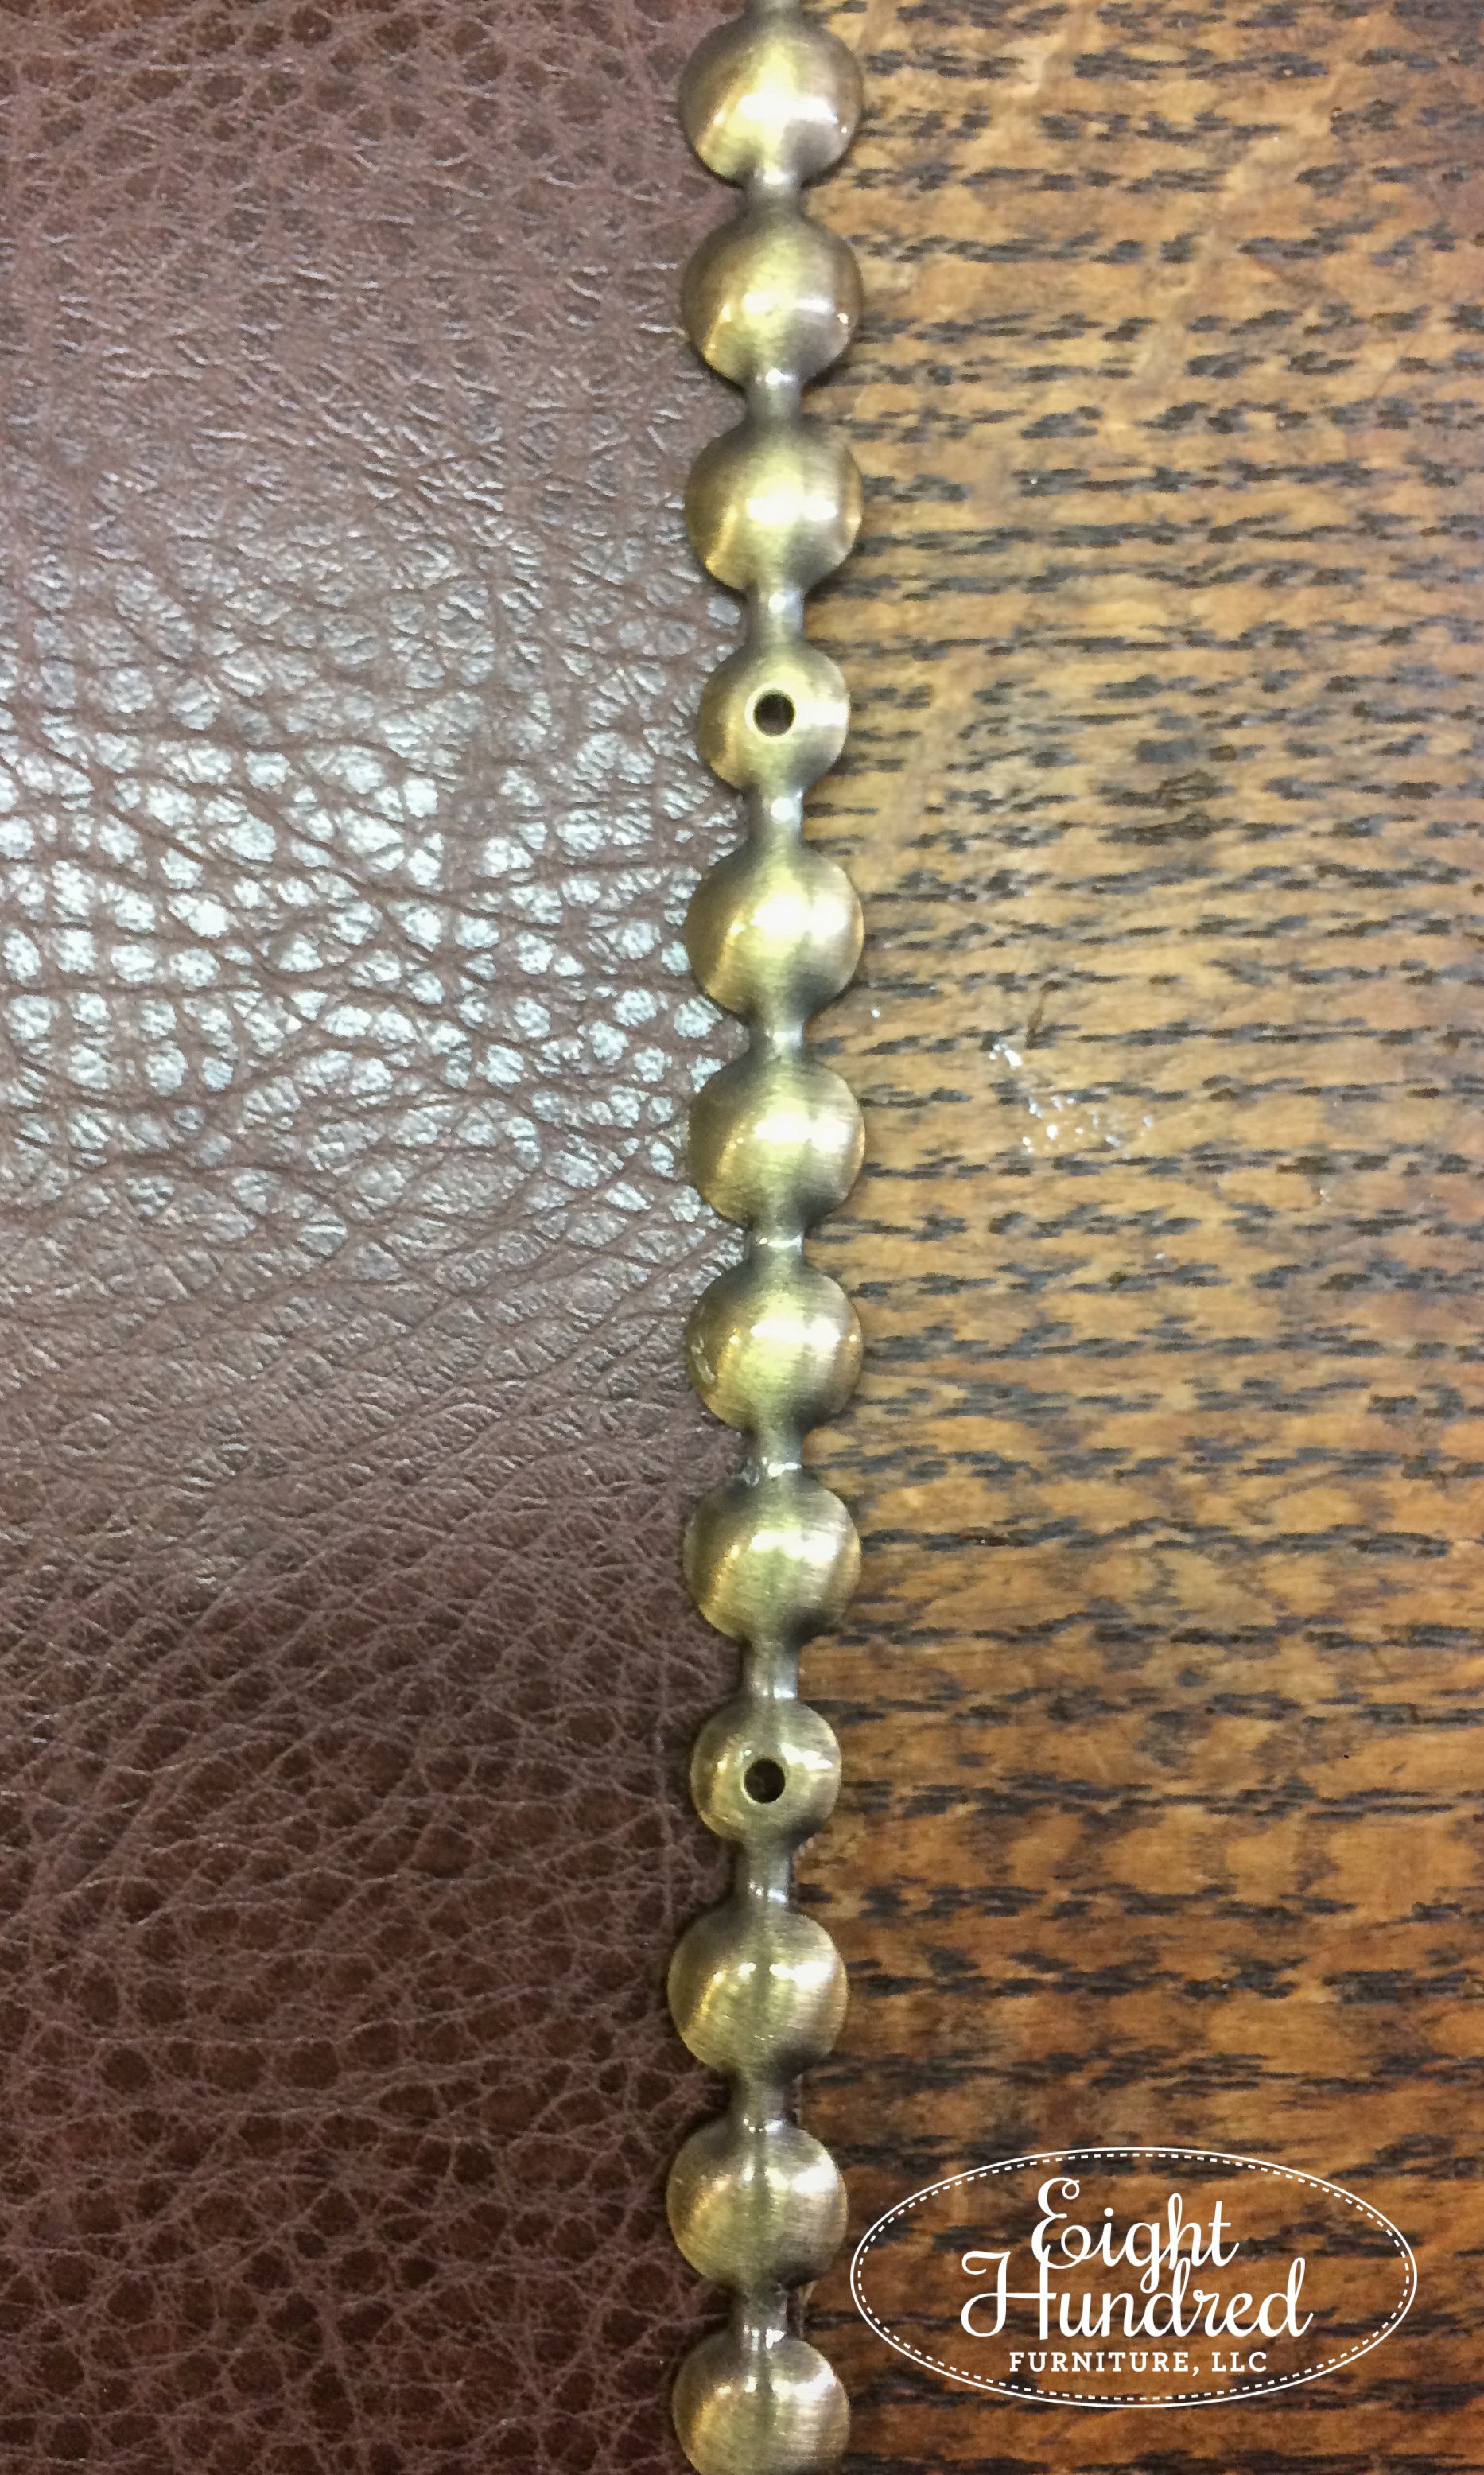

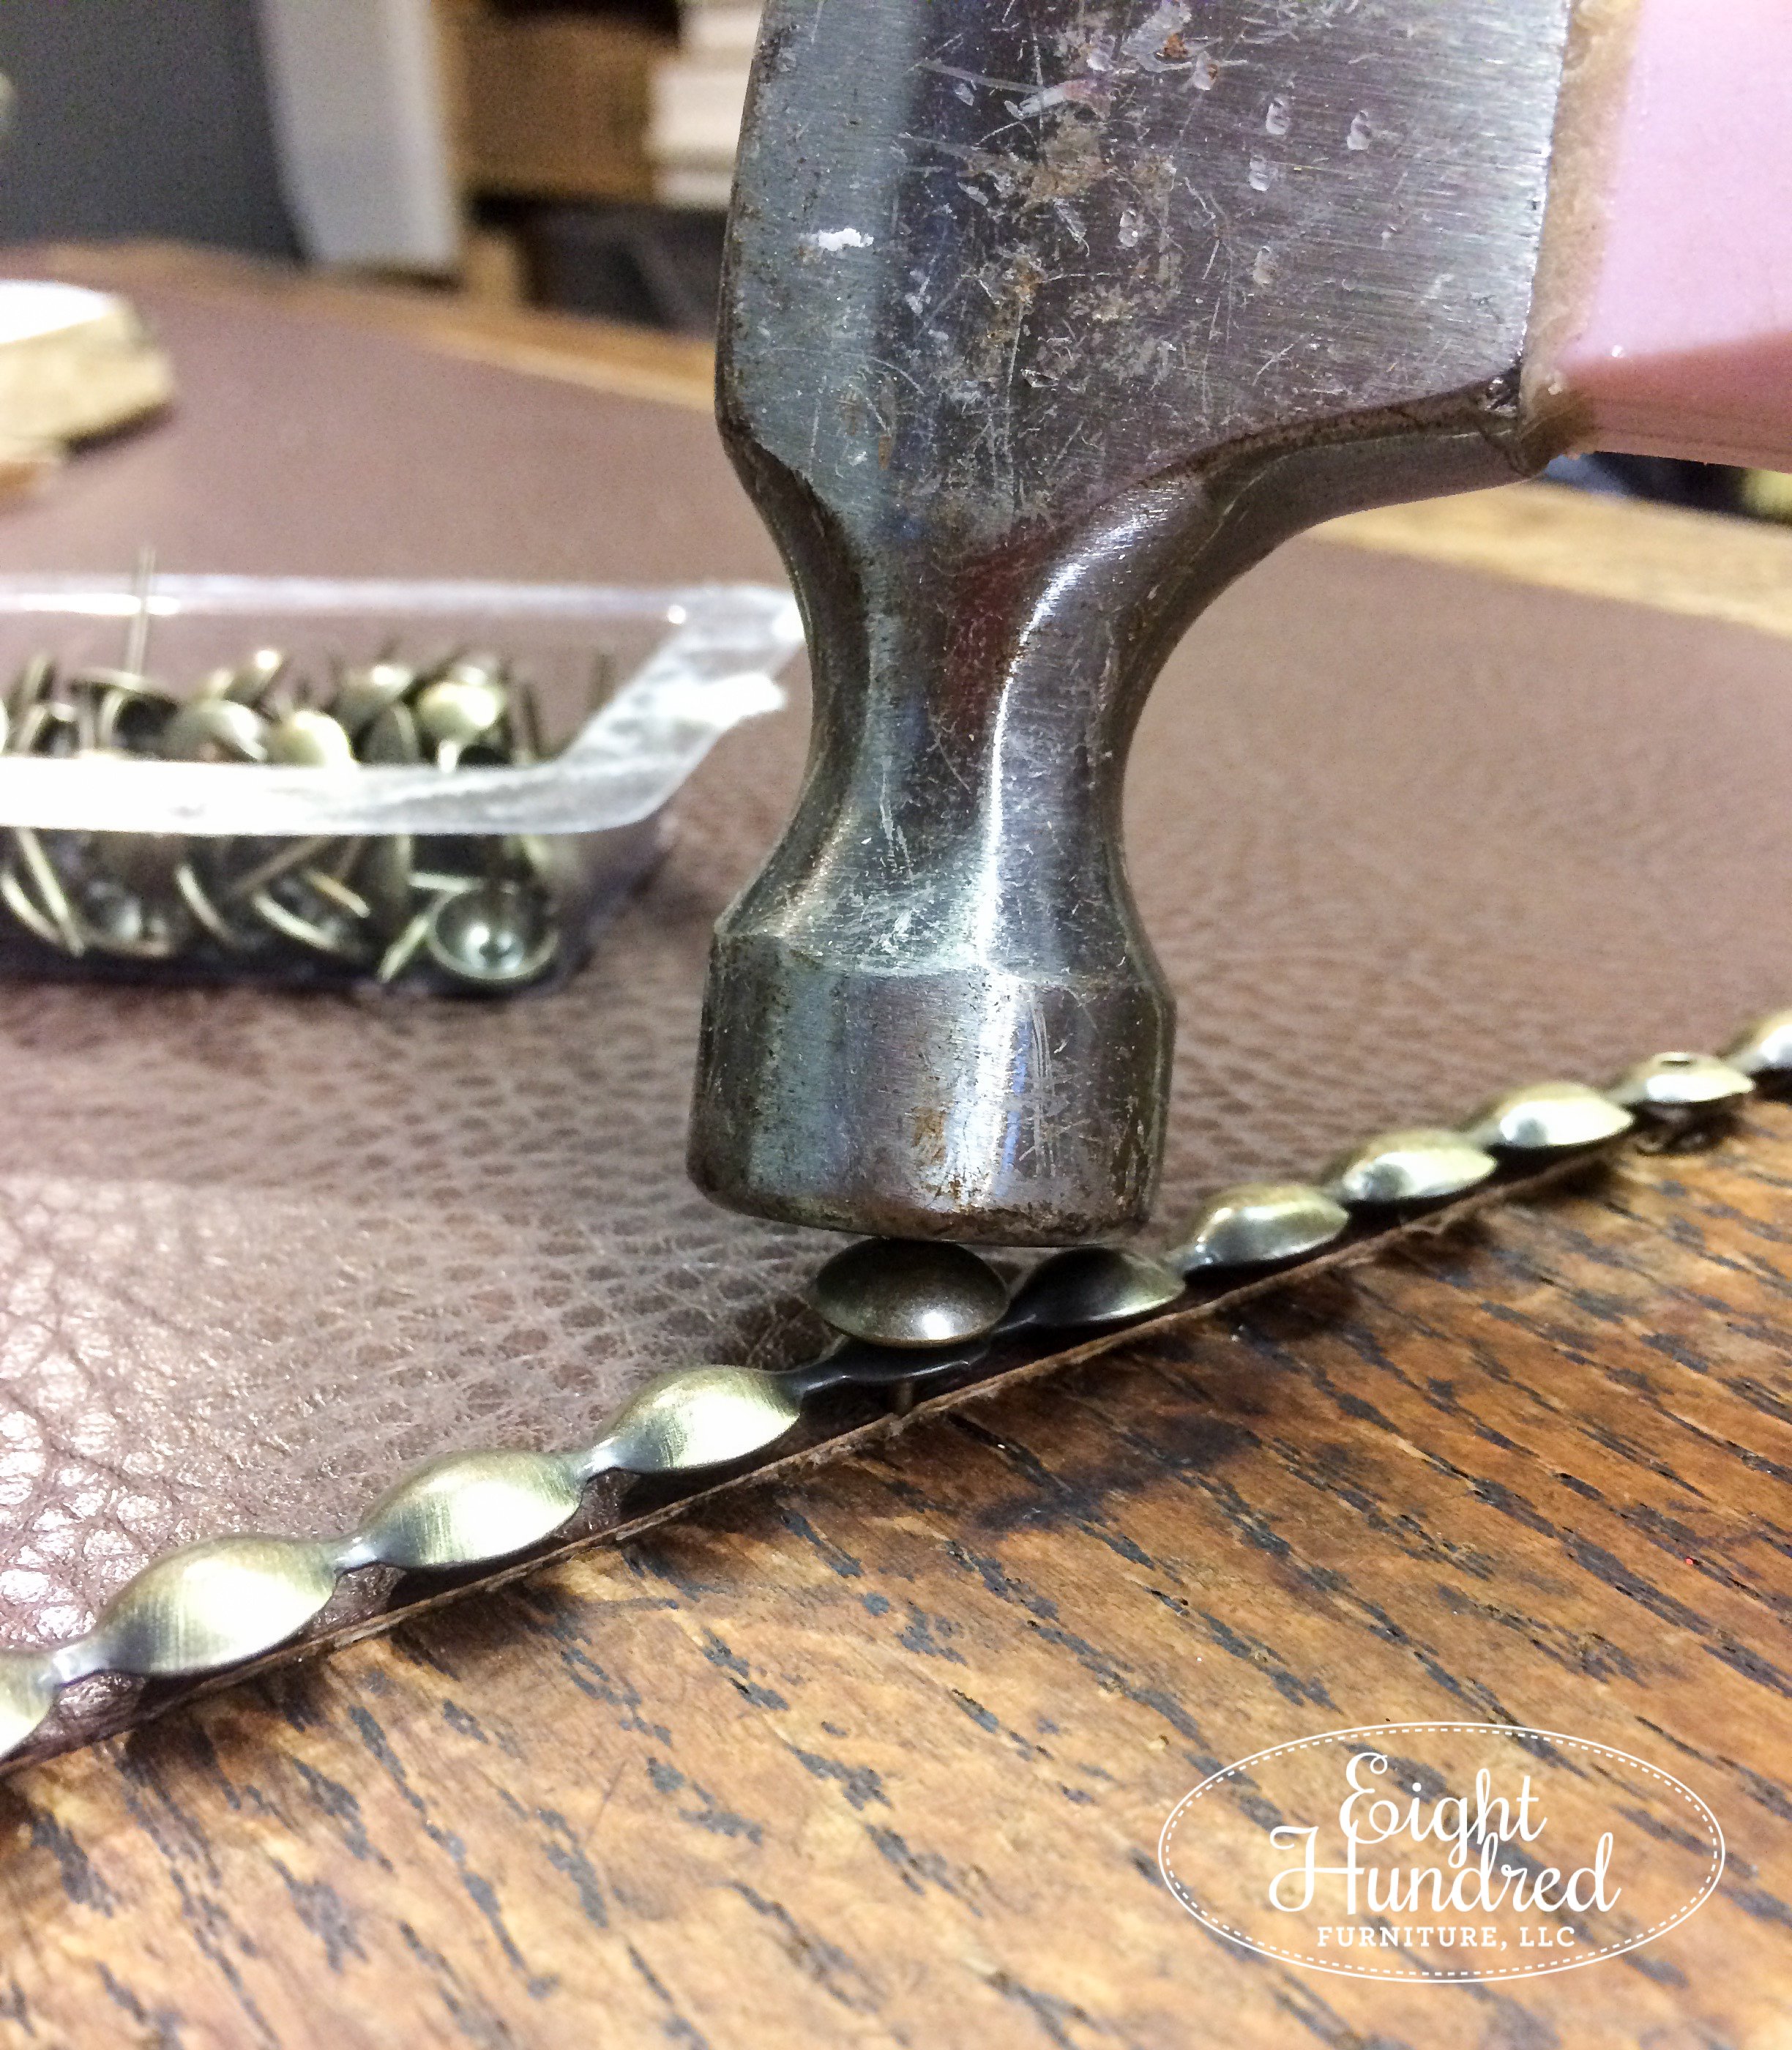
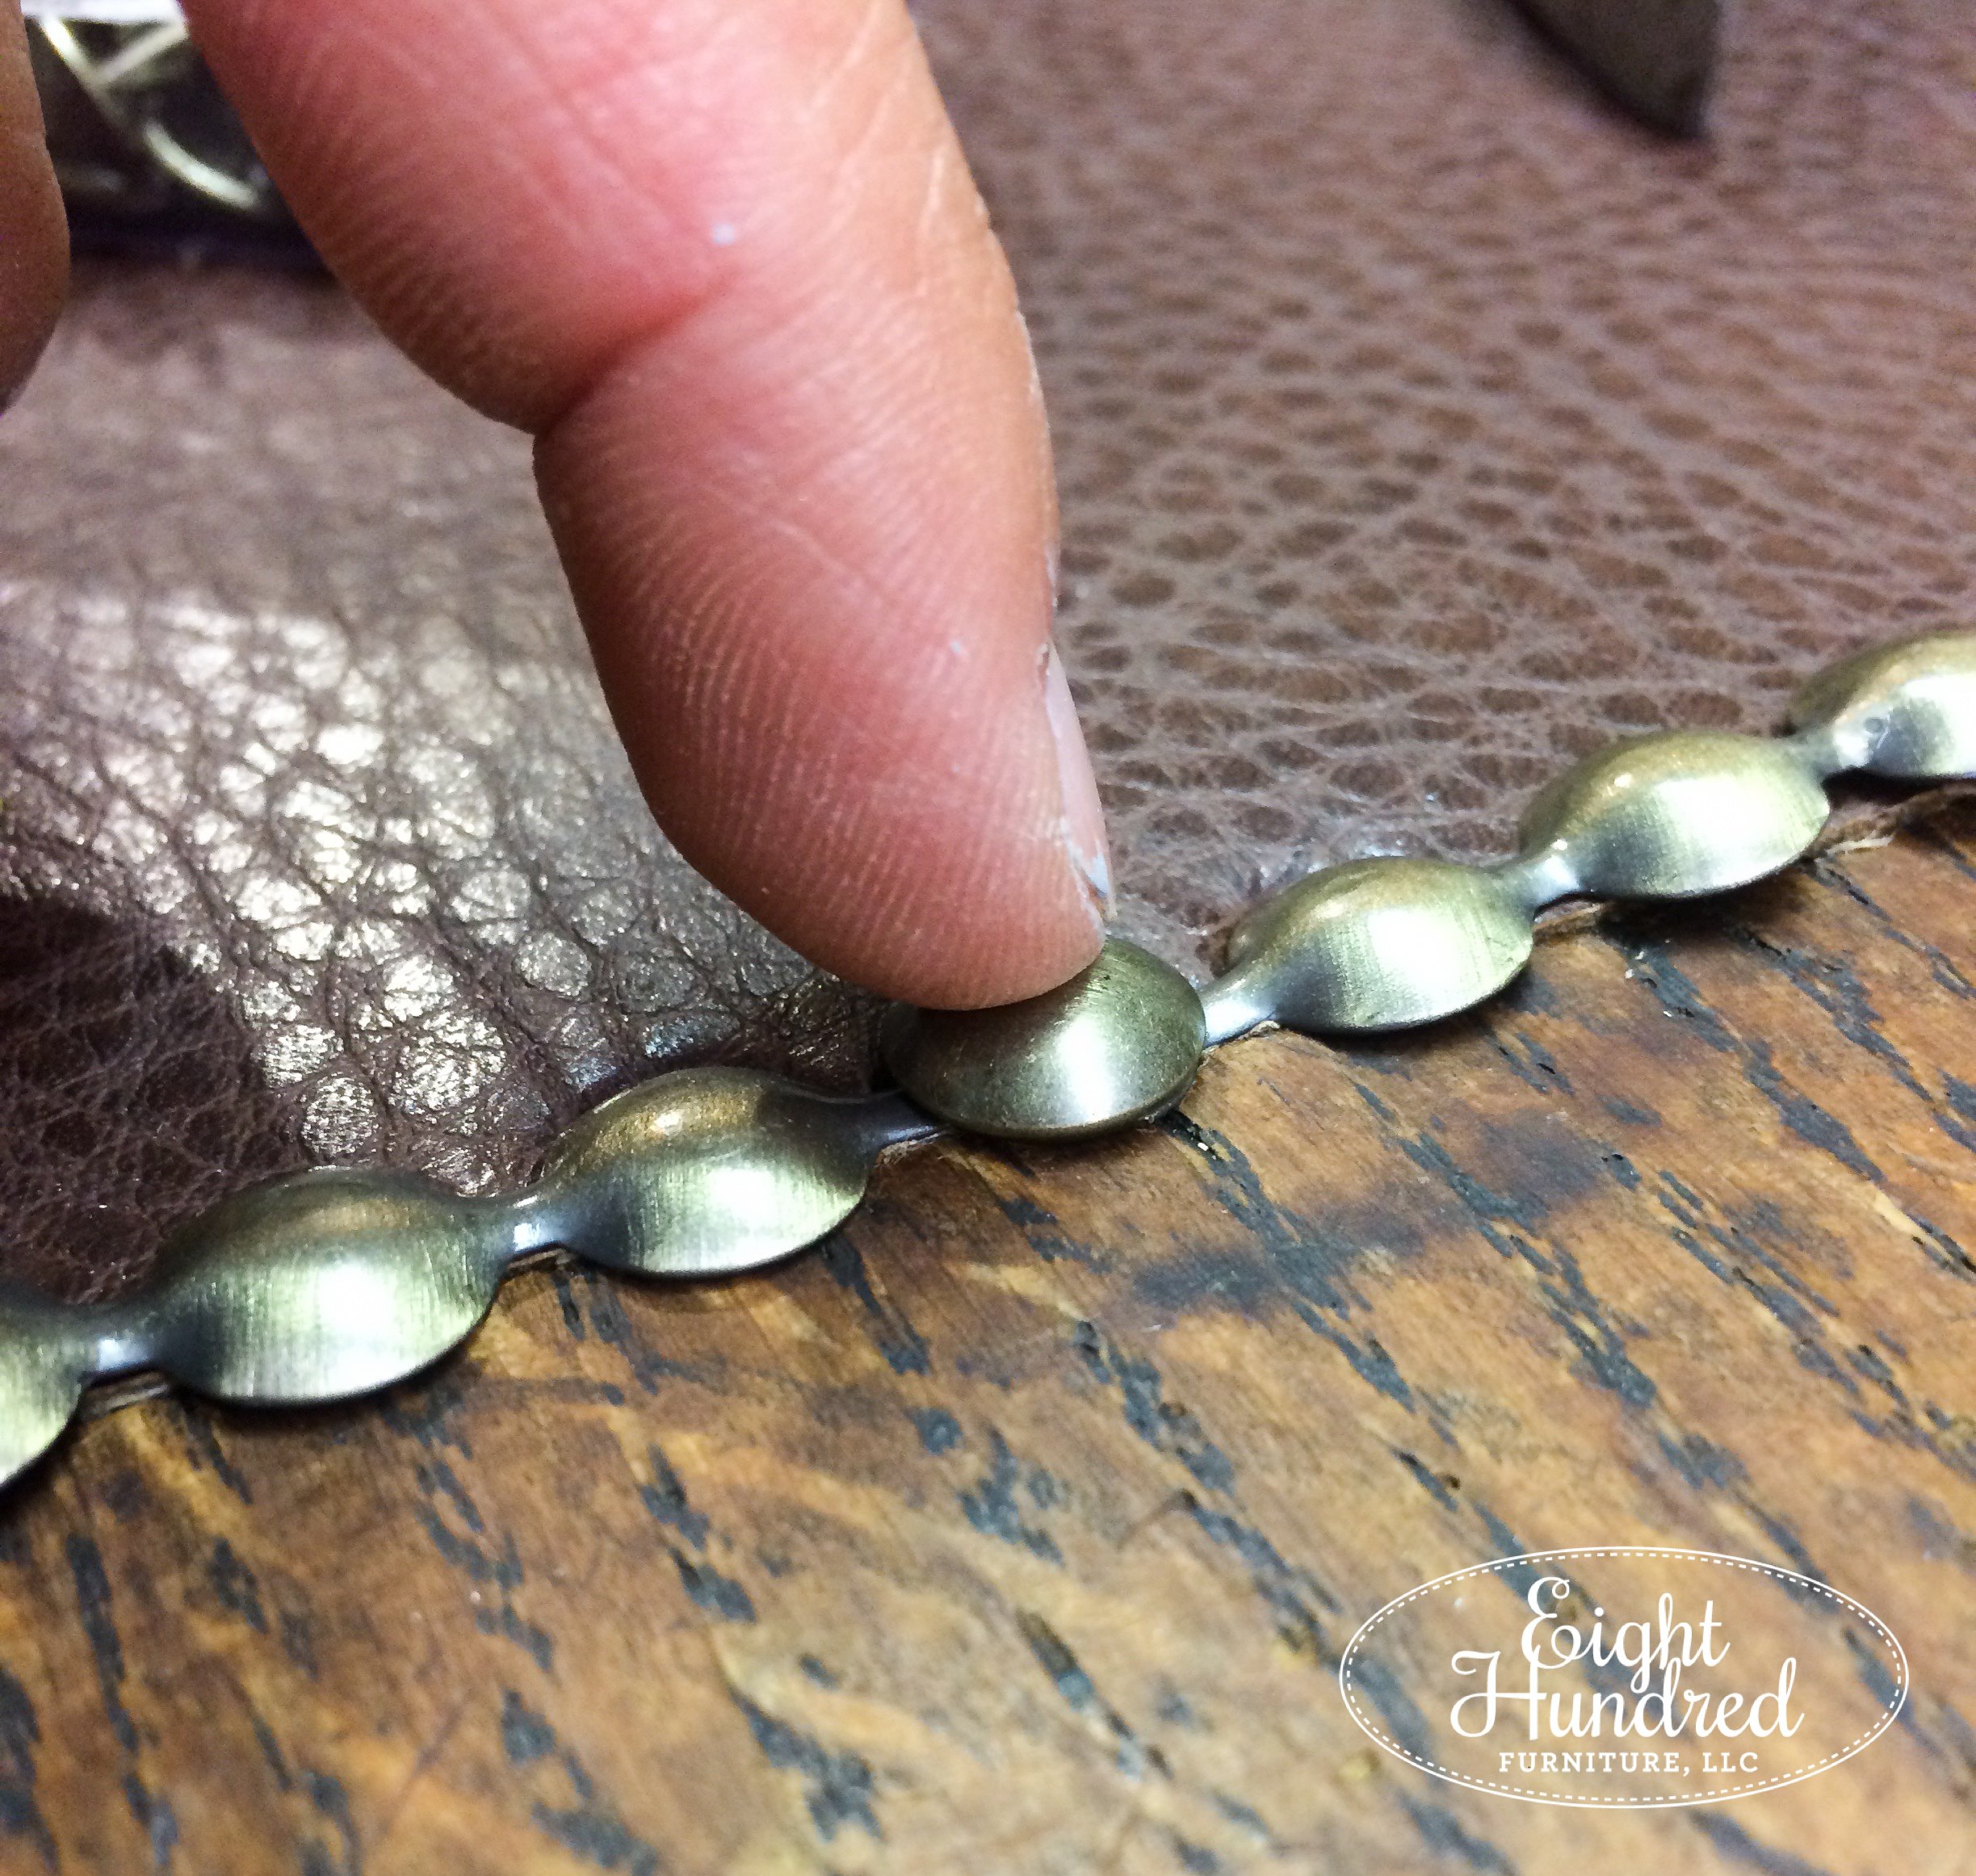
It took a little bit of fiddling around to get all of the nailheads to line up in the corners. After some patience, it looked SO MUCH better than before!

Once the new vinyl top was attached, I used MilkOil™ on the wood border. The base of the desk was painted in Grain Sack with a MilkOil™ finish.

The hardware was swapped out for a pair of super cool owl handles that I had in my stash.

I’d say this top looks a million times better, wouldn’t you?

I hope you’re now equipped to tackle any damaged leather inlay project that comes your way!
