
DIY: Painted Pencil Vase
Raise your hand if you have a special teacher in your life whom you want to show your appreciation to this month? This DIY painted pencil vase is the perfect idea for teacher appreciation week or an end-of-the-year gift.

Let me show you how to make it!
I’m Kelly, and I blog over at The Tattered Pew; and I also happen to be a kindergarten teacher! After 20 years of teaching, I can honestly say that a heartfelt gift with a personal touch always makes me feel loved.
DIY: Painted Pencil Vase
I enjoy easy, yet thoughtful DIY projects like my painted mini-charcuterie boards, and this project is very similar, simple, and meaningful.
This darling DIY pencil vase is also unique because it is painted in Miss Mustard Seed’s MilkPaint™. I used the color Farmhouse White, but you could use any color that MMS offers!!
We all know that teachers have a million pens, markers, and pencils on their desks and around their classroom, so this DIY painted pencil vase will make the perfect meaningful and practical gift for any teacher!

Just make sure to add their favorite flowers, candy, and gift cards, and you will be the favorite family for sure!
Supplies For Painted Pencil Vase
Grab these materials to help you create this DIY painted pencil vase for your favorite educator.
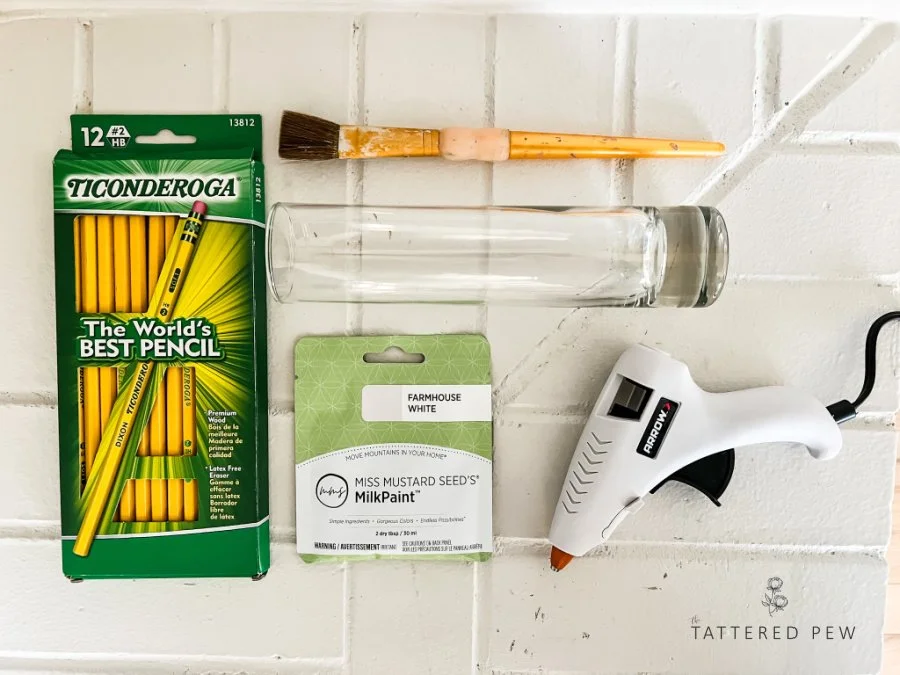
Unsharpened pencils
Clear vase or jar
Hot glue gun and glue sticks
MMS MilkPaint™ (I used the color Farmhouse White)
Paintbrush
Flowers
Ribbon or twine

How Do You Make A Pencil Vase
You might be wondering how you even make a pencil vase?
Well, the good news is that it is really, really easy! I promise.
This is a beginner-type project that even a small child could help make. If you have a clear vase or jar, a hot glue gun, and some unsharpened pencils, then you are ready to go!
Step 1: Gather Your Supplies & Find Your Spot
The first part of this project is the easy part. You will want to gather all of your supplies and find a nice open and clean spot to work. Make sure to prep your area by laying out some paper to protect your surface, and then plug in your hot glue gun so it can warm up.

Step 2: Mixing Your Milk Paint
Once you have your spot all prepped, you will want to mix up your paint. I used equal parts water to equal parts paint.
I always like to mix my paint in a wide mouth jar which allows me to seal it and save it if I have any leftover paint! My favorite mixing tool is a handheld mini battery-operated mixer. I found mine on Amazon and LOVE it.

I started with one tablespoon of water and paint and felt like after the paint and water were mixed that it needed a bit more water. You can always add more water to get the consistency you want!
Once it was mixed, I set it aside to let the air bubble settle a bit.
Step 3: How Do You Glue Pencils?
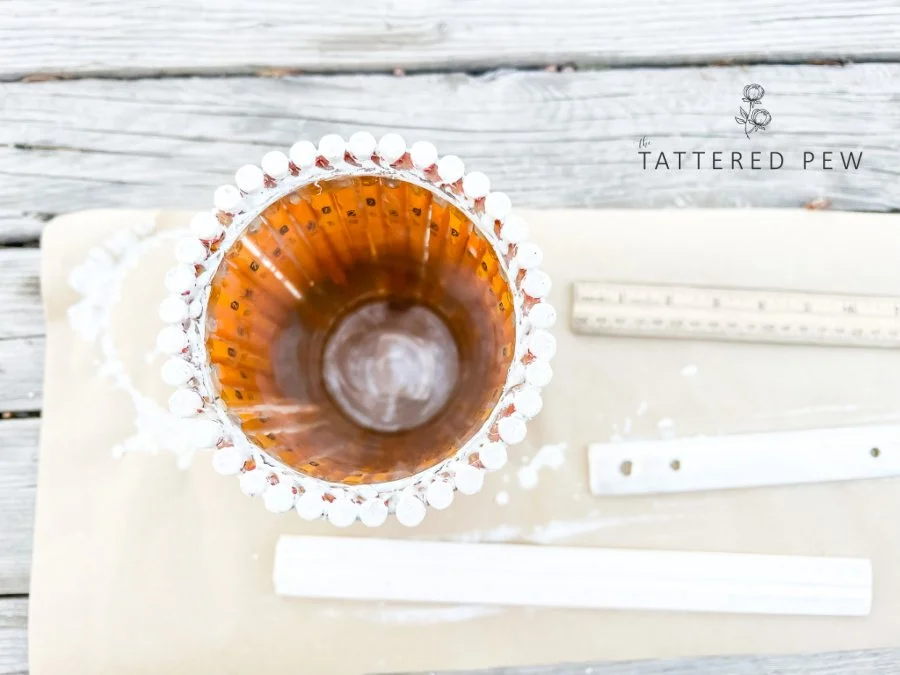
While your paint is settling, you should start to glue your pencils to the vase. Before you glue, make sure to do a dry run with your pencils to see how many you will need to cover your vase. This will also let you see if you need to glue them close together or leave a bit of room between each one.
You will find that it is easiest to add a strip of glue directly to the glass and hold the pencil on for about 15 seconds before moving on to the next. I layed the vase down and pressed the pencil into the glue for a better grip.
I glued the pencils on with the erasers up for a fun and more uniform look. Continue gluing until your vase is covered and you are happy with the look.
Step 4: Paint the Pencils
Now that your paint has had ample time to settle give it one or two more stirs to make sure it is all mixed together.
Then begin painting your pencils. Do your best to cover all of the pencils on your first go-round.

It ended up taking two full coats of paint for this vase, as well as a few last-minute touch-ups that I noticed I had missed.
Step 5: Style Your DIY Painted Pencil Vase
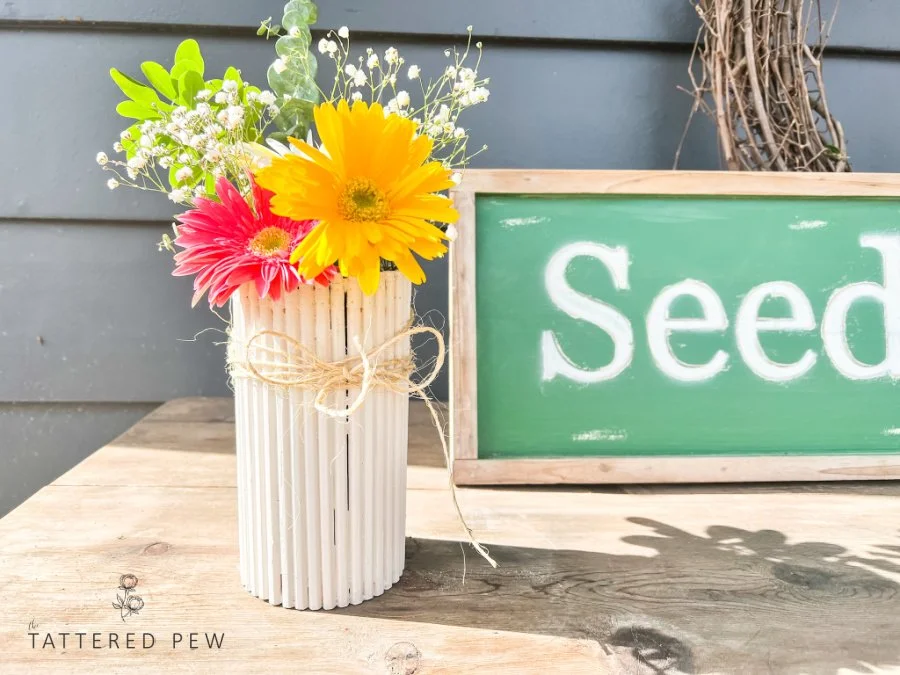
Now comes the fun part, putting your final touches on your vase and styling it! This part comes down to your preference or the teacher you are making it for and their preferences.
Luckily, our school has a list with all of the teacher's favorite things. Look for a similar list, and then let this guide the theme of your vase, or just ask your teacher!
Here are a few options/ideas:
Add flowers to the vase
Fill it with candy
Add a ribbon and attach a gift card
Fill it with their favorite markers or pens
Fill it with gift cards from the entire class
Have each child in the class write a note and add it to the vase
Finally, for that extra special touch, make sure to have your child sign their name in sharpie or paint pen on the bottom of the vase so they will always be remembered by their teacher.
DIY Painted Pencil Vase
Now, who is ready to spoil their favorite teacher for teacher appreciation or the end of the school year?
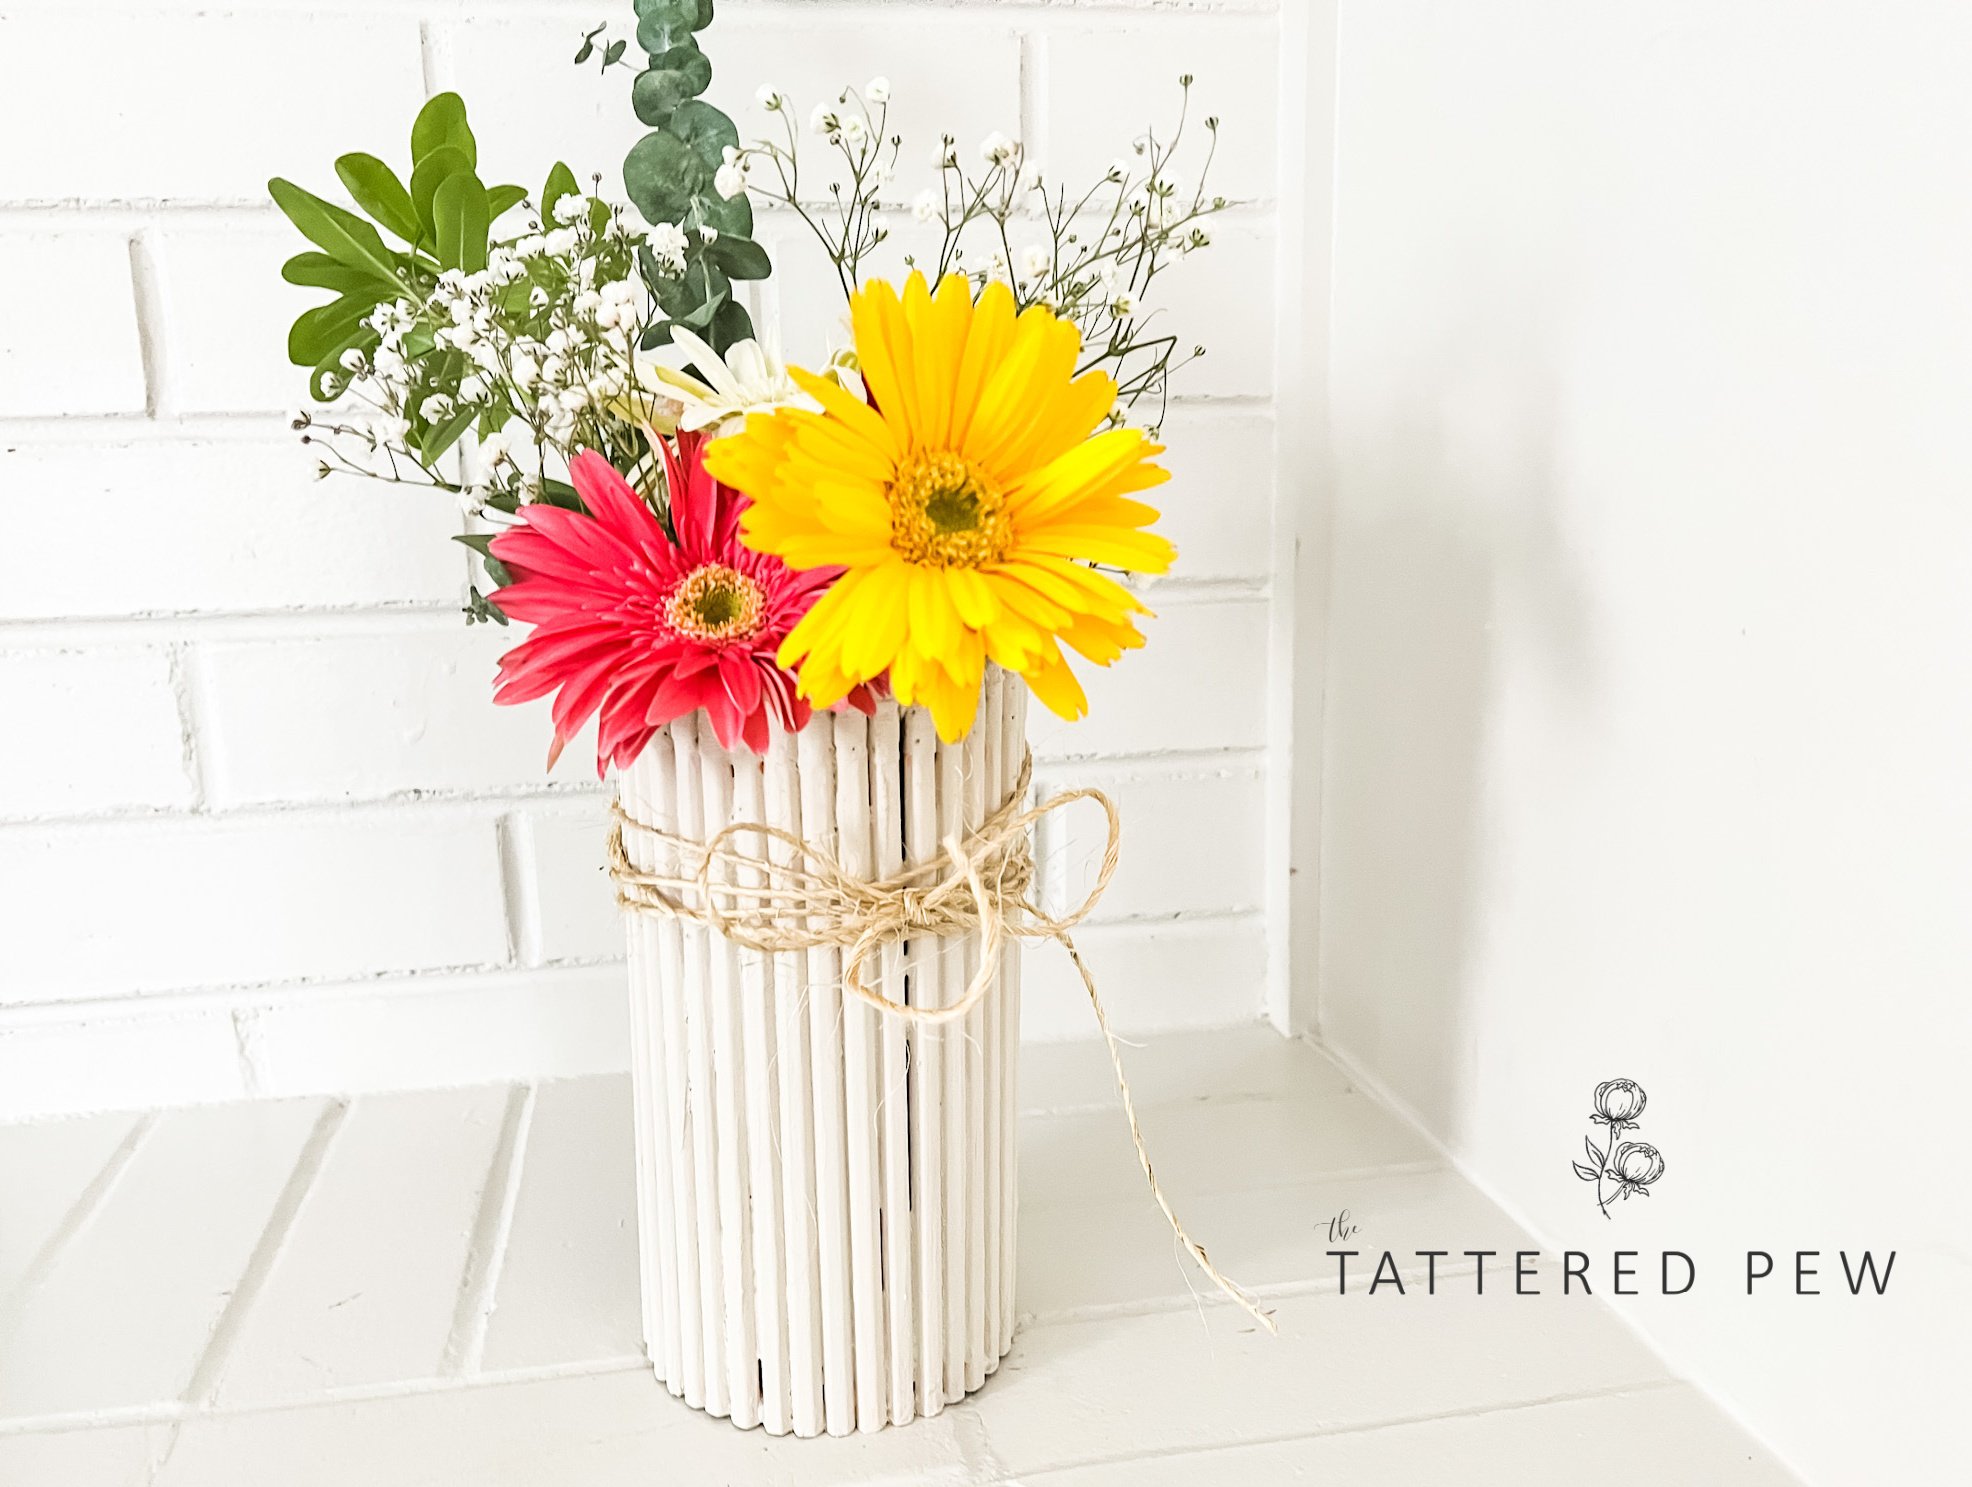
I know I would LOVE to receive a heartfelt and handmade gift like this precious painted pencil vase! And don’t forget your favorite specials (PE, art, music, computers, etc.) teachers too.