
Patriotic Pennant Banner
A Perfectly Patriotic Pennant DIY

Happy Summer!
Today I have a very simple and charming patriotic decoration for you! You can keep this in your home for the summer season or year-round. With the stars and stripes, I love how you can display it as part of a summer picnic, on your porch for all to see, or on your favorite wall! Today I want to show you how to make this charming home decor: Patriotic Pennant Banner!
I love the vintage and rustic feel of this DIY, and it is very simple to make. Since this project only requires a little bit of Miss Mustard Seed’s® MilkPaint™, you can use paint leftover from another larger project. I used white burlap to go with the charming, rustic nature of this banner. And, since Miss Mustard Seed’s® MilkPaint™ is non-toxic, your children can even help paint this banner.

I love how this project turned out! Tricycle, Flow Blue, and Ironstone are the perfect trio to honor the patriotic season!
Video Tutorial
For your convenience, I have created a step-by-step video tutorial for you. You can watch it below. Then follow along for the step-by-step picture tutorial.

● ½ yard of White Burlap
● Stencil for the Star Pennants
● Painter’s Tape for the Stripe Pennants
● Wired Jute Twine
● Scissors
● Ruler
● Marker
● Fabric Glue
*Before we start, I want to recommend that you do each step before you move to the next one. Work in batches so that the process goes by quicker and smoother.
Step 1: Cut Out The Pennants
With the help of a ruler and a marker, create 12 triangular pennants out of the white burlap.

*My pennants are 8 inches wide at the top, and they are 10 inches long starting from the center.

*Once the pennants are cut, you can leave them to fray or apply fabric glue to the ends if you don’t want them to fray.
Step 2: Mix The MilkPaint™
Mix 1 part MilkPaint™ to 1 part water. A “part” can be any unit of measurement you wish. I used a tablespoon.

For this project, I used 2 tablespoons of each MilkPaint™ color in Tricycle, Flow Blue, and Ironstone to 2 tablespoons of water. This covered all 12 pennants.
Step 3: Paint and Decorate the Burlap Pennants with MilkPaint™
Ironstone Pennants
Protect your work surface, then paint one thin coat of Ironstone MilkPaint™ onto the burlap.
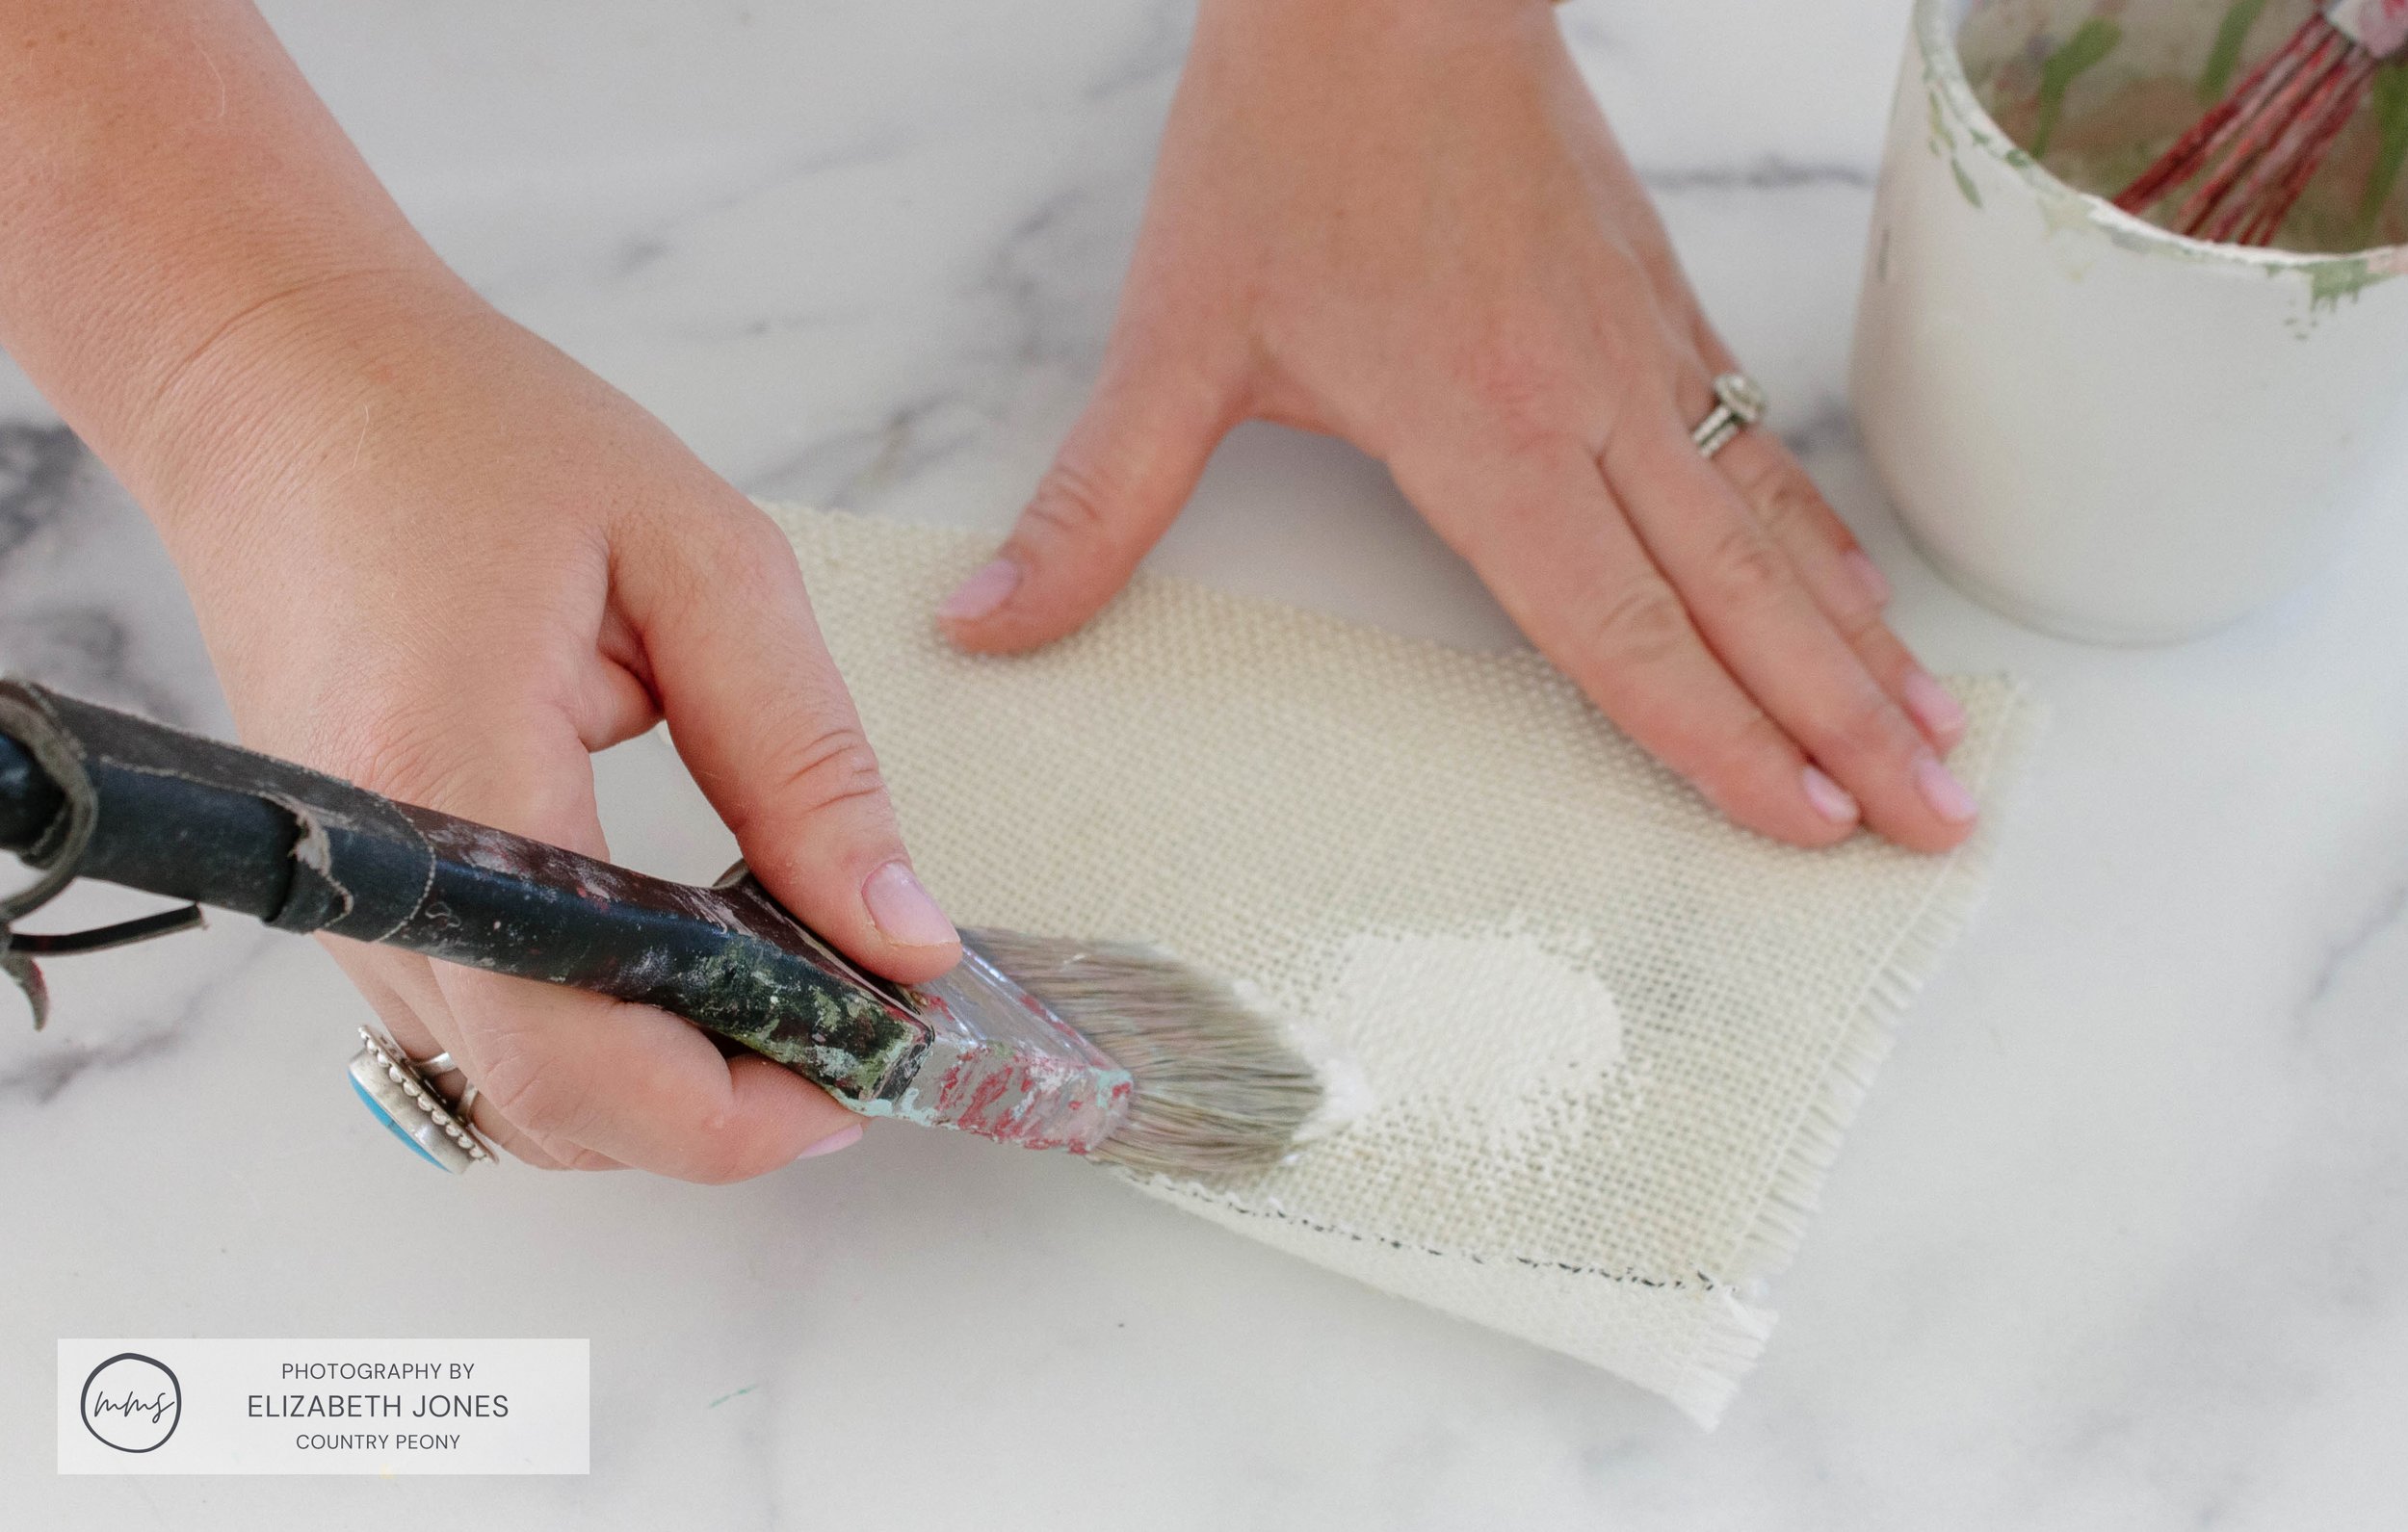
Don’t worry about fully covering the pennant with the paint. I believe burlap peeking through adds to the beauty and rustic charm of this project!

Paint all four pennants in Ironstone, and then set them aside to dry.
Flow Blue Pennants
With the help of a craft paintbrush, star stencil, and Flow Blue MilkPaint™, dab the paint onto the white burlap inside the stencil.

For added interest, use star stencils in different sizes in a random pattern.

Paint 4 pennants in the star pattern with Flow Blue MilkPaint™.
Then set them aside to dry.
Tricycle Pennants
Use painter’s tape to create horizontal stripes.
*I found it helpful to use the thickness of the tape to determine each line.

Then, paint Tricycle MilkPaint™ stripes onto the burlap pennant.

Paint 4 stripe pennants in Tricycle MilkPaint™, then let it dry.
Once the paint is dry, slowly remove the painter’s tape to reveal the charming stripes.

Step 4: Create the Patriotic Pennant
Use fabric glue to attach the painted burlap pennants to the wired jute twine.

*I like to use wired twine because it is easy to manipulate and helps with styling.
Attach the pennants one at a time to the jute twine to create the banner. Glue each pennant to the twine about 4 inches apart from each other at the top.

Step 5: Hang The Patriotic Pennant Banner
Let the fabric glue dry, then hang for all to enjoy!

I love how simple and beautiful this project is. You can customize it to whatever colors or designs that your heart desires. But I love it in patriotic form! I hope you enjoy making yours just as much as I did!

Thank you so much to Miss Mustard Seed’s® MilkPaint™ for having me, and thank you so much for following along today. I hope you enjoy experimenting with Miss Mustard Seed’s® MilkPaint™ as much as I do!
