
How To Fix Unwanted or Excessive Chipping
The chippy look is one that Miss Mustard Seed’s Milk Paint does very well! It’s quite charming and provides an authentically aged finish. This is due to our simple ingredients and primitive style of paint. But what happens when your project chips TOO much? Or, what happens if you got chipping, but you didn’t want any at all?
How do you fix excess or unwanted chipping?

Step 1 - Sand the Overly Chippy Spots Smooth
The first step to fixing unwanted or excessive chippiness is to grab medium grit sandpaper (like 120 or 150) and sand the chippy spots smooth. This will get rid of any Milk Paint that is loose and will smooth down the patchy spots.

Depending on the extent of your chipping, you may need to sand the majority of your Milk Paint off completely. We find that this is rarely needed, but every now and then, there’s a troublemaker of a piece that needs to be sanded back to the beginning.
Once all of your chipping paint is sanded, use your shop vac or household vacuum to clean up for the next step.
Step 2 - Mix a New Batch of Milk Paint with MilkGrip™
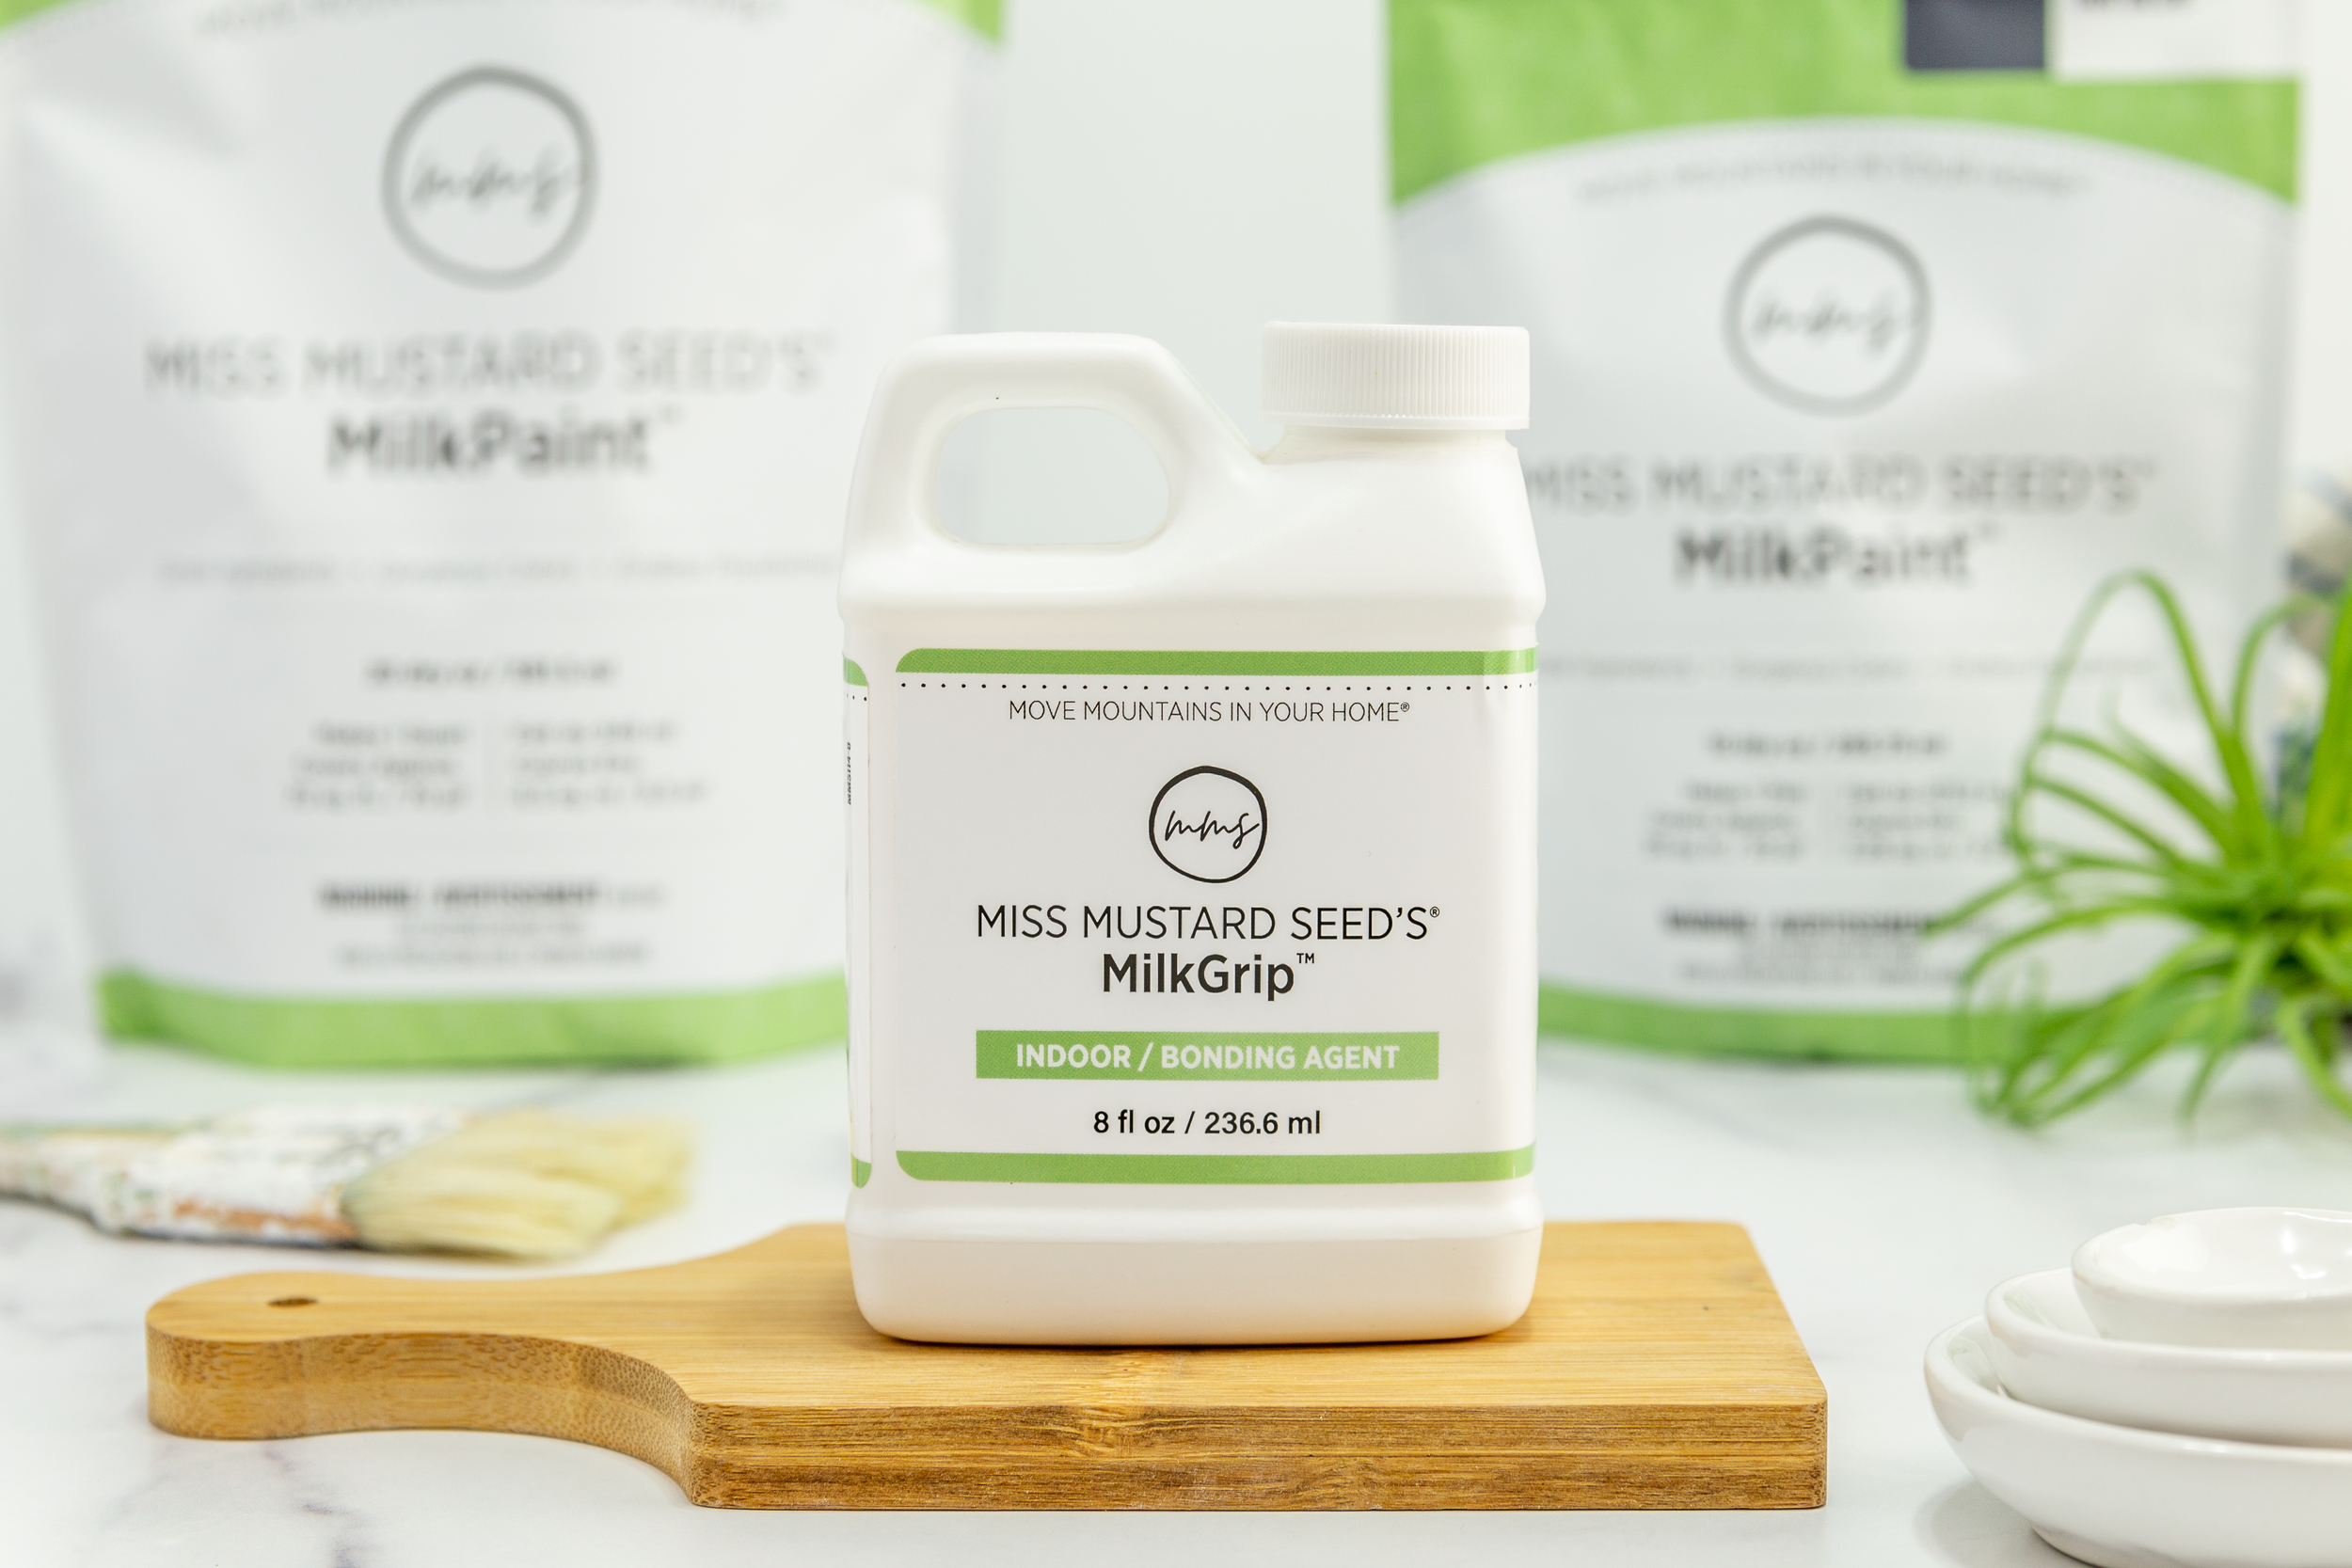
MilkGrip™ Indoor/Bonding Agent is our water-based acrylic emulsion that increases the adhesive properties of Miss Mustard Seed’s Milk Paint. It is the answer for controlling a chippy finish and producing a full-coverage look. Start by mixing your Milk Paint like normal using a 1:1 ratio. If you need help with mixing, check out this post.
Once your batch is mixed, you need to use our Bonding Agent to improve adhesion.
Add 1 part MilkGrip™ to 4 parts mixed Milk Paint.
Basically, that means you add 1/4 the amount of MilkGrip™ as you did paint. For example, if you mixed 2 cups of Milk Paint, add in 1/2 cup of MilkGrip™.
We suggest you start with this 1:4 ratio and bump up the amount of MilkGrip™ you need from there. For an even stronger grip, mix in equal parts. Mix the bonding agent with all coats of paint for optimum adhesion.
To clarify, you’re not substituting MilkGrip™ for water. (This is a FAQ we often receive.) You mix your Milk Paint with water first, THEN add the MilkGrip™.
Make sense?

Benefits of MilkGrip™
MilkGrip™ has lots of benefits in addition to controlling chipping. It gives your Milk Paint a more creamy consistency and smooths out the clumps that you can get when you mix your Milk Paint with water alone.
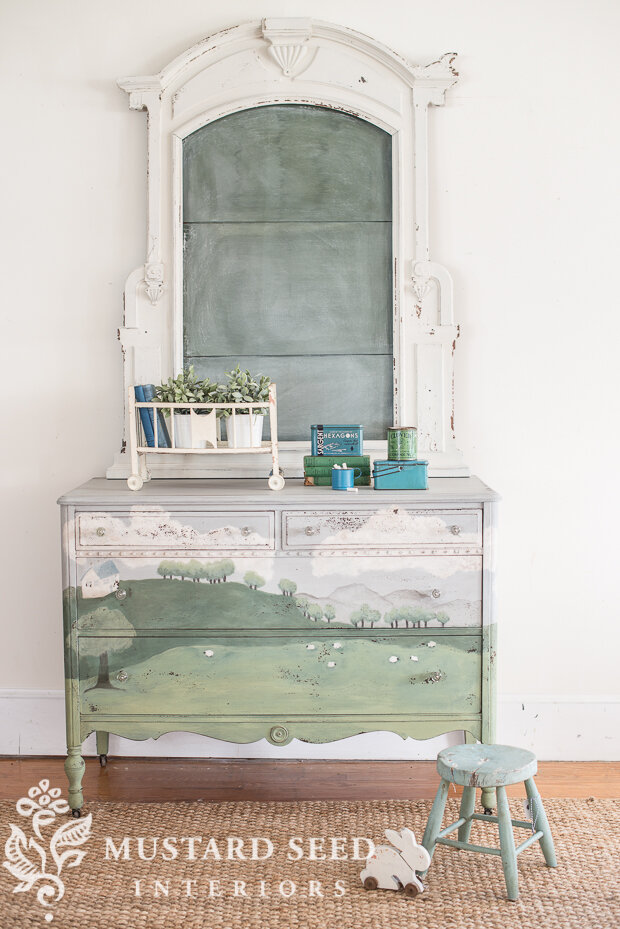
MilkGrip™ also allows you to paint Miss Mustard Seed’s Milk Paint on glass and metal! This opens up a whole world of possibilities like transforming old mirrors into chalkboards.
How Does MilkGrip™ Work?
MilkGrip™ essentially turns your Milk Paint into a colored primer. It lays down flat and adheres to a prepped surface without creating brushstrokes. This priming layer gives you a foundation upon which more layers of MMS Milk Paint can adhere.
Step 3 - Paint Bonding Agent or Tough Coat Directly on Bare Spots (Optional)
Once you have mixed your Milk Paint with MilkGrip™ in it, let it sit and rest for a few minutes.
While you’re waiting, pour some MilkGrip™ into a separate container.
Using your brush, paint MilkGrip™ directly on the bare spots where your Milk Paint has chipped. Yep - you read that correctly. Use it straight out of the bottle!
Let it dry for about an hour. You can apply a second layer if you wish, also letting it dry for about an hour.
By painting MilkGrip™ directly on your bare patches, you’re laying down an adhesive primer upon which Milk Paint can adhere.
This step is optional. Sometimes it’s needed and other times it’s not. It depends on the surface you’re refinishing and how much your Milk Paint chipped.
Step 4 - Reapply Milk Paint Mixed With MilkGrip™
Once you’ve mended your surface and re-prepped it for a non-chippy finish, you can reapply your Milk Paint mixed with MilkGrip™. Every coat you reapply can have MilkGrip™ mixed into it, or you can just apply one base coat and use regularly mixed Milk Paint for the rest.
If you’re very concerned about chipping, we suggest you use MilkGrip™ in every layer you apply. If you don’t mind some chipping here and there, like Miss Mustard Seed’s Boxwood Highboy, you can just have it in the first coat.
Allow every layer of paint to dry for at least an hour. Remember, we’re trying to achieve full-coverage, so let’s not rush the dry time!
Step 5 - Gently Smooth Sand and Distress if Desired
If your piece feels a bit gritty when it’s fully dry, use a gentle sandpaper (like 320 or 400) to smooth the surface.
If you’d like to distress and remove paint from edges and high points, feel free. Go easy though because you don’t want to remove more paint than is necessary.
Step 6 - Apply a Topcoat
Complete your Milk Paint project by applying a protective topcoat. We have lots of options for you to choose from, all of which are explained here.
Things to Keep in Mind when Fixing an Overly Chippy Finish
Every piece is different. Where it came from, what’s on its surface, how you prepped and how it accepts a new finish will vary. You may need to follow these steps exactly to the letter to control chipping on your project. Other times, you may only need a few of them to get the look you want.
Painting furniture is a blend of your creativity, sequential steps and a bit of the unknown. As you become more familiar with the process, you will learn all sorts of ways to troubleshoot when a project goes sideways.
Our Team is Here to Help!
We have a dedicated team here at Miss Mustard Seed’s Milk Paint comprised of talented and seasoned retailers, graphic designers, woodworkers, bloggers, social media specialists and more!
It’s our pleasure to serve you and Move Mountains in Your Home™.
You can reach out to us on our Instagram and Facebook Pages, in our Move Mountains Facebook Group or by email at hello@mmsmilkpaint.com.
Pin this post for later when you run into an overly chippy project!

Was this post helpful? Leave us a comment!