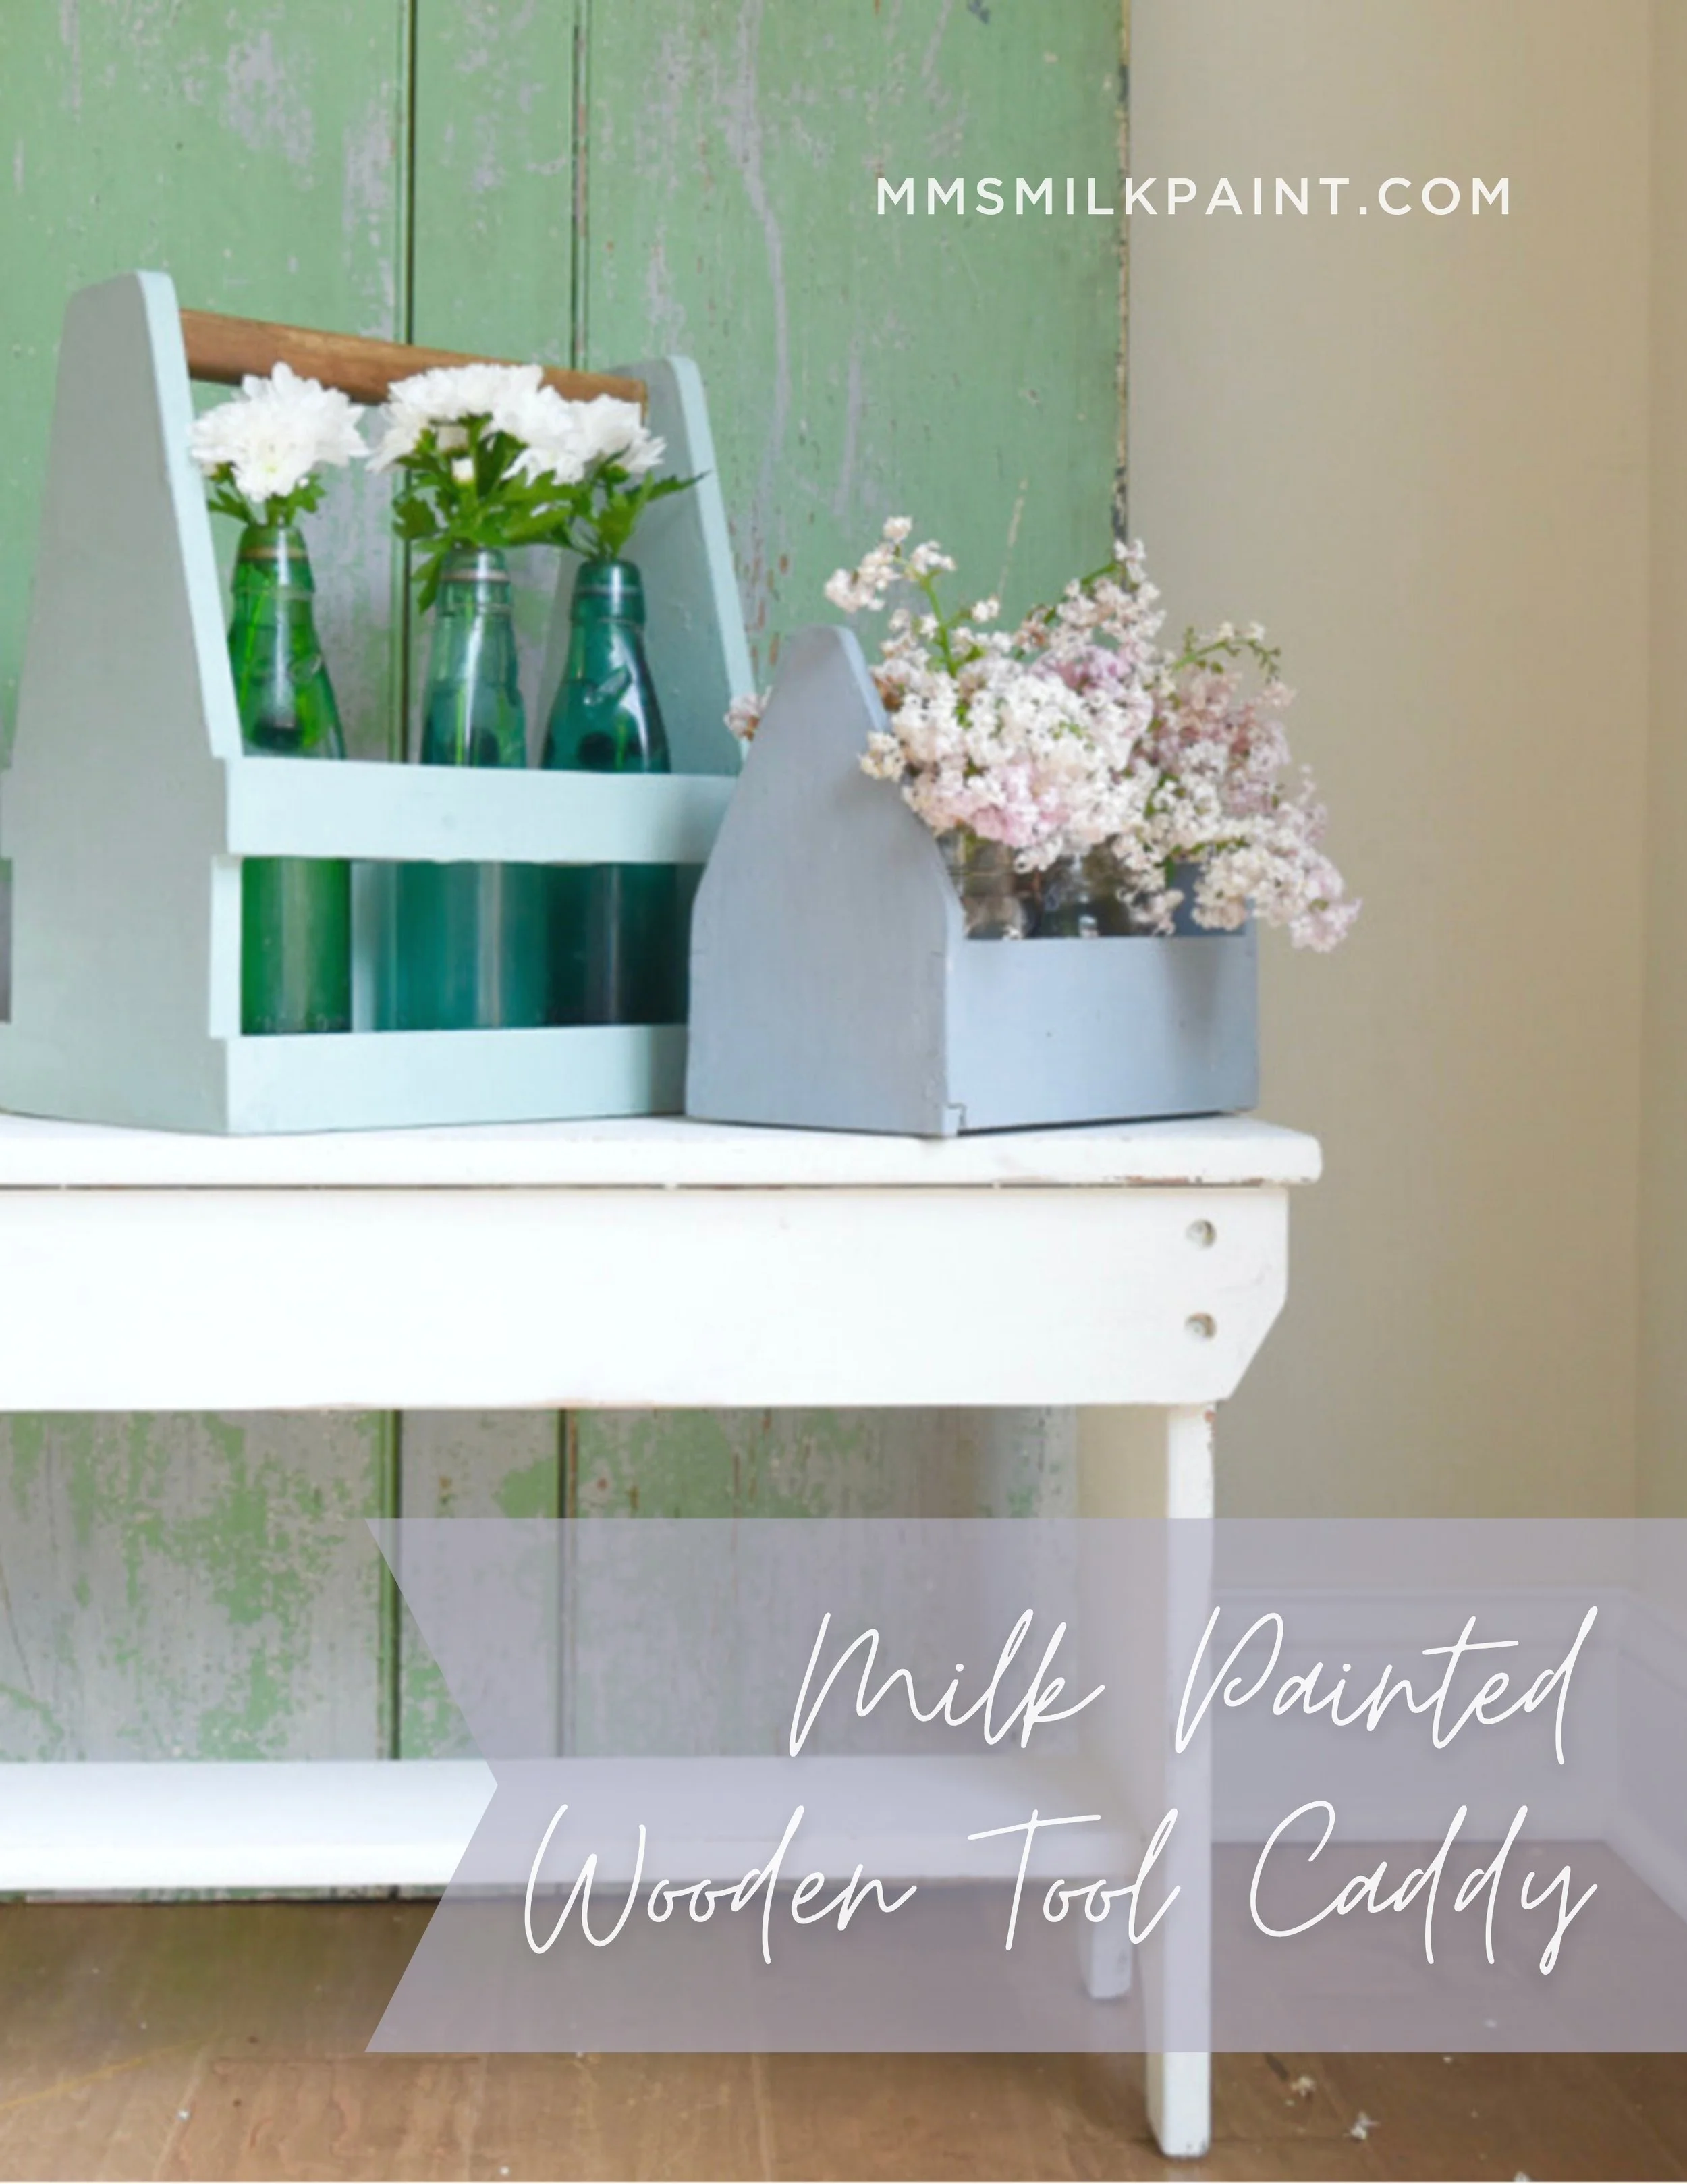
Wooden Caddy Box for Teacher Appreciation
A Terrific Gift For A Terrific Teacher!
The month of May is “Teacher Appreciation” month. If you ask me, recognizing and celebrating our teachers for an entire month is a fabulous idea. Teachers are an integral part of our society, and they influence and shape the next generation. So with that in mind, this month, I wanted to create a project that honored teachers and the work they do.
In this post, I will walk you through the steps on how to use MMS MilkPaint™ to transform a wooden caddy which, in turn, can be given to a teacher.
You can enjoy my video tutorial below and use this written tutorial to follow along and reference!
Supplies
The first step for any project is to gather your supplies. The supplies for this project are fairly minimal.

● MMS MilkPaint™ in any color you choose. (For this project, we used the colors By the Sea, Bergere, and Linen)
● Paintbrush
● Small container for mixing paint
● Wax brush
● Painters Tape (optional)
● Sandpaper 150 grit and 220 grit
● A soft, damp rag
● A dry lint-free rag
● A wooden caddy
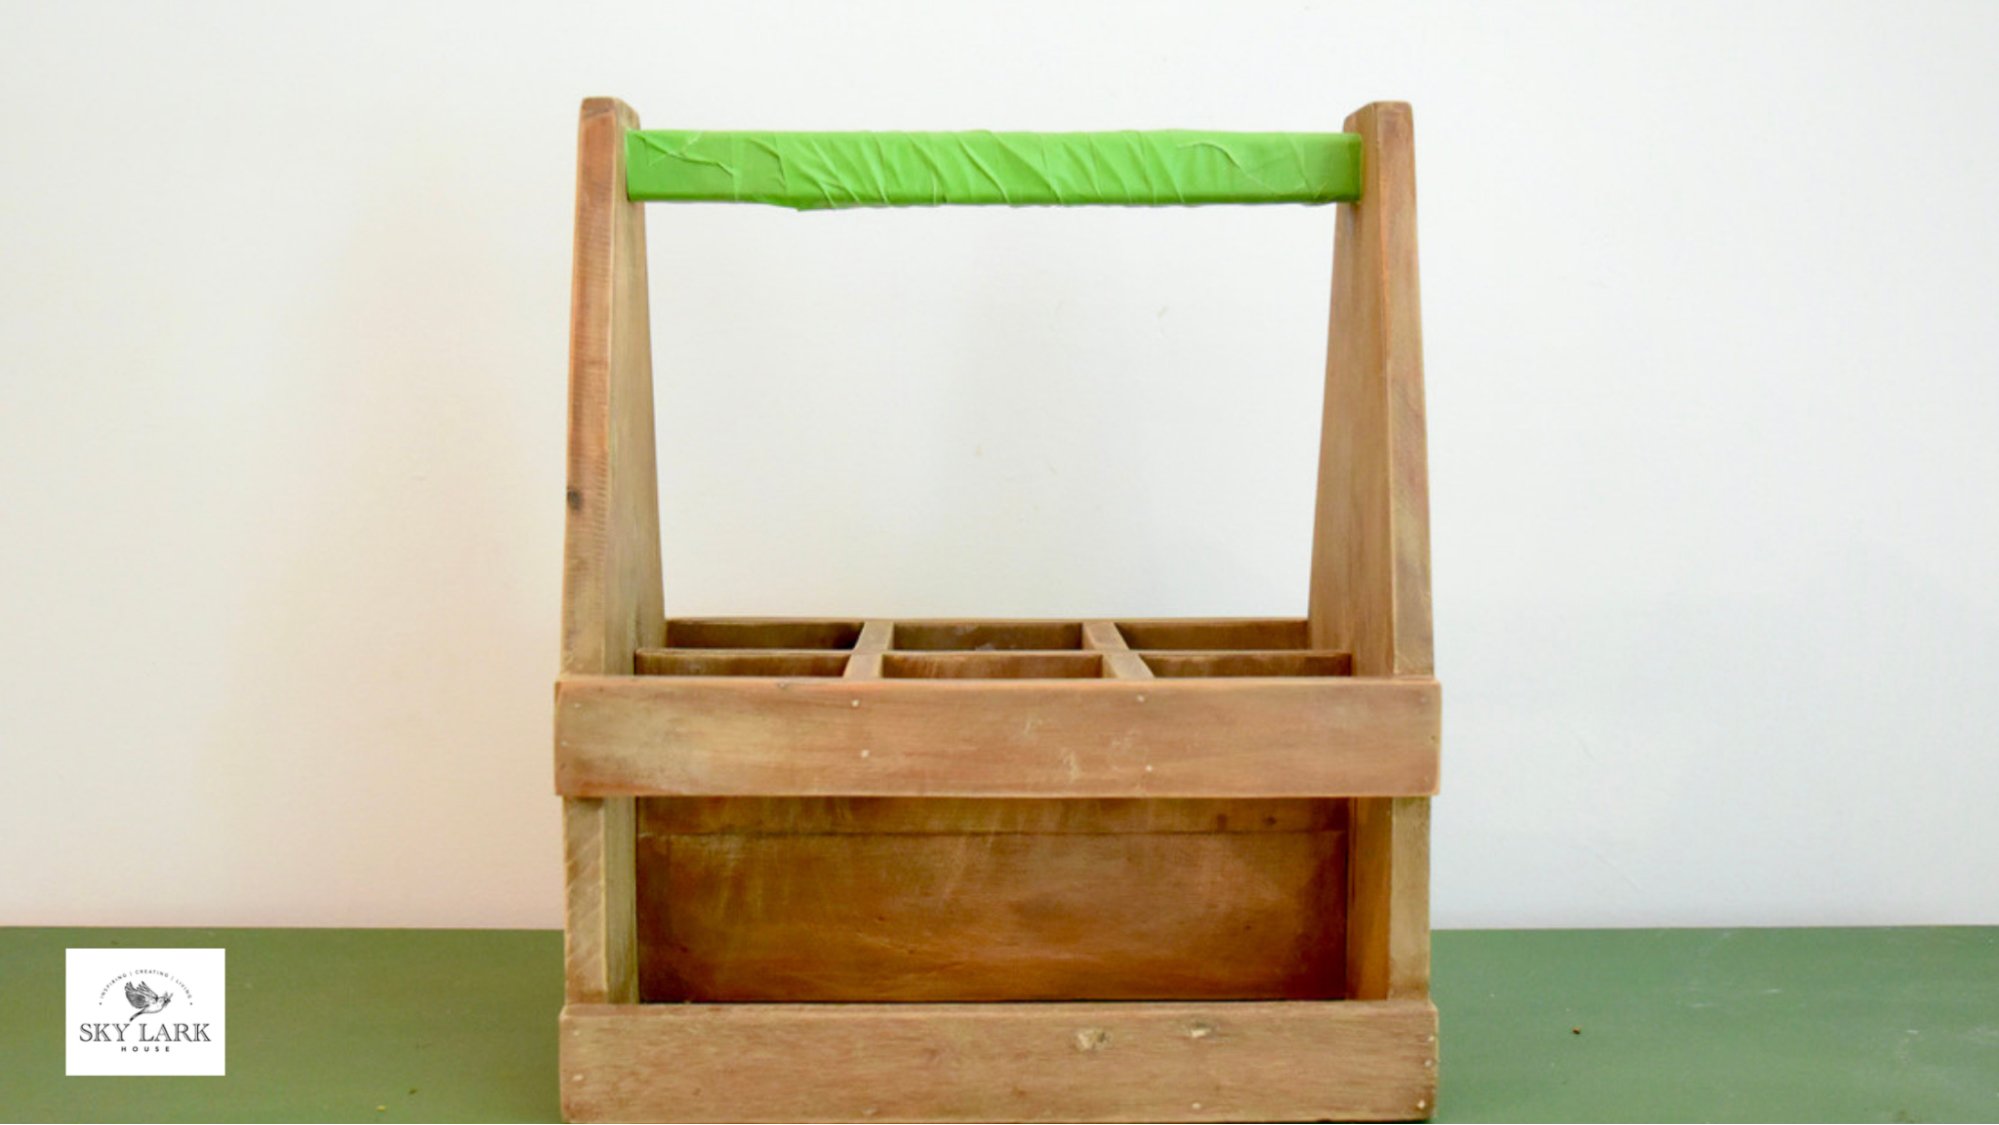
Step 1- Find a Wooden Caddy
Wooden caddies are endlessly useful for organizing supplies and for transporting items easily. They can be found in a variety of places and are usually very affordable. For this project, the wooden caddies were found in antique stores, thrift stores, and big-box craft stores.

Step 2 - Prep the Wooden Caddy
After you find a wooden caddy to use for this project, you are going to use the 150 grit sandpaper to scuff sand the wooden box. The goal of scuff sanding the surface of the wood is to clean the surface and remove any finishes. I took about 15-20 minutes sanding the caddy, and when I was done, I wiped the entire box down with a damp rag.
I like to leave the handles of these caddies in their natural wood finish because it creates a nice contrast with the paint. So, I used some painter's tape to protect the handle from paint. Obviously, taping off the handle is optional and depends upon your personal preference.
Step 3- Paint the Caddy
If you have reached this step, great news! It’s time to mix up your MilkPaint™! For this project, I used ¼ cup of MMS MilkPaint™ in the color By The Sea and mixed it with a ¼ cup of warm water. I added a few drops of MMS MilkMix-EZ™ to help with the paint mixing process. I also decided to add some MMS MilkGrip™ to the paint mixture to ensure that it would adhere to the wooden caddy. I love that you can customize the paint mixture to your specific needs. Another bonus is the MMS powder MilkPaint™ has a long shelf life which allows you to mix up only the amount you need for any given project.
Of course, MMS MilkPaint™ is non-toxic and all-natural, which is another reason why I like using this product.
For this project, I did not want a “chippy” paint finish. I really wanted the caddies to be uniformly painted and to have a smooth, even finish. So, that’s why I added the MMS MilkGrip™.
Here is a tip for mixing your MilkPaint™ - use a container that has a lid. This way, you can save your remaining MilkPaint™. Simply put the lid on the container and store it in the refrigerator. I find that the paints last up to 5 days when stored in this manner.
While painting the first wooden caddy, I decided that I wanted to paint some additional caddies using some different MMS MilkPaint™ colors. So, I also mixed up Bergere and Linen.

When you apply your first coat of paint, it might look splotchy or uneven. Don’t be discouraged! This is normal. Wait for the first coat of paint to dry, and then lightly sand down the caddy using 220 grit sandpaper. The intent of sanding is to remove any drip marks or areas where the paint built up. Wipe the box down, once again, with a damp rag. Then apply a second coat of paint.
Step 4- Seal the Caddy
Once your wooden caddy is completely dry, use your 220 grit sandpaper to smooth out the surface of the paint. Then using a wax brush, apply some MMS MilkWax™ Clear. This is a soft wax that is easy to work with, and, like the MilkPaint™, it is non-toxic and all-natural.
Step 5- Fill the Caddy

Once your caddy is painted and sealed with wax, it is ready to be filled with goodies for your teacher. I filled these wooden caddies with fresh flowers, but here are some other gift ideas for your teacher.
● A caddy filled with small pots of fresh herbs and seed packets
● A s’mores caddy with graham crackers, marshmallows, and chocolate
● A coffee and/or tea gift caddy
● A caddy filled with pens, highlighters, note pads, etc
● A caddy filled with scone mix and homemade jam
These are just some ideas. You know your teacher best, and what he/she enjoys, so I leave it to your best judgment on what to include.

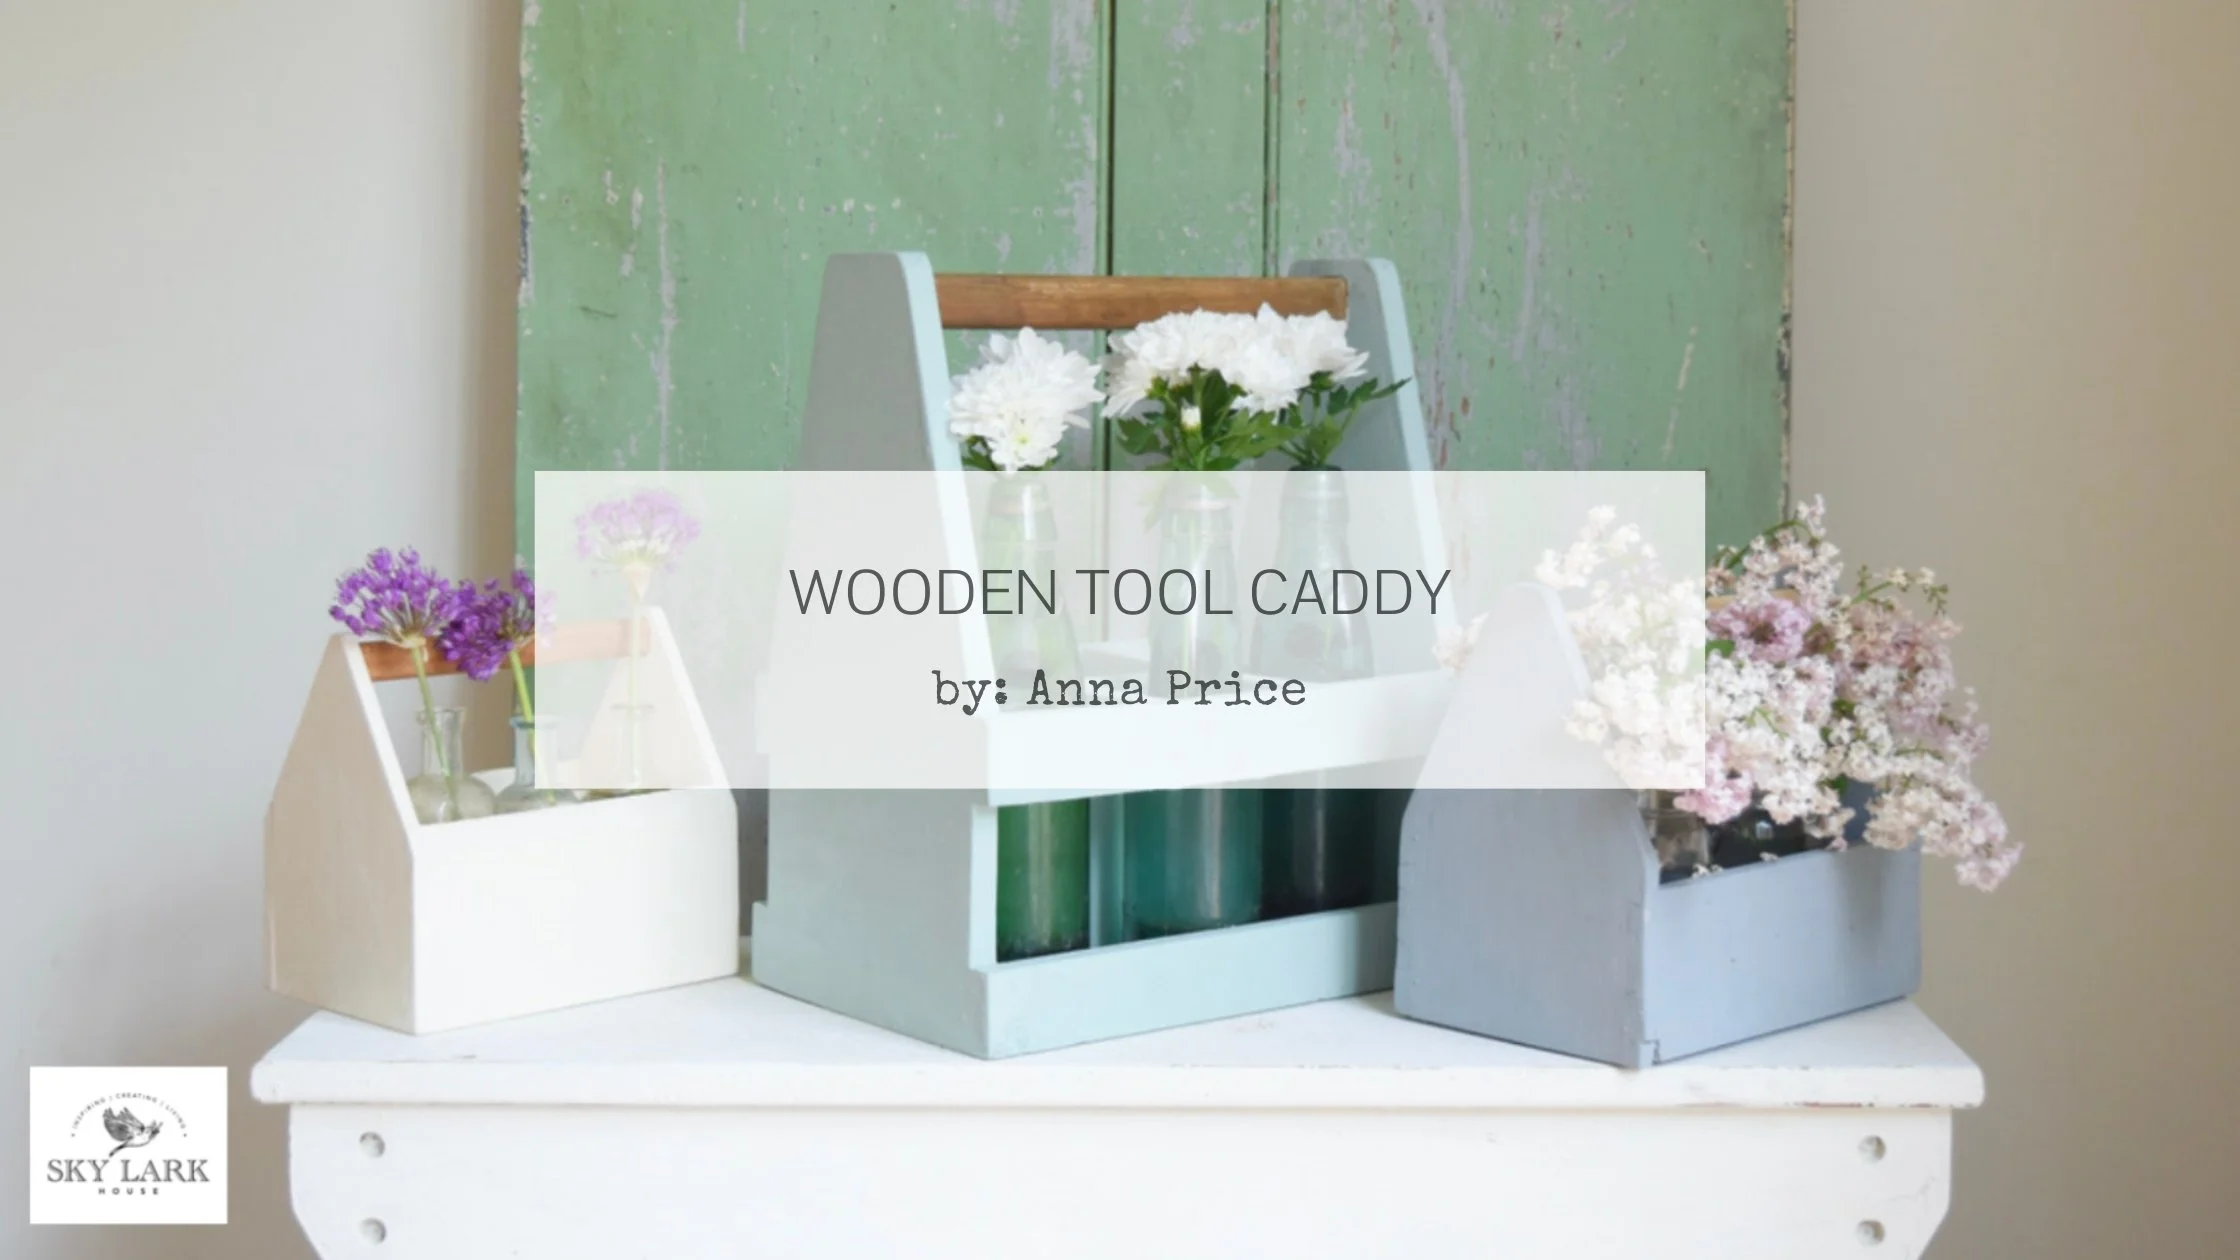
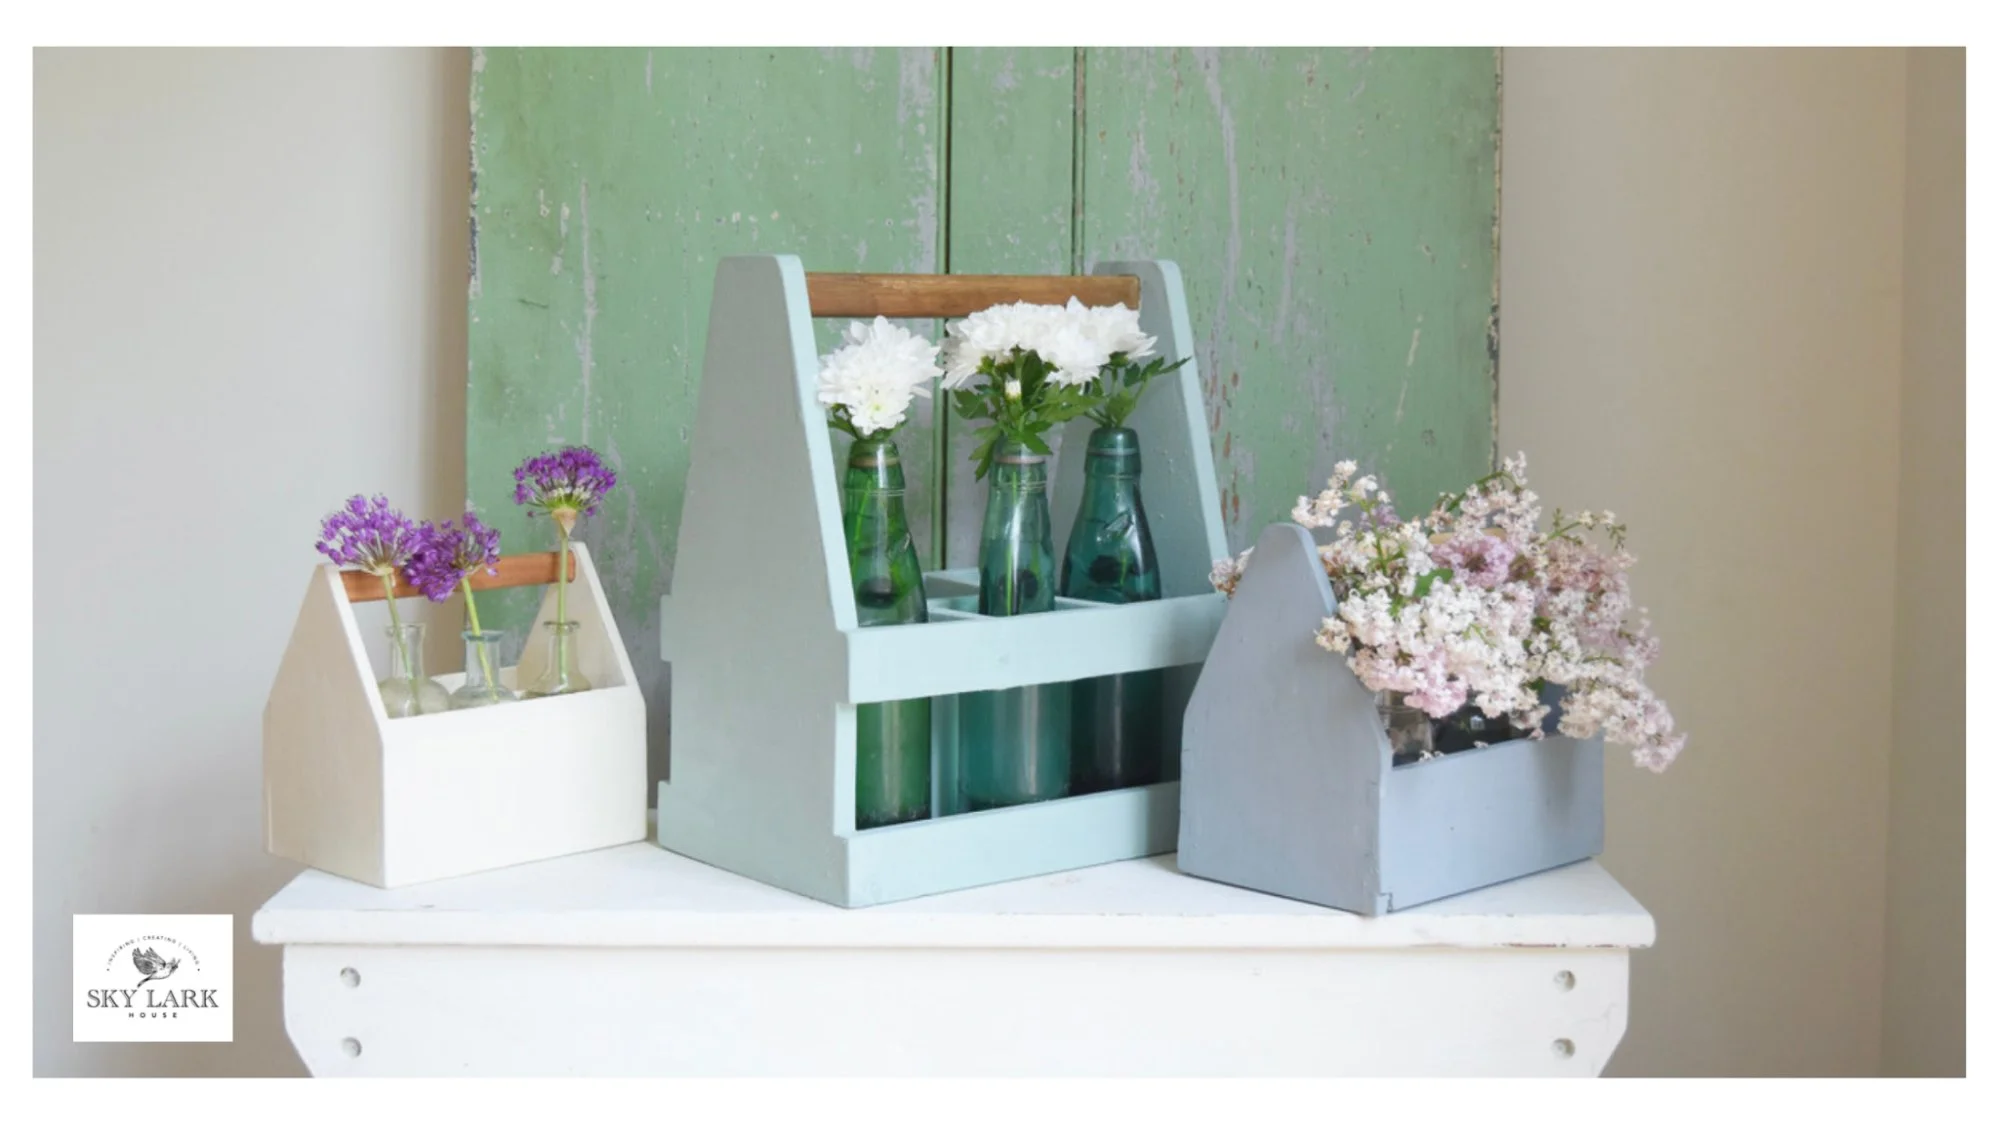
As a point of reference, here is how the other two caddies turned out. From left to right, the MMS MilkPaint™ colors are Linen, By the Sea, and Bergere. Do you have a favorite color of the three shown here? You could paint a caddy in your teacher’s favorite color.
If you want to put fresh flowers in your wooden caddy, then I suggest adding a bottle or canning jar to hold the water. Place the bottle or jar with water in the caddy first, and then add the flowers to the container. This is the perfect time of year for fresh flowers from the garden! So many varieties are blooming now.

Here is one final photo showing the final result of all three wooden caddies. Thank you for stopping by the blog today! I hope you are inspired to paint a wooden caddy and to fill it with little gifts to show a teacher how much you appreciate them. This was such a fun and easy project to make. Plus, it’s always fun to make something that you are giving to other people.