
Milk Painted Clay Pots
DIY Painted Clay Pots With MMS MilkPaint™
Where are all of our crazy plant people at?!
We’ve got the cutest DIY project for you to try - decorating clay pots with MilkPaint™! Our paint is a fantastic choice for this type of project because it soaks into porous surfaces (like clay) like no other. It’s also non-toxic, biodegradable and compostable, making it super safe to come in contact with anything you might be growing in your clay pots.
Grab your green thumb, some MMS MilkPaint™ and a few clay pots - your plants will thank you!

Supplies Needed
(Psst - our photos may reflect our old packaging)

4-inch terra cotta pots and saucers
MilkPaint™ - We used Mustard Seed Yellow, Ironstone, Pink Grapefruit, and Schoolhouse Red (these last two colors will be released in the coming months)
Masking tape - blue painters tape
Floral foam
Faux greenery/succulents
Moss Sheets
MilkOil™ Indoor/Hemp Seed Oil
Q-tip (or other dotting tool)
Small paintbrush
Scissors (to cut moss)
Wire cutters may be needed to trim plants
Easy How-To Steps:
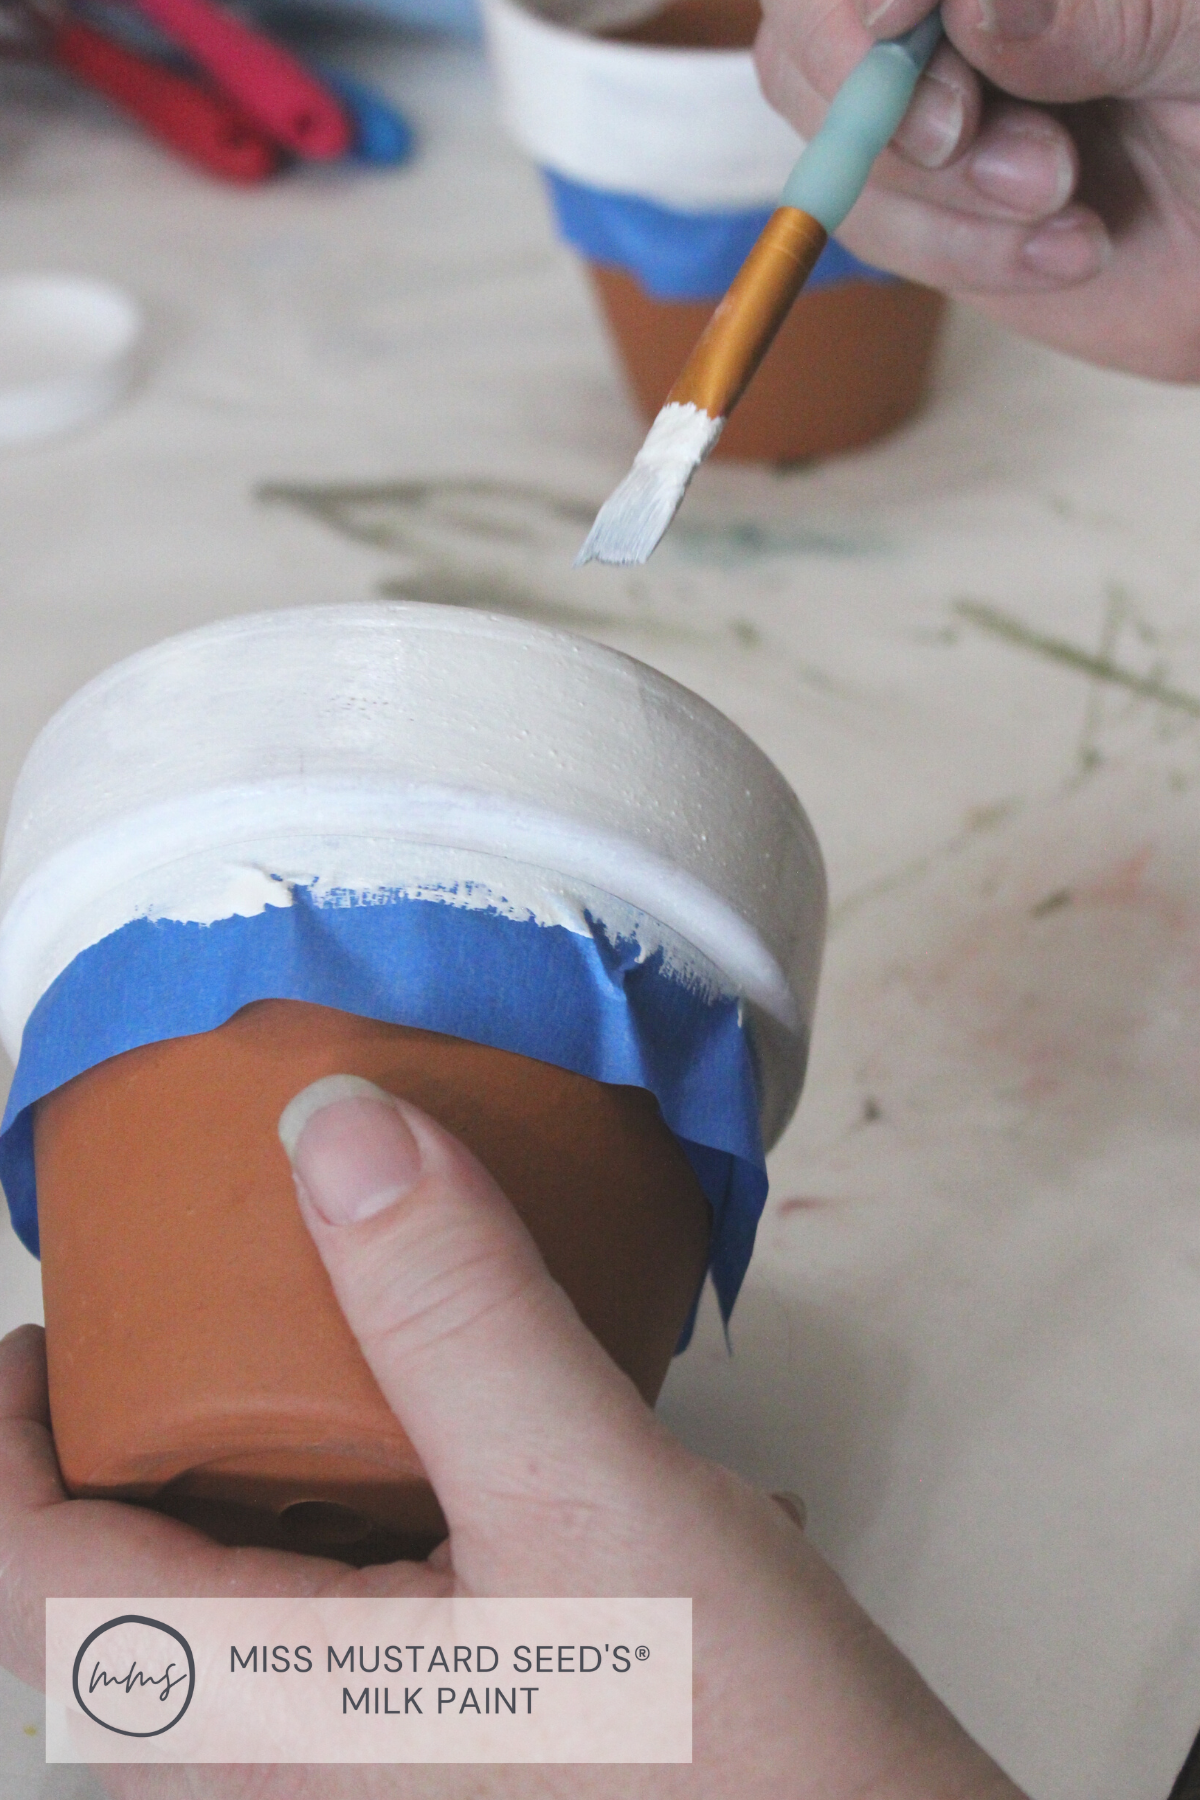
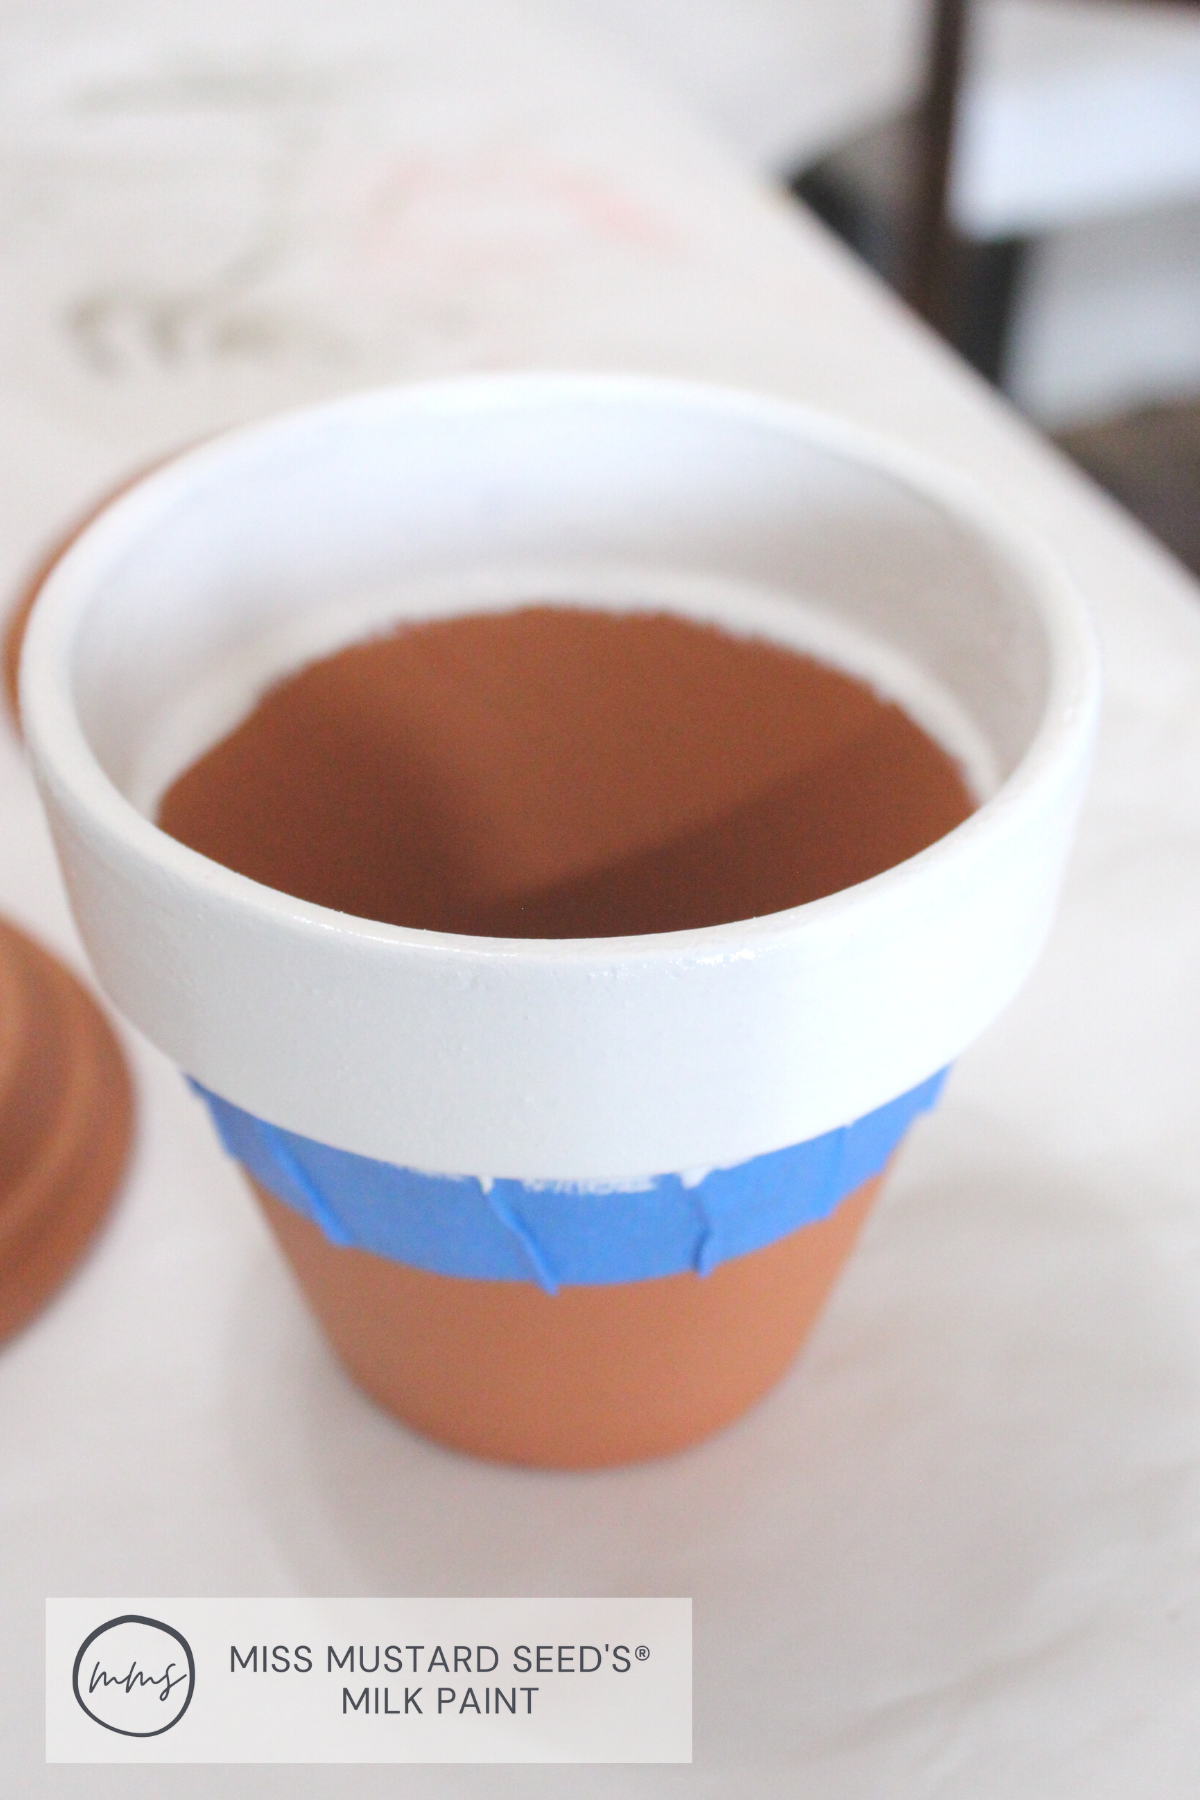
Tape off the top rim of the pots using blue painter’s tape.

2. Mix up a batch of Ironstone MilkPaint™, then paint onto the top rim. (Don’t forget to paint the inside down to where the top of your moss will hit!)
3. While you’re waiting for the top rim to dry, paint the saucers using Schoolhouse Red.

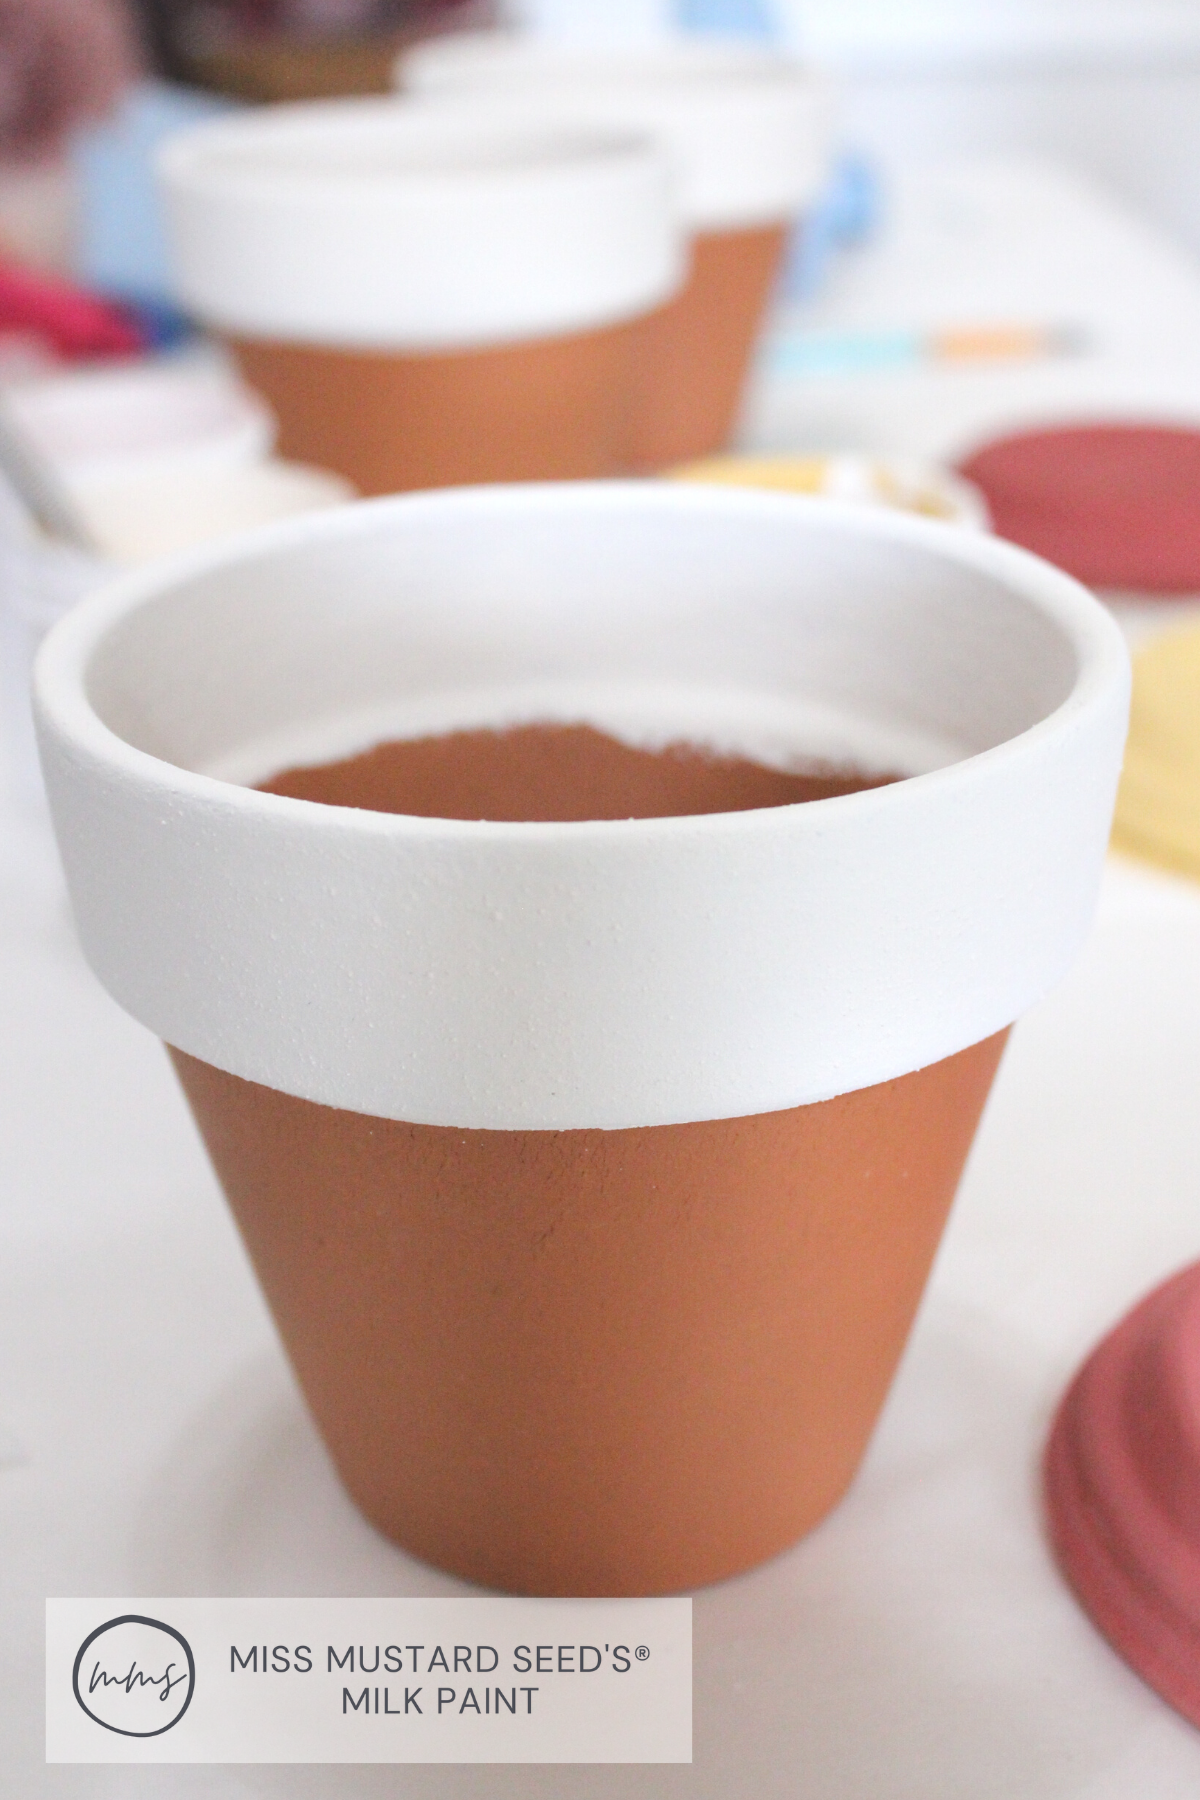
4. After the Ironstone is dry, remove the tape and paint to the bottom portion of the pots. We chose a different color for each pot.
5. Using a Q-tip, add color dots to the tip rim, alternating two colors as you go.

6. Once everything is dry, seal with MilkOil™. This is a breathable finish, which is perfect for live plants.

At this point, you can plant flowers, herbs or succulents in your clay pots. If you have more of a black thumb, or it’s too cold outside for live plants, continue reading to see how you can decorate your pots with faux greenery!
7. Cut floral foam to the level of the inner ring

8. Place your pot top-down onto the moss, and cut a circle that’s the same diameter as the rim of your pot.

9. Lay the moss circles on top of your floral foam, then poke your faux greenery stems into the foam. For large plant stems, cut a line into the center of your circle of moss - like a tree skirt - and place it around the stem.

All that’s left for you to do is enjoy your MilkPaint™ clay pots!
Whether your plants are real or faux, we know they’re going to bring you lots of cheer!


