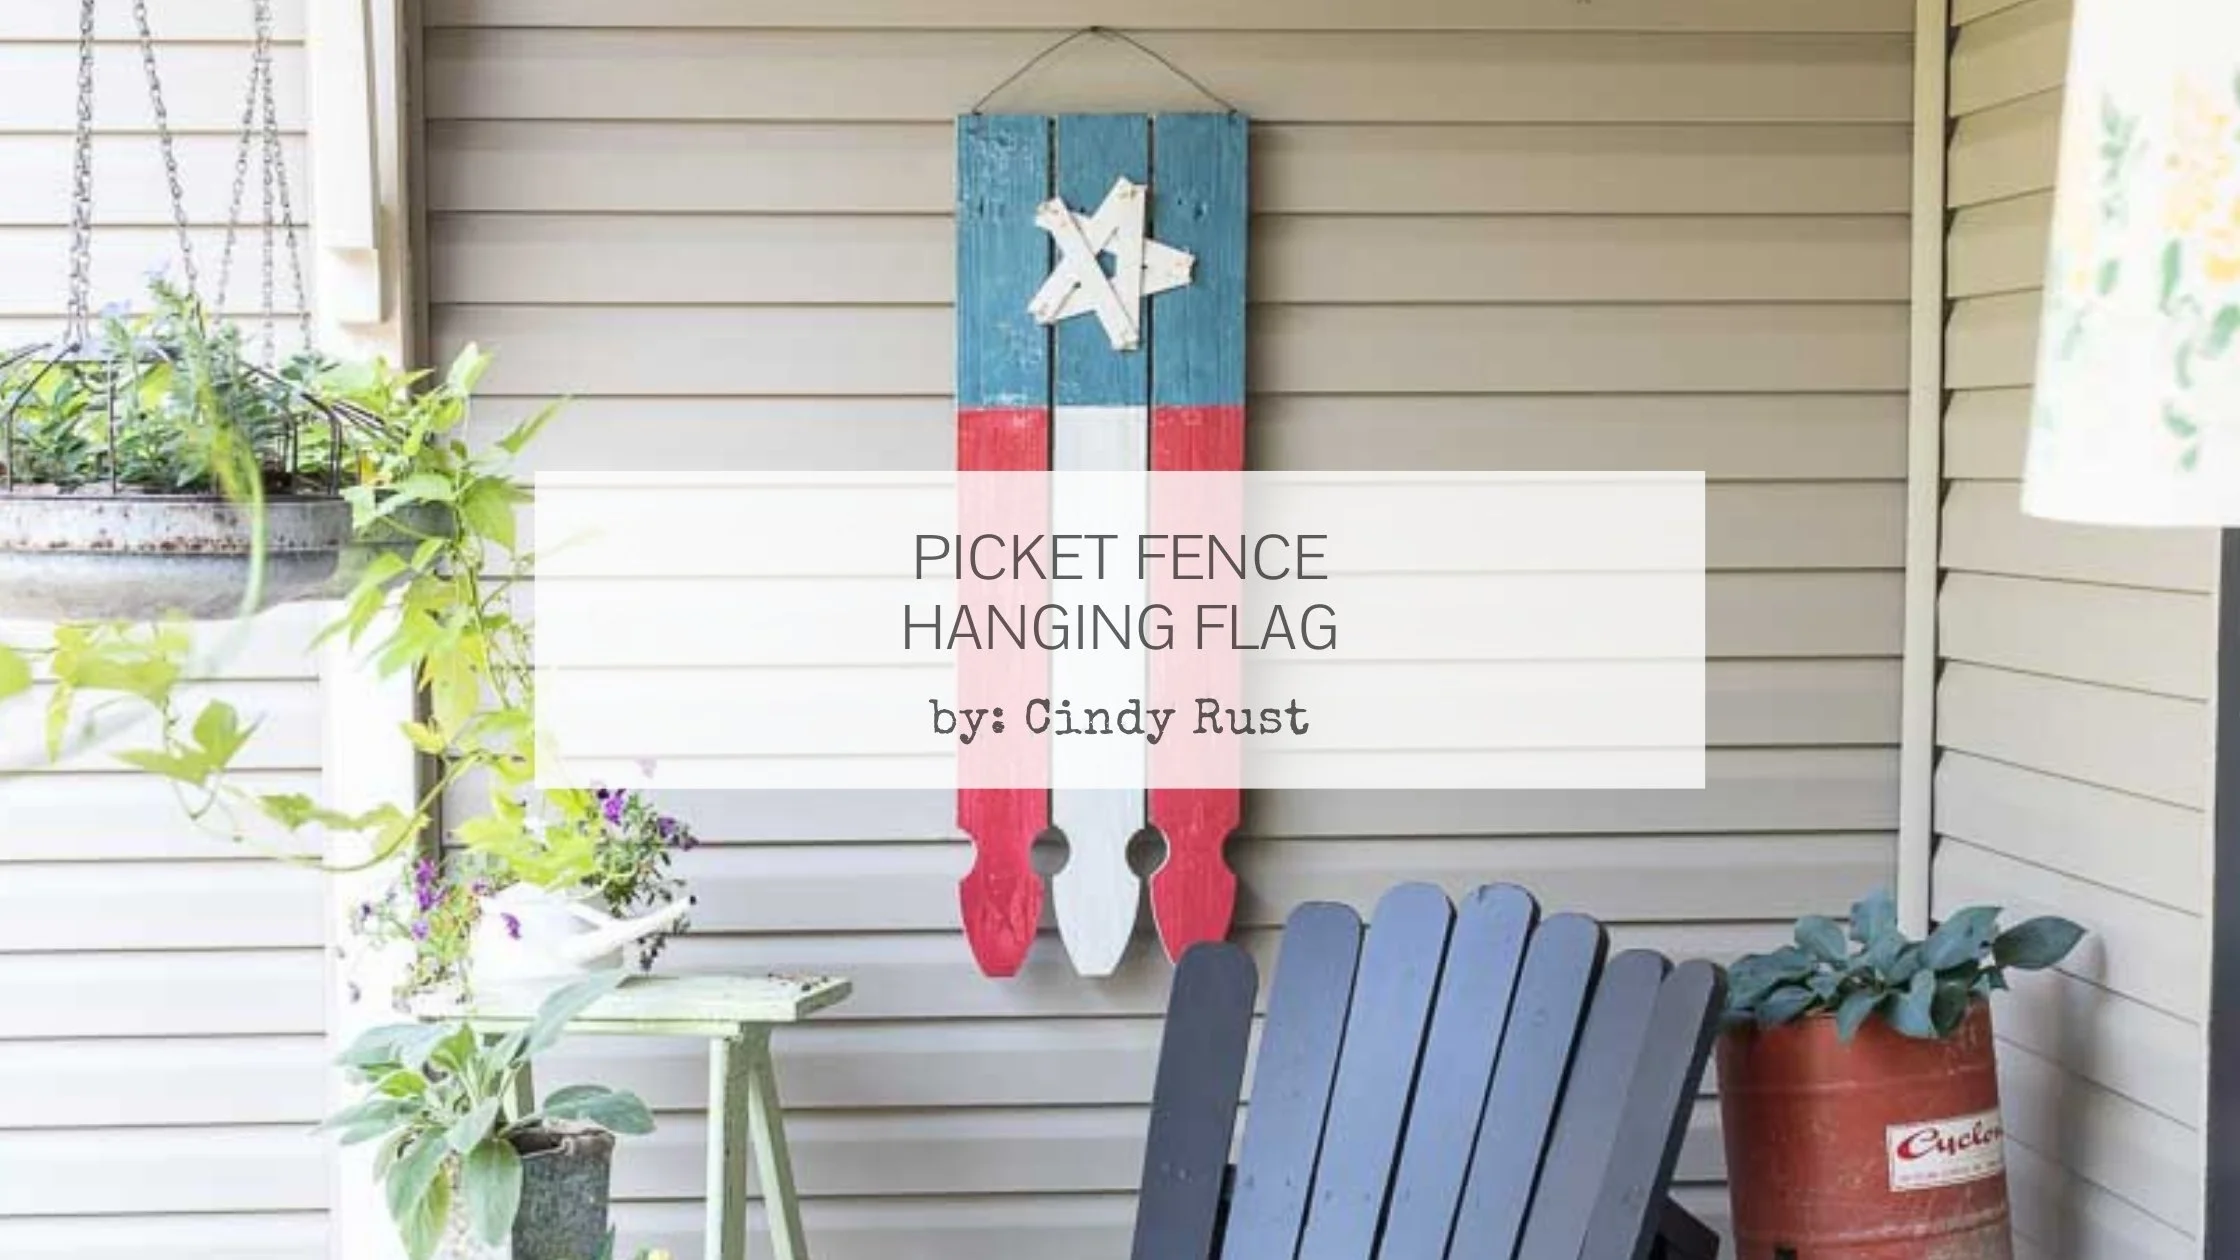
Picket Fence Hanging Flag
A Repurposed Picket Fence Turns Into An American Flag
You are probably ready for summer, aren't you? Most of us are looking forward to vacation time, sunshine, and gatherings with our friends and families. So let’s kick off the summer season with a fun repurposed project that celebrates summer and our freedom in the USA!
You’re going to love this easy project, and so will your family and friends. In fact, be sure to save this post, along with my included video tutorial, to your Pinterest patriotic decor boards so your friends can see this tutorial too!
Supplies Needed
Let’s go over the supplies you need for this easy Picket Fence Hanging Flag project:

3 individual Gothic-style picket fence sections (approx 48” long)
Wood glue
6 - 1” wood screws
2 - ¾” truss head screws
5 decorative upholstery tacks
Heavy-gauge wire or heavy twine for hanging
5 paint stir sticks, 50” white rope or jute rope
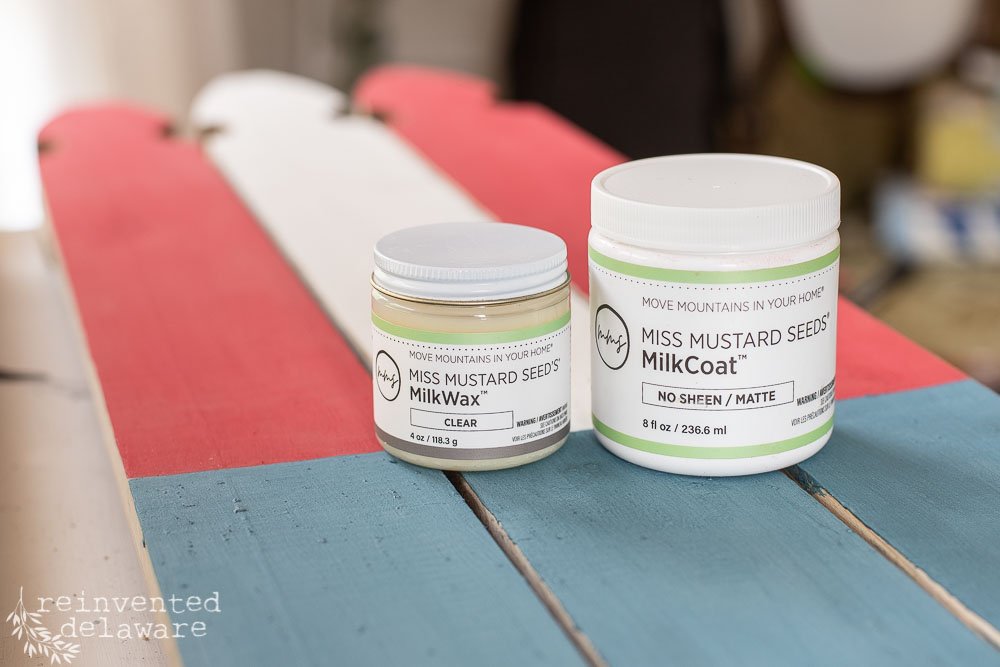
Miss Mustard Seed's® MilkPaint™: Flow Blue, Tricycle, Farmhouse White
Mixing The MilkPaint™
You can mix the paint before you start the project, so it has some time to become workable. Mixing the paint and allowing it to sit for a few minutes before using it is a good idea. Here is a YouTube video that will show you how to mix the paint.
As for tools, you will need a power drill with a drill bit and a screw bit, a saw (I used my chop saw), a sander (I used my orbital sander), a hammer, and a carpenters square.
Prepare Your Picket Fence Posts
Maybe you are fortunate enough to know someone who is taking their picket fence down; ask them for the pickets! The boards are useful in so many projects.
If not, you can go to your local home improvement store and purchase three individual picket boards. I found ours at our local Lowes in the garden department. Be sure to ask if you cannot find them - we had to do some searching to locate them. They were only about $2 each!
Let me mention that I used reclaimed painted fence picket boards as well as newly purchased boards for the three hanging flags I am sharing with you today. You will see images from both - the reclaimed wood and the new wood in this tutorial.
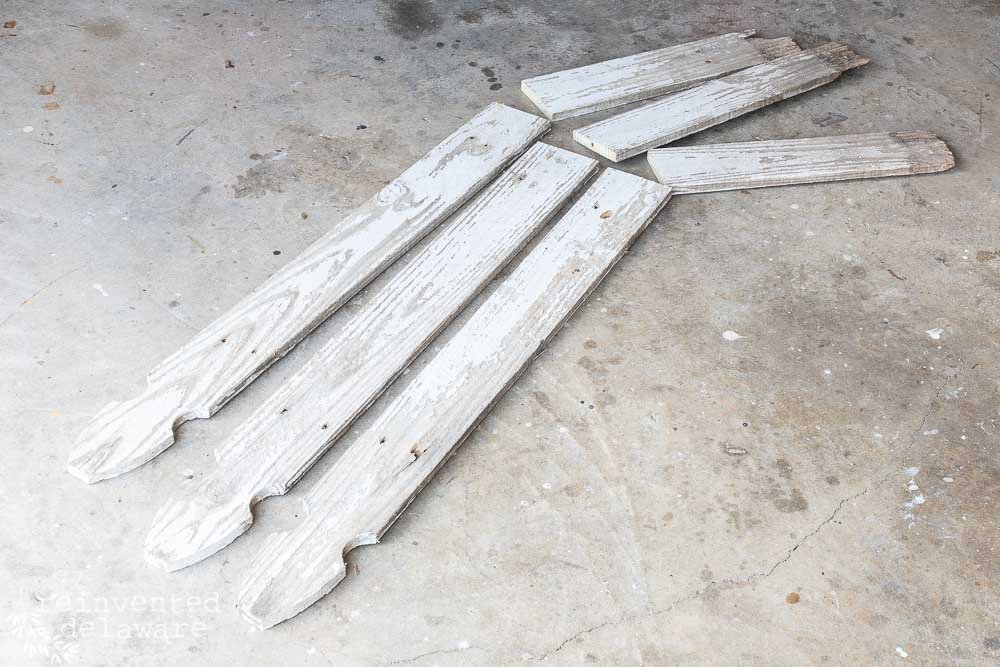
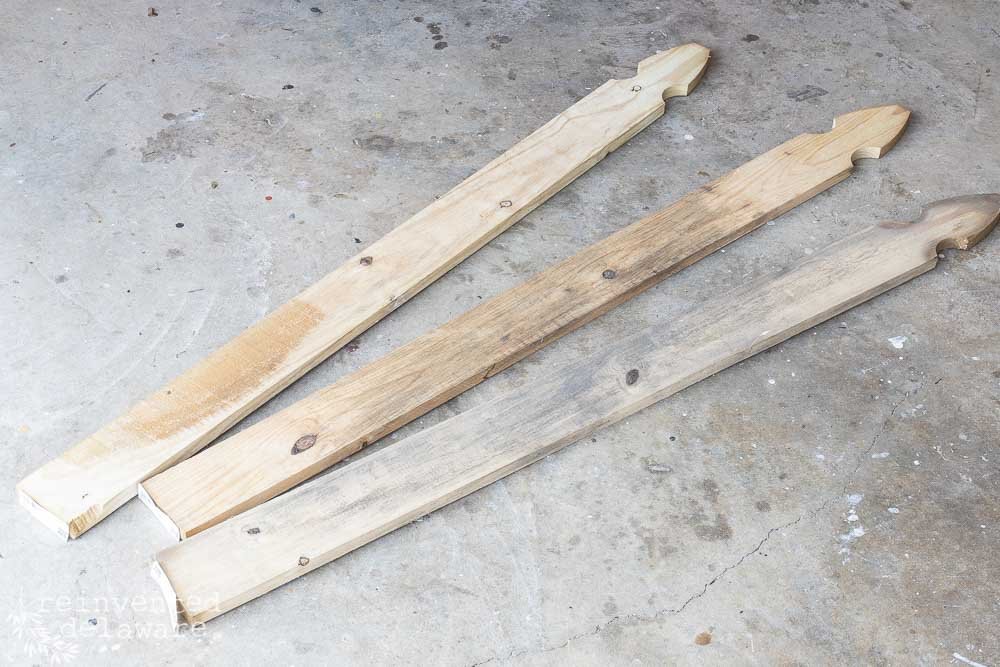
Cut the picket fence boards approximately 37” long using the saw of your choice. A chop saw is perfect for this task but use the saw you have on hand. You can also ask the wood cutting department at your home improvement store to cut the boards for you. Ask - it’s free! Be sure to save the scrap of wood that is chopped off - you will need those pieces.
(Remember, I have a video tutorial at the end of my post that you can watch if you’re a visual learner!)

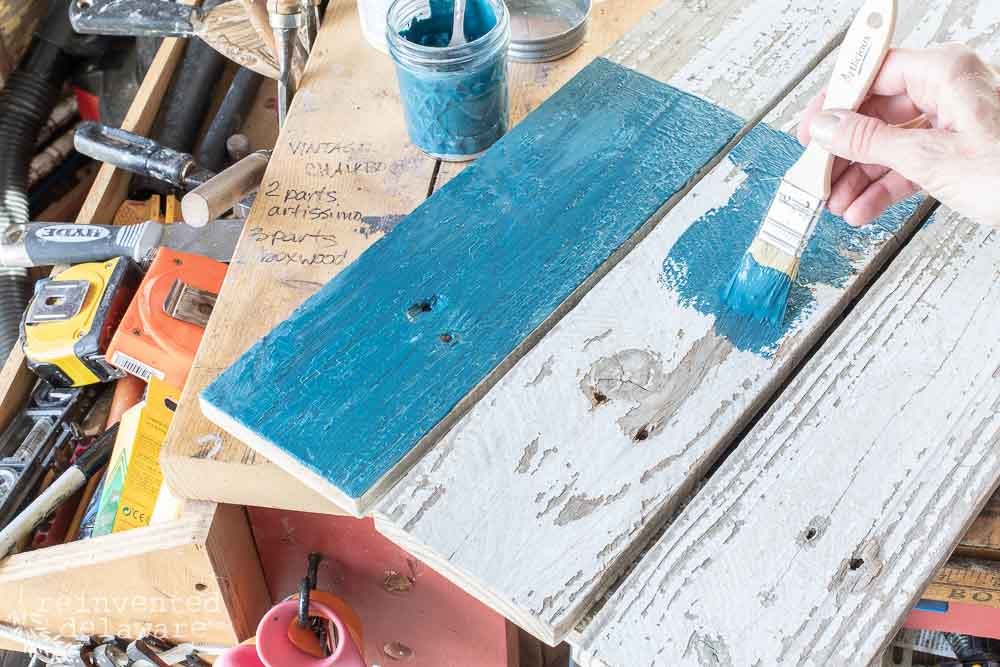
Lightly sand the boards to remove any splinters, then clean the boards with a shop vac to remove any dust. If the boards are reclaimed picket fence pieces, you should wash them too. They can be pretty dirty! Allow them to dry in the sun before painting them.
Joining The Picket Fence Posts To Make A Flag
Join the three picket sections together using a scrap of cut-off wood (approx 11” long), 1” wood screws, and wood glue. Line up the three picket fence boards leaving a gap between each. The paint stir sticks are perfect for creating the gap.
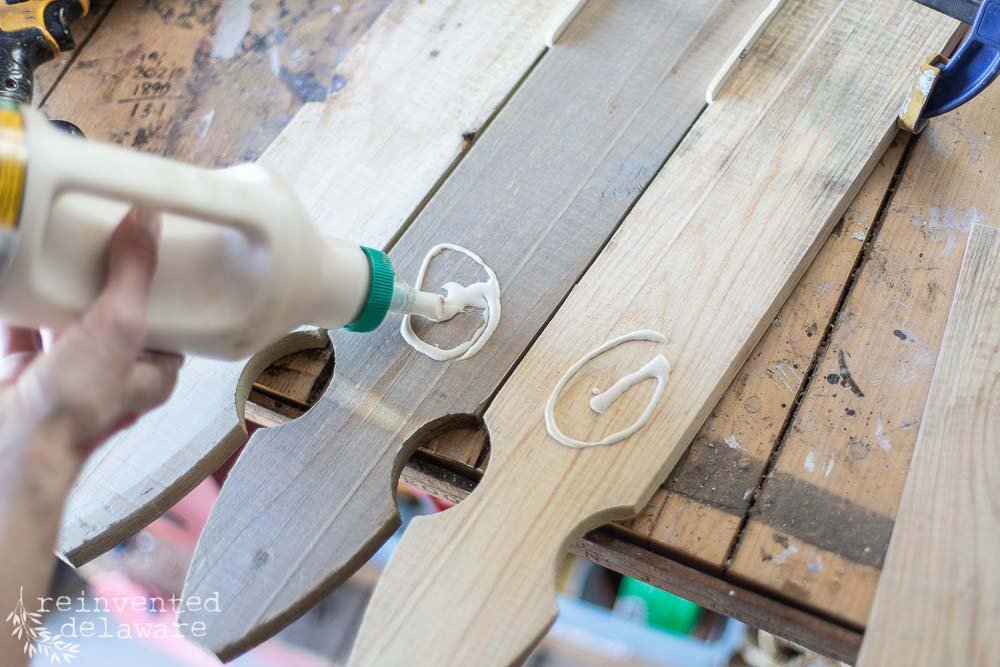
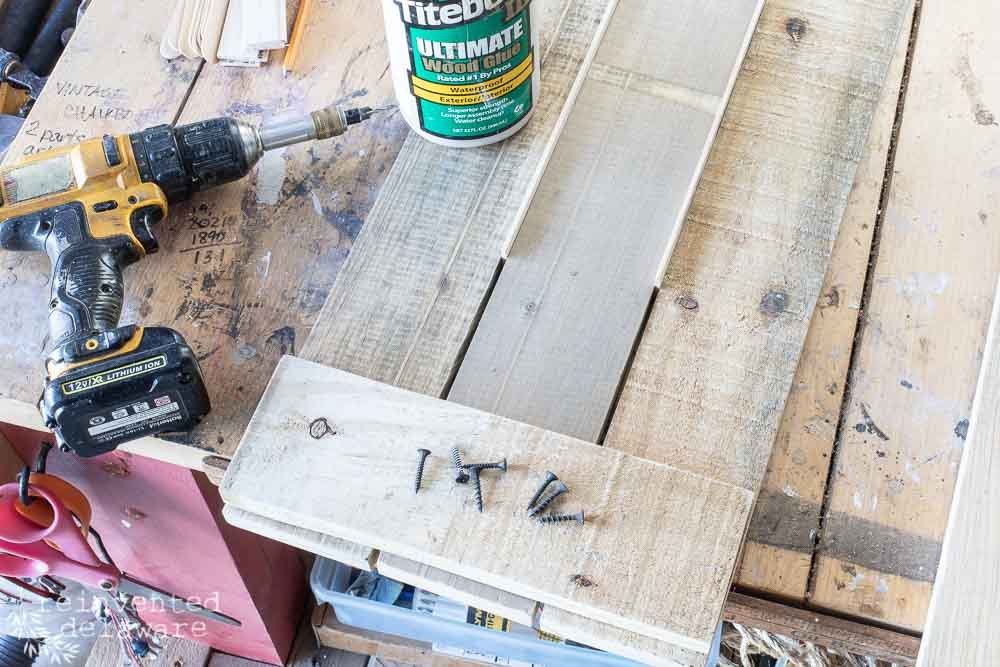
Apply some wood glue between the scrap wood and the three pickets, then pre-drill the holes for the screws. Use two screws to secure each picket fence board to the scrap wood bracket. Attach a piece of scrap wood to each end of the picket fence boards.
Pay close attention to the decorative end of the assembly in the image below. In my video tutorial at the end of this post, I show you exactly where I attached the scrap wood brackets on the back.

Painting Your Picket Fence Flag With MilkPaint™
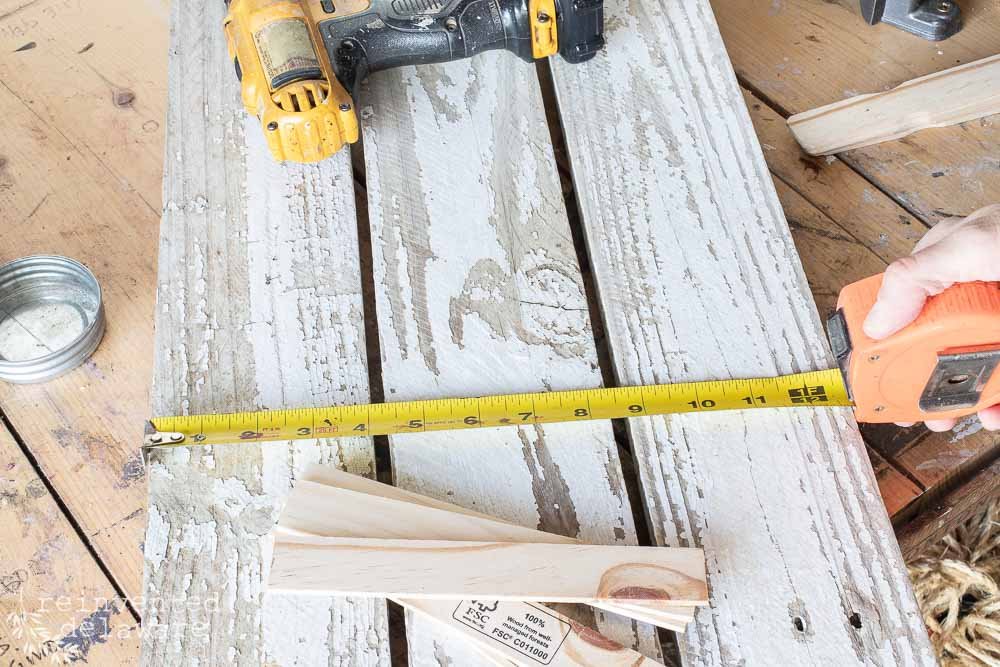
Next, measure the width of your picket fence assembly at the cut end (not the decorative end.) Then use that measurement and a carpenter's square to mark off a square at the cut end of the pickets. This is the area that will be painted in Flow Blue.
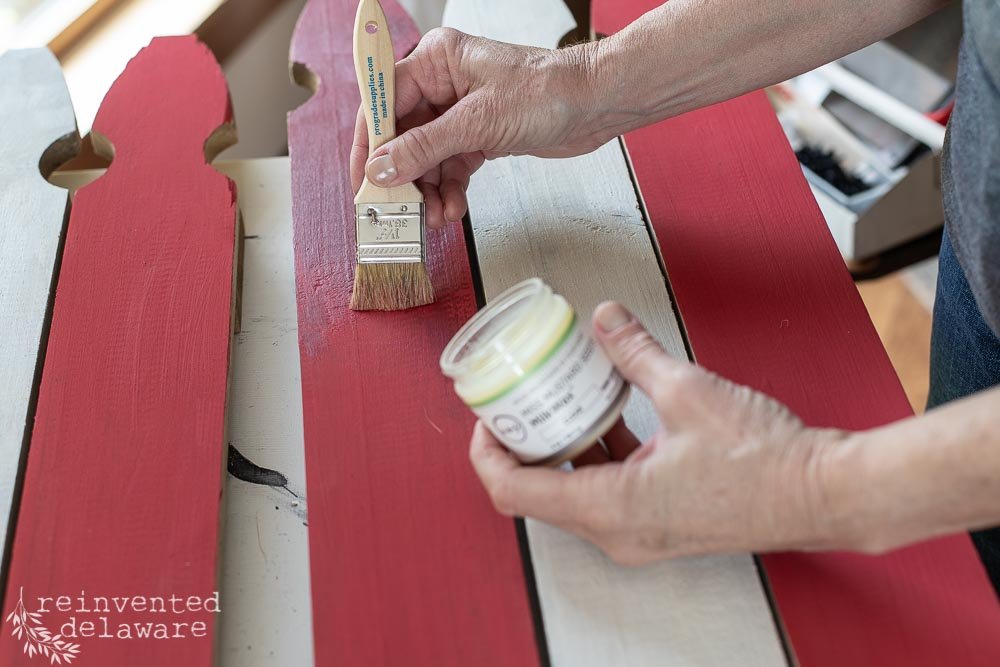
The stripes for the flag do not require any marking! Simply paint the two pickets on the outside in Tricycle and the middle picket in Farmhouse White! Seal the hanging flag with either MilkWax™ or MilkCoat™. This hanging flag will hold up well on a covered porch out of direct weather.
Making The Picket Flag Star
There are three different ways to make the star for this picket fence hanging flag. Actually, there are more than just three ways! Here are the ideas I came up with: white rope, jute rope, and paint stir sticks.
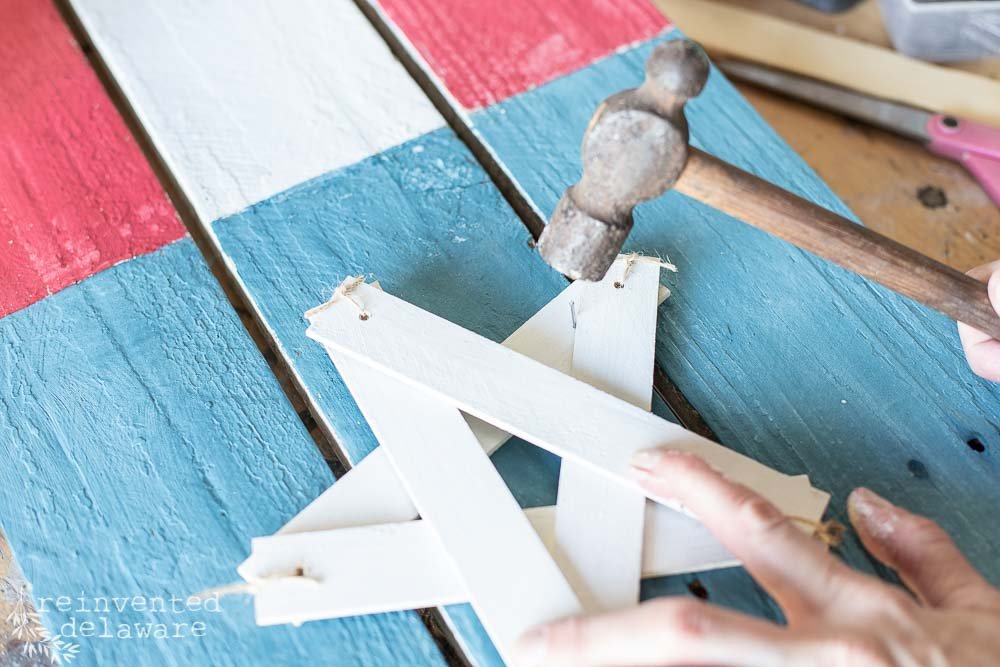
For one of the hanging flags, I painted five paint stir sticks that were cut to approximately 6-7” long using Farmhouse White. Then I drilled small holes in each end and tied them together with twine to form the star.
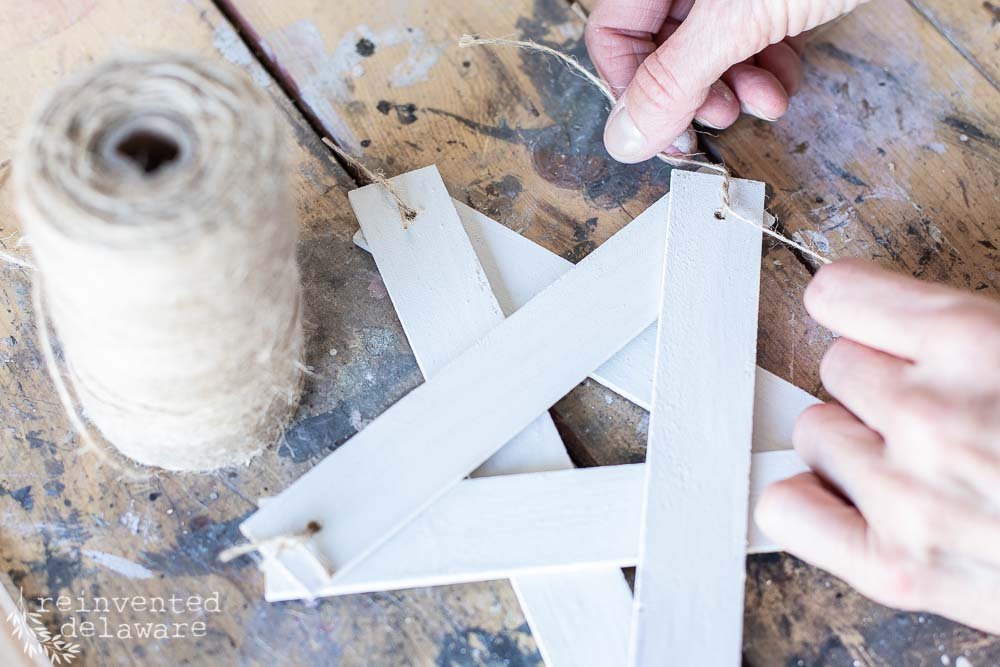
Next, I attached the paint stick star to the blue section of the flag using small nails.
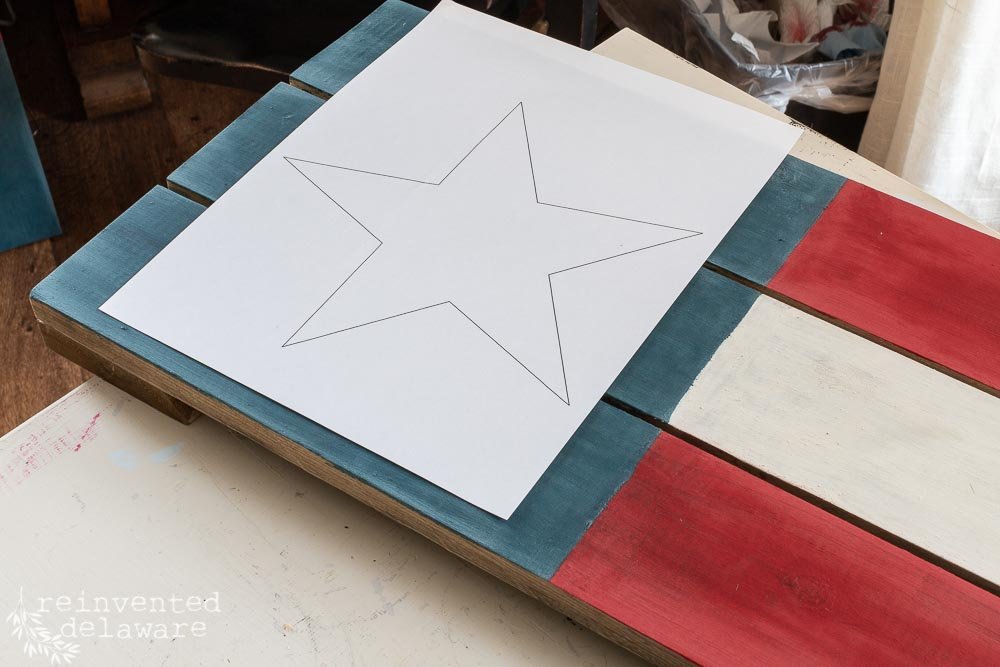
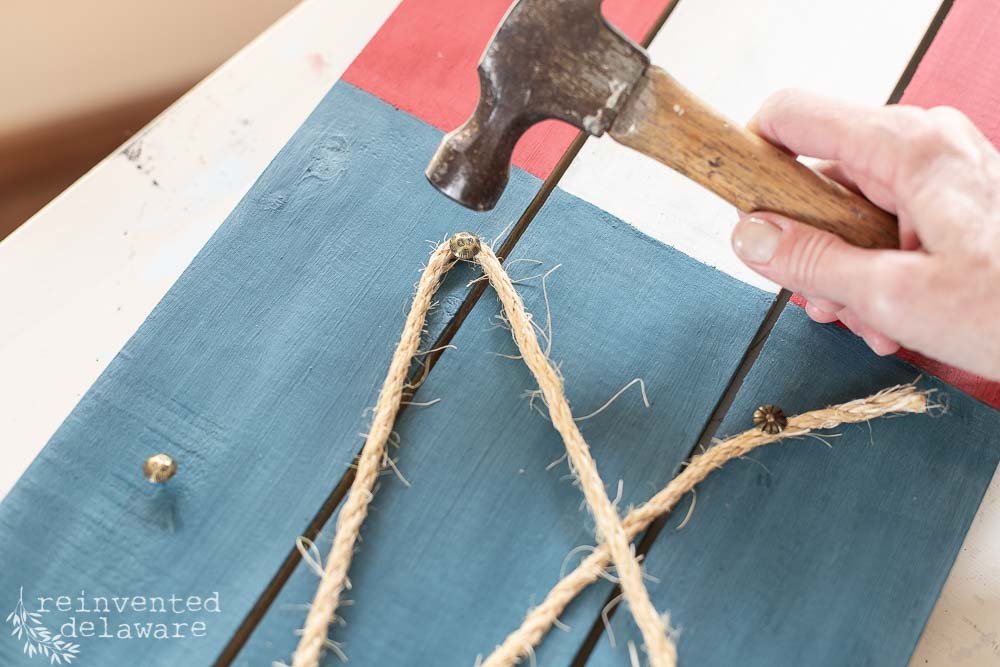
The next two ideas for the star are only different in materials used: one uses a white rope, and the other uses heavy jute rope. Using a star pattern sized to fit the blue area of the flag (I created this star using Google Draw - super easy to do!), mark the five-star points in the blue-painted section of the hanging flag.

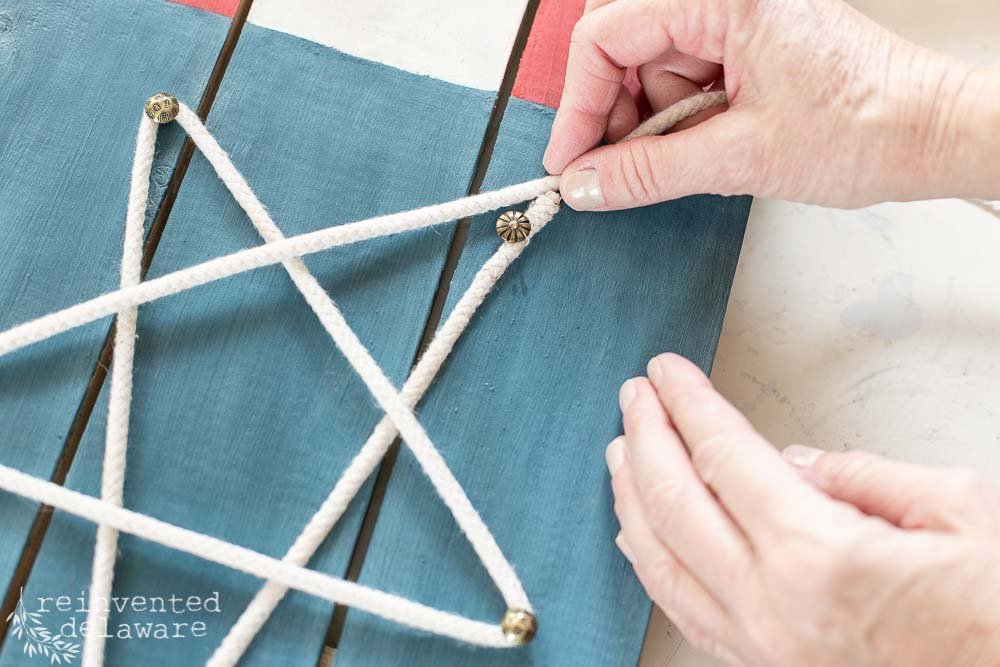
Then tap an upholstery tack at each point with a hammer just enough to hold the tack steady. Wrap the white rope (or jute rope) around each tack to create the star. Finish tapping the upholstery tacks into the wood to secure the rope at each point.
Be sure to watch my video to see how to use the truss head screws and heavy gauge wire to hang this adorable flag!
Video Tutorial
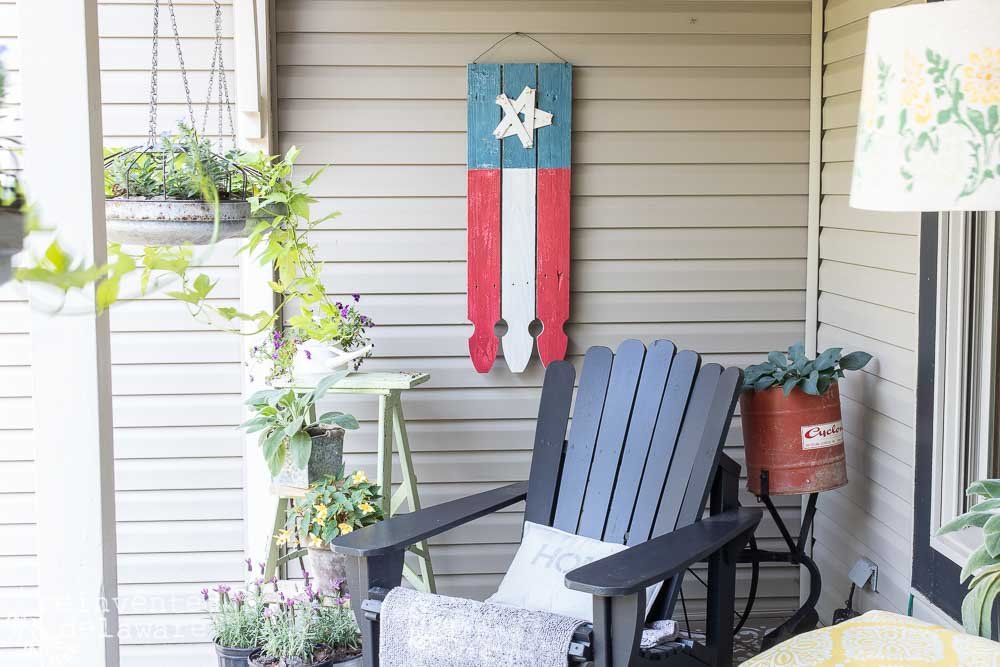
All that’s left is to hang your picket fence flag to enjoy all summer! Isn't this the cutest hanging flag? Which star design do you like the best? The white rope, the jute rope, or the paint stir stick star? Let us know in the comments below!